Love this? Save it for later!
Share the inspiration with your friends
Kids had been looking for a Halloween snack that actually tasted like dinner but looked like a monster. For a while, I just accepted that “fun food” was going to taste like cardboard and sugar. You know the type. Those pre-made character pizzas from the freezer aisle that arrive lukewarm and sad. They’re cute for exactly three seconds before the novelty wears off and the kids ask for real food.
Let’s face it, I wanted something that didn’t require a degree in pastry arts or a three-hour baking session. I needed a solution that fit into the chaotic window between “it’s almost dark” and “we need to leave for the trick-or-treating.” The gap was real. I had bagels, I had sauce, and I had string cheese, but I didn’t have a plan that felt festive without feeling like a chore.
Then came the mummy idea. It wasn’t a grand revelation. It was just a Tuesday night when I was tired and hungry. I wrapped a strip of dough around a piece of cheese, popped it in the oven, and waited. When I pulled them out, they were golden, gooey, and surprisingly delicious. The kids didn’t care about the presentation at first; they cared that it was cheesy and warm. But then the laughter started. The eyes made them feel like they were eating a character, not just carbs.
That quiet realization changed how I approach holiday snacks. It wasn’t about making perfect art. It was about making something that brought a smile to a tired parent’s face and a giggle to a kid’s. This recipe stuck because it solved the problem of “what’s for a snack?” without adding to the mental load. It’s simple, it’s edible, and it doesn’t leave a trail of melted cheese on the floor.
Why You’ll Love This Mini Mummy Pizza Recipe
Honestly, this recipe is the kind that makes you close your eyes after the first bite. It’s comfort food reimagined—faster than ordering takeout, but with the same soul-soothing satisfaction. I’ve tested a dozen variations of bagel pizzas over the years, from fancy gourmet toppings to plain cheese, but this mummy format just hits different. It’s not just good; it’s the kind of snack that turns a boring Tuesday into a mini-celebration.
Here is why this version stands out from the rest:
* **Quick & Easy**: Comes together in under 20 minutes, perfect for busy weeknights or last-minute Halloween cravings. You don’t need to thaw anything or measure complex spices.
* **Simple Ingredients**: No fancy grocery trips needed; you likely already have everything in your kitchen. Bagels, sauce, cheese, and dough strips. That’s it.
* **Perfect for Halloween**: Great for party favors, classroom exchanges, or a cozy dinner before heading out to collect candy.
* **Crowd-Pleaser**: Always gets rave reviews from kids and adults alike. Even the picky eaters who refuse to try new vegetables will devour these.
* **Unbelievably Delicious**: The texture and flavor combo is next-level comfort food. The crunch of the bagel paired with the stretch of the cheese is unbeatable.
What makes this recipe different from the rest is the technique. Instead of using pre-made pizza rolls or frozen dough, we use simple strips of refrigerated dough (or even sliced bagels) to create the “bandages.” This creates a unique structural integrity that holds the cheese inside while getting crispy on the outside. Whether it is the visual appeal or the perfectly balanced seasoning profile, make it clear this isn’t just another version—it’s your best version.
It’s perfect for impressing guests without stress, or turning a simple meal into something memorable. Plus, it pairs wonderfully with other festive treats like our easy adorable Halloween mummy sugar cookies for a full spooky spread.
What Ingredients You Will Need
This recipe uses simple, wholesome ingredients to deliver bold flavor and satisfying texture without the fuss. The beauty of these mini mummy pizza bagels lies in their accessibility. You don’t need specialty stores or hard-to-find items. Most of these are pantry staples or fridge essentials.
Here is what you need to gather:
* **Mini Bagels**: 6 to 8 mini bagels, sliced in half horizontally. I prefer plain or everything bagels for the best texture. Look for brands like Thomas’ or store brand mini bagels that are fresh and soft.
* **Pizza Sauce**: ½ cup of your favorite marinara sauce. Use a low-sodium option if you are watching salt intake. A spoonful of pasta sauce works in a pinch.
* **Mozzarella Cheese**: 1 cup of shredded mozzarella. Pre-shredded cheese contains anti-caking agents, so for the best melt, buy a block and shred it yourself. It makes a huge difference in the goo factor.
* **Refrigerated Dough Strips**: 1 can of crescent roll dough or pizza dough. If using crescent rolls, you can cut them into thin strips. This forms the “mummy bandages.”
* **Olive Oil**: 1 tablespoon, for brushing the tops. This helps the dough brown evenly and adds a nice sheen.
* **Italian Seasoning**: 1 teaspoon, sprinkled on top. Adds that classic pizza aroma.
* **Pepperoni or Ham**: Optional, for the eyes. Thinly sliced pepperoni works best because it curls nicely in the oven. Ham is a good milder alternative.
* **Olive Oil or Water**: For glazing the dough to help seasonings stick.
If you are allergic to gluten, you can swap the dough for gluten-free pizza dough strips, though the texture will be slightly different. For a dairy-free option, use plant-based mozzarella shreds. In summer, you might swap the mozzarella for fresh basil and burrata for a lighter take, but for Halloween, the melted cheese is non-negotiable.
I recommend using a good quality marinara sauce like Rao’s or a homemade version if you have time. The sauce is the flavor backbone here. If the sauce is too watery, your bagels might get soggy. Pat it down with a paper towel if it looks runny.
Equipment Needed
You don’t need a fancy kitchen to make these. Here is what you’ll need:
* **Baking Sheet**: A standard large baking sheet lined with parchment paper. This prevents sticking and makes cleanup a breeze.
* **Parchment Paper**: Essential for easy removal. Silicone baking mats work too, but parchment is cheaper and disposable.
* **Pastry Brush**: For brushing the dough strips with olive oil. A small silicone brush is ideal for reaching into tight spaces.
* **Sharp Knife**: To slice the bagels evenly. A serrated bread knife works best for bagels to avoid crushing them.
* **Small Bowl**: For mixing the sauce and seasonings if you want to customize the flavor.
* **Tongs**: For handling the hot bagels safely after baking.
If you don’t have a pastry brush, you can use a paper towel dipped in oil. For budget-friendly options, any standard baking sheet will do. Avoid dark non-stick pans if possible, as they can burn the bottom of the bagels faster. Light-colored aluminum sheets give the most even bake.
Preparation Method
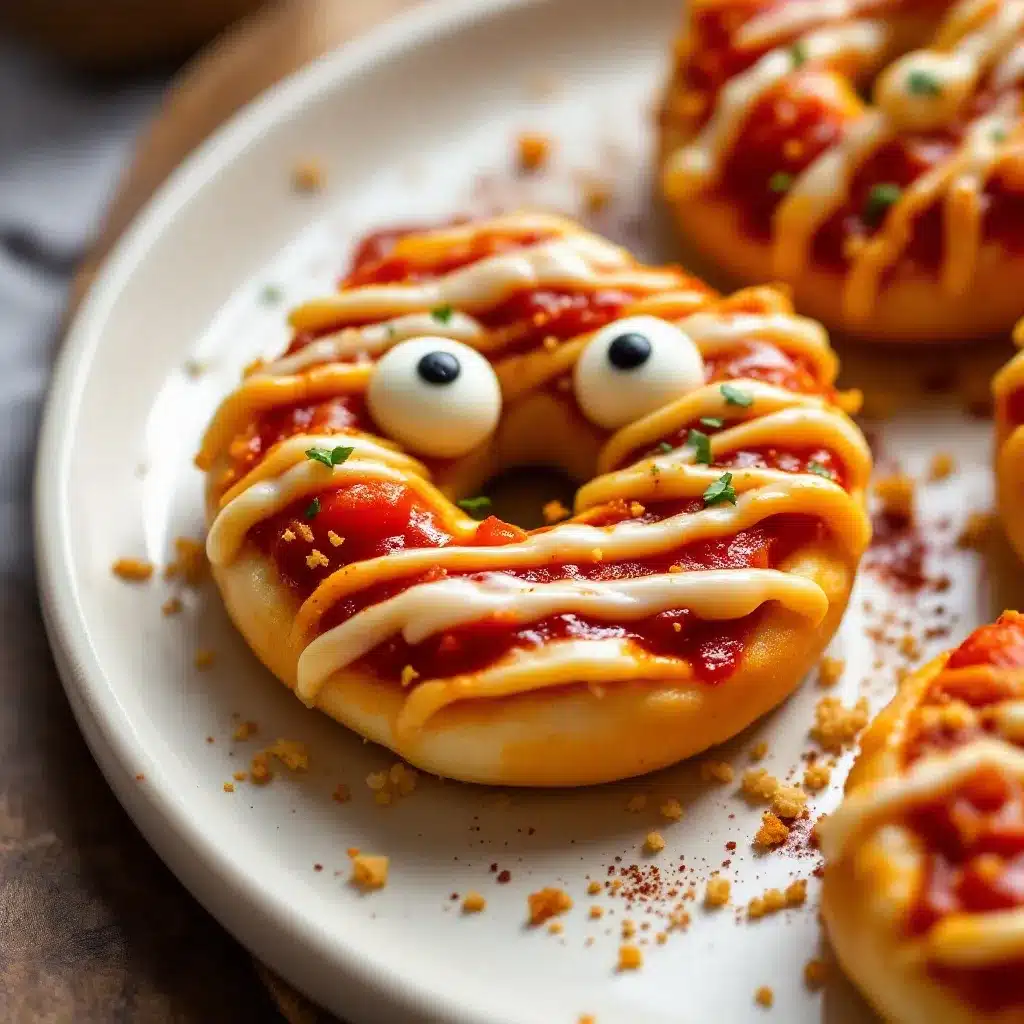
Follow these steps to create your spooky snacks.
1. **Preheat the Oven**: Preheat your oven to 375°F (190°C). Line a baking sheet with parchment paper. This ensures the bagels don’t stick and the dough bakes evenly.
2. **Prepare the Bagel Base**: Slice the mini bagels in half horizontally. Place them cut-side up on the baking sheet. You want a flat surface for the sauce and cheese.
3. **Add the Sauce**: Spoon about 1 teaspoon of pizza sauce onto each bagel half. Spread it evenly, but leave a small border around the edge. Too much sauce will make the bagel soggy.
4. **Add the Cheese**: Sprinkle a generous amount of shredded mozzarella over the sauce. You want a good layer so the dough strips have something to stick to.
5. **Prepare the Dough Strips**: Take your refrigerated dough and cut it into thin strips, about ½ inch wide. If using crescent roll dough, unroll and cut into strips. These will be the mummy bandages.
6. **Wrap the Mummy**: Take a dough strip and wrap it around the bagel, starting from one side and going over the top. Leave small gaps between the strips to look like bandages. Overlap slightly if needed. Repeat with more strips until the bagel is mostly covered, leaving the “face” area open.
7. **Add the Eyes**: Place two small pieces of pepperoni or ham on the exposed part of the bagel for eyes. Press them gently into the cheese so they stay in place.
8. **Brush with Oil**: Lightly brush the dough strips with olive oil. This helps them brown and become crispy.
9. **Season**: Sprinkle with Italian seasoning and a pinch of salt.
10. **Bake**: Place in the oven and bake for 12-15 minutes, or until the dough is golden brown and the cheese is bubbly. Keep an eye on them, as ovens vary.
11. **Cool and Serve**: Remove from the oven and let cool for 2 minutes. The cheese will be very hot. Serve warm.
Cooking Tips & Techniques
Here are some professional techniques to ensure success.
* **Don’t Overstuff**: Too much sauce or cheese can cause the bagel to fall apart. Keep it moderate.
* **Dough Temperature**: Keep the dough cold until you are ready to use it. Warm dough is sticky and hard to handle.
* **Even Wrapping**: Try to wrap the dough strips evenly. It doesn’t have to be perfect, but consistent gaps look better.
* **Watch the Baking Time**: Ovens can run hot. Check at 10 minutes to avoid burning the dough.
* **Personal Failure Lesson**: I once tried to use thick bagel slices, and the dough didn’t stick well. Stick to mini bagels for better proportions.
Timing is key. Multitask by prepping all the bagels before wrapping them. This saves time and keeps the dough from warming up too much.
Variations & Adaptations
There are many ways to customize these mini mummy pizzas.
* **Meat Lovers**: Add small pieces of pepperoni, sausage, or ham under the cheese before wrapping.
* **Veggie Mummies**: Add sliced mushrooms, spinach, or bell peppers. Note that vegetables release water, so pat them dry first.
* **Spicy Mummies**: Use spicy marinara sauce and add jalapeño slices for a kick.
* **Cheese Variety**: Mix mozzarella with cheddar or provolone for a sharper flavor.
* **Gluten-Free**: Use gluten-free bagels and dough. The technique remains the same.
I once tried adding pineapple, and it was surprisingly good. Sweet and savory is a winning combo. For allergen substitutions, use dairy-free cheese and gluten-free dough.
Serving & Storage Suggestions
Serve these mini mummy pizzas warm for the best experience. They pair well with a side of fruit or a light salad. For beverages, apple cider or milk works nicely.
Store leftovers in an airtight container in the refrigerator for up to 3 days. Reheat in the oven at 350°F for 5-10 minutes to restore crispiness. Microwaving will make the dough soggy.
The flavors develop over time, but they are best fresh. You can also freeze the assembled mummies before baking. Place them on a baking sheet and freeze until solid, then transfer to a freezer bag. Bake from frozen, adding 2-3 minutes to the baking time.
Nutritional Information & Benefits
Each mini mummy pizza bagel contains approximately 150-200 calories, depending on the size of the bagel and amount of cheese. They provide carbohydrates from the bagel, protein from the cheese, and calcium for bone health.
If you use whole wheat bagels, you get added fiber. For a lower-carb option, use low-carb bagels. Be mindful of sodium in the sauce and cheese. These are a treat, so enjoy in moderation. They are a fun way to get kids to eat a more balanced snack than candy.
Conclusion
These Fun Mini Mummy Pizza Bagels are a perfect blend of spooky fun and delicious comfort. They are easy to make, customizable, and always a hit with kids. I love this recipe because it brings joy to the kitchen without the stress.
Try customizing them with your favorite toppings. Share your creations on social media and let me know how they turned out. Leave a comment below with your variations. Happy Halloween!
Frequently Asked Questions
Can I use regular-sized bagels?
Yes, but you will need to adjust the amount of dough and cheese. The wrapping process will take longer, and the proportions may be off. Mini bagels are best for bite-sized snacks.
Can I make these ahead of time?
Yes, you can assemble them and refrigerate for up to 24 hours before baking. Or freeze them for up to 3 months. Bake from frozen, adding a few minutes to the baking time.
What if I don’t have crescent roll dough?
You can use pizza dough, cut into strips. Or use sliced bagels as the “bandages” by layering them over the cheese. The texture will be different, but it still works.
Are these kid-friendly?
Absolutely. They are mild in flavor and fun to eat. Kids love the mummy shape. You can make them less spooky by using ham eyes instead of pepperoni.
How do I store leftovers?
Store in an airtight container in the refrigerator for up to 3 days. Reheat in the oven to keep them crispy. Avoid the microwave.
Pin This Recipe!
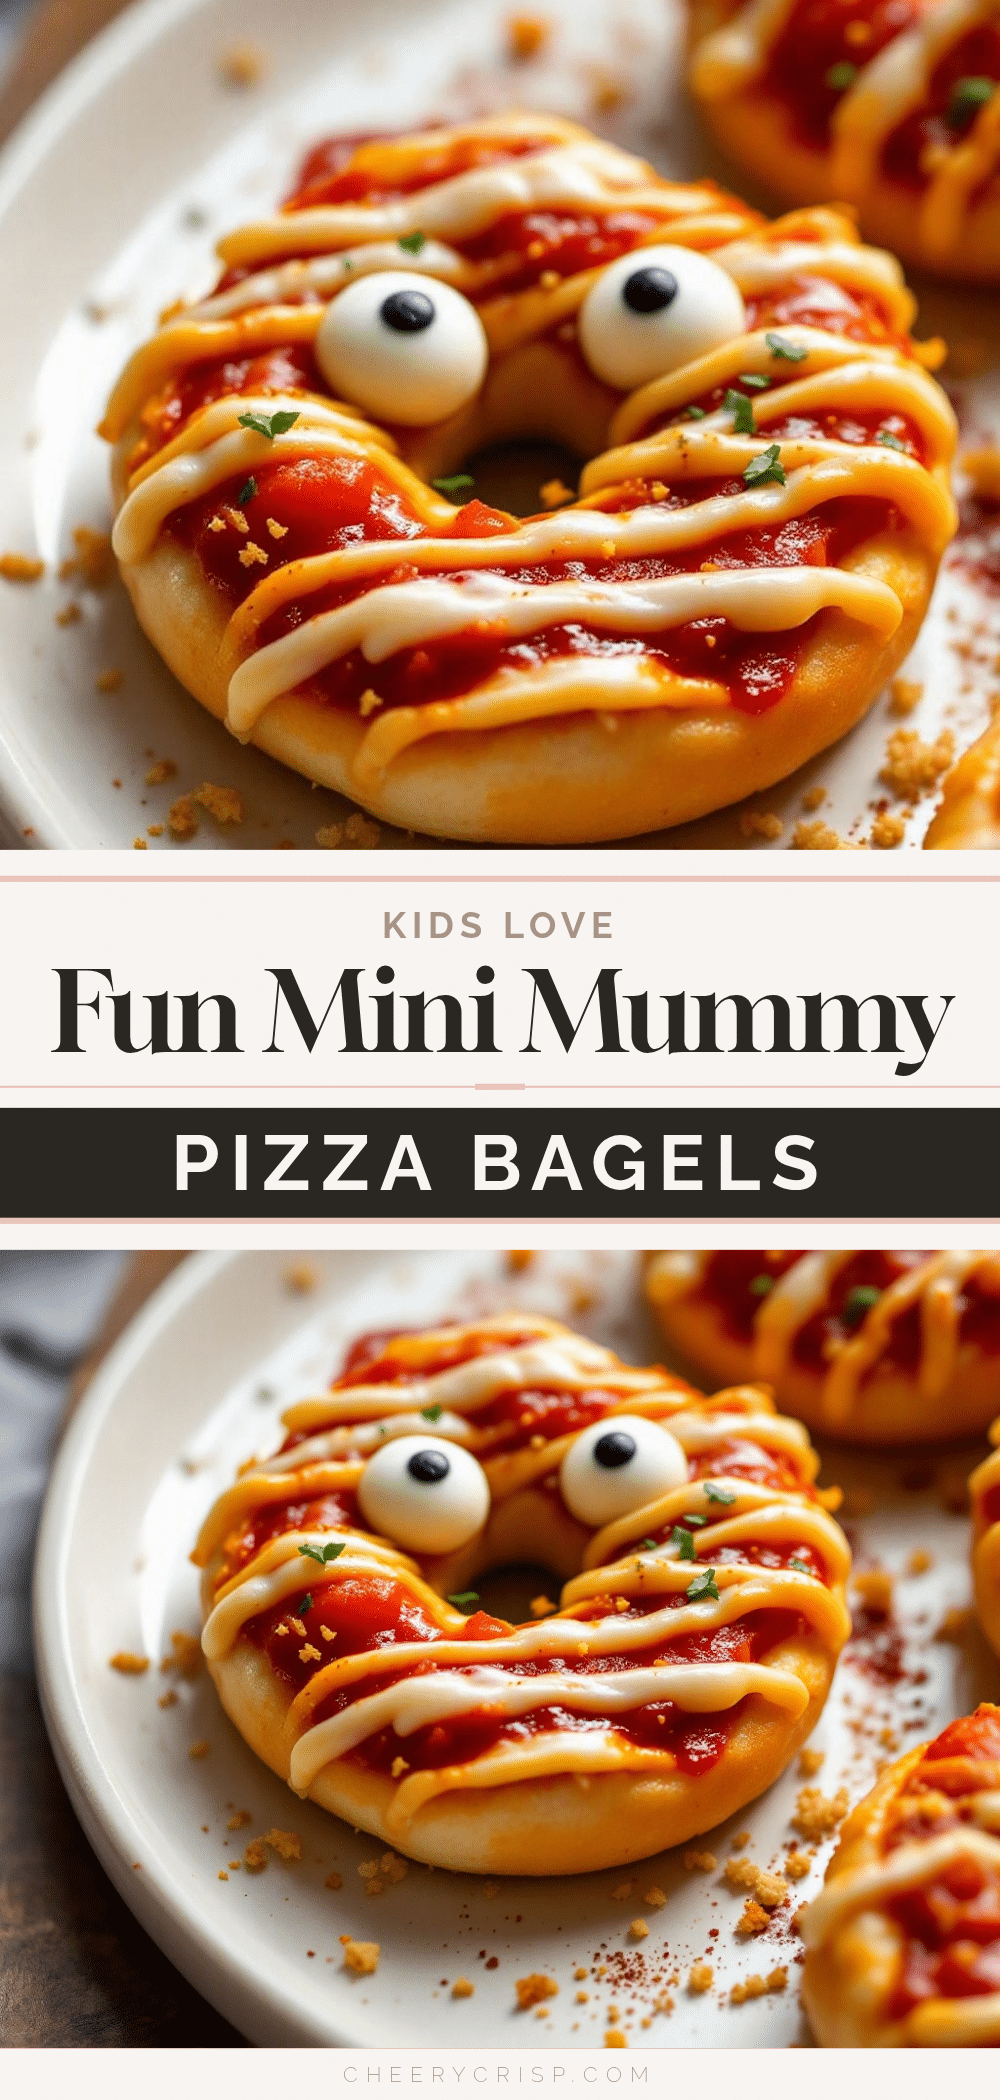
Fun Mini Mummy Pizza Bagels: Best Halloween Snack
A quick and easy Halloween snack featuring mini bagels topped with pizza sauce, mozzarella cheese, and wrapped in dough strips to look like mummies. Perfect for kids and adults alike, this recipe comes together in under 20 minutes.
- Prep Time: 10 minutes
- Cook Time: 15 minutes
- Total Time: 25 minutes
- Yield: 12 servings 1x
- Category: Snack
- Cuisine: American
Ingredients
- 6 to 8 mini bagels, sliced in half horizontally
- ½ cup pizza sauce (marinara)
- 1 cup shredded mozzarella cheese
- 1 can refrigerated crescent roll dough or pizza dough
- 1 tablespoon olive oil
- 1 teaspoon Italian seasoning
- Pepperoni or ham slices (for eyes)
- Pinch of salt
Instructions
- Preheat oven to 375°F (190°C) and line a baking sheet with parchment paper.
- Slice mini bagels in half horizontally and place them cut-side up on the baking sheet.
- Spoon about 1 teaspoon of pizza sauce onto each bagel half, spreading evenly but leaving a border.
- Sprinkle a generous amount of shredded mozzarella cheese over the sauce.
- Cut refrigerated dough into thin strips, about ½ inch wide.
- Wrap dough strips around each bagel, leaving small gaps to resemble bandages, and leave the ‘face’ area open.
- Place two small pieces of pepperoni or ham on the exposed part of the bagel for eyes.
- Lightly brush the dough strips with olive oil.
- Sprinkle with Italian seasoning and a pinch of salt.
- Bake for 12-15 minutes until the dough is golden brown and the cheese is bubbly.
- Remove from oven and let cool for 2 minutes before serving warm.
Notes
Keep dough cold until ready to use to prevent sticking. Do not overstuff with sauce or cheese to avoid soggy bagels. For gluten-free options, use gluten-free bagels and dough. For dairy-free, use plant-based cheese. Store leftovers in an airtight container in the refrigerator for up to 3 days and reheat in the oven to restore crispiness.
Nutrition
- Serving Size: 1 mini mummy pizza b
- Calories: 175
- Sugar: 3
- Sodium: 350
- Fat: 8
- Saturated Fat: 3
- Carbohydrates: 20
- Fiber: 1
- Protein: 7
Keywords: Halloween snack, mini mummy pizza, bagel pizza, kid-friendly recipes, easy Halloween treats, mummy bagels, quick snacks



