Love this? Save it for later!
Share the inspiration with your friends
Third time in a Tuesday morning, and the kitchen still smells like burnt sugar and regret. I had the dough laid out, the cream cheese block sitting on the counter like a judgmental brick, and a half-empty jar of cinnamon that I’m pretty sure is just dust by now. Honestly, I don’t remember why I started making this overnight cinnamon roll casserole three times in one week. Maybe it was the promise of sleeping in. Maybe it was the need to control something in a life that feels entirely out of my hands. But here I was, again, staring at a pan of unbaked dough, wondering if I could actually pull this off without setting off the smoke alarm for the tenth time.
The first attempt was a disaster. The rolls didn’t puff up; they just sat there, dense and sad, like little doughy tombstones. I blamed the yeast. The second time, I overproofed them until the kitchen smelled like a brewery, and the final product tasted faintly of alcohol and disappointment. But on this third go-around, something clicked. I stopped fighting the process and just let the dough rest, letting the cold fridge do the heavy lifting while I slept. When I woke up, the smell was different. It wasn’t just sugar; it was warm, yeasty, and deeply comforting. It smelled like a hug from someone who actually knows what they’re doing.
I’m not saying I’m a master baker. I’m not saying I have all the answers. But this recipe? It’s the kind that sticks with you. It’s the kind that makes you want to call your mom at 7 AM just to tell her you’re making it for her. It’s messy, it’s sweet, and it’s totally worth the effort. And honestly, once you try it, you’ll understand why I keep coming back to it. It’s not just breakfast; it’s a little piece of peace in a chaotic world.
Why You’ll Love This Recipe
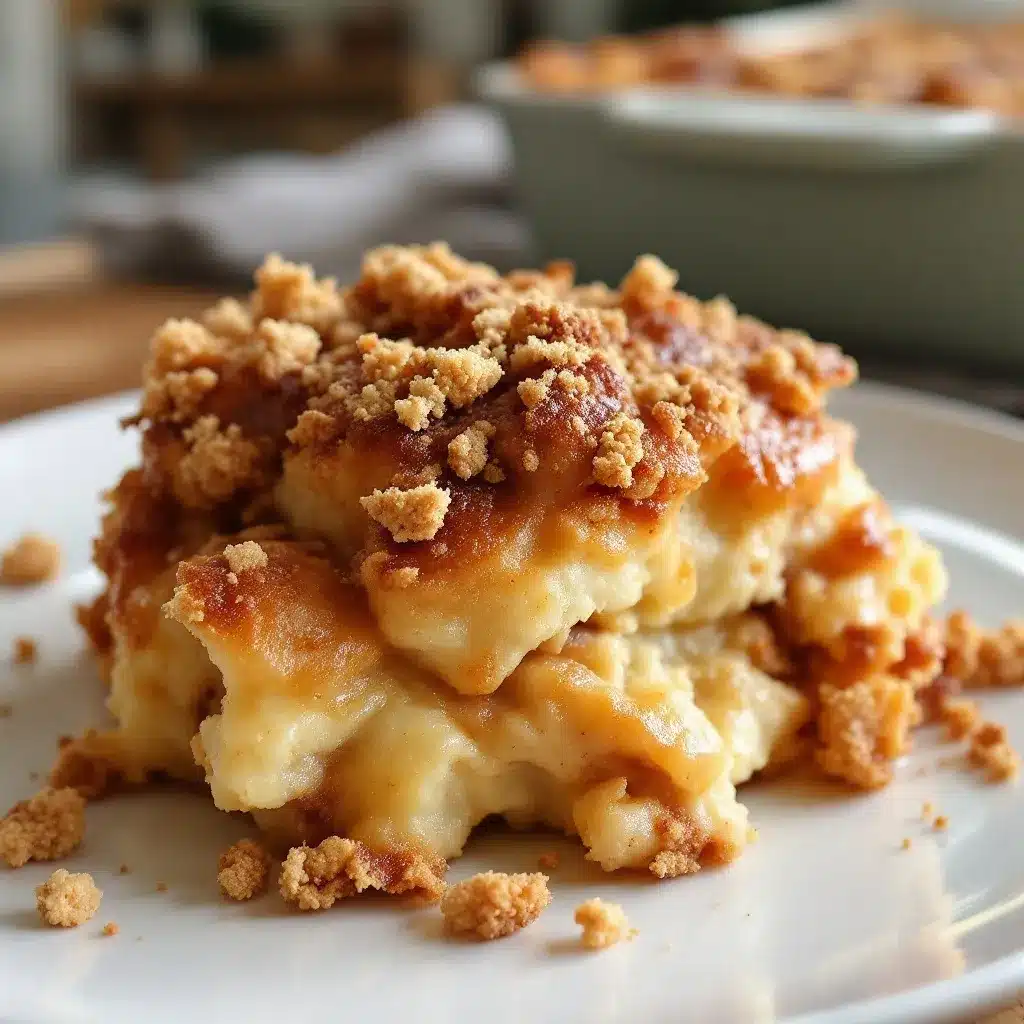
Look, I’ve tried a lot of cinnamon roll recipes. Some are too rich, some are too dry, and some just taste like cardboard soaked in syrup. This one is different. It’s the kind of recipe that feels like it was pulled straight from your favorite bakery’s secret menu, but without the $8 price tag or the 45-minute wait. I developed this overnight cinnamon roll casserole after failing at traditional rolling methods (spoiler: rolling dough is hard), and I realized that tearing the rolls apart and baking them in a pan was not just easier—it was better. The texture is insane. You get these crispy, caramelized edges from the brown sugar butter, and then these soft, pillowy centers that absorb the creamy custard like a sponge. It’s comfort food reimagined for people who hate mornings.
Here is why this recipe actually works, based on my many, many trials:
- Quick & Easy Prep: The hardest part is tearing the store-bought rolls. Seriously, it takes five minutes. You don’t need to make dough from scratch. You don’t need to kneel anything. You just tear, pour, and wait. This is perfect for busy weeknights or last-minute holiday breakfasts when you want to look like you tried hard, but you really didn’t.
- Simple Ingredients: You likely already have everything in your kitchen. Cinnamon, brown sugar, butter, cream cheese, eggs, milk. No fancy grocery trips needed. No obscure spices you’ll use once and forget. Just good, honest ingredients that play nice together.
- Perfect for Brunch & Holidays: Whether it’s Christmas morning, Easter, or just a lazy Saturday, this casserole is a crowd-pleaser. It feeds a lot of people, which is great because everyone will want seconds. And thirds. Let’s be real.
- Unbelievably Delicious: The texture combo is next-level. The cream cheese swirl adds a tangy richness that cuts through the sweetness, preventing that cloying sugar overload. It’s the kind of dish that makes you close your eyes after the first bite and just sigh. It’s soul-soothing satisfaction in a square.
- Make-Ahead Magic: This is the game-changer. You prep it the night before. The fridge does the rising. You wake up, pop it in the oven, and have a fresh, hot breakfast ready in 45 minutes. You can sleep in. You can actually enjoy your coffee while it’s hot. This isn’t just a recipe; it’s a lifestyle upgrade.
It’s not just good—it’s the kind of recipe that makes you feel like a hero. You’re not just feeding people; you’re giving them a memory. And trust me, people remember the breakfast that smelled like heaven when they walked into the kitchen.
What Ingredients You Will Need
This recipe uses simple, wholesome ingredients to deliver bold flavor and satisfying texture without the fuss. The beauty of this overnight cinnamon roll casserole lies in its simplicity. You aren’t starting from scratch with flour and yeast, which means you’re skipping the messy, time-consuming parts of baking and getting straight to the good stuff: the sweetness, the spice, and the gooey goodness. I like to keep the ingredient list short because it reduces stress, and let’s face it, mornings are stressful enough.
Here is what you need to get started. I’ve grouped them by function so you can see how they come together:
For the Base
- Store-bought cinnamon rolls (1-2 boxes): This is the shortcut. I recommend Pillsbury or a local bakery brand if you can find it. Avoid the ones with the biggest icing packets; we are making our own. Look for rolls that are soft and pliable, not rock hard. If they’re dried out, your casserole will be too.
- Unsalted butter: You’ll need about half a cup, softened. This gets mixed with brown sugar to create that caramelized crust. Use high-quality butter if you can, because you’ll taste the difference.
- Brown sugar: Dark or light doesn’t matter much, but dark has a deeper molasses flavor that pairs nicely with the cinnamon. You need about a cup.
- Ground cinnamon: Fresh is best. If your cinnamon is old, toss it. It’s not worth the disappointment. You want that spicy kick.
For the Cream Cheese Swirl
- Cream cheese: One 8-ounce block, softened. This is crucial for the tangy contrast. Don’t use the spreadable kind in the tub; it has too much air and water. Use the brick kind for the best texture.
- Powdered sugar: About half a cup. This sweetens the cream cheese without making it runny.
- Vanilla extract: A teaspoon of good vanilla adds depth. Skip the imitation stuff.
For the Custard & Topping
- Large eggs: Three eggs, room temperature. These bind everything together and create that custardy texture. If you’re in a rush, take them out of the fridge 30 minutes before you start.
- Whole milk: One cup. You can use half-and-half for a richer casserole, but milk keeps it balanced. Dairy-free milk works too, but the texture might be slightly different.
- Maple syrup: For the drizzle on top. Use real maple syrup, not the pancake syrup stuff. It makes a huge difference in flavor.
If you want to get fancy, you can add chopped pecans or walnuts to the mix. I sometimes do that for a bit of crunch. But honestly, the classic version is perfect on its own. Just keep it simple. Let the flavors shine.
Equipment Needed
You don’t need a lot of fancy gear for this. A standard 9×13 baking dish is all you really need. I prefer glass or ceramic because it heats evenly, but metal works fine too. Just make sure it’s not scratched up, or the caramel might stick weirdly.
You’ll also need a mixing bowl for the cream cheese mixture. A hand mixer or a fork works. I use a fork because it’s less cleanup. For the custard, you’ll need a large bowl and a whisk. Don’t skimp on the whisk; you want those eggs fully incorporated so you don’t get weird curds in your breakfast.
A rubber spatula is helpful for scraping the bowl and spreading the cream cheese. And obviously, aluminum foil. You’ll need to cover the casserole while it bakes to prevent the top from burning before the inside is set. I usually use two sheets because I’m paranoid about burns. Budget-friendly option: Just use whatever foil you have. It’s not rocket science.
Preparation Method
Okay, let’s get into the nitty-gritty. This is where the magic happens. It’s easier than it looks, but you have to pay attention.
Step 1: Prep the Pan and Dough (5 minutes)
Start by greasing your 9×13 baking dish with butter or non-stick spray. This is non-negotiable. If you skip this, you will have a sticky mess to clean later, and nobody wants that. Open your boxes of cinnamon rolls. Carefully peel the rolls apart. Do not try to unroll them. Just separate the individual rolls. Place them in the greased pan. You want them close together, maybe with a tiny gap. They will expand, but not as much as you think. If you leave too much space, you’ll get too many crispy edges. If you pack them too tight, they’ll fuse into one giant dough brick. Aim for snug but separate.
Step 2: Make the Cinnamon Butter (2 minutes)
In a small bowl, mix the softened butter, brown sugar, and cinnamon until it looks like wet sand. You want it to clump a little, not be a smooth paste. Spread this mixture over the tops of the dough rolls. Get in there with your fingers and push it into the gaps. This is where the caramelization happens. Be generous. You want every nook and cranny covered.
Step 3: The Cream Cheese Swirl (3 minutes)
In another bowl, beat the softened cream cheese, powdered sugar, and vanilla until smooth. If it’s too thick, add a teaspoon of milk. Dollop this mixture over the cinnamon butter layer. Use a knife or a skewer to swirl it around. Don’t overmix. You want ribbons of cream cheese, not a uniform beige blob. Swirl it in gently. This adds the tangy surprise in every bite.
Step 4: The Custard Bath (2 minutes)
In a large bowl, whisk the eggs, milk, and a splash of vanilla. Pour this mixture evenly over the rolls. You want the liquid to soak into the dough. If some areas look dry, use a spoon to push the liquid around. Cover the pan tightly with aluminum foil. This is the overnight part. Put it in the fridge. Let it sit for at least 8 hours, or up to 12. The cold helps the dough rise slowly and absorb the flavors. If you’re in a rush, you can bake it right away, but the texture won’t be as good. Trust the process.
Step 5: Bake It (45 minutes)
Preheat your oven to 350°F (175°C). Take the pan out of the fridge. Let it sit on the counter for 15 minutes while the oven heats up. This takes the chill off. Bake the covered casserole for 30 minutes. Then, remove the foil and bake for another 15-20 minutes. You’re looking for a golden brown top and a firm center. If you insert a knife in the middle and it comes out clean (or with just a few moist crumbs), it’s done. If the top is browning too fast, tent it with foil.
Step 6: Cool and Serve (10 minutes)
Let it cool for at least 10 minutes before serving. This lets the custard set so it doesn’t slide off when you scoop. Drizzle with warm maple syrup. Eat it hot. It’s best fresh, but leftovers are fine too.
Cooking Tips & Techniques
I’ve learned a few things the hard way, so you don’t have to. First, don’t rush the cream cheese. If it’s cold, it won’t mix smoothly, and you’ll get chunks in your swirl. Soften it properly. Second, when you pour the custard, do it slowly. If you dump it all at once, you might displace the rolls. Pour it in a steady stream. Third, watch the bake time. Ovens vary. My oven runs hot, so I check it early. If it looks done, it’s probably done. Overbaking dries out the casserole, and we don’t want that.
Another tip: if you’re making this for a crowd, double the recipe. But use two pans. Don’t try to fit double the dough in one pan. It won’t cook evenly. Also, if you’re using a glass pan, reduce the oven temperature by 25°F. Glass retains heat differently than metal.
Don’t skip the cooling time. I know it’s tempting to dig in immediately, but the custard is liquid hot. Let it set. It’s worth the wait. And finally, don’t be afraid to get your hands dirty. Touching the dough helps you understand its texture. It’s a tactile process, and that’s part of the fun.
Variations & Adaptations
This recipe is a canvas. You can play with it. Here are a few ideas:
- Gluten-Free: Use gluten-free cinnamon rolls. They tend to be more delicate, so handle them gently. The custard might soak in faster, so keep an eye on the bake time.
- Vegan: Use vegan cinnamon rolls, coconut cream cheese, and plant-based milk. The texture might be slightly denser, but it’s still delicious.
- Nutty: Add chopped pecans or walnuts between the layers. It adds a nice crunch and richness.
- Fruit: Add a layer of sliced apples or berries before the custard. It adds moisture and flavor. Just be aware it might make the casserole wetter.
- Spiced: Add a pinch of nutmeg or cardamom to the cinnamon butter. It adds a warm, aromatic depth.
I’ve tried adding bacon bits, and it’s surprisingly good. Sweet and savory. It’s a bit indulgent, but sometimes you need that. Experiment. Find what works for you.
Serving & Storage Suggestions
Serve this warm, straight out of the oven. It pairs well with a strong black coffee or a glass of orange juice. If you’re hosting brunch, it’s a great centerpiece. Store leftovers in an airtight container in the fridge for up to 3 days. Reheat in the microwave for 30 seconds or in the oven at 350°F for 10 minutes. The texture might change slightly, but it’s still good. You can also freeze it. Wrap individual portions in plastic wrap and foil. Reheat from frozen in the oven. It’s a great meal prep option for busy mornings.
Nutritional Information & Benefits
This casserole is indulgent, so enjoy it in moderation. It’s high in carbs and sugar, but it’s also a source of protein from the eggs and cream cheese. The cinnamon has anti-inflammatory properties, which is a nice bonus. It’s not a health food, but it’s not a sin either. It’s a treat. And sometimes, we need treats. I like to balance it with a side of fresh fruit or yogurt to add some fiber and probiotics. It’s about balance, not deprivation.
Conclusion
This overnight cinnamon roll casserole is more than just breakfast. It’s a moment of peace. It’s a way to slow down and enjoy the process. It’s messy, sweet, and utterly satisfying. I hope you try it. I hope you make it your own. And I hope you share it with someone you love. If you do, let me know how it goes. I’d love to hear your variations and tips. Happy baking!
Frequently Asked Questions
Can I make this ahead of time?
Yes, that’s the best part. You can prep it the night before and bake it in the morning. Just cover it tightly and refrigerate.
Can I use homemade cinnamon rolls?
Absolutely. Just make sure they are cooled completely before assembling. Homemade rolls might be denser, so adjust the bake time slightly.
Why is my casserole soggy?
This usually happens if the custard isn’t fully set. Make sure you bake it long enough. Also, check your oven temperature with a thermometer.
Can I freeze this?
Yes, you can freeze the baked casserole. Wrap it tightly and freeze for up to 3 months. Reheat in the oven.
What kind of cream cheese should I use?
Use the block kind, not the spreadable kind. It has less water and fat, which gives you a smoother, richer swirl.
Pin This Recipe!
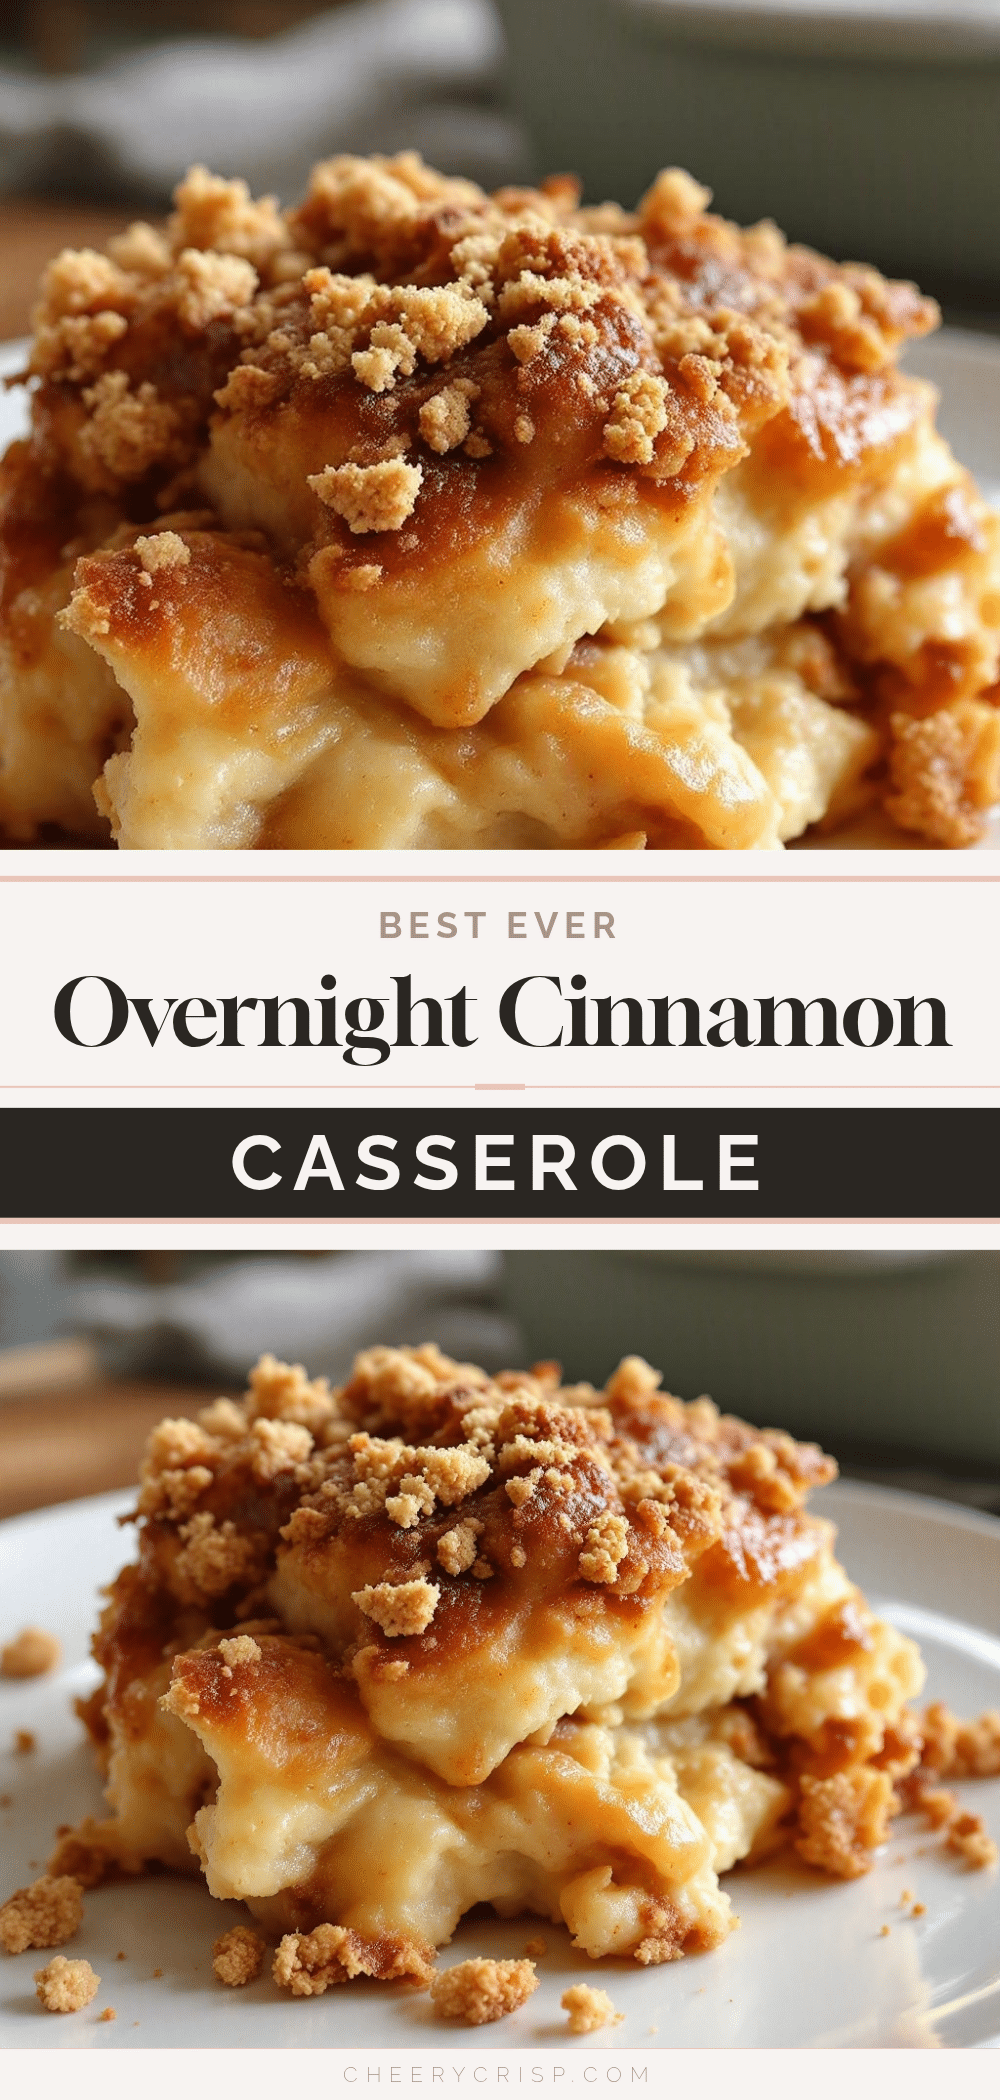
Best Overnight Cinnamon Roll Casserole
A make-ahead breakfast casserole using store-bought cinnamon rolls, cream cheese swirl, and custard, offering crispy edges and soft centers with minimal prep time.
- Prep Time: 5 minutes
- Cook Time: 45 minutes
- Total Time: 50 minutes (plus 8 hours chilling)
- Yield: 12 servings 1x
- Category: Breakfast
- Cuisine: American
Ingredients
- 2 boxes store-bought cinnamon rolls (soft and pliable)
- 1/2 cup unsalted butter, softened
- 1 cup brown sugar
- 1 tablespoon ground cinnamon
- 8 oz cream cheese, softened (brick kind)
- 1/2 cup powdered sugar
- 1 teaspoon vanilla extract
- 3 large eggs, room temperature
- 1 cup whole milk
- Real maple syrup, for serving
Instructions
- Grease a 9×13 baking dish with butter or non-stick spray.
- Separate the cinnamon rolls into individual pieces and place them snugly in the prepared pan.
- Mix softened butter, brown sugar, and cinnamon until it resembles wet sand; spread over the rolls, pushing into gaps.
- Beat cream cheese, powdered sugar, and vanilla until smooth; dollop over the cinnamon butter and swirl gently with a knife.
- Whisk eggs, milk, and a splash of vanilla; pour evenly over the rolls to soak into the dough.
- Cover the pan tightly with aluminum foil and refrigerate for at least 8 hours (or up to 12).
- Preheat oven to 350°F (175°C). Let the pan sit on the counter for 15 minutes while heating.
- Bake covered for 30 minutes, then remove foil and bake for another 15-20 minutes until golden brown and set.
- Cool for at least 10 minutes before serving; drizzle with warm maple syrup.
Notes
Ensure cream cheese is softened to avoid chunks. Do not use spreadable cream cheese from a tub. If using a glass pan, reduce oven temperature by 25°F. Let the casserole cool completely to allow the custard to set.
Nutrition
- Serving Size: 1 square
- Calories: 450
- Sugar: 38
- Sodium: 350
- Fat: 22
- Saturated Fat: 12
- Carbohydrates: 55
- Fiber: 1
- Protein: 8
Keywords: overnight cinnamon roll casserole, make-ahead breakfast, cinnamon roll bake, easy brunch recipe, cream cheese swirl



