Love this? Save it for later!
Share the inspiration with your friends
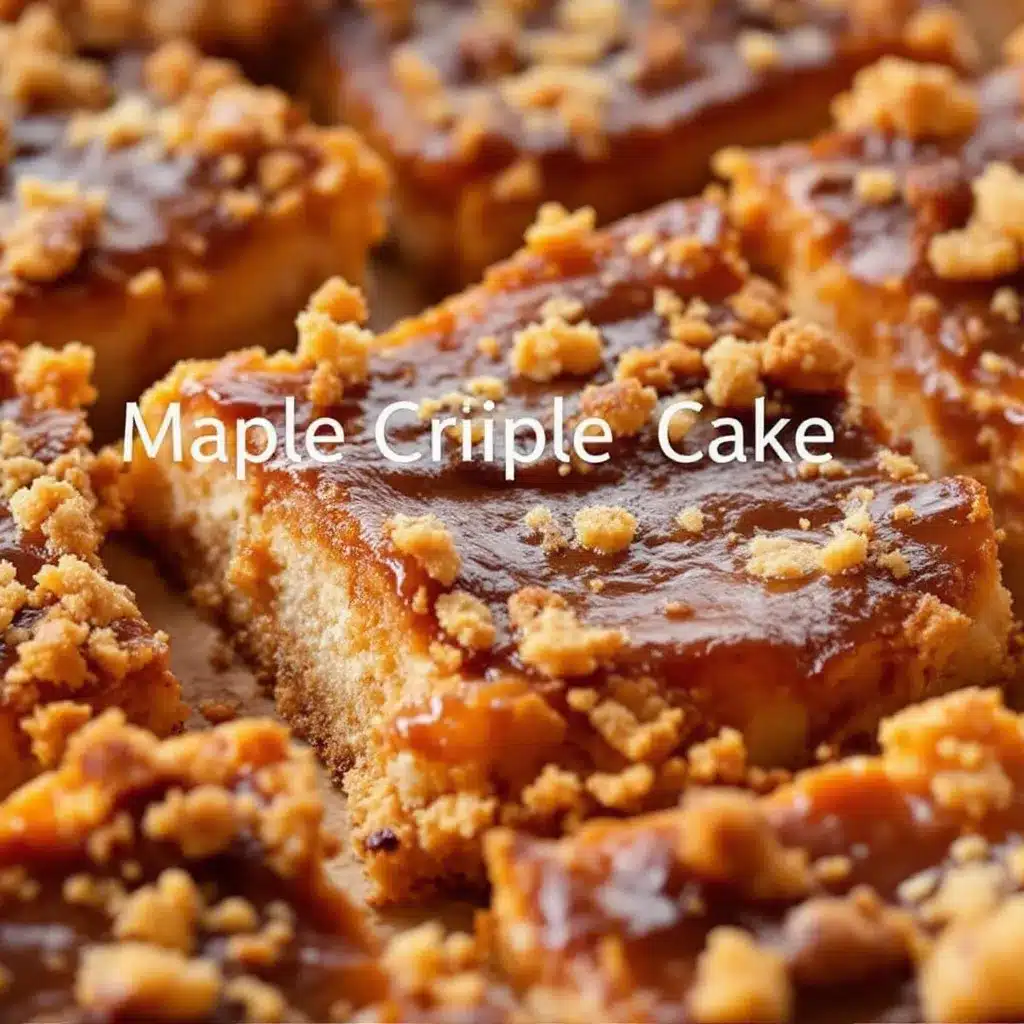
I figured a cheesecake bar with pumpkin and maple would be a nice fall dessert—pretty, predictable, something you bring to a gathering and people politely say “mmm.” It took about one bite of this batch for that assumption to fall apart completely. That first forkful hit me with a layer of creamy, tangy cheesecake, then a ribbon of real pumpkin that tasted like it had been simmering with spices all afternoon, and finally this deep, woodsy maple sweetness that wasn’t just drizzled on top—it was baked right into the whole thing.
Honestly, I was annoyed. Because now I couldn’t just make “a nice fall dessert” anymore. I had to make these. And so did everyone I told about them.
The thing about these Ultimate Maple Pumpkin Cheesecake Bars is they don’t taste like a compromise between two desserts. They taste like each layer was meant to be there. The crust is buttery and sturdy (no soggy bottoms here, let me tell you), the pumpkin layer is spiced just enough to warm you up from the inside, and the maple? It’s not a whisper. It’s a presence. I use real maple syrup—not the pancake stuff—and it makes all the difference.
I first made these for a casual get-together where I needed something that looked impressive but didn’t require me to stand over a mixer for an hour. I was skeptical about the whole “bar” format for cheesecake. Seemed like it would be dry, or crumbly, or just not as satisfying as the real thing. But these bars have that dense, creamy texture you want from cheesecake, plus the portability of a bar that doesn’t need a plate and fork. They’re the kind of dessert that makes people close their eyes for a second after the first bite. And that’s a pretty good feeling to get from a pan of bars.
Why You’ll Love This Recipe
I’ve tested this recipe more times than I care to count, tweaking the ratios, swapping ingredients, and even burning a batch or two (that’s a story for another day). So trust me when I say these bars deliver on every level.
- Incredibly Easy : You don’t need a water bath, a springform pan, or any fancy techniques. This is a straightforward bar recipe that anyone can pull off.
- Simple Ingredients : Canned pumpkin, cream cheese, real maple syrup, and basic pantry staples. No hunting down obscure items at specialty stores.
- Perfect for Fall Gatherings : Whether it’s Thanksgiving, a Friendsgiving, a Halloween party, or just a cozy Sunday, these bars fit right in. They’re also fantastic for game day spreads—I’ve even served them alongside some crispy baked chicken wings for a sweet-savory combo that guests loved.
- Crowd-Pleaser : I’ve brought these to three different gatherings now, and every single time, someone asks for the recipe. They disappear fast.
- Unbelievably Delicious : The texture is the star here. A buttery, slightly crisp shortbread crust, a smooth and tangy cheesecake layer, and a pumpkin layer that’s rich and spiced perfectly. The maple syrup ties it all together with a warmth that sugar just can’t replicate.
What makes this recipe different from the dozens of other pumpkin cheesecake bars out there? It’s the double hit of maple. I add maple syrup to both the cheesecake layer and the pumpkin layer. That might sound like overkill, but it creates a cohesive flavor that runs through the entire bar. You’re not just getting pumpkin spice with a maple drizzle on top. You’re getting a dessert where maple and pumpkin are in conversation with each other, from the first bite to the last.
This recipe is the kind that makes you feel good about serving it. It’s impressive without being stressful, and it delivers that deep, soul-soothing comfort that only a well-made fall dessert can provide.
What Ingredients You Will Need
This recipe uses simple, wholesome ingredients to create layers of flavor and texture that feel anything but basic. Most of these are pantry staples, especially if you’re already in a fall baking mood.
For the Crust
- 1 ½ cups graham cracker crumbs (about 12 full sheets, crushed fine)
- ¼ cup granulated sugar
- 6 tablespoons unsalted butter, melted (I use salted butter in a pinch and just skip the added salt)
- Pinch of salt (if using unsalted butter)
For the Cheesecake Layer
- 16 ounces cream cheese, softened to room temperature (full-fat is best for texture; low-fat works but won’t be as creamy)
- ½ cup granulated sugar
- 2 large eggs, room temperature
- ¼ cup real maple syrup (Grade A or B both work; I prefer Grade A for its lighter flavor here)
- 1 teaspoon vanilla extract
For the Pumpkin Layer
- 1 cup canned pumpkin puree (not pumpkin pie filling—make sure it’s 100% pure pumpkin)
- ¼ cup real maple syrup
- 1 large egg, room temperature
- 1 teaspoon pumpkin pie spice (or ½ teaspoon cinnamon, ¼ teaspoon nutmeg, ¼ teaspoon ginger, and a pinch of cloves)
- ½ teaspoon vanilla extract
- Pinch of salt
Ingredient Tips: For the cream cheese, I really recommend Philadelphia brand. I’ve tried store brands, and the texture just isn’t as smooth. Make sure it’s truly softened—leave it on the counter for at least an hour. Cold cream cheese leads to lumpy cheesecake, and nobody wants that. For the maple syrup, use the real stuff. The artificial pancake syrups have a different consistency and a fake sweetness that will throw off the whole recipe. I like using a medium amber syrup for a balanced maple flavor that doesn’t overpower the pumpkin.
Substitution Guidance: If you need a gluten-free crust, use gluten-free graham crackers or even crushed gluten-free shortbread cookies. For a dairy-free version, you can use a dairy-free cream cheese alternative, but be aware the texture will be slightly less firm. I’ve tried it with a nut-based cream cheese, and it worked, but the bars were a bit softer.
Equipment Needed
You don’t need a lot of fancy gear for this recipe, which is part of why I love it. Here’s what you’ll need:
- 9×13-inch baking pan (metal or glass both work; I prefer metal for a crisper crust)
- Parchment paper (for easy lifting and clean cutting)
- Large mixing bowls (at least two)
- Electric hand mixer or stand mixer (a hand mixer is totally fine; I’ve made these with a whisk before, and my arm was not happy)
- Rubber spatula
- Measuring cups and spoons
- Small bowl for the crust mixture
- Knife for cutting (a sharp chef’s knife works best for clean slices)
Budget-Friendly Options: If you don’t have a 9×13 pan, you can use two 8×8 pans and split the batter. Just reduce the baking time by about 5-7 minutes. No hand mixer? A whisk and some elbow grease will work, just make sure your cream cheese is super soft. For the crust, you can crush graham crackers in a zip-top bag with a rolling pin—it’s a great stress reliever.
Preparation Method
Let’s get baking. This recipe comes together in layers, and each one is simple. Just follow the steps, and you’ll have a pan of gorgeous bars.
- Preheat and Prep: Preheat your oven to 350°F (175°C). Line your 9×13-inch baking pan with parchment paper, leaving some overhang on the long sides. This will make lifting the bars out super easy later. Lightly grease the parchment with a little butter or non-stick spray.
- Make the Crust: In a small bowl, combine the graham cracker crumbs, ¼ cup sugar, and a pinch of salt. Pour in the melted butter and stir with a fork until the mixture looks like wet sand and all the crumbs are moistened. Press this mixture firmly and evenly into the bottom of your prepared pan. I use the bottom of a measuring cup to really pack it down. Bake for 10 minutes, then set aside to cool slightly while you make the fillings.
- Make the Cheesecake Layer: In a large bowl, beat the softened cream cheese with an electric mixer on medium speed until it’s smooth and creamy—about 2 minutes. Scrape down the sides of the bowl. Add the ½ cup sugar and beat until combined. Add the 2 eggs, one at a time, beating on low after each just until incorporated. Over-mixing at this stage can incorporate too much air, which leads to cracks. Finally, beat in the ¼ cup maple syrup and 1 teaspoon vanilla extract until smooth.
- Make the Pumpkin Layer: In a separate medium bowl, whisk together the pumpkin puree, ¼ cup maple syrup, 1 egg, pumpkin pie spice, ½ teaspoon vanilla, and a pinch of salt. Whisk until everything is smooth and well combined.
- Assemble the Layers: Pour the cheesecake mixture over the pre-baked crust and spread it into an even layer with a spatula. Then, carefully spoon the pumpkin mixture over the cheesecake layer in dollops. Don’t pour it all in one spot—spread it out. Use a butter knife or a skewer to gently swirl the two layers together. I do about 6-8 figure-eight motions. You want distinct ribbons of pumpkin and cheesecake, not a fully blended mixture.
- Bake: Place the pan in the preheated oven and bake for 35-40 minutes. The edges should be set and slightly puffed, but the center should still have a slight jiggle when you gently shake the pan. That jiggle is your friend—it means the cheesecake will be creamy, not dry. The bars will continue to set as they cool.
- Cool and Chill: Remove the pan from the oven and let it cool completely on a wire rack—about 1 hour. Then, cover the pan with plastic wrap and refrigerate for at least 4 hours, but overnight is even better. This is the hardest part, I know. But trust me, the bars need this time to firm up and for the flavors to meld.
- Slice and Serve: Once fully chilled, use the parchment paper overhang to lift the entire block of bars out of the pan. Place it on a cutting board. Use a sharp knife to slice into squares. For clean cuts, wipe the knife clean between each slice. I like to cut them into 24 small squares, but you can go bigger if you want.
Sensory Cues: When you press the crust into the pan, it should feel compact and hold together. When you swirl the layers, you’ll see beautiful ribbons of orange and cream. After baking, the edges will be a light golden brown, and the center will still be pale and jiggly. The smell in your kitchen will be absolutely intoxicating—warm pumpkin, sweet maple, and buttery crust.
Cooking Tips & Techniques
I’ve made this recipe enough times to know where things can go sideways. Here are some hard-earned lessons.
Room Temperature Ingredients Are Non-Negotiable: I cannot stress this enough. Cold cream cheese will give you a lumpy cheesecake batter. Cold eggs will seize up the mixture. Leave your cream cheese and eggs on the counter for at least an hour before you start. If you’re in a hurry, you can cut the cream cheese into cubes and microwave it in 10-second bursts until it’s soft but not melted.
Don’t Overmix the Cheesecake Batter: Once you add the eggs, mix on low speed and only until just combined. Overmixing incorporates too much air, which can cause the cheesecake to puff up and then crack as it cools. You want a dense, creamy texture, not a fluffy one.
The Jiggle Test Is Real: Don’t rely on a toothpick to test doneness for cheesecake. A toothpick will come out clean even when the center is still underdone. Instead, gently shake the pan. The edges should be set, and the center should wobble like Jell-O. That slight jiggle means the center will be perfectly creamy after it chills.
Patience with Chilling: I know you want to eat these immediately. I’ve been there. But cutting into them too early will result in a gooey mess. The bars need at least 4 hours in the fridge to set properly. Overnight is ideal. The texture improves, and the flavors become more harmonious. It’s worth the wait.
My Biggest Failure: The first time I made these, I used pumpkin pie filling instead of pure pumpkin. The bars came out way too sweet and the texture was gummy. I also skipped the parchment paper, and getting the first bar out was a nightmare. Learn from my mistakes. Use pure pumpkin. Use parchment paper.
Variations & Adaptations
This recipe is a great base for experimentation. Here are a few ways I’ve adapted it.
- Gluten-Free Version: Use gluten-free graham crackers or crushed gluten-free shortbread cookies for the crust. The rest of the recipe is naturally gluten-free, but double-check your pumpkin pie spice blend.
- Dairy-Free Version: Use a high-quality dairy-free cream cheese alternative. I’ve had the best luck with the one from Miyoko’s Kitchen. The texture will be slightly softer, so make sure to chill the bars for the full 4 hours minimum.
- Spice It Up: Add a pinch of cayenne pepper or a teaspoon of finely chopped crystallized ginger to the pumpkin layer for a little warmth and complexity. I tried this last Thanksgiving, and it was a huge hit.
- Bourbon Maple Twist: Replace 1 tablespoon of the maple syrup in the cheesecake layer with 1 tablespoon of bourbon. It adds a smoky, oaky depth that pairs beautifully with the pumpkin. Just make sure you’re using a bourbon you’d actually drink.
- Topping Ideas: Before serving, drizzle a little extra maple syrup over the top and sprinkle with flaky sea salt. Or add a dollop of whipped cream and a dusting of cinnamon. For a crunch, top with toasted pecans or pepitas.
- Make It a Pie: If you want a more traditional dessert, press the crust into a 9-inch pie dish, pour in the fillings, and bake for 45-50 minutes. The texture will be a bit different, but it’s just as delicious.
Serving & Storage Suggestions
These bars are versatile and can be served in a few different ways.
Serving: I like to serve these bars straight from the fridge, chilled. The texture is firm and creamy, and the flavors are clean and bright. If you prefer a softer texture, let them sit at room temperature for about 15 minutes before serving. A final drizzle of warm maple syrup and a sprinkle of flaky sea salt takes them over the top. They pair beautifully with a cup of coffee or a warm pumpkin chai latte.
Storage: Store any leftover bars in an airtight container in the refrigerator for up to 5 days. I usually layer them between sheets of parchment paper so they don’t stick together. The flavors actually deepen and meld even more after a day or two.
Freezing: These bars freeze beautifully. Once they are fully chilled and sliced, place the bars on a baking sheet lined with parchment paper and freeze until solid (about 2 hours). Then transfer the frozen bars to a freezer-safe bag or container. They will keep for up to 3 months. To thaw, transfer them to the refrigerator overnight. Do not thaw at room temperature, as they can become weepy.
Reheating: I don’t recommend reheating these bars. They are best served cold or at cool room temperature. The texture of the cheesecake changes when heated and can become grainy.
Nutritional Information & Benefits
Here’s the estimated nutritional breakdown for one bar (based on 24 servings).
- Calories: 210
- Fat: 13g
- Carbohydrates: 21g
- Protein: 4g
- Fiber: 1g
- Sugar: 16g
Health Benefits: Pumpkin is a fantastic source of vitamin A, which is great for eye health and immune function. It’s also rich in fiber and antioxidants. Real maple syrup contains antioxidants and minerals like zinc and manganese, though it’s still sugar, so moderation is key. The cream cheese provides calcium and protein.
Dietary Considerations: This recipe is vegetarian and can be made gluten-free and dairy-free with the substitutions mentioned above. It is not vegan, low-carb, or keto-friendly in its current form.
My Wellness Perspective: I don’t believe in labeling desserts as “healthy” or “unhealthy.” These bars are a treat. They’re made with real ingredients, and they bring a lot of joy. Enjoy them in moderation, and don’t feel guilty about it. A piece of pumpkin cheesecake bar with a cup of tea is a beautiful thing.
Conclusion
These Ultimate Maple Pumpkin Cheesecake Bars are the kind of recipe that makes you look like a hero with very little effort. They have that perfect balance of creamy, tangy, spiced, and sweet that just screams fall. The maple syrup isn’t just a garnish—it’s woven into the very fabric of the dessert, creating a warmth and depth that plain sugar can’t touch.
I love this recipe because it’s forgiving. It doesn’t require a water bath or a springform pan. It doesn’t demand perfect technique. It just asks for good ingredients and a little patience while it chills. And in return, it gives you a dessert that disappears in minutes at any gathering.
I’d love to hear how these turn out for you. Did you try a variation? Did you add a bourbon swirl or top them with pecans? Drop a comment below and let me know. And if you’re looking for another easy fall dessert, you might enjoy this one-bowl banana bread with browned butter—it’s a completely different flavor, but just as comforting. Happy baking!
Frequently Asked Questions
Can I use fresh pumpkin instead of canned?
Yes, you can. Just make sure to cook and puree the pumpkin until it’s very smooth, and then drain off any excess liquid. Canned pumpkin is more consistent in terms of moisture content, which is why I prefer it for this recipe.
Why did my cheesecake layer crack?
Cracks usually happen from overmixing the batter or overbaking. Make sure you mix on low speed after adding the eggs, and take the bars out of the oven when the center still has a slight jiggle. A water bath isn’t necessary for this recipe, but a pan of water on the oven rack below can help create a humid environment.
Can I make these bars ahead of time?
Absolutely. In fact, they taste better after a day in the fridge. You can make them up to 2 days in advance and store them covered in the refrigerator. They also freeze well for up to 3 months.
Can I use maple extract instead of real maple syrup?
I wouldn’t recommend it. Maple extract has a very artificial flavor and lacks the depth and complexity of real maple syrup. The syrup also contributes to the moisture and texture of the bars, which extract cannot replicate.
How do I get clean, neat slices?
Use a sharp knife and wipe it clean with a damp paper towel between each cut. For the cleanest slices, you can even run the knife under hot water and dry it off before cutting. Chilling the bars completely is also essential—warm bars will be messy.
Pin This Recipe!
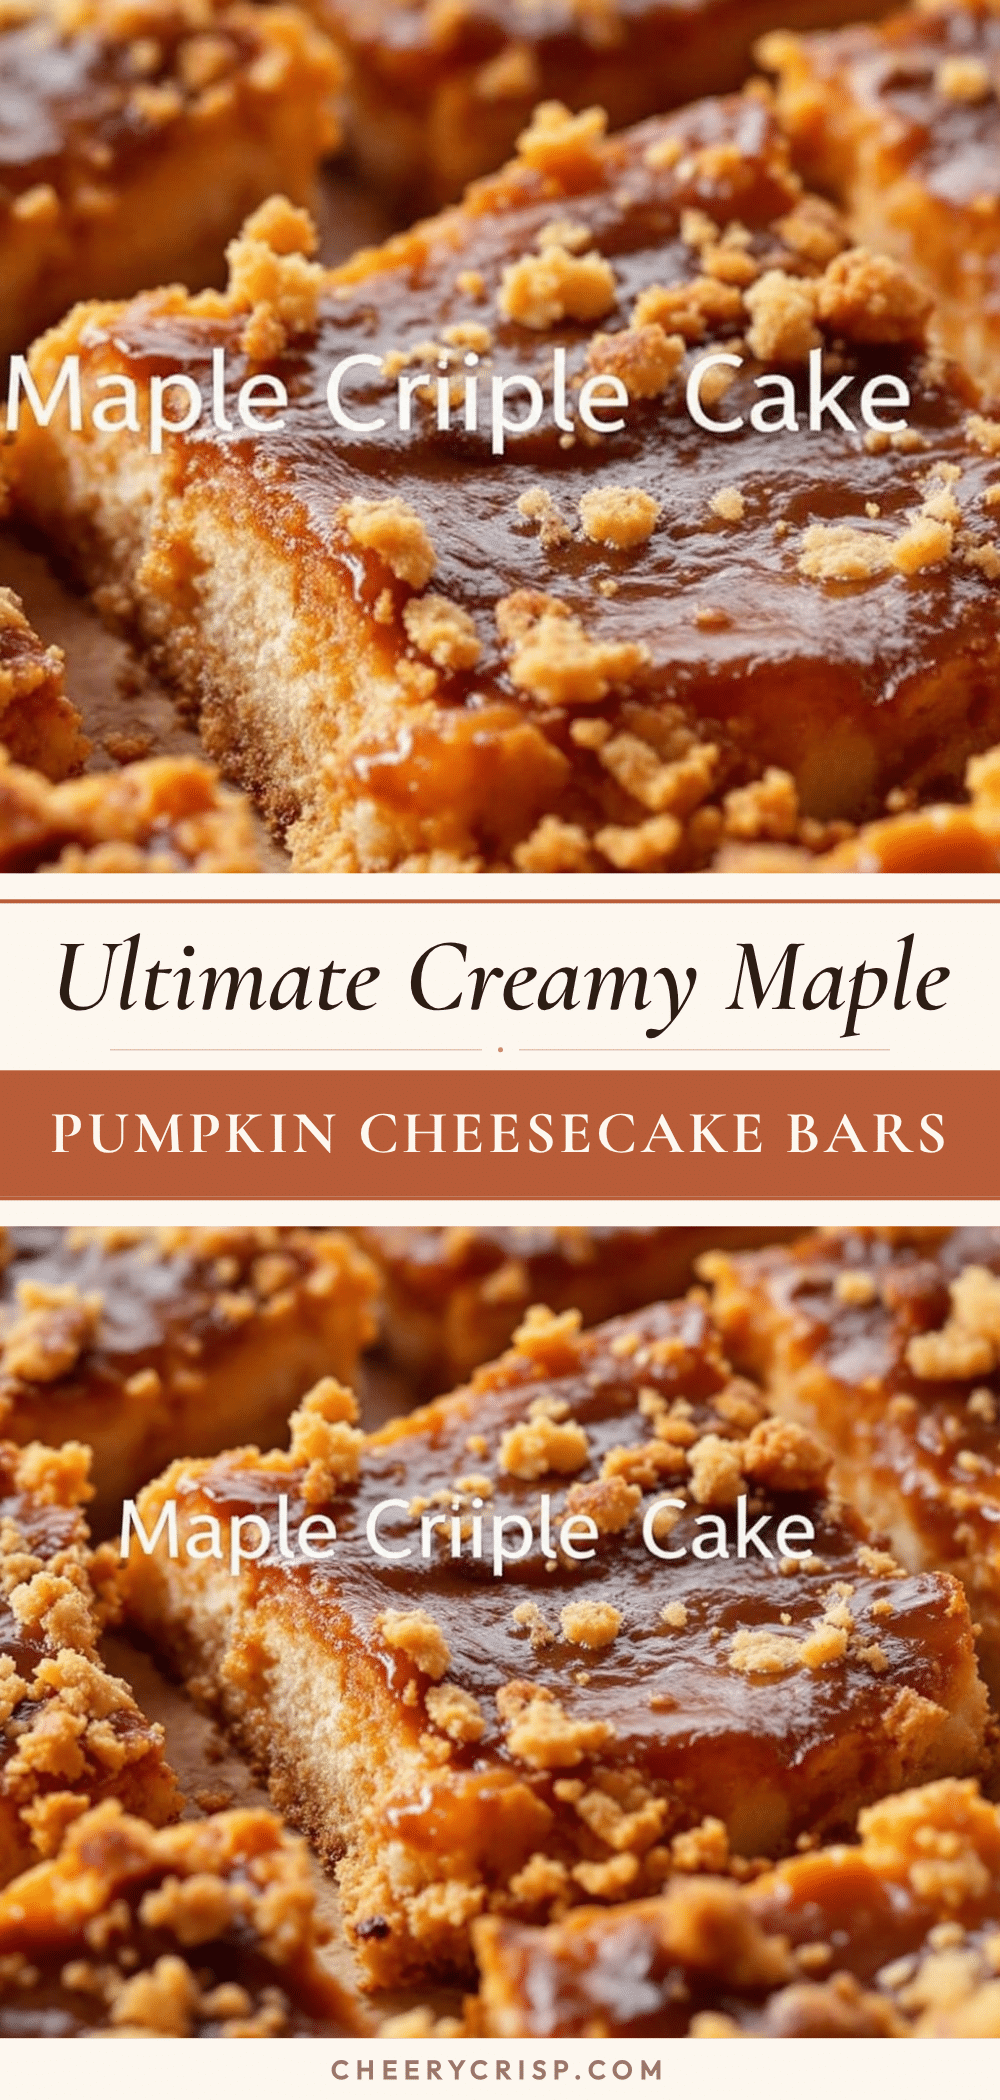
Easy Maple Pumpkin Cheesecake Bars
These Ultimate Maple Pumpkin Cheesecake Bars feature a buttery graham cracker crust, a creamy cheesecake layer, and a spiced pumpkin layer, all tied together with real maple syrup for a deep, woodsy sweetness. They’re an easy, crowd-pleasing fall dessert that doesn’t require a water bath or springform pan.
- Prep Time: 20 minutes
- Cook Time: 35-40 minutes
- Total Time: 5 hours (including chilling time)
- Yield: 24 servings 1x
- Category: Dessert
- Cuisine: American
Ingredients
- 1 ½ cups graham cracker crumbs (about 12 full sheets, crushed fine)
- ¼ cup granulated sugar
- 6 tablespoons unsalted butter, melted
- Pinch of salt (if using unsalted butter)
- 16 ounces cream cheese, softened to room temperature
- ½ cup granulated sugar
- 2 large eggs, room temperature
- ¼ cup real maple syrup
- 1 teaspoon vanilla extract
- 1 cup canned pumpkin puree (not pumpkin pie filling)
- ¼ cup real maple syrup
- 1 large egg, room temperature
- 1 teaspoon pumpkin pie spice (or ½ teaspoon cinnamon, ¼ teaspoon nutmeg, ¼ teaspoon ginger, and a pinch of cloves)
- ½ teaspoon vanilla extract
- Pinch of salt
Instructions
- Preheat your oven to 350°F (175°C). Line your 9×13-inch baking pan with parchment paper, leaving some overhang on the long sides. Lightly grease the parchment with a little butter or non-stick spray.
- In a small bowl, combine the graham cracker crumbs, ¼ cup sugar, and a pinch of salt. Pour in the melted butter and stir with a fork until the mixture looks like wet sand and all the crumbs are moistened. Press this mixture firmly and evenly into the bottom of your prepared pan. Bake for 10 minutes, then set aside to cool slightly while you make the fillings.
- In a large bowl, beat the softened cream cheese with an electric mixer on medium speed until it’s smooth and creamy—about 2 minutes. Scrape down the sides of the bowl. Add the ½ cup sugar and beat until combined. Add the 2 eggs, one at a time, beating on low after each just until incorporated. Finally, beat in the ¼ cup maple syrup and 1 teaspoon vanilla extract until smooth.
- In a separate medium bowl, whisk together the pumpkin puree, ¼ cup maple syrup, 1 egg, pumpkin pie spice, ½ teaspoon vanilla, and a pinch of salt. Whisk until everything is smooth and well combined.
- Pour the cheesecake mixture over the pre-baked crust and spread it into an even layer with a spatula. Then, carefully spoon the pumpkin mixture over the cheesecake layer in dollops. Use a butter knife or a skewer to gently swirl the two layers together. Do about 6-8 figure-eight motions.
- Place the pan in the preheated oven and bake for 35-40 minutes. The edges should be set and slightly puffed, but the center should still have a slight jiggle when you gently shake the pan.
- Remove the pan from the oven and let it cool completely on a wire rack—about 1 hour. Then, cover the pan with plastic wrap and refrigerate for at least 4 hours, but overnight is even better.
- Once fully chilled, use the parchment paper overhang to lift the entire block of bars out of the pan. Place it on a cutting board. Use a sharp knife to slice into squares. For clean cuts, wipe the knife clean between each slice.
Notes
Room temperature ingredients are non-negotiable for a smooth cheesecake layer. Don’t overmix the cheesecake batter once eggs are added to avoid cracks. Use the jiggle test for doneness—the center should wobble slightly. Chill for at least 4 hours, preferably overnight, for best texture and flavor. For clean slices, wipe the knife clean between cuts.
Nutrition
- Serving Size: 1 bar
- Calories: 210
- Sugar: 16
- Sodium: 180
- Fat: 13
- Saturated Fat: 7
- Carbohydrates: 21
- Fiber: 1
- Protein: 4
Keywords: pumpkin cheesecake bars, maple pumpkin bars, fall dessert, cheesecake bars, pumpkin dessert, easy cheesecake bars, Thanksgiving dessert



