Love this? Save it for later!
Share the inspiration with your friends
Third time this week I’ve made these quesadilla dippers, and I only realized it when I went to grab the bag of shredded cheese and it was already half-empty. That’s not a complaint — it’s just what happens when you find something that actually works. Not the Pinterest-perfect lunch that gets ignored in favor of the fruit pouch, but the one they finish and then ask if there’s more.
I wasn’t trying to reinvent the lunchbox wheel. I was just tired of the same rotation — sun butter sandwiches, leftover pasta, those bento boxes where half comes back untouched. So I grabbed a tortilla, some cheese, and the cookie cutter shaped like a little star my kid got from a birthday party favor bag. And honestly? That tiny shape change made all the difference. They ate them cold, dipped in salsa, and told me it was “the best lunch ever.” Which, if you have a picky eater, you know is basically winning the lottery.
These easy cheese quesadilla dippers are exactly what they sound like — crispy-edged, melty-centered little strips of quesadilla cut into dippable shapes. They take about ten minutes to make, they hold up surprisingly well in a lunchbox, and they’re the kind of thing that makes you feel like a good parent without actually trying that hard. That’s the kind of recipe I can get behind.
Why You’ll Love This Recipe
I’ve tested these dippers about six different ways — different cheeses, different tortilla brands, different cooking methods — so you don’t have to. Here’s what makes them stand out from a regular quesadilla you’d just cut into triangles:
- Quick & Easy: From start to finish, you’re looking at about 12 minutes. That’s less time than it takes to argue about what’s for lunch.
- Simple Ingredients: You need exactly four things — tortillas, cheese, butter, and whatever dip you have on hand. No special shopping trips required.
- Perfect for Lunchboxes: These hold up at room temperature, don’t get soggy, and are easy for little hands to grab. No reheating needed.
- Crowd-Pleaser: I’ve made these for playdates, and they disappear faster than anything else on the plate. Kids love the dippable shape, and adults sneak them too.
- Unbelievably Customizable: You can switch up the cheese, add fillings, or change the shape based on what you have. It’s a formula, not a strict recipe.
What makes this version different from every other quesadilla recipe online is the attention to the little details — how to get them crispy without burning, why cutting them into strips (or fun shapes) actually makes them taste better to kids, and how to pack them so they don’t steam themselves into sogginess by lunchtime. I figured all this out through trial and error, so you don’t have to learn the hard way that putting a hot quesadilla in a sealed container is a mistake.
There’s something about pulling a little star-shaped dipper out of your lunchbox that just makes the day better. It’s comfort food, but portable. Familiar, but fun. And honestly, anything that gets my kid to eat a full lunch without negotiation is a win in my book.
What Ingredients You Will Need
This recipe uses the simplest ingredients — things you probably already have in your kitchen. The magic is in how you put them together and the little tricks that make them lunchbox-ready.
- Flour tortillas (8-inch, soft taco size): You want the standard soft flour tortillas, not the crispy taco shells or corn tortillas. I prefer the brand Mission or the store-brand version — both work fine. Look for ones that are pliable and not cracking at the edges. If you only have burrito-size tortillas, you can use those, but you’ll get fewer dippers per tortilla.
- Shredded mozzarella cheese (1 cup, about 112g): Mozzarella melts beautifully and gives that classic stretchy pull. Pre-shredded works totally fine here — I use it all the time. You can also use a Mexican blend or cheddar if that’s what you have. For the best melt, bring the cheese to room temperature for about 10 minutes before assembling.
- Shredded cheddar cheese (1/2 cup, about 56g): This adds flavor and color. The sharpness cuts through the mild mozzarella nicely. Again, pre-shredded is fine. If you want a milder flavor, use Colby Jack instead.
- Unsalted butter (2 tablespoons, softened, about 28g): Butter gives the tortillas that golden, crispy exterior. You can use salted butter if that’s all you have — just skip adding any extra salt. I’ve tested this with olive oil spray, and it works, but butter tastes better and gives a more even crisp.
- Salsa or dipping sauce (for serving): This is optional but highly recommended. My kids love mild salsa, but you can use ranch dressing, sour cream, guacamole, or even marinara sauce. For lunchboxes, I pack the dip in a small silicone cup or a reusable container with a tight lid.
Optional add-ins for variety: You can sprinkle in a little garlic powder, onion powder, or a pinch of cumin inside the quesadilla before cooking. Some kids like a tiny bit of finely chopped cilantro mixed in with the cheese. I’ve also added a thin layer of refried beans for extra protein — just spread it on the tortilla before adding the cheese.
Ingredient swap notes: For a dairy-free version, use vegan shredded cheese and vegan butter. I’ve tried this with the Daiya brand, and it works well, though the melt isn’t quite as stretchy. For gluten-free, use gluten-free tortillas — just be aware they can be more fragile, so handle them gently when flipping.
Equipment Needed
You don’t need much for this recipe, which is part of why I love it. Here’s what you’ll need:
- A large non-stick skillet or griddle (10 to 12 inches): This gives you enough room to cook one or two quesadillas at a time. I use a well-seasoned cast iron skillet, but non-stick works great too. If you have an electric griddle, you can cook multiple quesadillas at once — a real time-saver for batch prep.
- A sharp knife or pizza cutter: For cutting the cooked quesadilla into strips or dippers. A pizza cutter makes quick work of it, but a sharp chef’s knife works just as well.
- Small cookie cutters (optional but fun): If you want to cut the dippers into shapes — stars, hearts, dinosaurs, whatever — use small cookie cutters. They need to be about 1 to 2 inches wide. I found a set of mini cookie cutters at the dollar store, and they’ve been worth every penny.
- A spatula: For flipping the quesadilla. A thin, flexible spatula works best.
- A cutting board: For cutting the cooked quesadilla. Let it cool for about a minute first so the cheese sets slightly and doesn’t ooze everywhere.
- Parchment paper or wax paper (for lunchbox packing): This prevents the dippers from sticking together or getting soggy. I cut small squares and layer them between the dippers in the lunchbox.
Budget-friendly tip: You don’t need a fancy non-stick pan. A well-seasoned cast iron skillet costs about the same as a cheap non-stick pan and lasts forever. If you’re just starting out, a basic non-stick skillet from the grocery store will work fine.
Preparation Method
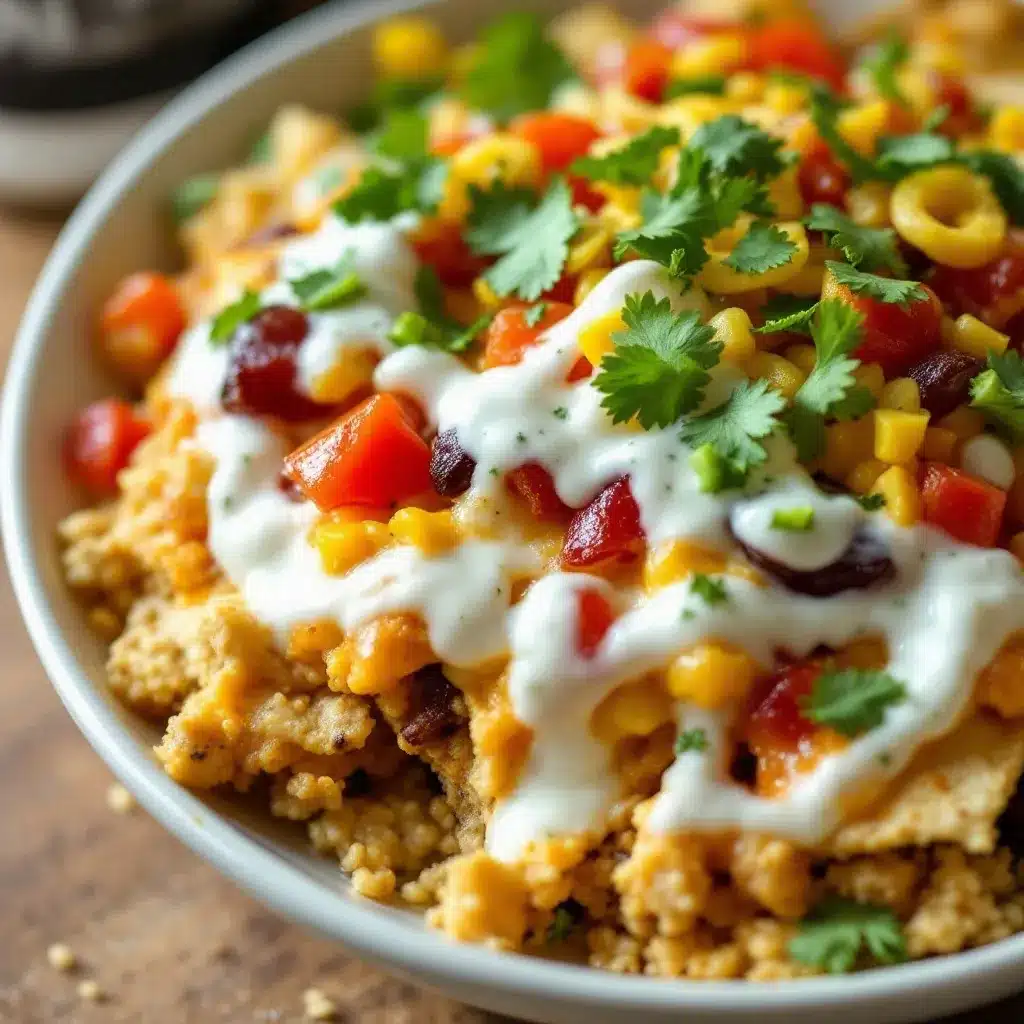
Let me walk you through this step by step, including the little things I learned the hard way.
- Prep your workspace. Lay out your tortillas on a clean cutting board. Spread about 1/2 teaspoon of softened butter on one side of each tortilla — just a thin, even layer. Don’t go overboard; you’re not making garlic bread here. The butter side will be the outside of your quesadilla, so it needs to be the side that faces the pan.
- Assemble the quesadillas. Place a tortilla butter-side down on a plate. Sprinkle about 1/4 cup of the mozzarella and 2 tablespoons of the cheddar evenly over half of the tortilla. Don’t overload it — too much cheese and it will all ooze out when you flip it. Fold the other half over the cheese to create a half-moon shape. Press down gently.
- Heat the skillet. Place your skillet over medium heat. Let it warm up for about 1 minute. You want it hot enough that the butter sizzles when the tortilla hits the pan, but not so hot that the butter burns. If you see smoke, turn the heat down.
- Cook the quesadilla. Place the assembled quesadilla in the skillet, butter-side down. Cook for 2 to 3 minutes, until the bottom is golden brown and crispy. You’ll see the cheese starting to melt through the edges. Use your spatula to peek underneath — if it’s not golden yet, give it another 30 seconds.
- Flip carefully. Slide your spatula under the quesadilla and flip it in one confident motion. Don’t hesitate — that’s how you end up with cheese all over the pan. Cook the other side for another 2 to 3 minutes, until golden brown and the cheese is fully melted. The quesadilla should feel firm but not hard.
- Let it rest. Transfer the cooked quesadilla to a cutting board and let it sit for 1 to 2 minutes. This is crucial — if you cut it immediately, all the melted cheese will ooze out, and you’ll end up with a sad, empty tortilla shell. I learned this lesson the messy way.
- Cut into dippers. Use your pizza cutter or knife to cut the quesadilla into strips about 1 inch wide. If you’re using cookie cutters, press them firmly through the quesadilla to create shapes. You’ll get some scraps — those are the cook’s snack. My kid calls them “broken stars,” and they’re his favorite part.
- Cool completely before packing. Spread the dippers out on a plate or a piece of parchment paper and let them cool to room temperature. This takes about 10 minutes. If you pack them while they’re still warm, they’ll steam and get soft. We want them crispy even after hours in a lunchbox.
- Pack for lunch. Place the cooled dippers in a lunchbox container. Layer parchment paper between layers if you’re stacking them. Pack the dipping sauce in a separate small container. My kids love these with creamy roasted tomato soup on the side for dipping — it’s a perfect match.
Batch prep tip: You can make a whole batch of these on Sunday and store them in the fridge for the week. Just reheat in a dry skillet for about 30 seconds per side to bring back the crispiness, or pack them cold — they’re still delicious either way.
Cooking Tips & Techniques
I’ve made enough sad, soggy quesadillas to know what not to do. Here are the lessons I learned so you can skip the failures:
- Don’t overcrowd the pan. Cook one quesadilla at a time if your skillet is 10 inches or smaller. If you try to cook two, they’ll steam instead of crisp, and you’ll end up with floppy quesadillas. If you have a 12-inch skillet or an electric griddle, you can cook two at once — just leave space between them.
- Medium heat is your friend. I know it’s tempting to crank up the heat to get things done faster, but high heat burns the outside before the cheese melts. Medium heat gives you that golden, crispy exterior and perfectly melted interior. Trust the process.
- Use room-temperature cheese. Cold cheese straight from the fridge takes longer to melt, which means you have to cook the tortilla longer, which increases the risk of burning. Let your shredded cheese sit out for 10 minutes before you start assembling. It makes a real difference.
- Press down gently while cooking. After you flip the quesadilla, press down lightly with your spatula for about 10 seconds. This ensures even contact with the pan and helps the cheese melt evenly. Don’t smash it — just a gentle press.
- Let them cool before cutting. I cannot emphasize this enough. If you cut a hot quesadilla, the cheese will ooze out, and you’ll lose half the filling. Waiting just 2 minutes lets the cheese set slightly, so you get clean cuts and every dipper is fully loaded.
- For extra crispy edges: After flipping, brush a tiny bit of melted butter along the edge of the tortilla. This gives you those crunchy, almost fried edges that are irresistible. I do this when I’m making them for myself as a treat.
One time I was rushing and forgot to butter the outside of the tortilla. The result was a pale, sad quesadilla that my kid refused to eat. Don’t skip the butter — it’s not just for flavor, it’s for texture. If you’re avoiding dairy, use a vegan butter or a light spray of avocado oil.
Variations & Adaptations
This recipe is more of a template than a strict formula. Here are some ways I’ve adapted it depending on what I have in the fridge or what my kids are in the mood for:
- Protein-Packed Version: Add 2 tablespoons of shredded cooked chicken, ground beef, or black beans inside the quesadilla before cooking. This turns lunch into a more substantial meal. I’ve used leftover easy crockpot ground turkey taco bowls as a filling — just drain off any excess liquid first so the quesadilla doesn’t get soggy.
- Veggie-Loaded Version: Finely chop some bell peppers, spinach, or mushrooms and sprinkle them in with the cheese. The key is to chop them very small — about the size of a pea — so they blend in without creating bulky chunks that kids pick out. Sauté them first to remove excess moisture.
- Different Cheese Blends: Try pepper jack for a little kick, gouda for a smoky flavor, or a mix of cheddar and Monterey Jack. I’ve even used crumbled feta mixed with mozzarella — it’s salty and delicious, though not as stretchy.
- Sweet Version: For a dessert-style dipper, use a tortilla spread with a thin layer of Nutella or peanut butter, then add sliced bananas and a sprinkle of cinnamon. Cook the same way. My kids go crazy for these, and they’re perfect for an after-school snack.
- Gluten-Free Adaptation: Use gluten-free tortillas. I’ve tested this with both corn tortillas and gluten-free flour tortillas. Corn tortillas are smaller and more fragile, so handle them gently. Gluten-free flour tortillas work almost exactly like regular ones.
- Dairy-Free Adaptation: Use vegan shredded cheese and vegan butter. The texture won’t be exactly the same — vegan cheese doesn’t stretch the same way — but it’s still delicious. I like the Daiya cheddar-style shreds for this.
My personal favorite variation? I add a thin layer of refried beans and a sprinkle of taco seasoning to the cheese. It turns these into mini quesadilla dippers that taste like they came from a restaurant. Perfect for dipping in salsa or sour cream.
Serving & Storage Suggestions
These quesadilla dippers are versatile — they work for lunchboxes, after-school snacks, or even a quick dinner when you’re too tired to cook. Here’s how to serve and store them:
- Serving Temperature: They’re delicious warm, at room temperature, or even cold from the fridge. For lunchboxes, I pack them cold straight from the fridge — they soften slightly by lunchtime but stay delicious. If you want them warm, reheat in a dry skillet for 30 seconds per side.
- Dipping Sauce Ideas: My kids love them with mild salsa, but you can use sour cream, guacamole, ranch dressing, or even ketchup (don’t judge — it works). For a grown-up version, try them with ultimate loaded nacho bar queso — it’s incredible.
- Storage: Store cooled dippers in an airtight container in the refrigerator for up to 5 days. Layer parchment paper between layers to prevent sticking. Do not leave them at room temperature for more than 2 hours.
- Freezing: You can freeze these! Place the cooled dippers in a single layer on a baking sheet and freeze for 1 hour, then transfer to a freezer-safe bag or container. They’ll keep for up to 3 months. To thaw, just leave them in the fridge overnight or pack them frozen in a lunchbox — they’ll be thawed by lunchtime.
- Reheating: For best results, reheat in a dry skillet over medium heat for 30 to 60 seconds per side. You can also use an air fryer at 350°F for 2 to 3 minutes. The microwave works in a pinch, but the dippers will be soft, not crispy.
- Flavor Development: Honestly, these taste even better the next day. The flavors meld together, and the texture stays surprisingly good. I often make a double batch on Sunday just so we have them ready for the week.
Nutritional Information & Benefits
Here’s the approximate nutritional breakdown for a serving of 5 dippers (about half a quesadilla):
- Calories: ~220
- Protein: 10g
- Carbohydrates: 20g
- Fat: 12g
- Fiber: 1g
- Calcium: 250mg (25% DV)
Health Benefits: Cheese is a good source of calcium and protein, which are essential for growing kids. The tortillas provide carbohydrates for energy — perfect for active kids who need fuel for the school day. If you add beans or chicken, you’ll boost the protein and fiber even more.
Dietary Considerations: This recipe can be made gluten-free, dairy-free, and vegetarian with simple substitutions. It’s naturally nut-free (unless you add peanut butter to the sweet version), which makes it school-safe for many classrooms. Always check your specific ingredients for allergens.
My Take: I’m not a nutritionist, but I do think about what goes into my kid’s lunchbox. These dippers aren’t a health food, but they’re a whole lot better than processed lunch kits. You control the ingredients, and they actually get eaten — which is more than I can say for the veggie sticks that come home untouched.
Conclusion
These easy cheese quesadilla dippers have become a staple in our house for one simple reason: they work. They’re quick enough for a rushed morning, kid-approved enough that nothing comes back home, and flexible enough that I can use whatever I have in the fridge. Plus, they make me look like I have my act together — and I’ll take that win wherever I can get it.
I’d love to hear how these turn out for you. Do your kids have a favorite shape or dipping sauce? Did you try a variation I haven’t thought of? Drop a comment below and let me know — I’m always looking for new ideas to try. And if you make these for a playdate or a birthday party, tag me in your photos. There’s nothing better than seeing a lunchbox full of happy little dippers.
Go ahead, give these a try. Your kids will thank you — and you’ll wonder why you didn’t start making them sooner.
Frequently Asked Questions
Can I make these quesadilla dippers ahead of time for the whole week?
Absolutely! I make a batch every Sunday and store them in the fridge. They stay good for up to 5 days. Just make sure they’re completely cool before you store them, or they’ll get soggy. Layer parchment paper between the dippers in the container to keep them from sticking together.
What’s the best cheese for quesadilla dippers?
Mozzarella is my go-to because it melts so beautifully and gives that stretchy pull. But I always mix in a little cheddar for flavor. A Mexican blend works great too. The key is using a cheese that melts well — avoid hard cheeses like Parmesan on their own, as they won’t give you that gooey texture.
Can I use corn tortillas instead of flour?
You can, but they behave differently. Corn tortillas are smaller and more fragile, so they can crack when you fold them. They also don’t get as crispy on the outside. If you use corn tortillas, warm them briefly in the microwave (about 15 seconds) to make them more pliable before assembling.
How do I keep quesadilla dippers from getting soggy in a lunchbox?
The secret is letting them cool completely before packing — at least 10 minutes at room temperature. Also, never pack them while they’re still warm, because the steam will soften them. If you’re packing them with a dip, keep the dip in a separate container with a tight seal. I use small silicone cups for the dip.
Can I freeze these quesadilla dippers?
Yes! Freeze them in a single layer on a baking sheet for about an hour, then transfer to a freezer bag. They’ll keep for up to 3 months. You can pack them frozen in a lunchbox — they’ll be thawed by lunchtime. Or reheat them in a dry skillet for about a minute per side.
Pin This Recipe!
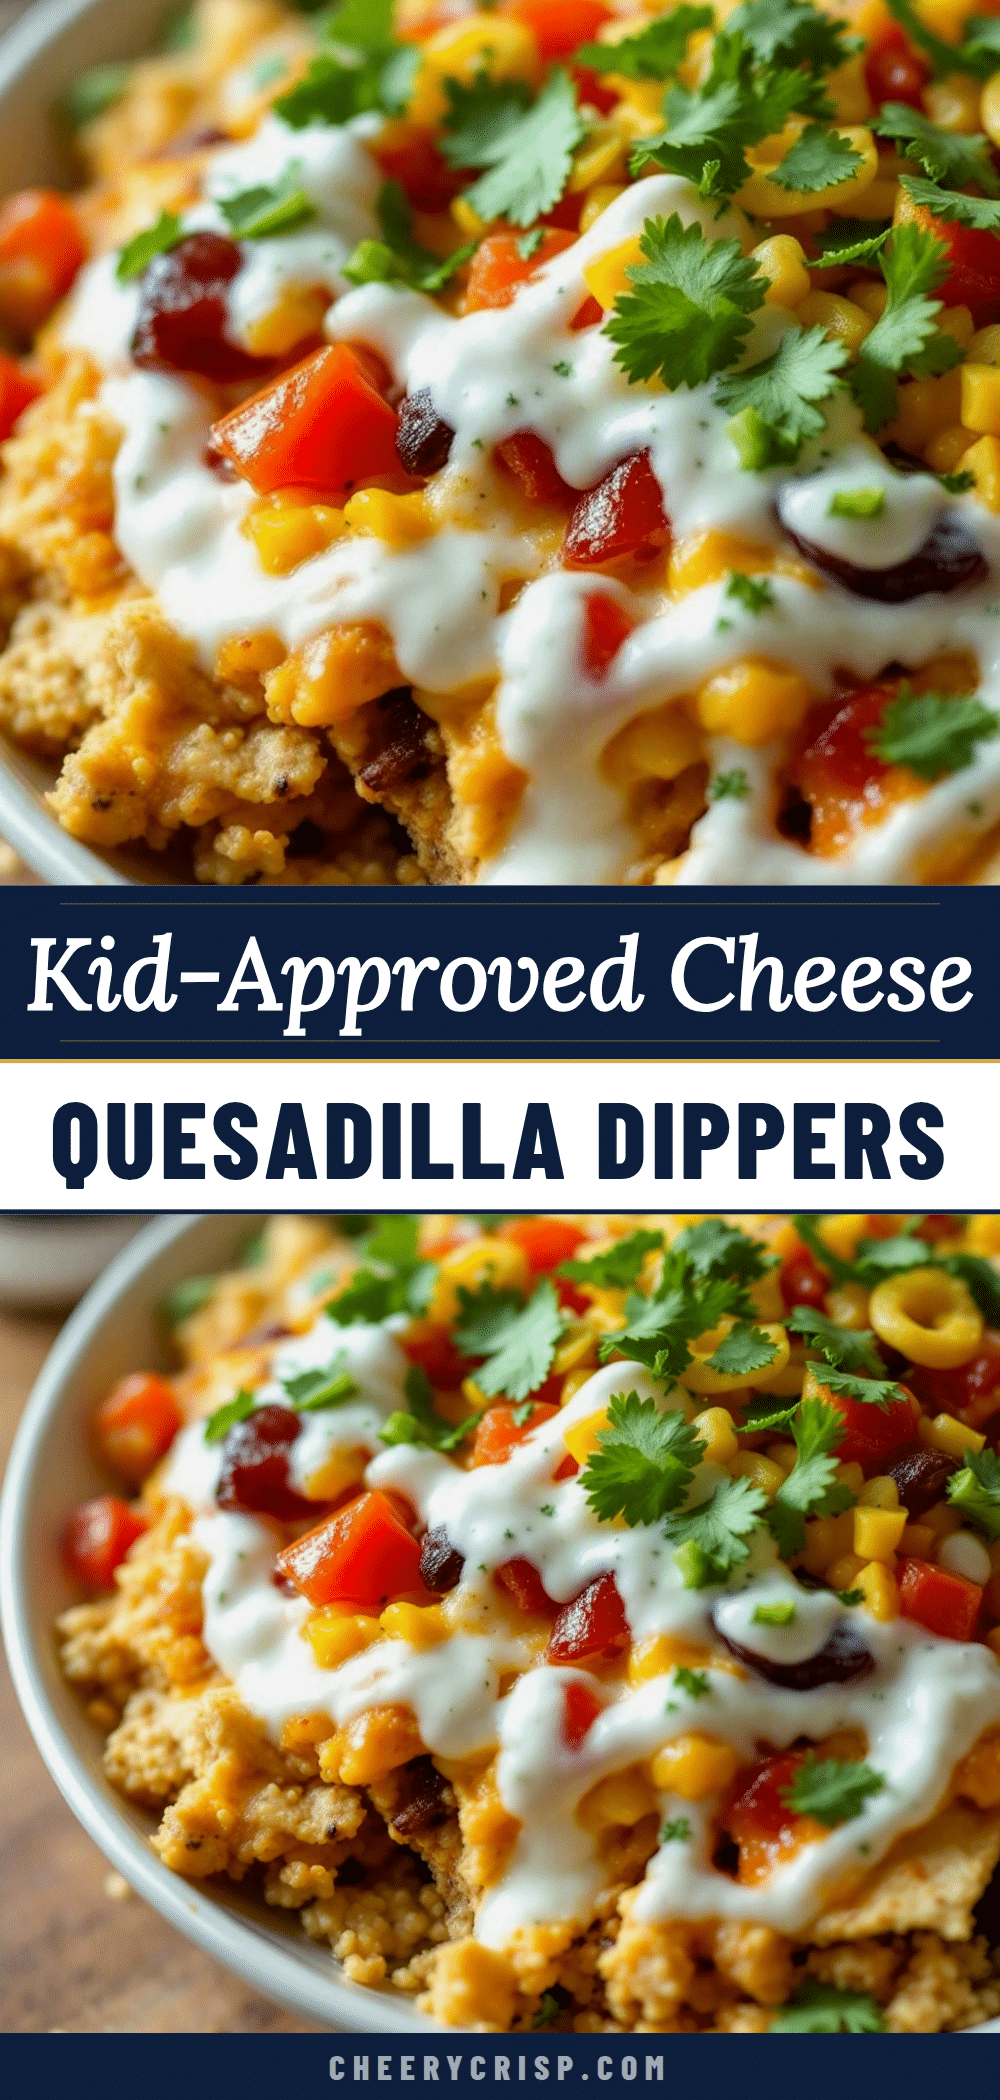
Easy Cheese Quesadilla Dippers: Best Kids Lunchbox Idea

Crispy-edged, melty-centered little strips of quesadilla cut into dippable shapes. They take about ten minutes to make, hold up well in a lunchbox, and are a crowd-pleaser for kids and adults alike.
- Prep Time: 5 minutes
- Cook Time: 6 minutes
- Total Time: 12 minutes
- Yield: 4 servings 1x
- Category: Lunch
- Cuisine: Mexican-American
Ingredients
- 4 (8-inch) flour tortillas (soft taco size)
- 1 cup (about 112g) shredded mozzarella cheese
- 1/2 cup (about 56g) shredded cheddar cheese
- 2 tablespoons (about 28g) unsalted butter, softened
- Salsa or dipping sauce for serving
Instructions
- Prep your workspace. Lay out your tortillas on a clean cutting board. Spread about 1/2 teaspoon of softened butter on one side of each tortilla — just a thin, even layer. The butter side will be the outside of your quesadilla.
- Assemble the quesadillas. Place a tortilla butter-side down on a plate. Sprinkle about 1/4 cup of the mozzarella and 2 tablespoons of the cheddar evenly over half of the tortilla. Fold the other half over the cheese to create a half-moon shape. Press down gently.
- Heat the skillet. Place your skillet over medium heat. Let it warm up for about 1 minute. You want it hot enough that the butter sizzles when the tortilla hits the pan, but not so hot that the butter burns.
- Cook the quesadilla. Place the assembled quesadilla in the skillet, butter-side down. Cook for 2 to 3 minutes, until the bottom is golden brown and crispy. Use your spatula to peek underneath — if it’s not golden yet, give it another 30 seconds.
- Flip carefully. Slide your spatula under the quesadilla and flip it in one confident motion. Cook the other side for another 2 to 3 minutes, until golden brown and the cheese is fully melted.
- Let it rest. Transfer the cooked quesadilla to a cutting board and let it sit for 1 to 2 minutes. This is crucial — if you cut it immediately, all the melted cheese will ooze out.
- Cut into dippers. Use your pizza cutter or knife to cut the quesadilla into strips about 1 inch wide. If you’re using cookie cutters, press them firmly through the quesadilla to create shapes.
- Cool completely before packing. Spread the dippers out on a plate or a piece of parchment paper and let them cool to room temperature. This takes about 10 minutes.
- Pack for lunch. Place the cooled dippers in a lunchbox container. Layer parchment paper between layers if you’re stacking them. Pack the dipping sauce in a separate small container.
Notes
Let the quesadilla rest for 1-2 minutes before cutting to prevent cheese from oozing out. For extra crispy edges, brush a tiny bit of melted butter along the edge after flipping. Use room-temperature cheese for better melting. Cook over medium heat to avoid burning the outside before the cheese melts.
Nutrition
- Serving Size: 5 dippers (about hal
- Calories: 220
- Sugar: 1
- Sodium: 400
- Fat: 12
- Saturated Fat: 7
- Carbohydrates: 20
- Fiber: 1
- Protein: 10
Keywords: quesadilla dippers, kids lunchbox, easy lunch, cheese quesadilla, dippable shapes, quick lunch, kid-friendly



