Love this? Save it for later!
Share the inspiration with your friends
Half a cup of canned pumpkin left over from last week’s batch of pumpkin cheesecake bars was staring at me from the back of the fridge, and the pantry was mostly empty. It was 4:30 PM on a Tuesday, the kids were already complaining about hunger, and I had exactly twenty minutes before dinner needed to happen. Honestly, I almost just threw the pumpkin away, but then I remembered I had a box of gingersnaps gathering dust in the cupboard.
I didn’t have time to make a proper crust from scratch, nor did I want to spend an hour babysitting a water bath. So, I grabbed my mini muffin tins, which are basically the unsung heroes of last-minute dessert salvation. The smell of melting butter and crushed cookies started filling the kitchen, which was a nice change from the usual chaos of school drop-offs and laundry piles.
You know how some recipes feel like they were written by someone who never has to clean up after themselves? This one is the opposite. It’s messy, it’s fast, and it tastes like autumn wrapped in a blanket. I tossed the cookies into the food processor, mixed the filling with whatever spices were left in the jar, and popped them in the oven.
There was a moment of panic when I realized I forgot the vanilla extract, but a quick dash of maple syrup saved the day. The kitchen smelled incredible, and the kids stopped complaining almost immediately. That’s when I knew these creamy mini pumpkin cheesecakes were going to be a staple. It wasn’t about perfection; it was about making something sweet out of a stressful afternoon.
Why You’ll Love This Recipe
Let’s be real for a second. Making a full-sized cheesecake is a commitment. You need a springform pan, you need to worry about cracks, and you definitely need to wait hours for it to set. These mini versions? They are the lazy cook’s best friend. I’ve tested this recipe at least ten times, and every single time, the result is the same: pure, creamy joy with zero stress.
Here is why this recipe has earned a permanent spot in my weekly rotation:
- Quick & Easy: You can have these from start to finish in under 45 minutes, including bake time. It’s perfect for those weeknights when you want a homemade dessert but don’t have the energy to stand over a stove.
- Simple Ingredients: You likely have 90% of this in your kitchen right now. Pumpkin puree, cream cheese, gingersnaps, and basic spices. No fancy grocery trips needed.
- Perfect for Fall Gatherings: Whether it’s a casual family dinner or a last-minute potluck, these bite-sized treats fit right in. They are also great for portion control if you are watching your sugar intake.
- Crowd-Pleaser: Kids love the sweetness, and adults appreciate the spice. I’ve served these to friends who are usually picky eaters, and the plates were clean in seconds.
- Unbelievably Delicious: The texture is silky smooth, and the gingersnap crust adds that perfect crunch. It’s comfort food reimagined—faster, easier, but with the same soul-soothing satisfaction.
What makes this different from the rest? It’s the balance. Most mini pumpkin recipes are too dense or too sweet. By using a gingersnap crust instead of a graham cracker one, you get a spicy kick that cuts through the richness of the cream cheese. It’s a flavor profile that feels sophisticated but is incredibly easy to pull off. It’s the kind of dessert that makes you close your eyes after the first bite because it just hits the right spot.
What Ingredients You Will Need
This recipe uses simple, wholesome ingredients to deliver bold flavor and satisfying texture without the fuss. The beauty of mini cheesecakes is that you don’t need high-end, hard-to-find items. In fact, using standard pantry staples often leads to a more authentic, home-style taste. I always recommend using full-fat cream cheese for the best texture; low-fat versions can make the filling grainy or too loose.
Here is what you will need to gather:
- For the Gingersnap Crust:
- Gingersnap cookies: About 1.5 cups when crushed. I prefer Pepperidge Farm because they have a nice snap and strong spice flavor. You can use any brand, but avoid the soft, cake-like ones.
- Unsalted butter: 4 tablespoons, melted. This binds the crumbs together. Using unsalted lets you control the salt level.
- Granulated sugar: 1 tablespoon. Just a little bit to help the crust caramelize slightly.
- For the Pumpkin Filling:
- Cream cheese: 8 ounces (225g), softened to room temperature. This is crucial. If it’s cold, you’ll get lumps. I leave it out on the counter while I crush the cookies.
- Canned pumpkin puree: 1 cup. Make sure it is pure pumpkin, not pumpkin pie mix. The mix already has sugar and spices, which will throw off the balance.
- Granulated sugar: 3/4 cup. Adjust down to 1/2 cup if you prefer less sweetness.
- Light brown sugar: 1/4 cup. This adds a molasses note that pairs beautifully with the pumpkin.
- Eggs: 2 large eggs, room temperature. Room temp eggs emulsify better, creating a smoother batter.
- Vanilla extract: 1 teaspoon. If you run out, maple syrup works as a substitute.
- Pumpkin pie spice: 1 1/2 teaspoons. This is a blend of cinnamon, ginger, nutmeg, and cloves. If you don’t have it, use 1 tsp cinnamon, 1/2 tsp ginger, and a pinch of nutmeg.
- Salt: 1/4 teaspoon. To balance the sweetness.
- For the Topping (Optional):
- Whipped cream: Store-bought or homemade.
- Extra gingersnaps: Crushed for garnish.
- Pumpkin seeds: Toasted for a nice crunch.
If you are dairy-free, you can swap the cream cheese for a plant-based alternative, though the texture might be slightly less dense. For the crust, you can use gluten-free gingersnaps if needed, but be aware they can be more fragile.
Equipment Needed
You don’t need a fancy kitchen to make these, but having the right tools makes the process much smoother. The most important item here is a mini muffin tin. Standard muffin tins will work, but the baking time will need to be adjusted upward, and you won’t get that perfect bite-sized portion. I usually use the non-stick variety, which makes popping them out a breeze.
You will also need a food processor or a ziplock bag and rolling pin for crushing the cookies. The food processor is faster, but the bag method is fun if you have kids helping out. Just be careful not to over-process the cookies into a fine powder; you want some small crumbs for texture.
A hand mixer or a stand mixer is helpful for beating the cream cheese and sugar until smooth. If you don’t have one, a strong whisk and some elbow grease will work, but it will take longer. Make sure your cream cheese is soft enough to mash easily with a fork before you start mixing.
Finally, you’ll need cupcake liners. I highly recommend using them. Even with a non-stick pan, cheesecake batter can stick, and liners make cleanup almost non-existent. They also help keep the gingersnap crust intact when you remove the cheesecakes from the tin.
Preparation Method
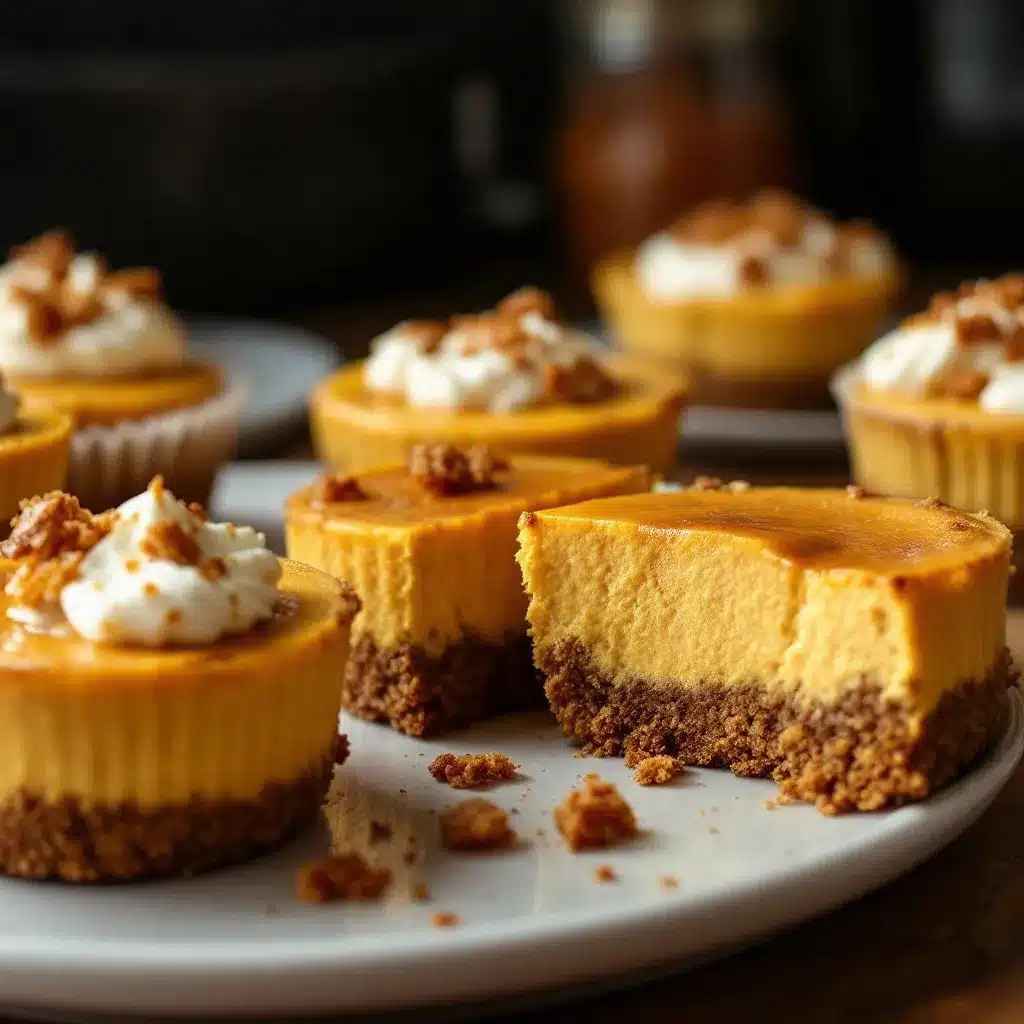
Getting these ready is straightforward, but paying attention to a few details will ensure your mini pumpkin cheesecakes turn out perfectly every time. Here is how to put it all together.
- Prepare the Pan: Preheat your oven to 325°F (165°C). Line your mini muffin tin with cupcake liners. If your liners are loose, you can place the tins on a baking sheet for easier handling. This step takes about 2 minutes.
- Make the Crust: Place the gingersnap cookies in a food processor. Pulse until you have fine crumbs. If you are using a bag, crush them with a rolling pin until they are crumbly but not dust. Transfer the crumbs to a small bowl and mix in the melted butter and 1 tablespoon of sugar. The mixture should look like wet sand. If it’s too dry, add a teaspoon more butter.
- Press the Crust: Divide the crumb mixture evenly among the 24 cupcake liners. Use the bottom of a measuring cup or a small glass to press the crumbs firmly into the bottom and slightly up the sides. Be gentle; you don’t want to tear the liners. This should take about 5 minutes.
- Beat the Cream Cheese: In a large bowl, beat the softened cream cheese with the granulated sugar and brown sugar until completely smooth. This is the most critical step. Scrape down the sides and bottom of the bowl to ensure there are no lumps. If you rush this, your cheesecakes will be grainy. This takes about 3 minutes.
- Add Wet Ingredients: Add the eggs one at a time, mixing on low speed just until incorporated. Do not overmix once the eggs are added, as this can incorporate too much air and cause cracks. Mix in the vanilla extract and salt.
- Combine with Pumpkin: Add the pumpkin puree and pumpkin pie spice to the cream cheese mixture. Mix on low speed until just combined. The batter should be smooth and orange. If it looks too thin, that’s okay; it will set in the oven.
- Fill the Cups: Spoon or pipe the filling into the crust-lined cups. Fill them almost to the top, but leave a tiny bit of space so they don’t overflow. This takes about 5 minutes.
- Bake: Place the tins in the preheated oven. Bake for 18-22 minutes. The edges should be set, but the centers should still have a slight jiggle when you gently shake the pan. They will firm up as they cool. Do not overbake, or they will become dense.
- Cool Completely: Remove from the oven and let them cool in the pan for 10 minutes. Then, transfer them to a wire rack to cool completely. This step is important for the texture to set properly. It takes about 1 hour.
- Chill: Once cooled, refrigerate for at least 2 hours, or ideally overnight. This allows the flavors to meld and the texture to become perfectly creamy. Serve with whipped cream and extra crushed gingersnaps if desired.
Cooking Tips & Techniques
I’ve made my fair share of mistakes with cheesecakes, so you don’t have to. The number one rule is temperature. Your cream cheese and eggs must be at room temperature. Cold ingredients lead to a lumpy batter, and no amount of whisking will fix that once the pumpkin is added. If you forgot to take them out, you can soften the cream cheese by microwaving it in 5-second bursts, stirring in between.
Another common mistake is overmixing the batter. Once you add the eggs, mix only until they disappear. Overmixing incorporates air bubbles, which can expand in the oven and then collapse, leading to cracks. For mini cheesecakes, this is less of an issue than with full-sized ones, but it still affects the texture. You want a dense, creamy consistency, not a fluffy mousse.
If you are worried about the crust falling apart, press it in firmly. I like to take a little extra time to ensure the base is compact. You can also chill the crusts in the freezer for 10 minutes before adding the filling. This helps them hold their shape during baking.
Timing is everything. Keep an eye on the oven around the 18-minute mark. The centers should still wobble slightly like Jell-O. They will continue to cook from residual heat as they cool. If they are set completely in the pan, they are likely overbaked and will be dry.
Variations & Adaptations
While the classic pumpkin and gingersnap combo is hard to beat, there are plenty of ways to tweak this recipe to suit your taste or dietary needs. I love experimenting with these variations, especially when I have guests with different preferences.
- Spiced Latte Twist: Add a teaspoon of espresso powder to the filling. It enhances the pumpkin flavor without making it taste like coffee. This pairs beautifully with the gingersnap crust.
- Maple Pecan Crust: Swap half of the gingersnaps for crushed pecans and a tablespoon of maple syrup. This adds a nutty crunch and reduces the sweetness of the crust.
- Dairy-Free Option: Use vegan cream cheese and dairy-free butter for the crust. The texture might be slightly lighter, but the flavor remains delicious. Top with coconut whipped cream.
- White Chocolate Swirl: Before baking, dollop small amounts of melted white chocolate on top of the pumpkin filling and swirl it with a toothpick. It adds a beautiful marbled effect and a sweet contrast.
- Gluten-Free: Use gluten-free gingersnaps and ensure your pumpkin puree is certified gluten-free. Most canned pumpkins are safe, but cross-contamination can happen.
I once tried adding chopped candied ginger to the filling, and it was a hit. The little spicy bursts of ginger added a nice surprise. Don’t be afraid to play with the spices; if you love cinnamon, add a bit more. If you prefer nutmeg, increase that. It’s your dessert, after all.
Serving & Storage Suggestions
These mini cheesecakes are best served chilled. The cold temperature highlights the creamy texture and balances the sweetness. I recommend topping them with a dollop of whipped cream and a sprinkle of crushed gingersnaps right before serving. It adds a nice visual appeal and extra crunch. They also look great with a few toasted pumpkin seeds on top for a festive touch.
If you are making them for a party, you can prepare them up to 3 days in advance. Store them in an airtight container in the refrigerator. They actually taste better the next day as the flavors have time to meld.
To freeze them, place the unbaked cheesecakes in the fridge first to set, then wrap them tightly in plastic wrap and foil. They can be frozen for up to 2 months. Thaw them in the refrigerator overnight before serving. Do not freeze them in the cupcake liners if you can help it, as the liners can become soggy. Instead, place them on a baking sheet to freeze, then transfer to a freezer bag.
When reheating, I don’t recommend it. Cheesecake is best cold. If you must warm them, just leave them out on the counter for 15 minutes to take the chill off. They pair wonderfully with a cup of hot tea or coffee, especially if you enjoy pumpkin spice lattes.
Nutritional Information & Benefits
Each mini cheesecake contains approximately 120-150 calories, depending on the size of the muffin tin and the amount of topping used. They are a moderate source of fat from the cream cheese and butter, and they provide some protein from the eggs and dairy.
Pumpkin is a great source of Vitamin A, which is good for eye health and immune function. It also adds fiber and moisture to the recipe without adding many calories. The gingersnap crust provides quick energy from the sugar, but the ginger in the cookies can aid in digestion.
For those watching their sugar intake, you can reduce the sugar in the filling by 25% without significantly affecting the texture. Using a sugar substitute like erythritol is possible, but it may change the texture slightly, making it less dense. These treats are not inherently gluten-free or dairy-free, but substitutions make them accessible for many dietary needs.
Conclusion
Making creamy mini pumpkin cheesecakes with a gingersnap crust is one of the easiest ways to bring the flavors of fall into your kitchen. It’s a recipe that requires minimal effort but delivers maximum satisfaction. Whether you are a seasoned baker or a beginner, this recipe is forgiving and delicious.
I hope you try this and find it as much of a comfort as I do. Feel free to customize it with your favorite spices or toppings. I’d love to hear how it turns out for you, so please leave a comment below with your thoughts or any variations you tried. Share your photos on social media and tag me—I always love seeing your creations.
Enjoy every bite, and remember, life is too short for boring desserts.
Frequently Asked Questions
Can I use fresh pumpkin instead of canned?
Yes, but you need to roast and puree the pumpkin first. Fresh pumpkin has a high water content, so you must cook it down until it is thick and dry. If you use raw pumpkin, the cheesecakes will be too watery and won’t set properly.
Why did my cheesecakes crack?
Cracks usually happen from overmixing or overbaking. Make sure to mix the eggs gently and remove the cheesecakes from the oven when the centers still jiggle slightly. Also, avoid opening the oven door too often during baking, as temperature changes can cause cracks.
How long do these last in the fridge?
They will stay fresh in an airtight container in the refrigerator for up to 5 days. However, they are best eaten within the first 2-3 days for the optimal texture and flavor.
Can I make these ahead of time?
Absolutely. These are actually better the next day. You can make them 2-3 days in advance. Just keep them covered in the fridge until you are ready to serve.
What can I use instead of gingersnaps for the crust?
You can use graham crackers, vanilla wafers, or even shortbread cookies. Ginger snaps provide a nice spice kick, but other cookies will work fine. You can add a pinch of cinnamon or nutmeg to the crust if you use a neutral cookie.
Pin This Recipe!
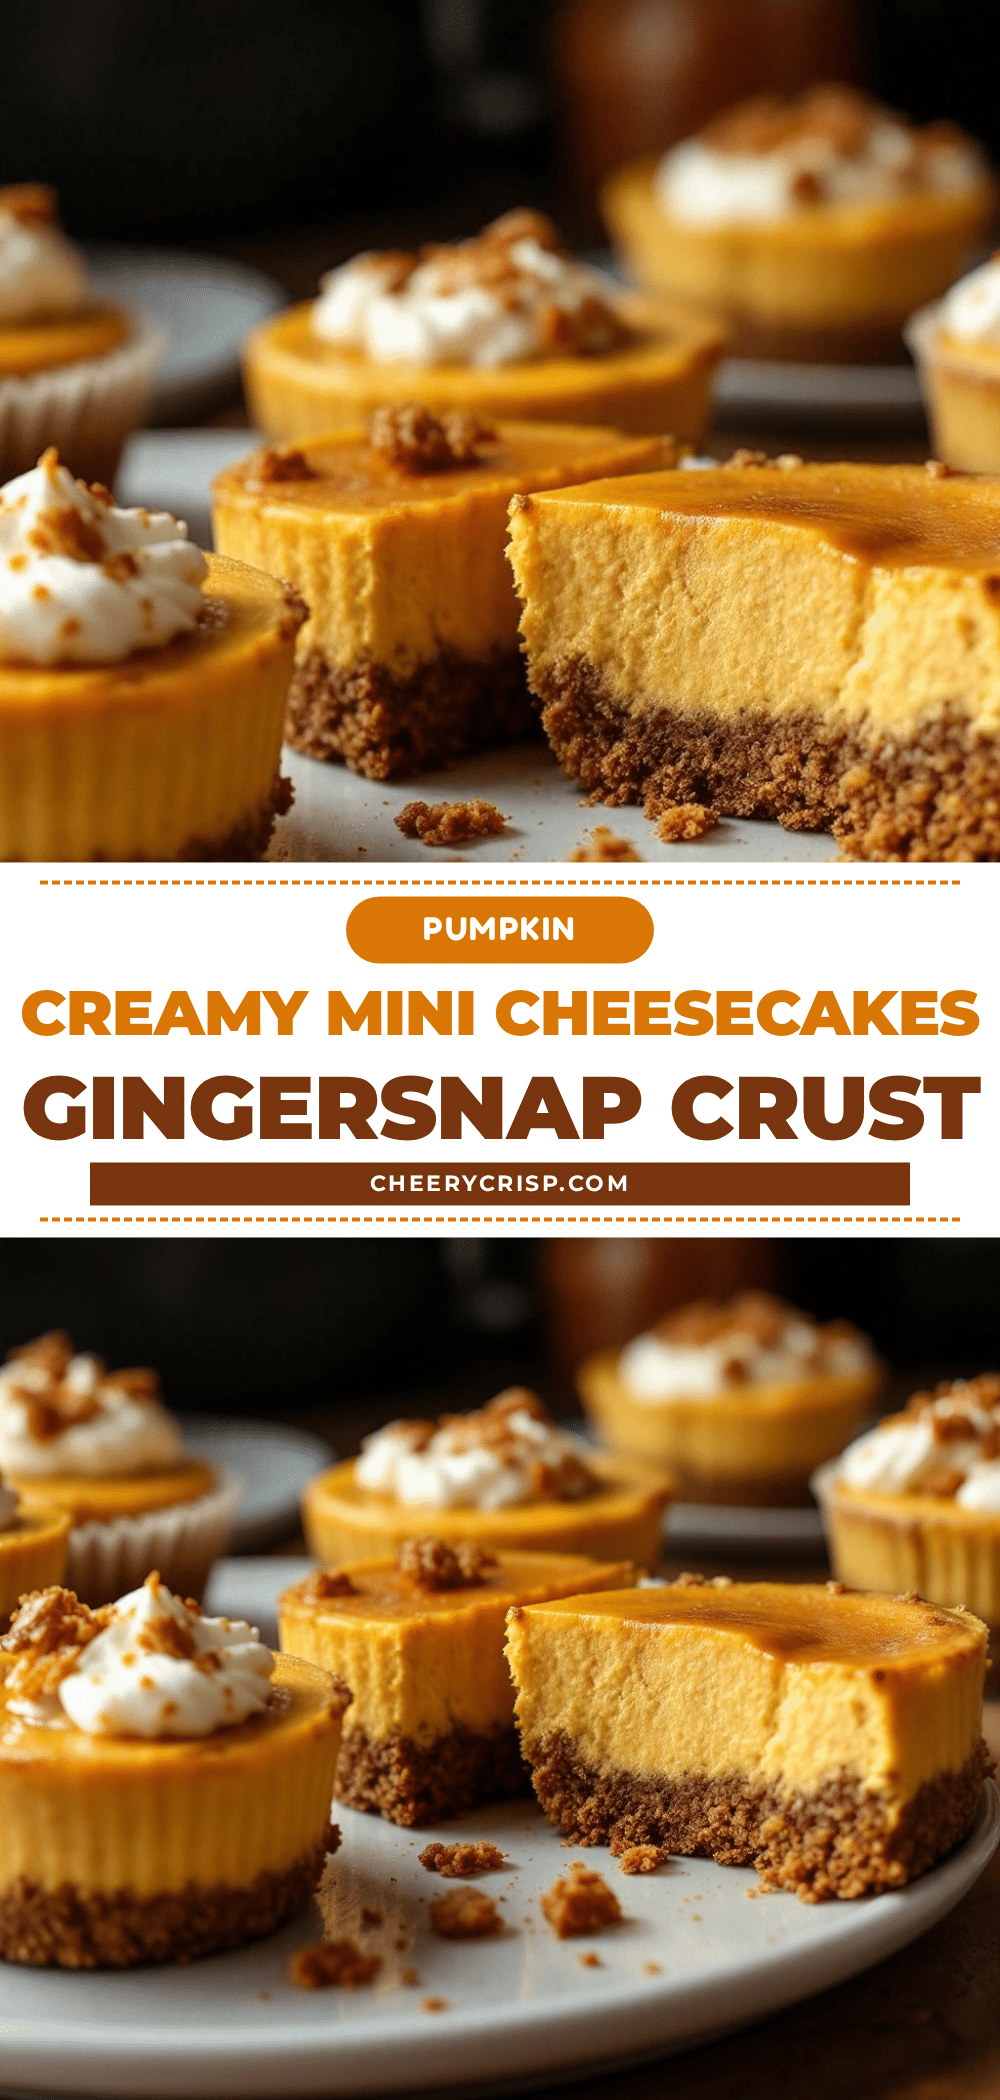
Creamy Mini Pumpkin Cheesecakes: 12 Easy Gingersnap Bites
Quick and easy mini pumpkin cheesecakes with a spicy gingersnap crust, perfect for fall gatherings or last-minute dessert needs.
- Prep Time: 20 minutes
- Cook Time: 22 minutes
- Total Time: 45 minutes
- Yield: 24 servings 1x
- Category: Dessert
- Cuisine: American
Ingredients
- 1.5 cups gingersnap cookies, crushed
- 4 tablespoons unsalted butter, melted
- 1 tablespoon granulated sugar
- 8 ounces cream cheese, softened to room temperature
- 1 cup canned pumpkin puree
- 3/4 cup granulated sugar
- 1/4 cup light brown sugar
- 2 large eggs, room temperature
- 1 teaspoon vanilla extract
- 1 1/2 teaspoons pumpkin pie spice
- 1/4 teaspoon salt
- Whipped cream, for topping (optional)
- Extra crushed gingersnaps, for garnish (optional)
- Toasted pumpkin seeds, for garnish (optional)
Instructions
- Preheat oven to 325°F (165°C) and line a mini muffin tin with cupcake liners.
- Pulse gingersnap cookies in a food processor until fine crumbs form. Mix crumbs with melted butter and 1 tablespoon sugar.
- Divide crumb mixture among liners and press firmly into the bottom and slightly up the sides.
- Beat softened cream cheese with granulated sugar and brown sugar until completely smooth.
- Add eggs one at a time, mixing on low speed just until incorporated. Mix in vanilla extract and salt.
- Add pumpkin puree and pumpkin pie spice, mixing on low until just combined.
- Spoon filling into crust-lined cups, filling almost to the top.
- Bake for 18-22 minutes until edges are set but centers still have a slight jiggle.
- Cool in the pan for 10 minutes, then transfer to a wire rack to cool completely.
- Refrigerate for at least 2 hours or overnight before serving with optional toppings.
Notes
Ensure cream cheese and eggs are at room temperature to avoid lumps. Do not overmix the batter once eggs are added to prevent cracks. The centers should still jiggle slightly when removed from the oven; they will firm up as they cool. For best texture, chill overnight.
Nutrition
- Serving Size: 1 mini cheesecake
- Calories: 135
- Sugar: 9
- Sodium: 85
- Fat: 9
- Saturated Fat: 5
- Carbohydrates: 12
- Fiber: 0.5
- Protein: 3
Keywords: pumpkin cheesecake, mini cheesecakes, gingersnap crust, fall dessert, easy dessert, pumpkin recipe, bite-sized treats



