Love this? Save it for later!
Share the inspiration with your friends
Third time in a week and the black chocolate still looked like a spilled inkwell. Honestly, I was starting to think my microwave was haunted. It wasn’t the appliance, though. It was me. I kept trying to swirl the white chocolate into the dark base too aggressively, creating muddy gray sludge instead of those crisp, delicate web lines we all love.
The first time, I rushed. I used cold cream cheese straight from the fridge, and the dip ended up lumpy and sad. It looked less like a spooky treat and more like a mistake. My kids poked at it with an apple slice and asked if it was expired. That stung more than the burnt toast I made while I was troubleshooting the consistency.
The second time, I got the swirl right, but the texture was too stiff. It clung to the chips like glue. I spent twenty minutes trying to thin it out with milk, overworking the batch until it lost its creamy density. It tasted fine, but it didn’t feel luxurious. It felt like a science experiment gone wrong.
By the third time, something clicked. I let the cream cheese soften properly. I used a toothpick for the swirls, not a knife. I stopped trying to force it into perfection and just let it sit. The result wasn’t just edible; it was actually good. It’s the kind of dip that makes you pause mid-bite because you’re too busy admiring the pattern to chew.
I’m not saying I’m an obsessive perfectionist. I’m just saying that when you want that Instagram-worthy web effect, you have to respect the chocolate. This version is the one that stayed. It’s creamy, it’s spooky, and it doesn’t require a culinary degree. Just a little patience and a lot of black food coloring.
Why You’ll Love This Spooky Spider Web Chocolate Cheesecake Dip
Let’s face it, Halloween desserts usually fall into two categories: cute but tasteless, or delicious but messy. This recipe breaks the mold. It’s the kind of treat that sits on the counter all party night and disappears by midnight, leaving only a few lonely apple slices behind. Here is why this specific version works so well for your next gathering.
- Quick & Easy: You don’t need to bake anything. The entire process takes about 15 minutes of active time. If you have a microwave and a spoon, you can make this. It’s perfect for busy weeknights or last-minute trick-or-treat prep.
- Simple Ingredients: You likely already have half of this in your pantry. Cream cheese, powdered sugar, vanilla, and two types of chocolate. No fancy grocery trips needed. It’s pantry-friendly, which means less stress and more party time.
- Perfect for Parties: Whether it’s a Halloween classroom party, a spooky office breakroom, or a cozy dinner with friends, this dip is a crowd-pleaser. It’s visually striking, which makes it a great conversation starter.
- Crowd-Pleaser: Kids love the “spider” theme, and adults love the cheesecake flavor. It bridges the gap between a fun snack and a proper dessert. Everyone gets along at the dip bowl.
- Unbelievably Delicious: The texture is next-level comfort food. It’s rich and tangy from the cream cheese, sweet from the chocolate, and smooth enough to coat any dipper you choose.
What makes this different from other chocolate dips? It’s the technique. Most recipes just melt chocolate and mix it with cream cheese. This one uses a specific layering and swirling method that creates that stunning web effect without looking messy. It’s not just another version—it’s your best version. It’s the kind of recipe that makes you close your eyes after the first bite. It’s comfort food reimagined—healthier in the sense that it’s not baked, but with the same soul-soothing satisfaction.
What Ingredients You Will Need
This recipe uses simple, wholesome ingredients to deliver bold flavor and satisfying texture without the fuss. The magic happens in the contrast between the tangy cheesecake base and the smooth, sweet chocolate layers. You don’t need exotic spices or hard-to-find items.
Here is what you’ll need to gather:
- For the Cheesecake Base:
- 8 oz cream cheese, softened to room temperature. This is crucial. If it’s cold, you’ll get lumps. I recommend using a block cream cheese rather than the tub spreadable kind for the best structure.
- 1/2 cup powdered sugar, sifted. Sifting prevents gritty pockets in your dip. It dissolves faster and gives that smooth, bakery-style finish.
- 1 teaspoon vanilla extract. Pure vanilla is best here. It balances the tang of the cheese.
- 1/4 cup heavy cream. This thins the mixture just enough to make it dip-able without making it runny.
- For the Chocolate Layers:
- 1/2 cup semi-sweet chocolate chips. I prefer Ghirardelli or Toblerone for their smooth melt. Semi-sweet offers a nice balance so the dip isn’t cloyingly sweet.
- 1/2 cup white chocolate chips. These create the “web” lines. Look for high-quality white chocolate that melts evenly. Cheap white chocolate can seize up easily.
- Black food coloring gel. Gel coloring is essential here. Liquid food coloring will thin out your chocolate and make it grainy. Gel keeps the texture intact.
- For the Web Swirl:
- A toothpick or a fine-tip skewer. You need something thin to create the delicate strands. A knife is too wide.
If you want to get fancy, you can add a pinch of sea salt on top after swirling. It adds a professional touch and cuts through the sweetness. Also, if you’re allergic to dairy, you can use a vegan cream cheese alternative, though the texture might be slightly different. For the chocolate, dark chocolate chips work if you want less sweetness, but the visual contrast of white on black is what gives it that spider web look.
Equipment Needed
You don’t need a lot of fancy gear for this, but having the right tools makes the difference between a messy kitchen and a smooth process.
- Microwave-Safe Bowl: You need a bowl that fits in your microwave easily. Glass is best because you can see the melting process. Avoid plastic if possible, as it can retain odors and stains from the black food coloring.
- Electric Hand Mixer or Whisk: While you can use a spoon, an electric mixer ensures the cream cheese base is silky smooth. A whisk works if you’re strong, but it takes more arm effort.
- Small Microwave-Safe Mugs or Bowls: You’ll need two small containers to melt the white and black chocolate separately. Small mugs work perfectly here.
- Toothpicks: You’ll need a box. You might break a few or use them all up trying to get that perfect web pattern. Keep extras nearby.
- Spatula: A silicone spatula is great for scraping the chocolate out of the mugs. It helps you get every bit of the mixture into your serving dish.
If you don’t have a microwave, you can use a double boiler setup. Place a heatproof bowl over a pot of simmering water. This gives you more control and prevents scorching. Just be careful not to let the bowl touch the water. Also, make sure your serving dish is shallow. A wide, flat bowl works best for swirling the web pattern. A deep bowl hides the design.
Preparation Method
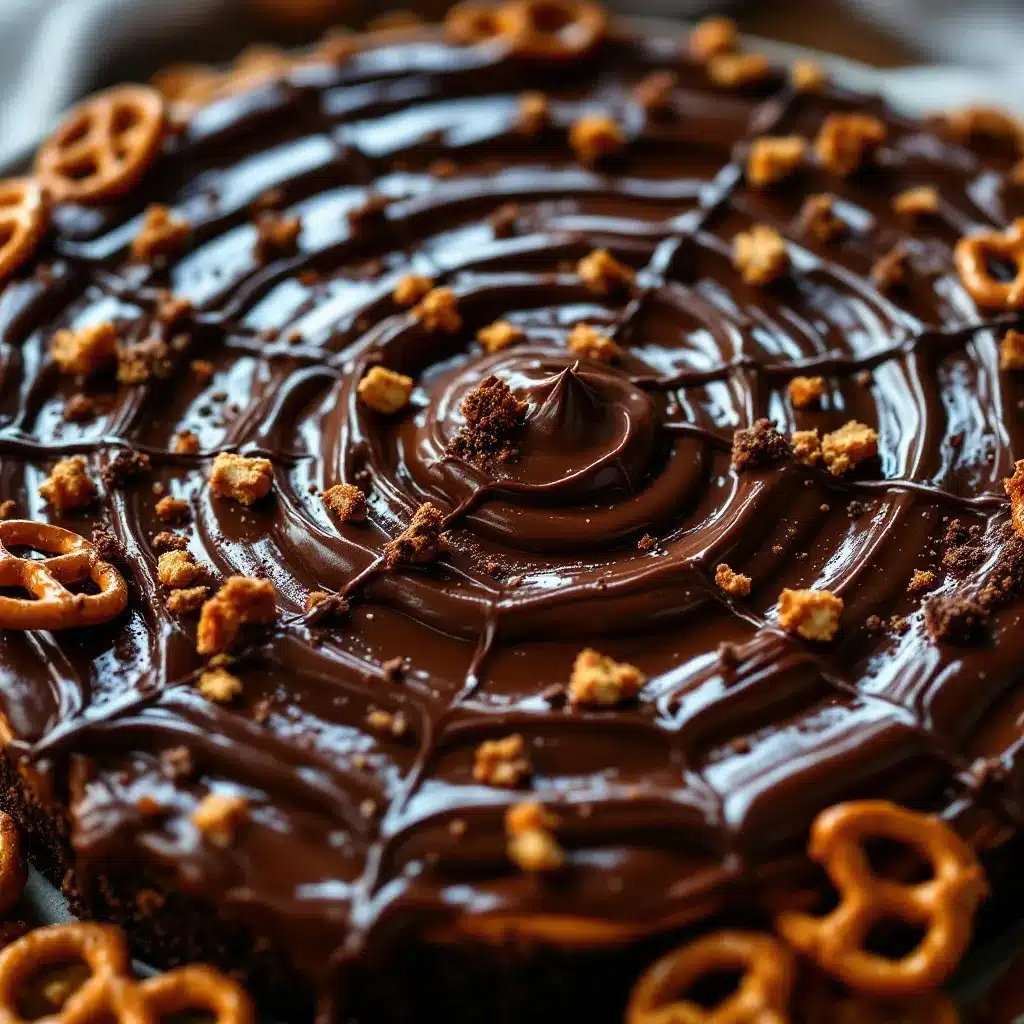
Making this dip is straightforward, but timing is everything. Follow these steps closely to get that perfect web effect.
- Prepare the Cheesecake Base (5 minutes): In your microwave-safe bowl, combine the softened cream cheese, powdered sugar, vanilla, and heavy cream. Beat with an electric mixer on medium speed until smooth and creamy. If you see lumps, keep mixing. It should look like frosting. Scrape down the sides of the bowl to ensure everything is incorporated. Set this aside. It should be at room temperature.
- Melt the White Chocolate (2 minutes): Place the white chocolate chips in one of your small mugs. Microwave in 30-second intervals, stirring between each. Stop when there are still a few small unmelted bits. Stir vigorously; the residual heat will melt the rest. Do not overheat, or the chocolate will seize. Let it cool for a minute so it’s warm but not hot.
- Melt the Black Chocolate (2 minutes): In the second mug, combine the semi-sweet chocolate chips and the black gel food coloring. Start with 1/2 teaspoon of gel color. Microwave in 30-second intervals, stirring between each. The color will deepen as it cools slightly. Add more gel color if you want it darker, but remember, black chocolate hides mistakes well. Stir until completely smooth and glossy.
- Assemble the Base Layer (2 minutes): Pour the cheesecake mixture into your serving dish. Spread it out evenly with a spatula. The surface should be flat and smooth. This is your canvas. If it’s too thick, the chocolate swirls won’t show through clearly.
- Add the Chocolate Layers (3 minutes): Drizzle the white chocolate over the cheesecake base in random lines. Don’t worry about patterns yet. Just cover the surface. Then, drizzle the black chocolate over the white lines. The black should partially cover the white. You want some white showing through, as that will become the web.
- Create the Web Swirl (3 minutes): This is the fun part. Take a toothpick and start at the center of the dish. Gently drag the toothpick outward in a spiral motion. Then, drag it back toward the center at an angle. Repeat this, creating concentric circles and radial lines. Work quickly before the chocolate sets. The goal is to create a spider web effect. Don’t press too hard, or you’ll mix the colors into gray. Just glide the toothpick on the surface.
- Set and Serve (10 minutes): Place the dip in the refrigerator for 10-15 minutes to let the chocolate set. This helps the web pattern stay crisp. Once set, serve with apple slices, pretzels, or cookies.
Troubleshooting: If the chocolate is too thick to swirl, microwave it for 10 more seconds. If it’s too thin, let it cool longer. The consistency should be like honey. If the web pattern gets muddy, start over with a fresh swirl. It’s easier to fix than to salvage a gray mess.
Cooking Tips & Techniques
Professional chefs know that temperature control is key in chocolate work. Here are some tips to ensure your dip turns out perfectly every time.
- Room Temperature is Non-Negotiable: Cold cream cheese creates lumps. If you forgot to soften it, cut it into cubes and let it sit for 30 minutes. Microwaving it for 10 seconds can help, but be careful not to melt it.
- Don’t Overmix: Once you add the heavy cream, mix just until combined. Overmixing can incorporate too much air, making the dip fluffy instead of dense and creamy.
- Use Gel Coloring: I cannot stress this enough. Liquid food coloring contains water. Water and chocolate don’t mix. It will cause the chocolate to seize and become grainy. Gel coloring has no water content, so it keeps the chocolate smooth.
- Work Quickly: Chocolate sets fast. Have your toothpick ready before you drizzle the chocolate. If you hesitate, the lines will harden, and you won’t be able to swirl them.
- Clean Toothpicks: Use a fresh toothpick for each swirl if you’re making multiple dips. A dirty toothpick will drag up old chocolate and ruin the pattern.
I once tried to use a fork for the swirls. Big mistake. The tines were too wide, and I ended up with thick, uneven bands instead of a delicate web. Stick to the toothpick. It gives you the precision you need. Also, don’t be afraid to make mistakes. If the web looks messy, just swirl it again. Sometimes a “messy” web looks more organic and realistic.
Variations & Adaptations
This recipe is versatile. You can tweak it to fit your dietary needs or flavor preferences.
- Gluten-Free Option: Use gluten-free chocolate chips and serve with gluten-free pretzels or rice crackers. Most chocolate chips are naturally gluten-free, but check the label for cross-contamination warnings.
- Low-Sugar Option: Substitute the powdered sugar with a monk fruit or erythritol-based sweetener. Use sugar-free chocolate chips. The texture might be slightly different, but the flavor will still be great.
- Dairy-Free Option: Use vegan cream cheese and dairy-free chocolate chips. Coconut milk can be used instead of heavy cream for a richer, tropical twist. It works surprisingly well.
- Flavor Variations: Add a teaspoon of orange zest to the cheesecake base for a chocolate-orange flavor. Or, add a pinch of chili powder for a spicy kick. The sweetness balances the heat nicely.
- Seasonal Twist: For Thanksgiving, use orange and brown food coloring. For Christmas, use red and green. The technique stays the same, but the colors change the vibe.
I’ve tried adding crushed peppermint candies on top before the chocolate sets. It looks festive and adds a nice crunch. It’s a great variation for winter holidays. Just sprinkle them on gently so they don’t sink too far into the dip.
Serving & Storage Suggestions
Presentation matters. Serve this dip in a clear glass bowl to show off the web pattern. Surround the bowl with your choice of dippers.
- Dippers: Apple slices are classic. Pretzel rods add saltiness. Graham crackers are a safe bet for kids. Cookie dough balls are decadent and fun.
- Temperature: Serve the dip chilled. It’s thicker and holds its shape better. If it gets too warm, the chocolate may soften and lose the web effect.
- Storage: Store leftovers in an airtight container in the refrigerator for up to 3 days. The chocolate will harden in the fridge, so let it sit at room temperature for 10 minutes before serving again.
- Reheating: Do not microwave the dip. It will melt the web pattern. If you need to soften it, let it sit out for a while. If it’s too hard, you can gently warm the bowl by placing it in a warm oven for a minute.
- Flavor Development: The flavors meld together over time. The cheesecake base becomes slightly tangier as it sits. It’s good the next day, but best on the day it’s made.
I usually make this dip the morning of the party. It has time to set properly, and the flavors have time to blend. It’s a make-ahead dessert that saves you stress later. Just remember to take it out of the fridge 15 minutes before guests arrive.
Nutritional Information & Benefits
This dip is rich in calories and sugar, so it’s best enjoyed in moderation. A typical serving (about 2 tablespoons) contains approximately 150-200 calories, depending on the dippers.
- Key Ingredients: Cream cheese provides calcium and protein. Dark chocolate offers antioxidants. Apples add fiber and vitamins.
- Dietary Considerations: This recipe is not low-carb or keto-friendly due to the sugar and chocolate. However, it can be adapted as mentioned in the variations section.
- Allergens: Contains dairy and potential tree nuts (depending on chocolate brand). Always check labels.
- Wellness Perspective: While not a health food, it’s a fun way to enjoy a treat without baking. It’s less messy than cake and easier to control portions than a whole dessert.
I like to think of this as a “special occasion” treat. It’s not something you eat every day, but it’s a fun way to celebrate. Balance it with healthy dippers like fruit to add some nutritional value to the snack.
Conclusion
This Spooky Spider Web Chocolate Cheesecake Dip is more than just a Halloween treat. It’s a fun, interactive dessert that brings people together. The visual appeal is undeniable, and the taste is universally loved. Whether you’re a seasoned baker or a beginner, this recipe is achievable and rewarding.
I encourage you to customize it. Try different dippers, add spices, or change the colors. Make it your own. I love this recipe because it’s simple yet impressive. It’s the kind of dish that gets compliments and asks for the recipe.
Please try it and let me know how it turns out! Share your photos on social media and tag me. I’d love to see your spider web creations. If you have any questions, leave a comment below. Happy Halloween, and happy dipping!
Frequently Asked Questions
Can I make this dip ahead of time?
Yes, you can make it up to 24 hours in advance. Store it in the refrigerator. Let it come to room temperature for 15 minutes before serving to soften the chocolate slightly.
Why is my chocolate seizing?
Chocolate seizes when it comes into contact with water. Make sure your bowls and utensils are completely dry. Also, avoid using liquid food coloring. Use gel coloring instead.
What dippers go best with this dip?
Apple slices, pretzel rods, graham crackers, and cookie dough balls are all excellent choices. The saltiness of pretzels pairs especially well with the sweet chocolate.
Can I use milk chocolate instead of semi-sweet?
Yes, you can. Milk chocolate is sweeter, so you might want to reduce the powdered sugar in the cheesecake base slightly. The web effect will still work, but the contrast might be less stark.
How long does the dip last in the fridge?
It lasts for about 3 days in an airtight container. The texture may change slightly as it chills, but it will still be delicious. Stir it gently before serving if it becomes too firm.
Pin This Recipe!
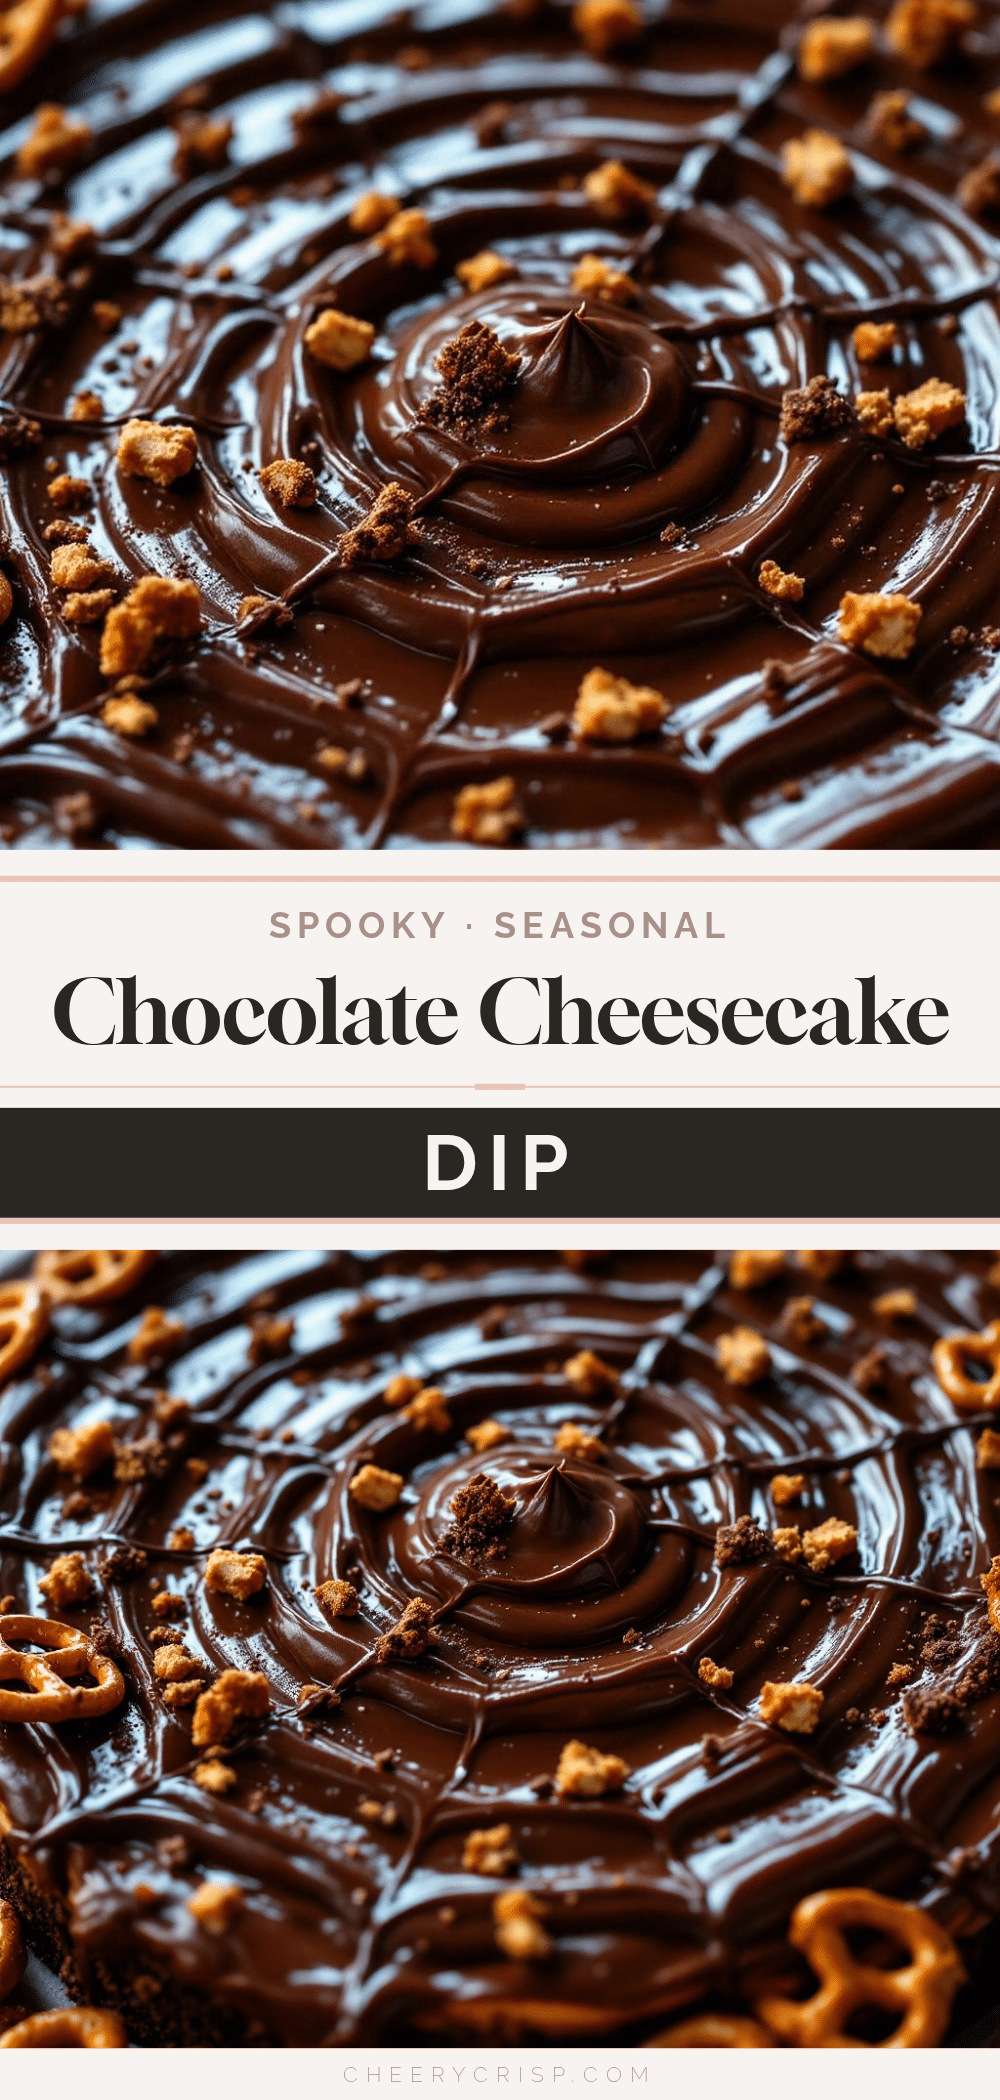
Spooky Spider Web Chocolate Cheesecake Dip

A creamy, no-bake Halloween dessert featuring a tangy cheesecake base topped with a striking black and white chocolate spider web swirl. Perfect for parties and easy to make with simple ingredients.
- Prep Time: 15 minutes
- Cook Time: 0 minutes
- Total Time: 25 minutes
- Yield: 8 servings 1x
- Category: Dessert
- Cuisine: American
Ingredients
- 8 oz cream cheese, softened to room temperature
- 1/2 cup powdered sugar, sifted
- 1 teaspoon vanilla extract
- 1/4 cup heavy cream
- 1/2 cup semi-sweet chocolate chips
- 1/2 cup white chocolate chips
- Black gel food coloring
- Pinch of sea salt (optional)
Instructions
- In a microwave-safe bowl, combine softened cream cheese, sifted powdered sugar, vanilla extract, and heavy cream. Beat with an electric mixer on medium speed until smooth and creamy, scraping down sides as needed. Set aside at room temperature.
- Place white chocolate chips in a small microwave-safe mug. Microwave in 30-second intervals, stirring between each, until mostly melted. Stir vigorously to melt remaining bits using residual heat. Let cool slightly.
- In a second small microwave-safe mug, combine semi-sweet chocolate chips and black gel food coloring. Microwave in 30-second intervals, stirring between each, until smooth and glossy. Adjust color intensity if desired.
- Pour the cheesecake mixture into a shallow serving dish and spread evenly with a spatula to create a flat surface.
- Drizzle the white chocolate over the cheesecake base in random lines. Then, drizzle the black chocolate over the white lines, allowing some white to show through.
- Using a toothpick, start at the center of the dish and gently drag outward in a spiral motion, then drag back toward the center at an angle. Repeat to create concentric circles and radial lines, forming a spider web effect. Work quickly before the chocolate sets.
- Refrigerate the dip for 10-15 minutes to allow the chocolate to set and the pattern to crisp.
- Serve chilled with apple slices, pretzels, or cookies.
Notes
Ensure cream cheese is at room temperature to avoid lumps. Use gel food coloring instead of liquid to prevent the chocolate from seizing. Work quickly when swirling the chocolate as it sets fast. If the chocolate is too thick to swirl, microwave for 10 more seconds; if too thin, let it cool longer. The consistency should be like honey.
Nutrition
- Serving Size: 2 tablespoons
- Calories: 175
- Sugar: 16
- Sodium: 45
- Fat: 12
- Saturated Fat: 7
- Carbohydrates: 18
- Fiber: 1
- Protein: 3
Keywords: Halloween dessert, chocolate dip, cheesecake dip, spider web, no bake, easy treat, party snack



