Love this? Save it for later!
Share the inspiration with your friends
Before the Orange Buttercream Changed Everything
For a while, I just accepted that Halloween dessert bars weren’t going to taste like actual cookies. You know how it is. You see those flashy, orange-tinted bars at the grocery store or in those overly polished magazine spreads, and you expect them to be dense, cakey, and overwhelmingly sweet. Honestly, that was my baseline for years. I’d make a batch of pumpkin bars or some generic sugar cookie squares, and they were fine, sure, but they lacked that specific crunch and chew that makes a sugar cookie a sugar cookie. They felt like a compromise. I wanted the festive look without the gummy texture.
I had been looking for a bar that actually had the right crumb structure without requiring twenty different bowls or three hours of chilling time. Let’s face it, October is busy. Between decorating, carving pumpkins, and dealing with trick-or-treaters, I didn’t have time for elaborate pastry work. I wanted something that looked spooky and professional but tasted like the classic sugar cookies I grew up eating. The gap wasn’t just about flavor; it was about texture and convenience. Most recipes skipped the buttercream or used a cheap powdered sugar glaze that cracked and tasted artificial.
So I kept testing. I tried adding more flour to get that snap. I tried creaming the butter longer. I even experimented with brown butter, which was good, but not quite right for the bright, nostalgic vibe I wanted. The turning point came when I stopped treating it like a cake and started treating it like a thick, pressable dough. That shift changed everything.
Now, when I pull these out of the oven, the kitchen smells like vanilla and orange zest, not just burnt sugar. The edges get slightly crisp, and the center stays soft. It’s not a triumphant revelation, just a quiet realization that I’d finally nailed the balance. This recipe stuck because it’s reliable. It works every single time, even when I’m half-asleep on a Saturday morning. It’s the kind of dessert that disappears before you can take a photo, but you make it anyway because it’s just that good.
Why You’ll Love This Recipe
There is a specific kind of satisfaction in baking these bars. It’s not just about the Halloween theme; it’s about getting the texture right. Most people think sugar cookies are hard to make, but these bars take the best parts of a cut-out cookie and turn them into something far more manageable. You get that buttery, shortbread-like base that crumbles perfectly in your mouth, topped with a frosting that isn’t too sweet.
Here is why this recipe stands out in the crowded world of Halloween desserts:
- Quick & Easy: You can have these from start to finish in under an hour. The dough comes together in one bowl, and the buttercream is whipped up in minutes. It’s perfect for busy weeknights or last-minute party preparations when you realize you forgot to buy treats.
- Simple Ingredients: No fancy grocery trips needed. You likely already have flour, butter, sugar, eggs, and vanilla in your kitchen. The only special item is orange extract or zest, which adds a bright flavor that cuts through the richness of the sugar.
- Perfect for Parties: These are great for classroom parties, haunted house events, or cozy dinners. They are finger-food friendly, which means no plates or forks are strictly necessary. Kids love the spooky faces, and adults love that they aren’t cloyingly sweet.
- Crowd-Pleaser: Always gets rave reviews from kids and adults alike. The orange flavor is subtle and sophisticated, not like an artificial candy. It feels like a grown-up treat that kids can still enjoy.
- Unbelievably Delicious: The texture and flavor combo is next-level comfort food. The contrast between the soft, chewy cookie bar and the creamy, tangy orange buttercream is what makes this recipe different from the rest.
What makes this recipe different from the rest is the ratio of butter to flour. I tested several versions, and this one hits that sweet spot where the bar holds its shape when cut but melts on your tongue. Whether it is a special technique like chilling the dough briefly or a perfectly balanced seasoning profile with a pinch of salt, make it clear this isn’t just another version—it’s your best version. It’s comfort food reimagined—faster, easier, but with the same soul-soothing satisfaction. Perfect for impressing guests without stress, or turning a simple meal into something memorable. If you are looking for other easy fall desserts, you might also enjoy these perfect pumpkin cheesecake bars for a different seasonal twist.
What Ingredients You Will Need
This recipe uses simple, wholesome ingredients to deliver bold flavor and satisfying texture without the fuss. The beauty of sugar cookie bars lies in the quality of the basics. Since there are so few components, each one needs to do heavy lifting. You want unsalted butter for control over the saltiness, and high-quality vanilla for that deep, aromatic base.
Here is what you need to gather:
- All-Purpose Flour: 2 ½ cups. This is your structure. Don’t substitute with cake flour here; you want that slight chew. Sift it if it’s lumpy.
- Unsalted Butter: ½ cup (1 stick), softened. This is crucial. Cold butter won’t cream properly with the sugar, leading to a dense bar. Room temperature butter creates air pockets that make the bars light.
- Granulated Sugar: 1 cup. This provides sweetness and crisp edges. I recommend using a brand like C&H for consistent crystal size.
- Egg: 1 large egg, room temperature. This binds everything together. An egg that is too cold can seize the butter mixture.
- Vanilla Extract: 1 teaspoon. Pure vanilla, not imitation. It adds warmth that complements the orange perfectly.
- Baking Powder: 1 teaspoon. This gives the bars a tiny lift so they aren’t flat like a cracker.
- Salt: ½ teaspoon. This is non-negotiable. It balances the sweetness and enhances the vanilla flavor.
- Orange Zest: From 1 medium orange. Fresh zest is essential. Bottled zest lacks the oils that give that bright pop. If you don’t have fresh oranges, 1 teaspoon of orange extract works, but reduce the zest to zero.
For the orange buttercream, you will need:
- Butter: ½ cup (1 stick), softened. Again, room temperature is key for a smooth frosting.
- Confectioners’ Sugar: 2 cups, sifted. Unsifted sugar will leave lumps in your frosting. I use Domino for its fine texture.
- Orange Extract: 1 to 2 teaspoons. This is where you control the intensity. Start with 1 teaspoon and add more if you want a stronger flavor.
- Milk or Cream: 1 to 2 tablespoons. Adjust for consistency. Heavy cream adds richness, while milk keeps it lighter.
- Food Coloring: Gel-based orange food coloring. Liquid coloring will throw off the moisture balance of the frosting, making it runny. Gel gives you that vibrant Halloween orange without changing the texture.
If you need a gluten-free option, you can swap the all-purpose flour for a 1:1 gluten-free baking blend, though the texture may be slightly more crumbly. For a dairy-free version, use plant-based butter alternatives, but be aware that they can melt faster in the oven, so keep a close eye on the baking time.
Equipment Needed
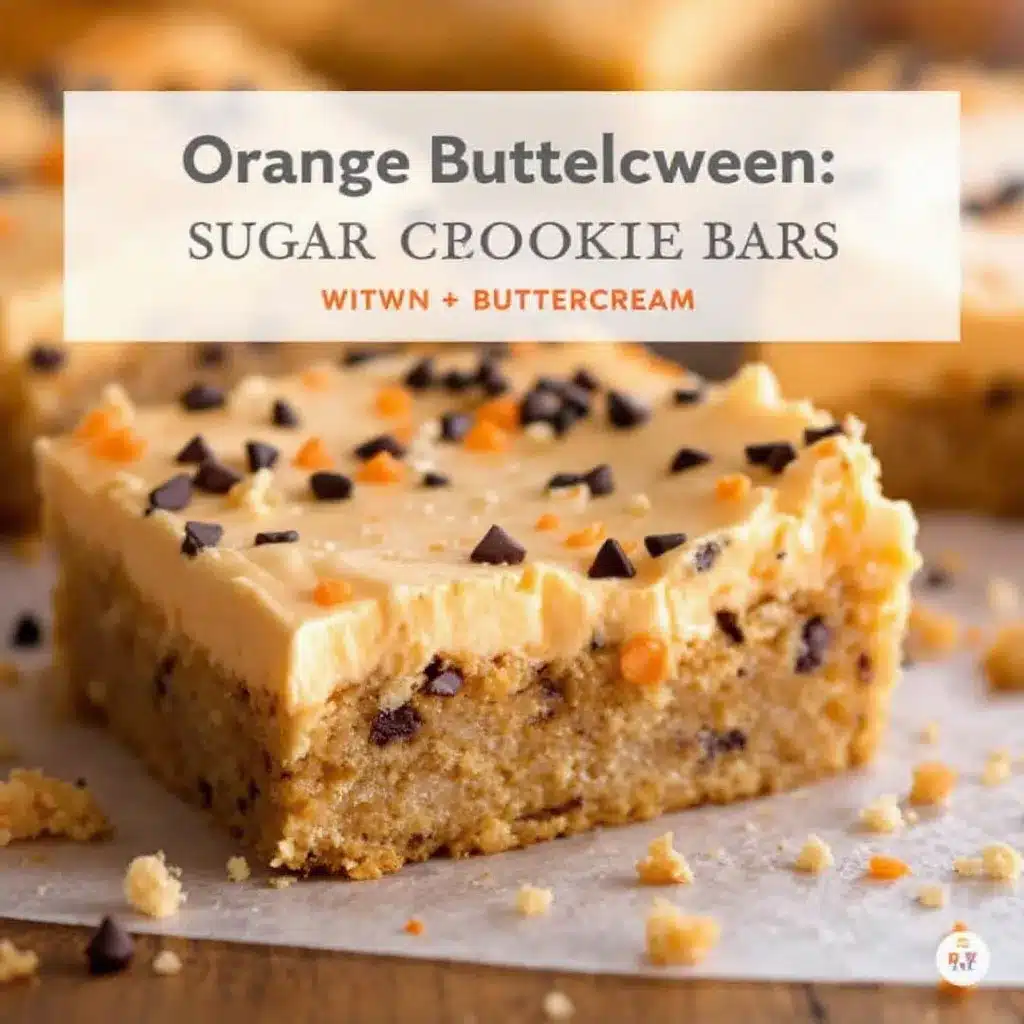
You don’t need a fancy kitchen to make these bars. A few basic tools will get you the best results.
- 9×9 Inch Baking Pan: This is the standard size for bar recipes. It ensures the bars are thick enough to be chewy but thin enough to cook through. Grease it well with butter or line it with parchment paper for easy removal.
- Mixing Bowl: A large bowl is best for creaming the butter and sugar. A glass or ceramic bowl works well because it doesn’t retain heat, keeping the butter from melting too quickly.
- Electric Mixer: Handheld or stand mixer. Creaming the butter and sugar by hand is possible but takes effort. An mixer ensures you incorporate enough air for a light texture.
- Whisk: For mixing the dry ingredients. This breaks up lumps in the flour and baking powder.
- Zester or Microplane: Essential for getting fine orange zest without the bitter white pith. A box grater works too, but go gently.
- Offset Spatula: This is your best friend for spreading the buttercream. It allows you to get into the corners and create a smooth, even layer without digging into the soft cookie bar underneath.
- Piping Bags or Small Ziploc Bags: For drawing the spooky faces. If you don’t have piping bags, just snip a tiny corner off a Ziploc bag filled with frosting.
If you don’t have a 9×9 pan, you can use an 8×8 pan for thicker bars, but you’ll need to increase the baking time by 5-10 minutes. Keep an eye on them so they don’t burn.
Preparation Method
Making these bars is straightforward if you follow the steps carefully. The key is patience with the butter and not overmixing the dough.
- Preheat and Prep: Preheat your oven to 350°F (175°C). Grease a 9×9 inch baking pan with butter or non-stick spray. For easy cleanup, line the pan with parchment paper, leaving an overhang on the sides. This acts as a sling to lift the bars out later.
- Cream the Butter and Sugar: In a large bowl, beat the softened butter and granulated sugar together until light and fluffy. This should take about 2-3 minutes with an electric mixer. You want the mixture to look pale and airy. If the butter is too cold, it won’t blend properly. If it’s too warm, the bars will spread too much.
- Add Wet Ingredients: Add the egg and vanilla extract to the butter mixture. Beat until combined. Then, add the orange zest and mix briefly. The zest will distribute evenly throughout the dough.
- Mix Dry Ingredients: In a separate bowl, whisk together the flour, baking powder, and salt. This ensures even leavening and prevents clumps.
- Combine Dough: Gradually add the dry ingredients to the wet ingredients. Mix on low speed until just combined. Do not overmix. Overmixing develops gluten, which makes the bars tough instead of tender. The dough should come together in a soft, slightly sticky ball.
- Press into Pan: Transfer the dough to the prepared pan. Use your hands or the bottom of a measuring cup to press the dough evenly into the pan. You want it flat and uniform. If the dough is too sticky, wet your hands slightly.
- Bake: Bake for 18-20 minutes, or until the edges are lightly golden. The center should still look slightly soft. Do not overbake, or they will be dry. The bars will continue to cook slightly as they cool.
- Cool Completely: Let the bars cool in the pan on a wire rack. This is crucial. If you frost warm bars, the buttercream will melt and slide off. It takes about 30-45 minutes to cool completely.
- Make the Buttercream: While the bars cool, beat the softened butter until creamy. Gradually add the sifted confectioners’ sugar, one cup at a time, beating on low speed. Once combined, add the orange extract and 1 tablespoon of milk. Beat on high speed for 2-3 minutes until fluffy. Add more milk if needed for spreadability.
- Color and Frost: Add gel orange food coloring to the frosting. Mix until you reach your desired shade. Spread the frosting evenly over the cooled bars using an offset spatula.
- Decorate: Fill a small Ziploc bag with a bit of the orange frosting and snip a tiny corner. Draw spooky faces, bats, or ghosts on the bars. Alternatively, use black icing gel for the faces for better contrast.
Cooking Tips & Techniques
Getting the texture right is the hardest part of sugar cookie bars. Here are some tips I’ve learned through trial and error.
- Butter Temperature: This is the most important factor. Your butter should be soft enough to leave an indent when you press it, but not so soft that it’s oily. If it melts in your hand, let it sit out for 10 more minutes.
- Don’t Overmix: Once you add the flour, mix only until no streaks remain. Overmixing leads to tough bars. It’s better to have a few tiny lumps than to overwork the dough.
- Chill the Dough (Optional): If your kitchen is very warm, the dough might be too soft to press. Chill it in the fridge for 15 minutes before pressing. This helps it hold its shape better.
- Watch the Bake Time: Every oven is different. Start checking at 18 minutes. The edges should be just starting to turn golden. If they are dark brown, they will be dry. They should look underdone in the center.
- Cooling is Key: I know it’s tempting to frost them early, but wait. Warm bars will ruin your frosting. Use this time to whip up the buttercream or decorate other things.
- Food Coloring: Use gel coloring. Liquid food coloring adds too much water, which can make the frosting grainy or runny. Gel gives vibrant color without changing the consistency.
A common mistake is making the bars too thick. If you use a larger pan, the bars will be thin and crisp, which is nice, but they might break easily. Stick to the 9×9 pan for the best chewy texture. Also, don’t skip the salt. It balances the sweetness and makes the orange flavor pop.
Variations & Adaptations
While the classic orange version is my favorite, there are plenty of ways to customize these bars.
- Pumpkin Spice: Swap the orange zest for 1 tablespoon of pumpkin pie spice. Use pumpkin puree instead of the egg for a moister bar. Add a cinnamon cream cheese frosting instead of orange buttercream.
- Black and Orange: Divide the frosting in half. Color one half black and keep the other orange. Swirl them together on top of the bars for a marbled effect. This looks very spooky and professional.
- Gluten-Free: Use a 1:1 gluten-free flour blend. The texture will be slightly more crumbly, so handle them gently when cutting. Add an extra egg yolk to help bind them.
- Dairy-Free: Use plant-based butter for both the bars and the frosting. The flavor will be slightly different, but still delicious. You may need to chill the frosting longer to spread it.
- Vanilla Bean: Skip the orange zest and extract. Use a real vanilla bean pod, scraping the seeds into the dough. Top with a simple vanilla buttercream. This is a classic alternative that appeals to those who don’t like orange.
I once tried making these with brown butter, and while they tasted amazing, they spread too much and became too crispy. For bars, white butter is better. If you want a nutty flavor, add ½ cup of finely ground almonds to the flour, but reduce the flour by 2 tablespoons. This adds a nice texture and flavor complexity.
Serving & Storage Suggestions
These bars are best served at room temperature. Cold bars can be hard and the frosting might be too firm. Let them sit out for 15 minutes before serving.
- Pairing: They go well with a glass of cold milk or a cup of hot coffee. The orange flavor pairs nicely with black tea or chai. For a Halloween party, serve them with pumpkin chai latte for a themed drink.
- Storage: Store in an airtight container at room temperature for up to 3 days. If your kitchen is hot, store them in the fridge. Let them come to room temperature before eating.
- Freezing: You can freeze the unfrosted bars for up to 2 months. Wrap them tightly in plastic wrap and foil. Thaw at room temperature before frosting. You can also freeze frosted bars, but the frosting may change texture slightly. Thaw slowly in the fridge.
- Reheating: If you want them warm, microwave a bar for 10-15 seconds. This makes the frosting melt slightly and the bar extra soft.
The flavors meld together over time. Letting the bars sit for a few hours allows the frosting to soak into the top layer slightly, creating a delicious hybrid texture. This is why they often taste better the next day.
Nutritional Information & Benefits
These bars are a treat, so enjoy them in moderation. A typical bar (1/16 of the pan) contains approximately:
- Calories: 220
- Fat: 9g
- Carbohydrates: 34g
- Protein: 2g
- Sugar: 24g
- Fiber: 0.5g
The main ingredients are refined carbohydrates and sugar, so they are not a health food. However, using real vanilla and orange zest adds some aromatic compounds that make the sweetness feel more complex. If you are watching your sugar intake, you can reduce the sugar in the dough by ¼ cup, though this may affect the texture. The orange zest provides a small amount of vitamin C, but not enough to call it a health benefit. These are best enjoyed as a special occasion dessert, perfect for Halloween or fall gatherings. They offer a comforting, familiar taste that brings people together.
Conclusion
Spooky Halloween Sugar Cookie Bars with Orange Buttercream are a festive, delicious treat that is easier to make than you think. They combine the classic taste of sugar cookies with a bright, seasonal twist that is perfect for autumn. The bars are soft, chewy, and topped with a creamy orange frosting that is both fun and flavorful.
I love this recipe because it’s reliable and always gets a reaction. Whether you are making them for a party or just to satisfy a sweet tooth, they never disappoint. I encourage you to try them and customize them to your liking. Add some black icing for faces, or mix in some sprinkles. Make it your own.
If you make these bars, I’d love to hear how they turned out. Leave a comment below with your thoughts or share a photo of your spooky creations. Don’t forget to share this recipe with friends who love Halloween desserts. Happy baking, and enjoy every spooky bite!
FAQs
Can I use orange juice instead of orange zest?
No, orange juice adds too much liquid to the dough, which can make the bars soggy. Orange zest provides the flavor without adding moisture. If you must use juice, reduce the milk in the frosting by half, but zest is highly recommended.
How do I prevent the frosting from sliding off?
Make sure the bars are completely cool before frosting. Warm bars will melt the buttercream. Also, ensure your frosting is not too thin. It should be thick enough to hold its shape when spread.
Can I make these bars ahead of time?
Yes, you can make the bars up to 2 days in advance. Store them in an airtight container at room temperature. Frost them the day you plan to serve them for the best presentation.
What if I don’t have gel food coloring?
You can use liquid food coloring, but you will need more of it to get a vibrant orange. This may make the frosting slightly runnier, so add less milk to compensate. Gel coloring is preferred for its intensity and consistency.
Can I freeze the unfrosted bars?
Yes, wrap the cooled bars tightly in plastic wrap and foil. They can be frozen for up to 2 months. Thaw at room temperature before frosting. This is a great way to prepare for Halloween in advance.
Pin This Recipe!
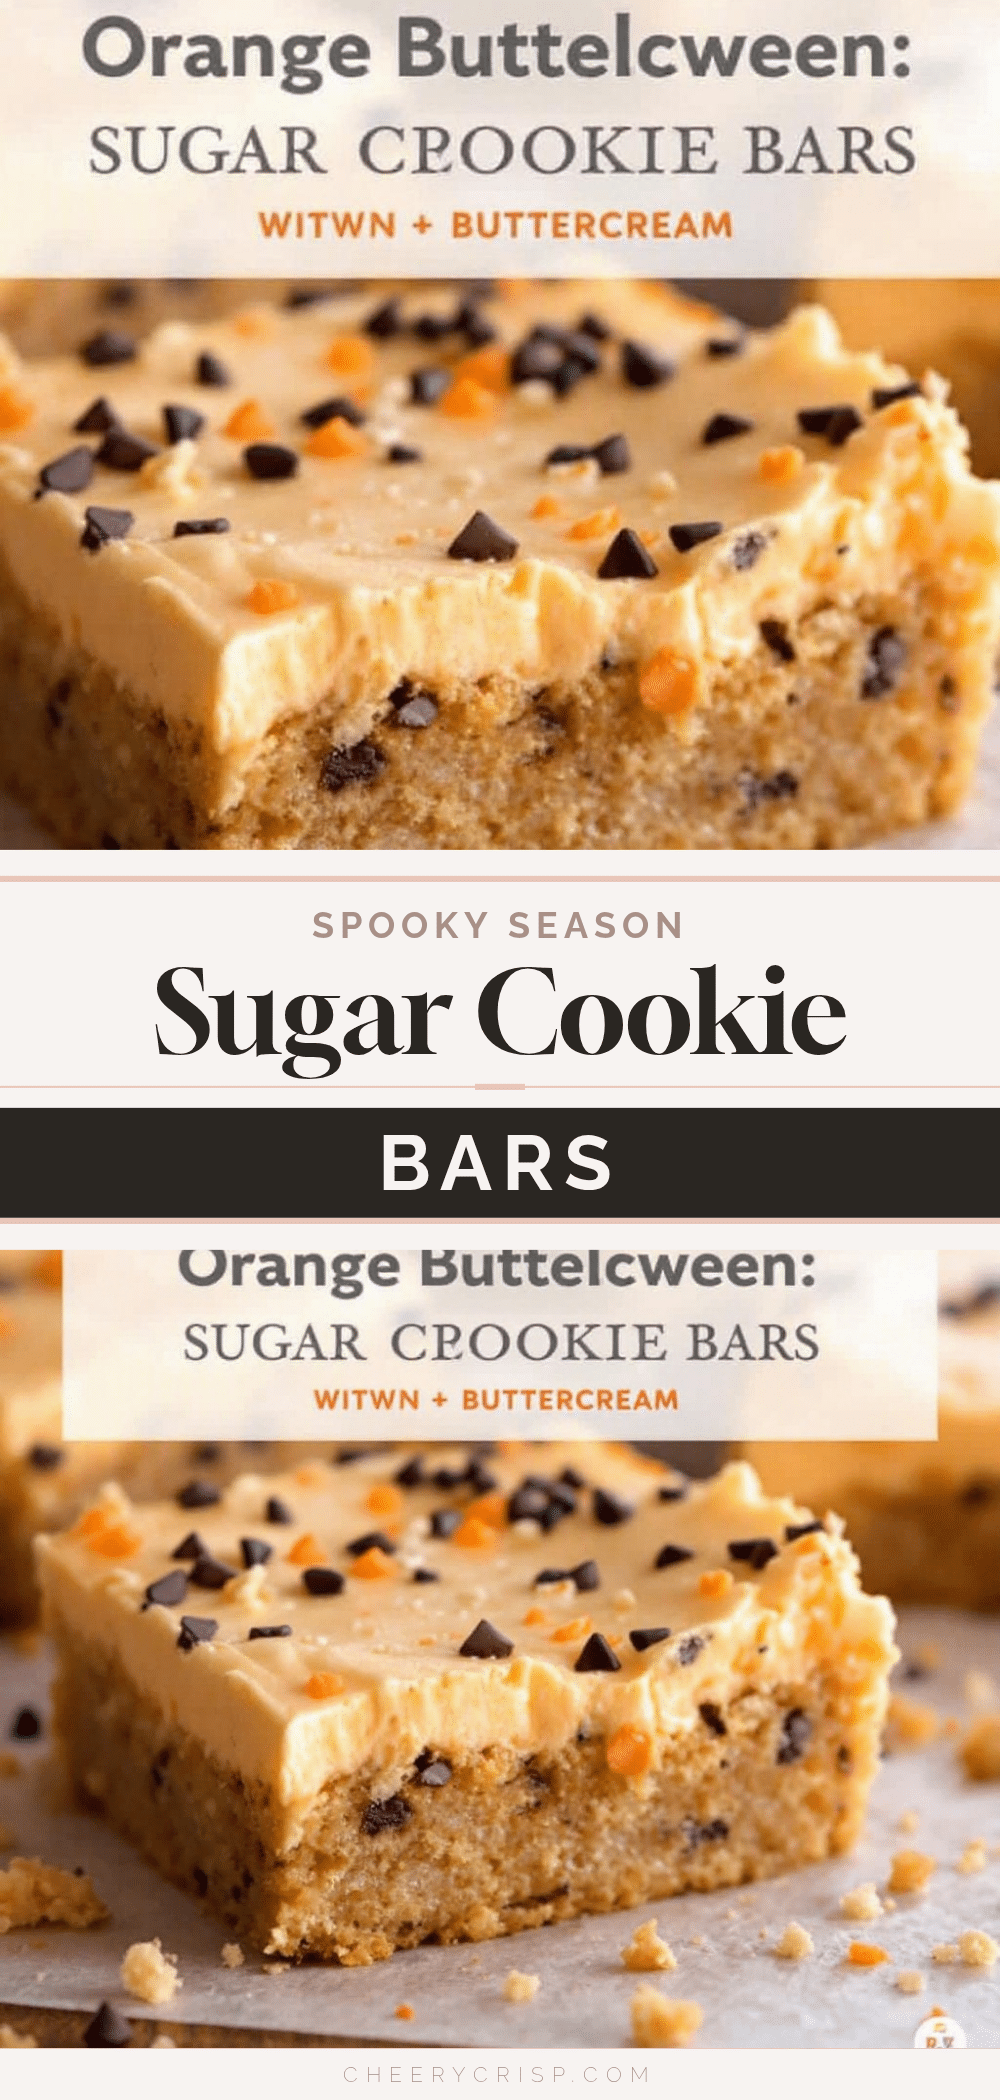
Spooky Halloween Sugar Cookie Bars
Soft, chewy sugar cookie bars with a bright orange buttercream frosting, designed for easy preparation and festive Halloween appeal.
- Prep Time: 15 minutes
- Cook Time: 20 minutes
- Total Time: 45 minutes
- Yield: 16 servings 1x
- Category: Dessert
- Cuisine: American
Ingredients
- 2 ½ cups All-Purpose Flour
- ½ cup (1 stick) Unsalted Butter, softened
- 1 cup Granulated Sugar
- 1 large Egg, room temperature
- 1 teaspoon Vanilla Extract
- 1 teaspoon Baking Powder
- ½ teaspoon Salt
- Zest of 1 medium Orange
- ½ cup (1 stick) Butter, softened (for frosting)
- 2 cups Confectioners’ Sugar, sifted
- 1 to 2 teaspoons Orange Extract
- 1 to 2 tablespoons Milk or Cream
- Gel-based orange food coloring
Instructions
- Preheat oven to 350°F (175°C). Grease a 9×9 inch baking pan and line with parchment paper.
- In a large bowl, beat softened butter and granulated sugar until light and fluffy (2-3 minutes).
- Add egg and vanilla extract; beat until combined. Mix in orange zest briefly.
- In a separate bowl, whisk together flour, baking powder, and salt.
- Gradually add dry ingredients to wet ingredients, mixing on low speed until just combined. Do not overmix.
- Press dough evenly into the prepared pan.
- Bake for 18-20 minutes until edges are lightly golden. Center should look slightly soft.
- Cool bars completely in the pan on a wire rack (30-45 minutes).
- While bars cool, beat frosting butter until creamy. Gradually add confectioners’ sugar, then orange extract and milk. Beat on high until fluffy.
- Add gel food coloring to frosting and mix to desired shade.
- Spread frosting evenly over cooled bars using an offset spatula.
- Decorate with spooky faces using remaining frosting in a piping bag or snipped Ziploc bag.
Notes
Ensure butter is room temperature for proper creaming. Do not overmix the dough to avoid tough bars. Bars must be completely cool before frosting to prevent melting. Use gel food coloring for best texture and color intensity.
Nutrition
- Serving Size: 1 bar (1/16 of the p
- Calories: 220
- Sugar: 24
- Sodium: 150
- Fat: 9
- Saturated Fat: 5
- Carbohydrates: 34
- Fiber: 0.5
- Protein: 2
Keywords: Halloween, sugar cookie bars, orange buttercream, fall dessert, easy baking, spooky treats



