Love this? Save it for later!
Share the inspiration with your friends
The pumpkin puree was open. Half a can, staring at me from the fridge shelf, and I had exactly one overly ripe banana on the counter. My friend was coming over in two hours, and I had promised her something warm and homemade to go with her afternoon coffee. I had no plan. But I had flour, butter, eggs, and a sudden, stubborn idea. What if I just… combined everything? The pumpkin and the banana. It felt a little risky, honestly. They’re both sweet, both soft, but they live in different worlds—one is fall in a can, the other is breakfast on the go.
So I just started mixing. I mashed that sad, spotty banana into the pumpkin, added the usual suspects—cinnamon, nutmeg, a pinch of cloves—and then I grabbed a handful of walnuts because, well, everything is better with a little crunch. The batter came together in one bowl (my favorite kind of cooking, let’s be real), and it smelled like something you’d want to eat on a porch with a blanket. I poured it into a loaf pan, crossed my fingers, and slid it into the oven.
Forty-five minutes later, my kitchen smelled like a bakery and my friend walked in saying, “What *is* that?” That was the moment I knew this Moist Pumpkin Banana Walnut Bread was a keeper. It wasn’t just good—it was the kind of good that makes you close your eyes after the first bite. And honestly, it came from a half-used can of pumpkin and a banana I almost threw away. That’s the kind of recipe you trust.
Why You’ll Love This Recipe
This isn’t just another quick bread recipe. I’ve tested this one more times than I care to admit, tweaking the flour ratio, the banana ripeness, and the spice blend until it was absolutely perfect. Here’s why this Moist Pumpkin Banana Walnut Bread stands out from the rest:
- Perfectly Moist Every Time: The combination of pumpkin puree and overripe banana creates a texture that’s incredibly tender and never dry. No one wants a crumbly, sad slice of bread.
- Simple Pantry Ingredients: You probably have everything you need right now. No fancy flours, no obscure extracts. Just real, whole-food ingredients.
- One-Bowl Wonder: I hate doing dishes as much as you do. This entire recipe comes together in a single mixing bowl. Less cleanup means more time to actually enjoy your bread.
- Perfect Fall Comfort: This bread is the ultimate cozy treat. It’s great for breakfast with a smear of butter, an afternoon snack with coffee, or even a simple dessert. It pairs beautifully with a warm bowl of Creamy One Pot Chicken and Wild Rice Soup for a complete comfort meal.
- Crowd-Pleaser: I’ve brought this to brunches, Thanksgiving dinners, and casual get-togethers. It disappears every single time. Kids love it, adults love it, and it always gets rave reviews.
- Freezer-Friendly: Make a double batch! This bread freezes beautifully, so you can have a slice of fall whenever the craving hits.
What makes my version different? It’s the perfect balance. Many pumpkin breads are too dense, and banana breads can be overly sweet. This recipe marries the earthy sweetness of pumpkin with the intense, fruity sweetness of banana, all while staying light and tender. The walnuts add that essential textural contrast—a little crunch in every bite. It’s comfort food reimagined: faster, simpler, and with that same soul-soothing satisfaction.
What Ingredients You Will Need
This recipe uses simple, wholesome ingredients to deliver bold flavor and satisfying texture without the fuss. Most of these are pantry staples, especially during the fall season. Here’s everything you’ll need and a few notes on why each one matters.
- 1 ½ cups all-purpose flour: The base of our bread. I use unbleached all-purpose flour for the best structure. Spoon and level it into your measuring cup—don’t scoop directly from the bag, or you’ll end up with too much flour and a dry loaf.
- 1 teaspoon baking soda: This is our primary leavening agent. It reacts with the acidity in the pumpkin and banana to help the bread rise and become fluffy.
- ½ teaspoon baking powder: Adds a little extra lift for a tender crumb.
- 1 teaspoon ground cinnamon: The star of the fall spice show. It warms up the entire loaf.
- ½ teaspoon ground nutmeg: Freshly grated is best if you have it, but pre-ground works perfectly too. It adds a sweet, aromatic depth.
- ½ teaspoon ground ginger: A little kick of warmth that complements the pumpkin beautifully.
- ¼ teaspoon ground cloves: Use sparingly—cloves are potent. They add that classic pumpkin pie spice flavor.
- ½ teaspoon salt: Don’t skip this! Salt enhances all the other flavors and balances the sweetness.
- 1 cup pumpkin puree: Make sure you’re using 100% pure pumpkin puree, not pumpkin pie filling (which is pre-sweetened and spiced). Libby’s is my go-to brand for consistent results.
- 1 cup mashed ripe banana: This is crucial. You want bananas that are heavily spotted—almost black. The riper they are, the sweeter and more flavorful your bread will be. I usually mash mine with a fork right in the mixing bowl.
- ⅓ cup unsalted butter, melted: Melted butter gives the bread a rich, tender crumb. If you only have salted butter, just reduce the added salt to ¼ teaspoon.
- ⅔ cup granulated sugar: Provides structure and sweetness. You can reduce this to ½ cup if your bananas are exceptionally sweet.
- ¼ cup packed brown sugar: Brown sugar adds moisture and a subtle molasses flavor that pairs perfectly with the pumpkin and spice.
- 2 large eggs, room temperature: Room temperature eggs incorporate more easily into the batter, creating a smoother, more even crumb. Let them sit on the counter for 15 minutes before starting.
- 1 teaspoon vanilla extract: Pure vanilla extract is always best. It rounds out the flavors and makes everything taste more “baked.”
- ¾ cup chopped walnuts: Toast them lightly in a dry pan for 3-4 minutes before adding to the batter. It wakes up their flavor and makes them extra crunchy. Reserve a handful to sprinkle on top.
Equipment Needed
You don’t need a professional bakery setup for this one. Here’s what you’ll need:
- 9×5-inch Loaf Pan: This is the standard size. If you use an 8×4-inch pan, you’ll need to increase the baking time by 5-10 minutes. I recommend a light-colored metal pan for even browning.
- Large Mixing Bowl: One bowl is all you need for the entire batter.
- Whisk: For combining the dry ingredients.
- Wooden Spoon or Rubber Spatula: For folding the wet and dry ingredients together. Don’t overmix!
- Measuring Cups and Spoons: Accurate measurements are key to baking success.
- Parchment Paper: Lining your loaf pan makes removal a breeze. I always leave an overhang on the long sides to use as “handles.”
- Cooling Rack: Essential for letting the bread cool completely and evenly, which prevents a soggy bottom.
- Knife or Skewer: For the toothpick test to check for doneness.
If you don’t have a loaf pan, you can bake this batter as muffins! Just line a muffin tin with paper liners and bake at 350°F for 18-22 minutes. I’ve done this many times when I wanted a grab-and-go breakfast.
Preparation Method
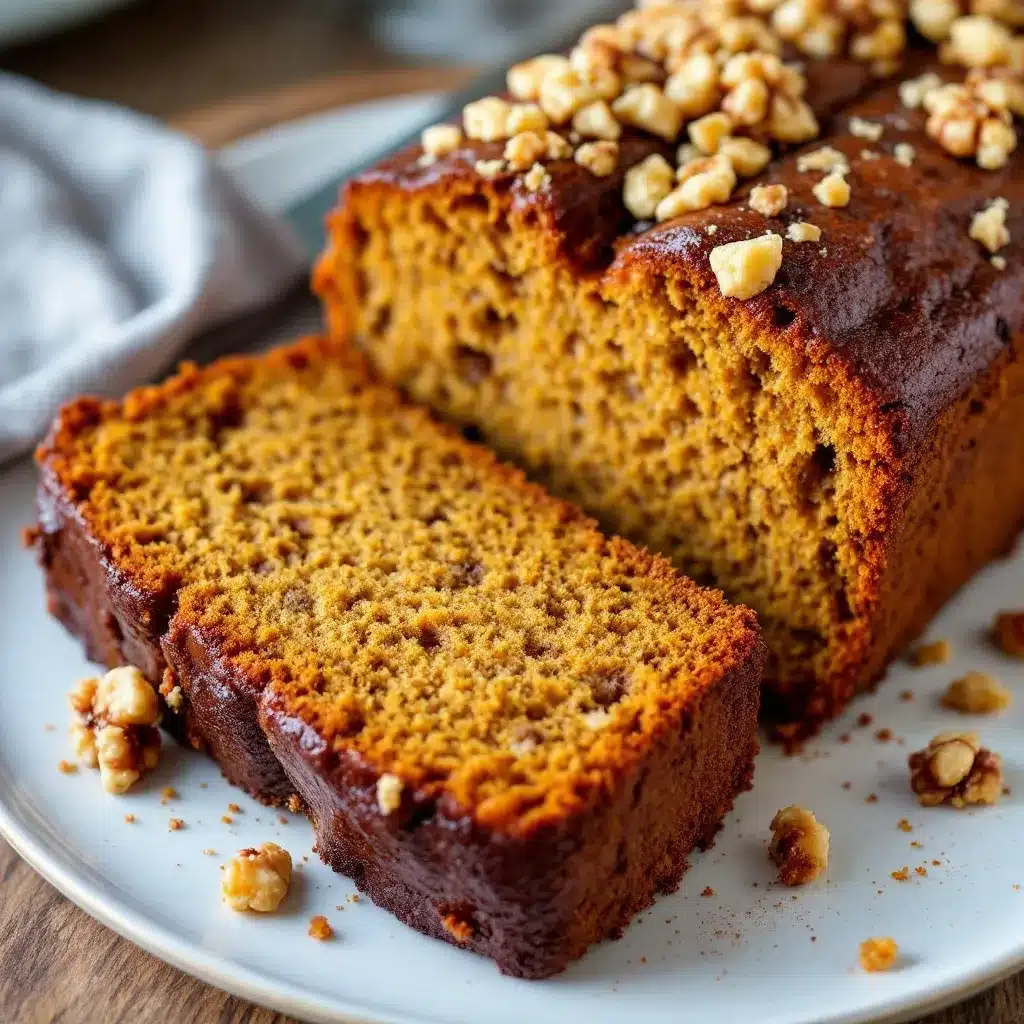
Alright, let’s get baking! This process is simple and forgiving, but a few key steps make all the difference. Follow these numbered steps for perfect results every time.
- Preheat and Prep: Preheat your oven to 350°F (175°C). Grease your 9×5-inch loaf pan with butter or non-stick spray, then line it with a strip of parchment paper, leaving an overhang on the two long sides. This is your best friend for lifting the finished bread out cleanly.
- Combine Dry Ingredients: In your large mixing bowl, whisk together the 1 ½ cups all-purpose flour, 1 teaspoon baking soda, ½ teaspoon baking powder, 1 teaspoon cinnamon, ½ teaspoon nutmeg, ½ teaspoon ginger, ¼ teaspoon cloves, and ½ teaspoon salt. Whisk for about 15 seconds to ensure everything is evenly distributed. Set this aside.
- Mash and Mix the Wet Ingredients: In a separate, smaller bowl (or just clear a space in your big bowl if you’re brave), mash your overripe banana with a fork until it’s mostly smooth with a few small lumps. In the large bowl with the dry ingredients, make a well in the center. Add the mashed banana, 1 cup pumpkin puree, ⅓ cup melted butter (cooled slightly), ⅔ cup granulated sugar, ¼ cup packed brown sugar, 2 room-temperature eggs, and 1 teaspoon vanilla extract.
- Fold Gently: Using a rubber spatula or wooden spoon, gently fold the wet ingredients into the dry ingredients. Use a folding motion—scrape down the sides and lift the batter up from the bottom. Stop mixing as soon as you no longer see streaks of dry flour. A few small lumps are totally fine. Overmixing at this stage will develop the gluten too much and result in a tough, dense bread.
- Add the Walnuts: Gently fold in the ¾ cup of chopped walnuts (reserving about 2 tablespoons for the top). Fold just until they’re evenly distributed.
- Pour and Top: Pour the batter into your prepared loaf pan. Use the spatula to spread it into an even layer. Sprinkle the reserved walnuts on top, pressing them down very lightly so they stick.
- Bake to Perfection: Place the pan in the center of the preheated oven. Bake for 50-60 minutes. Start checking at the 45-minute mark. The bread is done when a wooden skewer or toothpick inserted into the center comes out clean or with just a few moist crumbs attached. The top should be golden brown and spring back when lightly touched.
- Cool Completely: Remove the pan from the oven and place it on a cooling rack. Let the bread cool in the pan for 15 minutes. Then, using the parchment paper overhang, lift the bread out of the pan and transfer it directly to the cooling rack. Let it cool completely, at least 1 hour, before slicing. This is the hardest part, I know, but slicing it warm will cause it to crumble and become gummy.
Cooking Tips & Techniques
I’ve made this bread more times than I can count, and I’ve learned a few things the hard way. Here are my best tips to ensure you get a perfect loaf every single time.
- The Toothpick Test is King: Ovens vary wildly. My old oven would bake this in 50 minutes, but my new one takes 58. Don’t rely solely on the timer. Insert a toothpick into the thickest part of the bread. If it comes out clean, it’s done. If it’s wet with batter, give it 5 more minutes.
- Don’t Overmix the Batter: This is the single most common mistake in quick breads. Mix until the flour is just incorporated. Overmixing develops gluten, which makes the bread tough and creates tunnels (large air pockets) inside. A lumpy batter is a good batter.
- Room Temperature Ingredients Matter: Cold eggs can seize the melted butter, creating a lumpy batter. Room temperature ingredients emulsify better, resulting in a smoother, more tender crumb. It takes just 15 minutes on the counter, so plan ahead.
- Toast Your Walnuts: This is a game-changer. Toasting the walnuts in a dry skillet over medium heat for 3-4 minutes, shaking the pan frequently, releases their natural oils and deepens their flavor. It makes them taste warm and buttery instead of raw and bitter.
- Cover if Browning Too Fast: If the top of your bread is getting very dark but the center is still not set (the toothpick test fails), tent the loaf pan loosely with aluminum foil for the last 10-15 minutes of baking. This will prevent the top from burning while the inside finishes cooking.
Variations & Adaptations
This recipe is a fantastic base, and I love playing around with it. Here are a few of my favorite variations:
- Chocolate Chip Pumpkin Banana Bread: Swap the walnuts for 1 cup of semi-sweet or dark chocolate chips. The combination of pumpkin, banana, and chocolate is absolutely divine. I’ve made this version for my Moist Chocolate Chip Pumpkin Bread with Sea Salt fans, and it’s a huge hit.
- Gluten-Free Version: Substitute the all-purpose flour with a high-quality 1:1 gluten-free baking flour blend (like Bob’s Red Mill or King Arthur). Make sure the blend contains xanthan gum. The texture will be slightly more delicate, but it will still be delicious and moist.
- Dairy-Free Version: Use melted coconut oil or a neutral-flavored vegetable oil instead of butter. The bread will be just as moist, with a very subtle coconut flavor if you use coconut oil.
- Spice It Up: Add ½ teaspoon of cardamom or allspice to the spice mix for a more complex, warming flavor profile. Cardamom pairs beautifully with both pumpkin and banana.
- Streusel Topping: For an extra special treat, mix ¼ cup flour, ¼ cup brown sugar, 2 tablespoons cold butter, and ½ teaspoon cinnamon in a small bowl until crumbly. Sprinkle this over the batter before baking for a crunchy, sweet crust.
Serving & Storage Suggestions
This bread is incredibly versatile. Here’s how to serve and store it for the best experience.
Serving: This Moist Pumpkin Banana Walnut Bread is best served at room temperature. Slice it thick and enjoy it plain, or take it to the next level. Toast a slice lightly and spread it with salted butter, cream cheese, or a dollop of maple-flavored Greek yogurt. It’s also fantastic with a hot cup of coffee or a tall glass of cold milk. For a truly decadent breakfast, serve it alongside a Creamy 5-Minute Peanut Butter Protein Smoothie Bowl for a balanced, protein-packed start to your day.
Storage: Store the completely cooled bread in an airtight container or tightly wrapped in plastic wrap at room temperature for up to 4 days. The moisture from the pumpkin and banana actually helps it stay soft for days.
Freezing: This bread freezes like a dream! For the best results, wrap the completely cooled loaf (or individual slices) tightly in a layer of plastic wrap, then a layer of aluminum foil. Freeze for up to 3 months. To thaw, simply leave it on the counter for a few hours or pop an individual slice in the toaster straight from the freezer.
Reheating: My favorite way to reheat a slice is in the toaster oven or air fryer at 350°F for 3-4 minutes. It crisps up the edges slightly while keeping the inside warm and soft. You can also microwave a slice for 15-20 seconds, but it won’t have that same toasty texture.
Nutritional Information & Benefits
This bread is a treat, but it also packs some surprising nutritional benefits thanks to its star ingredients. Please note that these are estimates based on a standard recipe.
| Nutrient | Amount Per Serving (1 slice, 1/10th of loaf) |
|---|---|
| Calories | ~280 |
| Fat | 14g |
| Carbohydrates | 36g |
| Fiber | 3g |
| Sugar | 20g |
| Protein | 5g |
| Vitamin A | ~70% DV |
Health Benefits:
- Pumpkin: Is packed with Vitamin A and antioxidants like beta-carotene, which are great for eye health and your immune system.
- Bananas: Provide potassium, which is essential for heart health and muscle function.
- Walnuts: Are an excellent source of omega-3 fatty acids and healthy fats that support brain health.
Dietary Considerations: This recipe is vegetarian. It can easily be made dairy-free and gluten-free with the substitutions listed above. It contains gluten, dairy, eggs, and tree nuts (walnuts).
I love that this bread feels indulgent but is made with real, whole-food ingredients. It’s the kind of treat you can feel good about eating for breakfast.
Conclusion
This Moist Pumpkin Banana Walnut Bread is more than just a recipe—it’s a solution. It’s what you make when you have a half-used can of pumpkin and a sad banana on the counter. It’s the warm, comforting smell that fills your kitchen on a chilly fall afternoon. It’s the slice of homemade goodness that makes a simple coffee break feel special.
I love this recipe because it’s forgiving, it’s flexible, and it always, always delivers. Whether you stick to the classic version or try one of the variations, I promise you’ll end up with something delicious. Please don’t be afraid to make it your own—toss in some chocolate chips, swap the nuts, or double the spices. That’s the beauty of a great base recipe.
I’d love to hear how it turns out for you! Did you try a fun variation? Did your family love it? Drop a comment below and let me know. And if you loved it, please share this post with a friend who needs a little fall baking inspiration. Happy baking, friend!
Frequently Asked Questions
Can I use frozen banana instead of fresh?
Yes, absolutely! Thaw the frozen banana completely, then drain off any excess liquid before mashing. Frozen bananas are often even sweeter and more flavorful than fresh ones.
Why did my bread sink in the middle?
This usually happens for two reasons: the batter was overmixed, or the bread was underbaked. Overmixing creates too much air, which then collapses. Always use the toothpick test to ensure the center is fully set before removing it from the oven.
Can I make this into muffins instead of a loaf?
Definitely! This batter makes about 12-14 standard muffins. Line a muffin tin with paper liners, fill them about ¾ full, and bake at 350°F for 18-22 minutes, or until a toothpick inserted in the center comes out clean.
Can I skip the walnuts?
Of course! If you have a nut allergy or just don’t like walnuts, you can simply leave them out. The bread will still be delicious. You could also substitute them with pecans, chocolate chips, or dried cranberries.
How do I know when my bananas are ripe enough?
You want bananas that are heavily spotted with brown or even completely black. They should feel very soft to the touch. If they’re still yellow, they won’t be sweet enough or mash easily. If you’re in a hurry, you can ripen bananas in a 300°F oven for 15-20 minutes until the skin turns black.
Pin This Recipe!
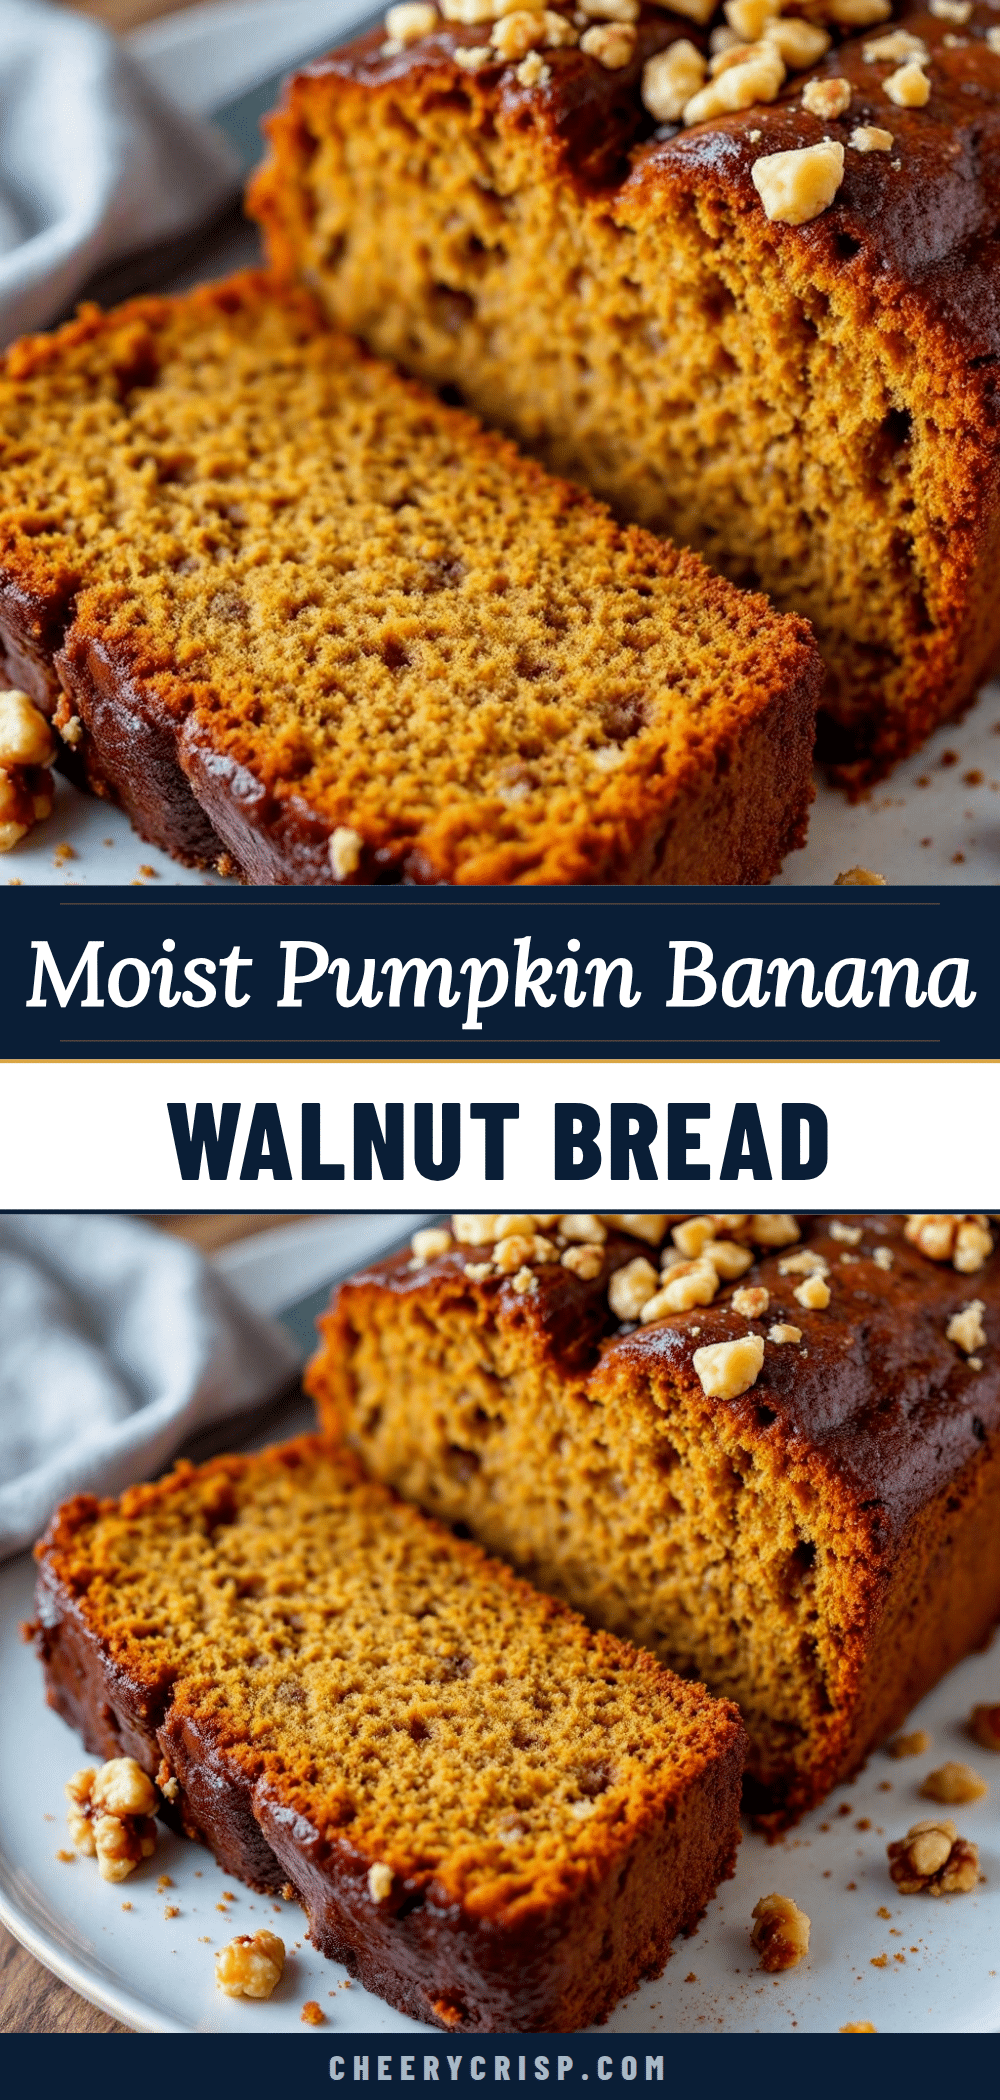
Moist Pumpkin Banana Walnut Bread: Easy Fall Recipe
This Moist Pumpkin Banana Walnut Bread combines the earthy sweetness of pumpkin with the intense, fruity sweetness of banana, all while staying light and tender. The walnuts add that essential textural contrast—a little crunch in every bite.
- Prep Time: 15 minutes
- Cook Time: 55 minutes
- Total Time: 1 hour 10 minutes
- Yield: 10 servings 1x
- Category: Bread
- Cuisine: American
Ingredients
- 1 ½ cups all-purpose flour
- 1 teaspoon baking soda
- ½ teaspoon baking powder
- 1 teaspoon ground cinnamon
- ½ teaspoon ground nutmeg
- ½ teaspoon ground ginger
- ¼ teaspoon ground cloves
- ½ teaspoon salt
- 1 cup pumpkin puree
- 1 cup mashed ripe banana (about 2–3 very ripe bananas)
- ⅓ cup unsalted butter, melted
- ⅔ cup granulated sugar
- ¼ cup packed brown sugar
- 2 large eggs, room temperature
- 1 teaspoon vanilla extract
- ¾ cup chopped walnuts
Instructions
- Preheat your oven to 350°F (175°C). Grease a 9×5-inch loaf pan with butter or non-stick spray, then line it with a strip of parchment paper, leaving an overhang on the two long sides.
- In a large mixing bowl, whisk together the flour, baking soda, baking powder, cinnamon, nutmeg, ginger, cloves, and salt. Whisk for about 15 seconds to ensure everything is evenly distributed. Set aside.
- In a separate bowl, mash the overripe banana with a fork until mostly smooth with a few small lumps.
- Make a well in the center of the dry ingredients. Add the mashed banana, pumpkin puree, melted butter (cooled slightly), granulated sugar, brown sugar, room-temperature eggs, and vanilla extract.
- Using a rubber spatula or wooden spoon, gently fold the wet ingredients into the dry ingredients. Use a folding motion—scrape down the sides and lift the batter up from the bottom. Stop mixing as soon as you no longer see streaks of dry flour. A few small lumps are fine.
- Gently fold in the chopped walnuts, reserving about 2 tablespoons for the top. Fold just until evenly distributed.
- Pour the batter into the prepared loaf pan. Use the spatula to spread it into an even layer. Sprinkle the reserved walnuts on top, pressing them down very lightly.
- Place the pan in the center of the preheated oven. Bake for 50-60 minutes. Start checking at the 45-minute mark. The bread is done when a wooden skewer or toothpick inserted into the center comes out clean or with just a few moist crumbs attached. The top should be golden brown and spring back when lightly touched.
- Remove the pan from the oven and place it on a cooling rack. Let the bread cool in the pan for 15 minutes. Then, using the parchment paper overhang, lift the bread out of the pan and transfer it directly to the cooling rack. Let it cool completely, at least 1 hour, before slicing.
Notes
For best results, use overripe bananas (heavily spotted or black). Toast walnuts in a dry skillet for 3-4 minutes before adding to deepen flavor. If top browns too quickly, tent with foil for last 10-15 minutes. Store in an airtight container at room temperature for up to 4 days. Freezes well for up to 3 months.
Nutrition
- Serving Size: 1 slice (1/10th of l
- Calories: 280
- Sugar: 20
- Sodium: 280
- Fat: 14
- Saturated Fat: 5
- Carbohydrates: 36
- Fiber: 3
- Protein: 5
Keywords: pumpkin banana bread, pumpkin walnut bread, banana walnut bread, fall bread, quick bread, easy pumpkin bread, moist pumpkin bread



