Love this? Save it for later!
Share the inspiration with your friends
I burned the bottom of my first homemade pumpkin pie so badly that the smoke alarm started screaming at me. It was a Tuesday evening in November, and I was trying to impress a date who barely knew I could boil water, let alone bake. I had watched a commercial for canned pumpkin pie filling and assumed the crust would be the only challenge. I was wrong. The crust was fine. The filling was a disaster.
I had poured the mixture into a store-bought shell and baked it at 425 degrees because that’s what the box said. What I didn’t realize was that the sugar in the pumpkin puree caramelizes fast. Fast enough to turn black in twenty minutes. When I pulled the pie out, it looked like a charcoal briquette wrapped in pastry. My date took one polite bite and coughed into his napkin. I spent the rest of the night cleaning the oven while he left.
That failure stuck with me. I avoided pumpkin pie for three years. I bought the pre-made graham cracker versions from the grocery store instead. They were sweet, but they lacked soul. They tasted like tin and sugar syrup. I wanted the real thing—the kind that smells like cinnamon and nutmeg filling the entire house, with a crust that actually shatters when you cut into it.
It took me four more attempts to get it right. I learned that low and slow is the only way. I learned that fresh pumpkin puree is non-negotiable if you want flavor depth. And I learned that butter is the secret to a crust that isn’t just edible, but memorable. This recipe isn’t about perfection. It’s about getting the balance right. It’s about the quiet satisfaction of slicing a warm slice and knowing you did it yourself.
Why You’ll Love This Recipe
There is a specific magic that happens when you combine a truly flaky butter crust with a silky, spiced pumpkin filling. It’s not just another dessert; it’s the centerpiece of the holiday table. After testing dozens of variations, I can tell you why this version stands out from the rest. It’s not complicated, but it is intentional.
- Quick & Easy Prep: While baking takes time, the actual hands-on work is straightforward. You don’t need to be a pastry chef. If you can mix dough and whisk a filling, you can make this.
- Simple Ingredients: You likely have most of this in your pantry. Flour, butter, pumpkin puree, eggs, and spices. No weird additives or preservatives. Just real food.
- Perfect for Holidays: Whether it’s Thanksgiving, Christmas, or a casual Sunday dinner, this pie fits any occasion. It feels festive without being fussy.
- Crowd-Pleaser: Kids love the sweetness. Adults appreciate the spice balance. It’s a safe bet for potlucks or family gatherings.
- Unbelievably Delicious: The texture contrast between the crisp, buttery crust and the smooth, custard-like filling is next-level comfort food.
What makes this different from the rest is the crust. Most people skip homemade crust because they’re afraid of it. This recipe uses a simple ratio that guarantees flakiness every time. Plus, using fresh pumpkin puree instead of the canned kind (or even worse, pumpkin pie filling mix) makes a huge difference in flavor. It’s not just good—it’s the kind that makes you close your eyes after the first bite. It’s comfort food reimagined, but with the same soul-soothing satisfaction as your grandmother’s recipe.
What Ingredients You Will Need
This recipe uses simple, wholesome ingredients to deliver bold flavor and satisfying texture without the fuss. The key is quality. Since there are so few components, each one matters. Here is what you need to gather before you start.
For the Flaky Butter Crust
- All-purpose flour: 2 ½ cups (about 315 grams). Use a reliable brand like King Arthur for consistent protein content.
- Unsalted butter: 1 cup (2 sticks), cold and cubed. This is non-negotiable. Salted butter changes the water content and can make the dough tough.
- Salt: 1 teaspoon. Enhances the flavor of the dough.
- Granulated sugar: 1 tablespoon. Just a touch to help with browning.
- Ice water: 6-8 tablespoons. Keep it ice cold. Warm water melts the butter and ruins the flakiness.
For the Pumpkin Filling
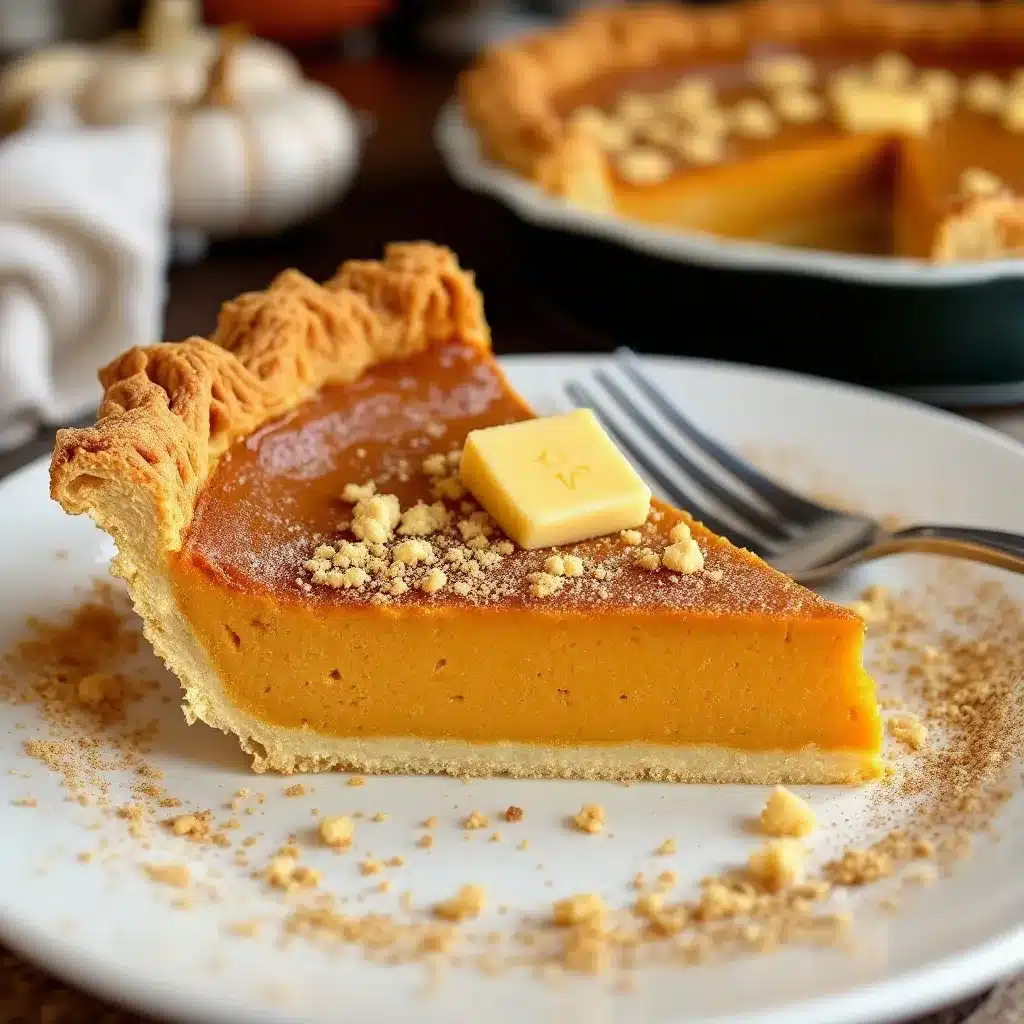
- Pure pumpkin puree: 15 ounces (about 1 can). Do not use pumpkin pie filling, which is already sweetened and spiced. Look for 100% pure pumpkin.
- Heavy cream: 12 ounces. Adds richness and ensures a creamy, custard-like texture.
- Eggs: 3 large eggs, room temperature. Helps the filling set properly.
- Brown sugar: ¾ cup, packed. Provides a deeper, molasses-like sweetness compared to white sugar.
- Granulated sugar: ¼ cup. Balances the moisture and sweetness.
- Ground cinnamon: 1 teaspoon. The primary spice note.
- Ground ginger: ½ teaspoon. Adds a warm, spicy kick.
- Ground nutmeg: ¼ teaspoon. Freshly grated is best, but pre-ground works in a pinch.
- Ground cloves: ¼ teaspoon. Use sparingly; it’s potent.
- Salt: ½ teaspoon. Cuts through the sweetness.
If you need substitutions, you can use almond flour for a gluten-free crust, though the texture will be more crumbly. For the filling, coconut milk can replace heavy cream for a dairy-free option, but it will be less rich.
Equipment Needed
You don’t need a fancy kitchen to make this pie. A few basic tools will get the job done. A 9-inch pie dish is essential. Glass or ceramic dishes are best because they conduct heat evenly. Metal pans can sometimes burn the bottom crust.
A food processor makes short work of the crust. It keeps the butter cold and distributes it evenly in seconds. If you don’t have one, a pastry cutter or even your hands work fine, but it takes longer. For the filling, a large mixing bowl and a whisk are all you need. An electric mixer isn’t necessary and can overwork the eggs.
A rolling pin is needed to flatten the dough. A wooden pin is traditional and provides good grip. Make sure you have parchment paper or a silicone baking mat to catch any drips. Drips burn and create smoke. I once burned a whole batch of cookies because I forgot to line the tray below the pie. Learn from my mistake.
Budget-friendly options include using a fork to cut the butter into the flour if you lack a pastry cutter. It’s slower, but it works. The most important tool is an oven thermometer. Ovens are rarely accurate. Knowing your real temperature prevents undercooked centers or burnt edges.
Preparation Method
- Make the dough: In a food processor, pulse the flour, salt, and sugar until combined. Add the cold, cubed butter. Pulse in short bursts until the mixture looks like coarse meal with some pea-sized pieces of butter remaining. Do not overmix.
- Add water: Sprinkle 6 tablespoons of ice water over the mixture. Pulse again. The dough should start to clump together. If it’s too dry, add more water, one tablespoon at a time. It should hold together when pinched.
- Chill the dough: Turn the dough out onto a counter. Divide it into two disks, one slightly larger than the other for the bottom crust. Wrap each in plastic wrap. Refrigerate for at least one hour. This step is crucial for relaxing the gluten and keeping the butter cold.
- Preheat oven: Set your oven to 375°F (190°C). Place a rack in the lower third position. This helps cook the bottom crust.
- Roll out the crust: On a floured surface, roll the larger disk into a 12-inch circle. Carefully transfer it to your 9-inch pie dish. Trim the edges, leaving a slight overhang. Chill the lined dish while you make the filling.
- Make the filling: In a large bowl, whisk the eggs until smooth. Add the brown sugar, granulated sugar, salt, cinnamon, ginger, nutmeg, and cloves. Whisk until well combined. Stir in the pumpkin puree until smooth. Slowly whisk in the heavy cream until the mixture is uniform.
- Assemble: Pour the filling into the chilled crust. Smooth the top with a spatula. If you want a pretty edge, crimp the crust with your fingers or a fork.
- Protect the edges: Use a strip of aluminum foil or a pie shield to cover the edges of the crust. This prevents them from burning while the center cooks.
- Bake: Bake for 50-60 minutes. The pie is done when the edges are set but the center still jiggles slightly like Jell-O. It will firm up as it cools.
- Cool completely: Let the pie cool on a wire rack for at least 2 hours. Cutting it while warm will result in a soupy slice. Patience is key here.
Cooking Tips & Techniques
The biggest mistake people make is overworking the dough. When you mix the butter into the flour, keep the pieces as large as possible. Those chunks of butter create steam in the oven, which lifts the dough and creates flakes. If you mix it into a fine crumble, you get a biscuit, not a pie crust.
Another common error is using warm butter. Cold butter is your friend. If your kitchen is hot, chill your flour and water before starting. Some bakers even freeze the butter for a few minutes before cubing it. It sounds extreme, but it works.
For the filling, make sure your eggs are at room temperature. Cold eggs can cause the mixture to seize or curdle slightly when mixed with the cold puree. Whisking them first helps break them down and ensures a smooth texture.
Don’t skip the foil shield. Pumpkin pie takes a long time to bake. The sugar in the crust browns quickly. If you don’t protect the edges, you’ll have a black ring around a perfectly cooked center. It’s an easy step that saves the pie.
Testing for doneness is tricky. A knife inserted into the center might come out clean, but that doesn’t mean it’s done. The center should jiggle slightly when you shake the pan. It continues to cook from residual heat. If you wait until it’s completely firm in the oven, it will overcook and crack as it cools.
Variations & Adaptations
While the classic version is my favorite, there are fun ways to twist this recipe. You can swap the vanilla ice cream for chewy pumpkin snickerdoodle cookies for a unique side dish.
Dairy-Free Option
Replace the heavy cream with full-fat coconut milk. You’ll also need to use a dairy-free butter substitute for the crust. The flavor will be slightly coconutty, which pairs well with the spices.
Gluten-Free Crust
Use a 1:1 gluten-free flour blend for the crust. Add an extra tablespoon of water if the dough feels too crumbly. Note that gluten-free crusts can be more fragile, so handle with care.
Maple Syrup Twist
Swap half of the brown sugar for pure maple syrup. This adds a distinct autumnal flavor that complements the pumpkin beautifully. Reduce the other liquids slightly if the mixture feels too thin.
Spice It Up
Add a pinch of cardamom or allspice to the filling for a more complex spice profile. I sometimes add a little grated orange zest for brightness. It cuts through the richness of the cream.
Serving & Storage Suggestions
Serve this pie at room temperature or slightly chilled. Cold pie has a firmer texture, which some people prefer. Warm it up slightly for a softer, more custard-like experience.
Top with whipped cream. If you want to get fancy, make cozy salted caramel apple crisp-style caramel sauce to drizzle over the top. It’s a nice change from plain cream.
Store leftovers in the refrigerator, covered tightly with plastic wrap or in an airtight container. It will last for up to 4 days. The flavors actually meld and improve after a day or two.
You can freeze the pie, but the texture of the crust may change slightly upon thawing. Wrap it tightly in plastic and then foil. Thaw it in the refrigerator overnight before serving. Reheating is best done in a 350°F oven for 10-15 minutes to crisp up the crust.
Avoid cutting slices until the pie is completely cool. This is the most important rule. Rushing this step leads to messy, broken slices. Use a sharp knife and wipe it between cuts for clean edges.
Nutritional Information & Benefits
Pumpkin is a nutritional powerhouse. It’s high in vitamin A, which supports eye health and immune function. It’s also a good source of fiber, which aids digestion. The spices used in this recipe, like cinnamon and ginger, have anti-inflammatory properties.
However, this is still a dessert. The crust and filling contain significant amounts of sugar and saturated fat. Enjoy it in moderation. A single slice provides about 300-350 calories, depending on the size of the slice and the amount of topping.
For a lighter option, reduce the sugar in the filling by 25%. You won’t notice a huge difference in sweetness, but it cuts calories. Use skim milk instead of cream for a lower-fat version, though the texture will be less rich.
Always check labels if you have allergies. Some pumpkin purees may contain additives. Stick to 100% pure pumpkin for the cleanest ingredients. This recipe is naturally nut-free, making it safe for many school or office gatherings.
Conclusion
Making the best homemade pumpkin pie with flaky butter crust is a labor of love. It takes time, but the result is worth every minute. There’s nothing quite like the smell of baking pumpkin filling filling your home during the holidays. It brings people together.
I encourage you to try this recipe. Don’t be afraid of the crust. With a little practice, you’ll master it. Customize the spices to your taste. Add a dash of cayenne if you like heat. Make it your own.
I love this recipe because it reminds me of simpler times. It’s not just about the food; it’s about the memory of sharing a slice with family. It’s a tradition that I hope you’ll start in your own home.
Please leave a comment below if you try this recipe. I’d love to hear how it turned out. Share your photos on social media and tag me. Let’s celebrate baking together. Happy cooking!
FAQs
Can I use canned pumpkin puree?
Yes, canned pure pumpkin puree works perfectly. Just ensure it’s 100% pumpkin, not pumpkin pie filling, which has added sugar and spices.
Why did my crust shrink during baking?
This usually happens if the dough wasn’t chilled enough before baking. Also, docking the crust with a fork before adding weights can help prevent shrinking. Blind baking for a few minutes can also help.
How do I fix a runny pumpkin pie?
If the pie is runny, it likely wasn’t baked long enough. The center should jiggle slightly but not be liquid. Return it to the oven for 10 more minutes. If it’s still runny after cooling, it may have been underbaked.
Can I make this pie ahead of time?
Yes, you can make the crust and filling a day in advance. Assemble the pie the night before and bake it the next day. This can actually make the flavors meld better.
What is the best way to reheat leftover pie?
Reheat slices in a 350°F oven for 10-15 minutes. This restores the crispness of the crust. Avoid the microwave, as it makes the crust soggy.
Pin This Recipe!
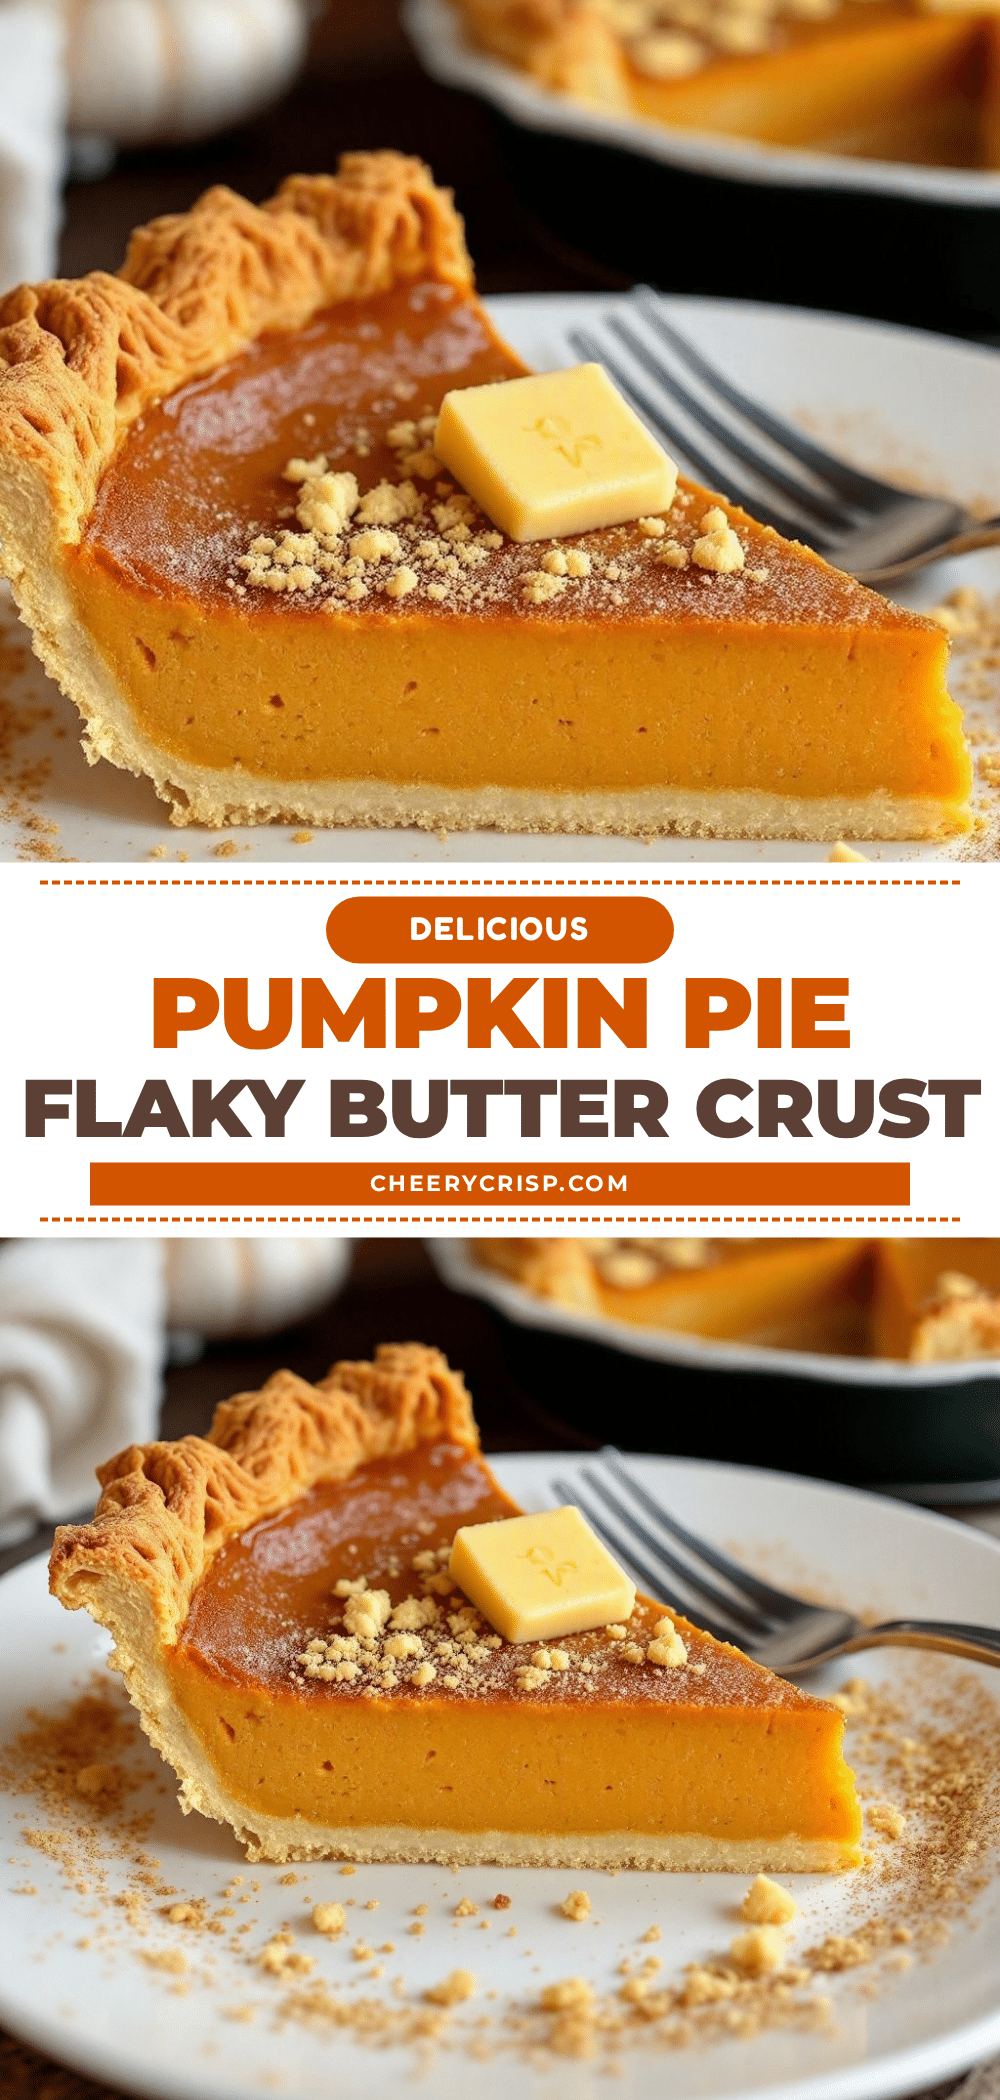
Homemade Pumpkin Pie with Flaky Butter Crust
A classic homemade pumpkin pie featuring a flaky, buttery crust and a silky, spiced filling made with fresh pumpkin puree. This recipe avoids common pitfalls like burnt bottoms by using a low-and-slow baking method.
- Prep Time: 30 minutes
- Cook Time: 60 minutes
- Total Time: 90 minutes
- Yield: 8 servings 1x
- Category: Dessert
- Cuisine: American
Ingredients
- 2 ½ cups all-purpose flour
- 1 cup unsalted butter, cold and cubed
- 1 teaspoon salt
- 1 tablespoon granulated sugar
- 6–8 tablespoons ice water
- 15 ounces pure pumpkin puree
- 12 ounces heavy cream
- 3 large eggs, room temperature
- ¾ cup packed brown sugar
- ¼ cup granulated sugar
- 1 teaspoon ground cinnamon
- ½ teaspoon ground ginger
- ¼ teaspoon ground nutmeg
- ¼ teaspoon ground cloves
- ½ teaspoon salt
Instructions
- In a food processor, pulse flour, salt, and sugar until combined. Add cold cubed butter and pulse in short bursts until the mixture resembles coarse meal with pea-sized butter pieces.
- Sprinkle 6 tablespoons of ice water over the mixture and pulse until the dough starts to clump. Add more water one tablespoon at a time if needed until it holds together when pinched.
- Divide dough into two disks (one slightly larger for the bottom crust), wrap in plastic, and refrigerate for at least one hour.
- Preheat oven to 375°F (190°C) and place a rack in the lower third position.
- Roll the larger disk into a 12-inch circle on a floured surface and transfer to a 9-inch pie dish. Trim edges and chill while making filling.
- In a large bowl, whisk eggs until smooth. Add brown sugar, granulated sugar, salt, cinnamon, ginger, nutmeg, and cloves. Whisk until combined.
- Stir in pumpkin puree until smooth, then slowly whisk in heavy cream until uniform.
- Pour filling into the chilled crust and smooth the top. Crimp edges if desired.
- Cover crust edges with aluminum foil or a pie shield to prevent burning.
- Bake for 50-60 minutes until edges are set but the center jiggles slightly like Jell-O.
- Cool completely on a wire rack for at least 2 hours before slicing.
Notes
Ensure butter is very cold to maintain flakiness. Do not overmix the dough. The pie must cool completely to set properly. Use an oven thermometer to ensure accurate temperature. For a gluten-free crust, use a 1:1 gluten-free flour blend. For a dairy-free option, substitute heavy cream with coconut milk and butter with a dairy-free alternative.
Nutrition
- Serving Size: 1 slice
- Calories: 325
- Sugar: 24
- Sodium: 280
- Fat: 18
- Saturated Fat: 11
- Carbohydrates: 38
- Fiber: 3
- Protein: 5
Keywords: pumpkin pie, homemade pie, flaky crust, holiday dessert, Thanksgiving, fall baking, pumpkin recipe



