Love this? Save it for later!
Share the inspiration with your friends
“That banana bread looks so good, but I don’t have a mixer.” My sister texted me that last Tuesday, and honestly, I almost didn’t believe her. She’s the one who hosts the big family dinners, the one who always has the latest kitchen gadget. But there it was, plain as day — she wanted banana bread, her mixer was broken, and she thought that was the end of the road.
I laughed out loud, because I’ve been making banana bread without a mixer for years. It’s not some secret technique or a hack I stumbled upon. It’s just… easier. Less to clean up, less to drag out of the cabinet, less fuss overall. And the bread? It comes out just as tender, just as moist, with that perfect crackly top that makes you feel like you actually know what you’re doing in the kitchen.
So I sent her my go-to recipe — the one I’ve tweaked over maybe a dozen batches until it was exactly right. She made it that same afternoon. The next morning, I got another text: a photo of the last slice, with the caption “Gone already. Send more bananas.” That’s the thing about this easy one-bowl banana bread. It turns a broken mixer and a couple of spotty bananas into something that feels like a small victory. And honestly, we could all use more of those.
Why You’ll Love This Recipe
Let me tell you why this particular banana bread has earned a permanent spot in my rotation. It’s not just another recipe — it’s the one I’ve tested, tweaked, and trusted until it was foolproof. Here’s what you’re getting:
- No Mixer Required: You read that right. A whisk and a bowl is all you need. No hauling out the stand mixer or digging for the hand mixer attachments.
- One Bowl to Wash: Everything comes together in a single mixing bowl. Less dishes, more eating. That’s a win in my book.
- Simple Pantry Ingredients: Flour, sugar, eggs, butter, baking soda, salt, and bananas. That’s it. No weird extracts or specialty flours.
- Perfectly Moist Every Time: The texture is the star here — tender, soft, and never dry. The top gets that beautiful golden crackle that bakery banana bread has.
- Great for Busy Mornings or Afternoon Snacks: It’s not too sweet, so it works for breakfast with coffee or as an after-school treat. It’s also a fantastic way to use up those spotty bananas sitting on your counter.
- Kid-Friendly and Crowd-Pleasing: My nephew, who is notoriously picky, ate three slices in one sitting. That’s all the proof I need.
What makes this recipe different from all the others? I spent a lot of time figuring out the exact ratio of butter to oil (yes, there’s both) to get that moist crumb without making it greasy. I also learned the hard way that over-mixing is the enemy of tender banana bread — so I’ll show you exactly how to avoid that. This isn’t just another version of banana bread. It’s the version that makes you wonder why you ever bothered with a mixer in the first place.
What Ingredients You Will Need
This recipe uses simple, everyday ingredients to create something genuinely special. You probably have most of these in your kitchen right now, which is exactly how I like my baking to work.
For the Banana Bread Batter
- 3 large ripe bananas, mashed (about 1 ½ cups) — The riper, the better. You want them spotted brown and soft. They’re sweeter and easier to mash, which means you can use less sugar.
- ½ cup unsalted butter, melted — I like to use salted butter in a pinch and just reduce the added salt by a pinch. Let the butter cool slightly so it doesn’t cook the eggs.
- ¼ cup vegetable oil — This is my secret for extra moisture. You can use canola or melted coconut oil too. The oil keeps the bread tender even after a day or two.
- ¾ cup granulated sugar — You can reduce this to ⅔ cup if your bananas are super ripe and sweet. I’ve done it and it works fine.
- 2 large eggs, room temperature — Cold eggs can seize the melted butter. If you forgot to take them out, place them in a bowl of warm water for 5 minutes.
- 1 teaspoon vanilla extract — Pure vanilla makes a difference, but imitation works in a pinch. I use pure because I can taste the difference.
- 1 ½ cups all-purpose flour — Spoon and level it into your measuring cup. Scooping directly can pack the flour and make your bread dry.
- 1 teaspoon baking soda — Make sure it’s fresh. Test it by dropping a pinch into vinegar — if it fizzes, it’s good.
- ½ teaspoon salt — Fine sea salt or table salt both work. If using salted butter, reduce this to ¼ teaspoon.
- ½ teaspoon ground cinnamon (optional, but highly recommended) — It adds warmth and depth. I never skip it.
Optional Mix-Ins
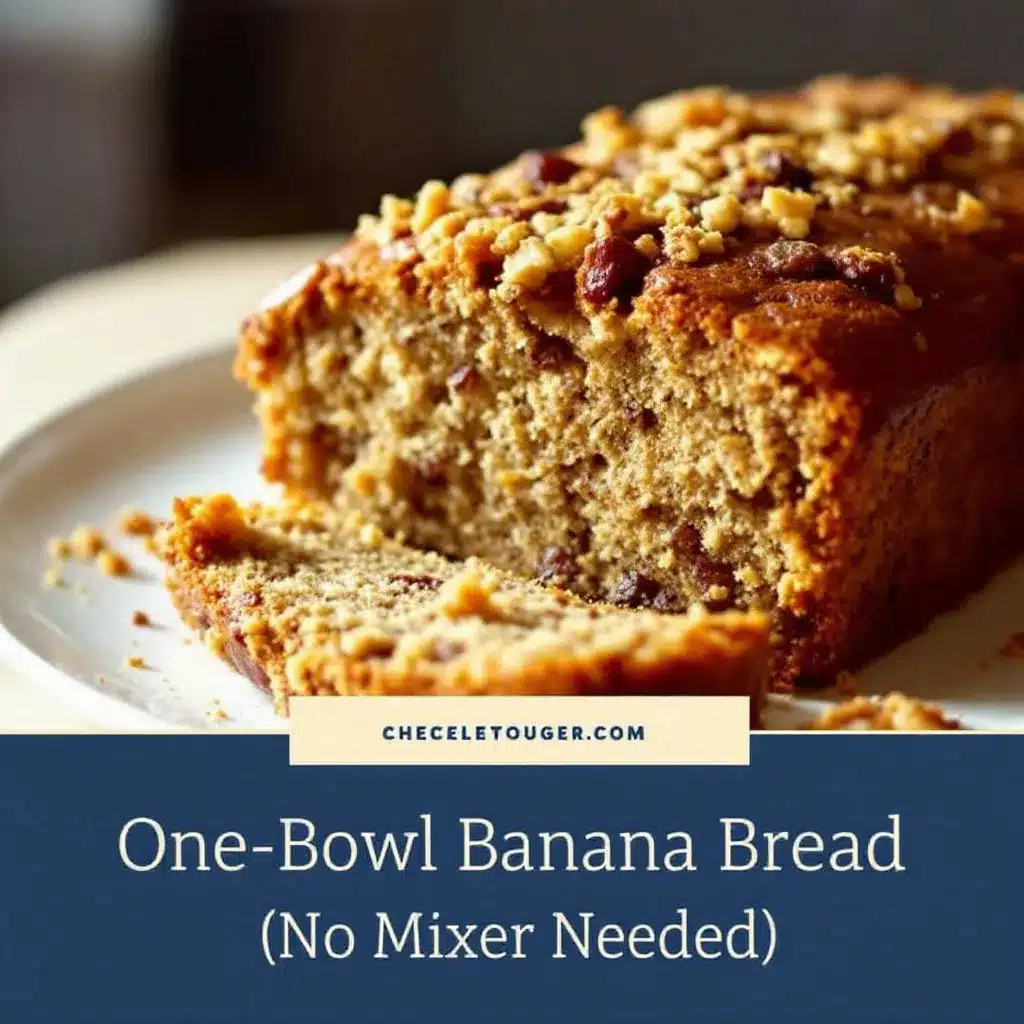
- ½ cup chopped walnuts or pecans — Toast them first for extra flavor. Just toss them in a dry pan over medium heat for 3-4 minutes.
- ½ cup chocolate chips — Semi-sweet or dark are my favorites. They add little pockets of melted chocolate throughout.
- ¼ cup shredded coconut — Adds a chewy texture and subtle sweetness. I love this combo.
I’ve tested this recipe with both white whole wheat flour and a gluten-free 1:1 blend. Both work, though the texture is slightly denser. If you go gluten-free, make sure your blend contains xanthan gum for structure. For a dairy-free version, swap the butter with vegan butter or more coconut oil. I’ve done it, and it’s still delicious — just slightly less rich.
Equipment Needed
The beauty of this recipe is that you don’t need much. Here’s what you’ll need to pull it off:
- Large mixing bowl — Any medium-to-large bowl works. I use a standard ceramic mixing bowl.
- Whisk — For mixing the wet ingredients and combining everything. A wooden spoon or spatula also works if you don’t have a whisk.
- Rubber spatula — For scraping down the sides and folding in any mix-ins. A silicone one is my favorite because it doesn’t scratch bowls.
- 9×5-inch loaf pan — This is the standard size. An 8×4-inch pan works too, but your bread will be taller and may need an extra 5-10 minutes of baking time.
- Parchment paper — Not strictly necessary, but it makes lifting the bread out so much easier. I always line my pan with a sling of parchment.
- Cooling rack — Helps the bread cool evenly and prevents a soggy bottom. A wire rack is ideal, but you can use a cutting board in a pinch.
- Measuring cups and spoons — For accuracy. I prefer metal measuring cups for dry ingredients and glass for liquids.
I’ve made this banana bread with a cheap loaf pan from the dollar store, and it worked fine. Don’t overthink the equipment. If you have a bowl and something to stir with, you’re already most of the way there.
Preparation Method
Let’s walk through this step by step. I’ll include all the little details I’ve learned from making this bread more times than I can count.
- Preheat your oven to 350°F (175°C). Position the rack in the center of the oven. While it’s heating, grease your 9×5-inch loaf pan with butter or non-stick spray. For extra insurance, line it with a strip of parchment paper that hangs over the two long sides — this creates handles for lifting the bread out later.
- Mash the bananas in your large mixing bowl. Use a fork or a potato masher. You want them mostly smooth with a few small lumps for texture. Don’t puree them — a little chunkiness is nice. You should have about 1 ½ cups of mashed banana.
- Add the melted butter, oil, and sugar. Whisk everything together until it’s well combined and the sugar has started to dissolve. The mixture will look a little grainy — that’s fine. Take a moment to scrape the sides and bottom of the bowl with your spatula.
- Add the eggs and vanilla. Crack the eggs into the bowl one at a time, whisking well after each addition. Make sure the melted butter isn’t too hot — you don’t want scrambled eggs. The mixture should be smooth and glossy at this point. Stir in the vanilla.
- Add the flour, baking soda, salt, and cinnamon. Sprinkle them evenly over the wet ingredients. Here’s the most important part: stir gently with your spatula or a wooden spoon, using a folding motion. Stop as soon as you no longer see streaks of flour. A few small lumps are okay. Over-mixing develops gluten and makes the bread tough. Trust me on this — I’ve ruined a batch by getting too enthusiastic with the stirring.
- Fold in any mix-ins. If you’re using nuts, chocolate chips, or coconut, gently fold them in now. Use about 10 strokes, no more. You want them evenly distributed without overworking the batter.
- Pour the batter into your prepared loaf pan. Use your spatula to spread it evenly. Give the pan a gentle tap on the counter to release any air bubbles. The batter will be thick — that’s normal.
- Bake for 50-60 minutes. Place the pan in the preheated oven and set a timer for 50 minutes. The bread is done when a toothpick inserted into the center comes out clean or with just a few moist crumbs. If the top is browning too quickly (after about 40 minutes), tent the pan loosely with aluminum foil.
- Cool in the pan for 10 minutes. Set the pan on a wire rack. After 10 minutes, use the parchment sling to lift the bread out and transfer it to the rack to cool completely. Resist the urge to slice it while it’s warm — it will be too fragile and might crumble. I speak from experience.
- Slice and serve. Once completely cool, use a serrated knife to cut thick slices. I like mine about ¾-inch thick. Serve plain, or with a pat of butter and a sprinkle of flaky salt.
A note on timing: the total time from start to finish is about 1 hour and 20 minutes, with about 15 minutes of active prep. The rest is hands-off baking time.
Cooking Tips & Techniques
Over the years, I’ve learned a few things the hard way. Here are my best tips for making sure your banana bread turns out perfect every time:
Use the ripest bananas you can find. This is non-negotiable. Green or barely yellow bananas won’t give you enough sweetness or moisture. Look for bananas with lots of brown spots — they should feel soft when you squeeze them. If your bananas aren’t ripe enough, you can speed things up by roasting them in a 300°F oven for 15-20 minutes until the skins turn black. Let them cool, then scoop out the soft flesh.
Don’t over-mix the batter. I cannot stress this enough. Stir just until the flour disappears. A few streaks are fine. Over-mixing activates the gluten, which gives you a dense, rubbery bread instead of a tender one. When I first started baking, I thought I needed to make the batter perfectly smooth. I was wrong.
Measure your flour correctly. Spoon the flour into your measuring cup, then level it off with a knife. Scooping directly with the measuring cup packs the flour, and you can end up with 20-30% more flour than the recipe calls for. That extra flour will make your bread dry and heavy.
Check for doneness early. Every oven runs a little differently. Start checking at 50 minutes. Insert a toothpick or a thin knife into the center — if it comes out clean or with just a few crumbs, it’s done. If there’s wet batter on it, give it another 5 minutes and check again.
Let it cool completely before slicing. I know it’s tempting to cut into it while it’s still warm. But the structure needs time to set. Cutting too early will result in a gummy, crumbly mess. I’ve done it, and I regretted it. Give it at least an hour on the cooling rack.
Toast leftover slices. If you have any bread left after day one, toast it. The heat brings back the moisture and crisps up the edges. It’s almost better than fresh. Spread a little butter on it, and you have a perfect afternoon snack.
Variations & Adaptations
This recipe is incredibly flexible. Here are some of my favorite ways to switch it up:
Chocolate Chip Banana Bread: Fold in ½ cup of semi-sweet chocolate chips. I like to reserve a handful and press them into the top of the batter before baking — it creates a pretty, melty top layer. My kids go crazy for this version.
Nutty Banana Bread: Add ½ cup of toasted walnuts or pecans. Toasting them first makes a huge difference — just spread them on a baking sheet and bake at 350°F for 5-7 minutes until fragrant. The nutty crunch pairs beautifully with the soft crumb.
Vegan Banana Bread: Replace the butter with melted coconut oil or vegan butter. Use two flax eggs (2 tablespoons ground flaxseed mixed with 6 tablespoons water, let sit for 5 minutes) instead of regular eggs. The texture will be slightly denser but still delicious. I’ve made this for a vegan friend and she asked for the recipe.
Gluten-Free Banana Bread: Swap the all-purpose flour with a 1:1 gluten-free baking blend that contains xanthan gum. I’ve tested this with King Arthur’s Measure for Measure blend and it worked perfectly. The bread is a bit more delicate, so let it cool completely before slicing.
Spiced Banana Bread: Add ½ teaspoon of nutmeg and ¼ teaspoon of ground ginger along with the cinnamon. It gives the bread a warm, cozy flavor that’s perfect for fall. I love this version with a cup of chai tea.
Blueberry Banana Bread: Fold in ½ cup of fresh or frozen blueberries (don’t thaw them if frozen). Toss them in a tablespoon of flour first to prevent them from sinking to the bottom. The bursts of tart berry against the sweet banana are amazing.
I’ve tried all of these variations, and my personal favorite is the chocolate chip version. It feels like a treat, but it’s still simple enough for a weekday morning. If you’re feeling adventurous, try combining two — like chocolate chip and walnut. You won’t regret it.
Serving & Storage Suggestions
This banana bread is wonderful on its own, but here are a few ways to make it even better:
Serving Temperature: I prefer it at room temperature. The texture is at its best — soft, moist, and tender. If you want to warm it up, pop a slice in the microwave for 10-15 seconds or toast it lightly. A pat of salted butter melting into a warm slice is pure comfort.
Presentation Ideas: For a casual breakfast, just slice and serve. For something a little more special, drizzle slices with honey or maple syrup and add a sprinkle of flaky sea salt. You can also spread a thin layer of cream cheese on top for a tangy contrast.
What to Serve With It: A hot cup of coffee or tea is the classic pairing. I love it with a strong black coffee or a creamy latte. It’s also great with a glass of cold milk — especially for the kids. If you’re serving it as a dessert, a scoop of vanilla ice cream on top is divine.
Storage Instructions: Store leftover banana bread tightly wrapped in plastic wrap or in an airtight container at room temperature. It will stay moist for up to 3 days. Do not refrigerate — the cold air will dry it out and make the texture dense.
Freezing Instructions: This bread freezes beautifully. Wrap the cooled loaf (or individual slices) tightly in plastic wrap, then in a layer of aluminum foil. Freeze for up to 3 months. To thaw, leave it at room temperature for a few hours or pop a slice in the microwave for 20-30 seconds. I always keep a loaf in the freezer for unexpected guests or lazy Sunday mornings.
How Flavors Develop: Honestly, this banana bread tastes even better on day two. The flavors have time to meld together, and the moisture distributes more evenly throughout the loaf. If you can resist eating it all on day one, you’re in for a treat.
Nutritional Information & Benefits
Here’s the approximate nutritional breakdown for one slice (based on 10 slices per loaf, without mix-ins):
| Nutrient | Amount Per Slice |
|---|---|
| Calories | 280 |
| Total Fat | 14g |
| Saturated Fat | 7g |
| Cholesterol | 65mg |
| Sodium | 280mg |
| Total Carbohydrates | 36g |
| Dietary Fiber | 2g |
| Sugars | 18g |
| Protein | 4g |
Health Benefits: Bananas are a great source of potassium, vitamin B6, and vitamin C. They also provide fiber, which aids digestion. The eggs add protein, and the butter and oil provide healthy fats. While this is definitely a treat, it’s made with real, whole ingredients — no preservatives or artificial flavors.
Dietary Considerations: This recipe is vegetarian. For a vegan version, see the variations section above. It contains gluten, dairy, and eggs, so it’s not suitable for those with allergies to those ingredients. For a nut-free version, simply skip any nut-based mix-ins.
I like to think of this banana bread as a “better-for-you” treat. It’s not health food, but it’s made from scratch with ingredients you can pronounce. And honestly, that counts for a lot in my book.
FAQs
Can I use frozen bananas?
Absolutely. Thaw them completely at room temperature, then drain off any excess liquid before mashing. Frozen bananas can release more water, which might affect the texture slightly, but it still works great. I do this all the time when my bananas get too ripe.
Why is my banana bread dry?
The most common reason is over-measuring the flour. Remember to spoon and level it. Another culprit is over-baking. Check your bread at 50 minutes and take it out as soon as a toothpick comes out clean. Ovens vary, so get to know yours.
Can I make this into muffins instead?
Yes! Grease a 12-cup muffin tin or line it with paper liners. Fill each cup about ¾ full. Bake at 350°F for 18-22 minutes, until a toothpick inserted into the center comes out clean. This is a great option for portion control or lunchboxes. If you’re looking for more easy lunchbox ideas, these banana bread muffins are perfect.
How do I know when my bananas are ripe enough?
Look for bananas with lots of brown or black spots on the peel. They should feel soft when you squeeze them gently. If they’re still yellow with green tips, they’re not ready. You can speed up ripening by placing them in a paper bag with an apple overnight.
Can I reduce the sugar?
Yes, you can reduce the sugar to ⅔ cup if your bananas are very ripe and sweet. I’ve also successfully used ½ cup of coconut sugar as a substitute. Keep in mind that sugar affects both sweetness and moisture, so reducing it too much might change the texture slightly.
Conclusion
This easy one-bowl banana bread is proof that you don’t need fancy equipment or complicated techniques to make something truly delicious. It’s the kind of recipe that becomes a staple — the one you turn to when you have spotty bananas on the counter and a craving for something warm and comforting. No mixer, no fuss, just good bread.
I love this recipe because it’s forgiving. You can swap ingredients, add mix-ins, or adjust the sweetness, and it still turns out great. It’s the recipe I share with friends who say they can’t bake, because I know they can. And honestly, that first slice fresh from the oven — slightly warm, with a little butter melting into the crumb — is worth every bit of the effort.
I’d love to hear how yours turns out. Did you add chocolate chips? Walnuts? Did you make it vegan? Drop a comment below and let me know. And if you’re looking for more simple, no-fuss recipes, check out this browned butter banana bread for a richer twist, or these peanut butter banana overnight oats for another way to use ripe bananas. Happy baking!
Pin This Recipe!
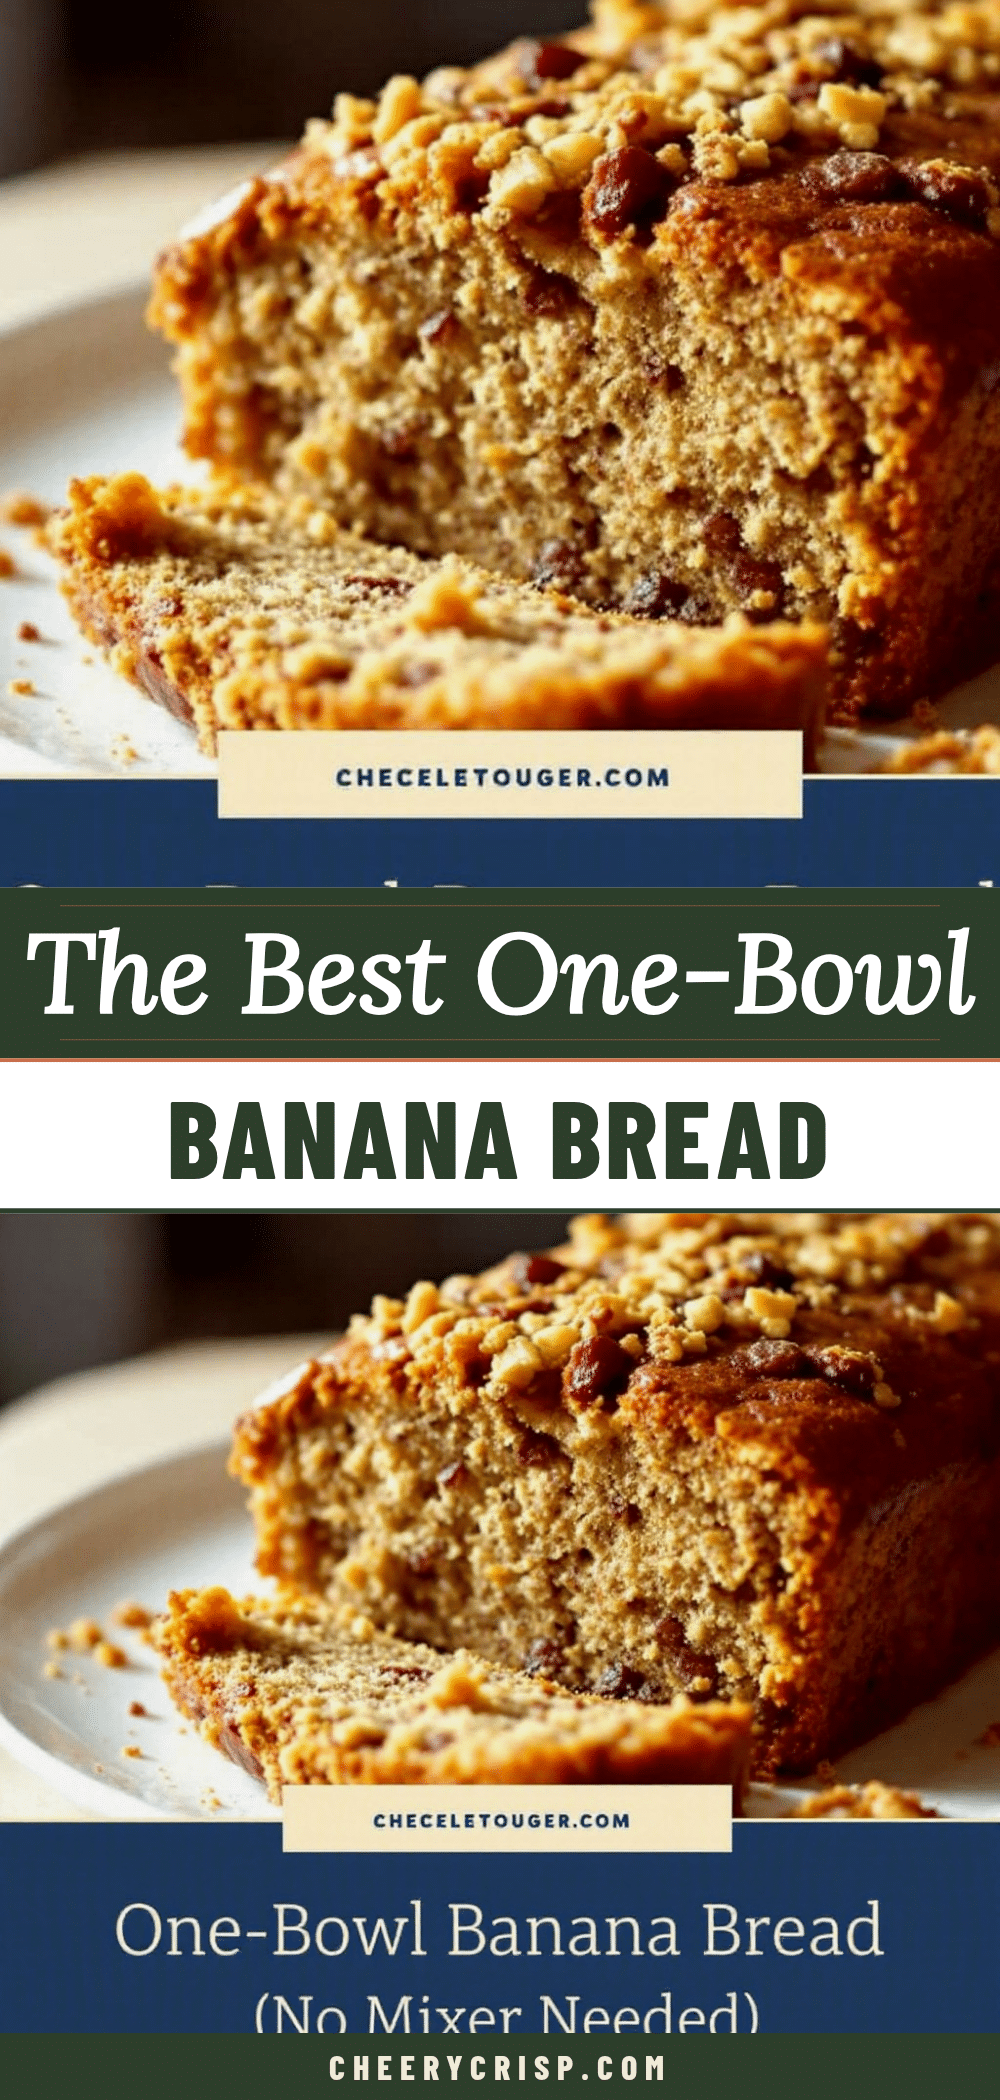
Easy One-Bowl Banana Bread: Best No-Mixer Recipe
This easy one-bowl banana bread requires no mixer and comes out perfectly moist every time. It’s a simple, foolproof recipe that uses basic pantry ingredients and is great for breakfast, snacks, or dessert.
- Prep Time: 15 minutes
- Cook Time: 55 minutes
- Total Time: 1 hour 20 minutes
- Yield: 10 servings 1x
- Category: Dessert
- Cuisine: American
Ingredients
- 3 large ripe bananas, mashed (about 1 ½ cups)
- ½ cup unsalted butter, melted
- ¼ cup vegetable oil
- ¾ cup granulated sugar
- 2 large eggs, room temperature
- 1 teaspoon vanilla extract
- 1 ½ cups all-purpose flour
- 1 teaspoon baking soda
- ½ teaspoon salt
- ½ teaspoon ground cinnamon (optional)
- ½ cup chopped walnuts or pecans (optional)
- ½ cup chocolate chips (optional)
- ¼ cup shredded coconut (optional)
Instructions
- Preheat your oven to 350°F (175°C). Grease a 9×5-inch loaf pan with butter or non-stick spray. Line with parchment paper for easy removal.
- In a large mixing bowl, mash the bananas with a fork or potato masher until mostly smooth with a few small lumps.
- Add the melted butter, oil, and sugar. Whisk until well combined and the sugar has started to dissolve. Scrape the sides and bottom of the bowl.
- Add the eggs one at a time, whisking well after each addition. Stir in the vanilla extract.
- Sprinkle the flour, baking soda, salt, and cinnamon over the wet ingredients. Gently fold with a spatula or wooden spoon until just combined. Do not over-mix.
- If using, fold in the nuts, chocolate chips, or coconut with about 10 strokes.
- Pour the batter into the prepared loaf pan and spread evenly. Tap the pan gently on the counter to release air bubbles.
- Bake for 50-60 minutes, until a toothpick inserted into the center comes out clean or with a few moist crumbs. If the top browns too quickly, tent with foil after 40 minutes.
- Cool in the pan for 10 minutes, then lift out using the parchment sling and transfer to a wire rack to cool completely.
- Slice and serve once completely cool. Store leftovers tightly wrapped at room temperature for up to 3 days.
Notes
Use the ripest bananas possible for best sweetness and moisture. Do not over-mix the batter to avoid tough bread. Measure flour by spooning and leveling. Let the bread cool completely before slicing for best texture. This bread tastes even better on day two.
Nutrition
- Serving Size: 1 slice
- Calories: 280
- Sugar: 18
- Sodium: 280
- Fat: 14
- Saturated Fat: 7
- Carbohydrates: 36
- Fiber: 2
- Protein: 4
Keywords: banana bread, easy banana bread, one-bowl banana bread, no mixer banana bread, moist banana bread, simple banana bread



