Love this? Save it for later!
Share the inspiration with your friends
I figured a proper pumpkin pie needed an oven, a blind-baked crust, and at least an hour of anxious peeking through the glass door. It took about one overly warm Thanksgiving kitchen for that idea to fall apart completely. The oven was packed, the counter was a disaster zone, and someone had already claimed the stovetop for mashed potatoes. So I grabbed a box of graham crackers, a block of cream cheese, and crossed my fingers. What came out of the fridge that night was so smooth, so perfectly spiced, and so much easier than the traditional version that I honestly felt a little silly for not trying it sooner.
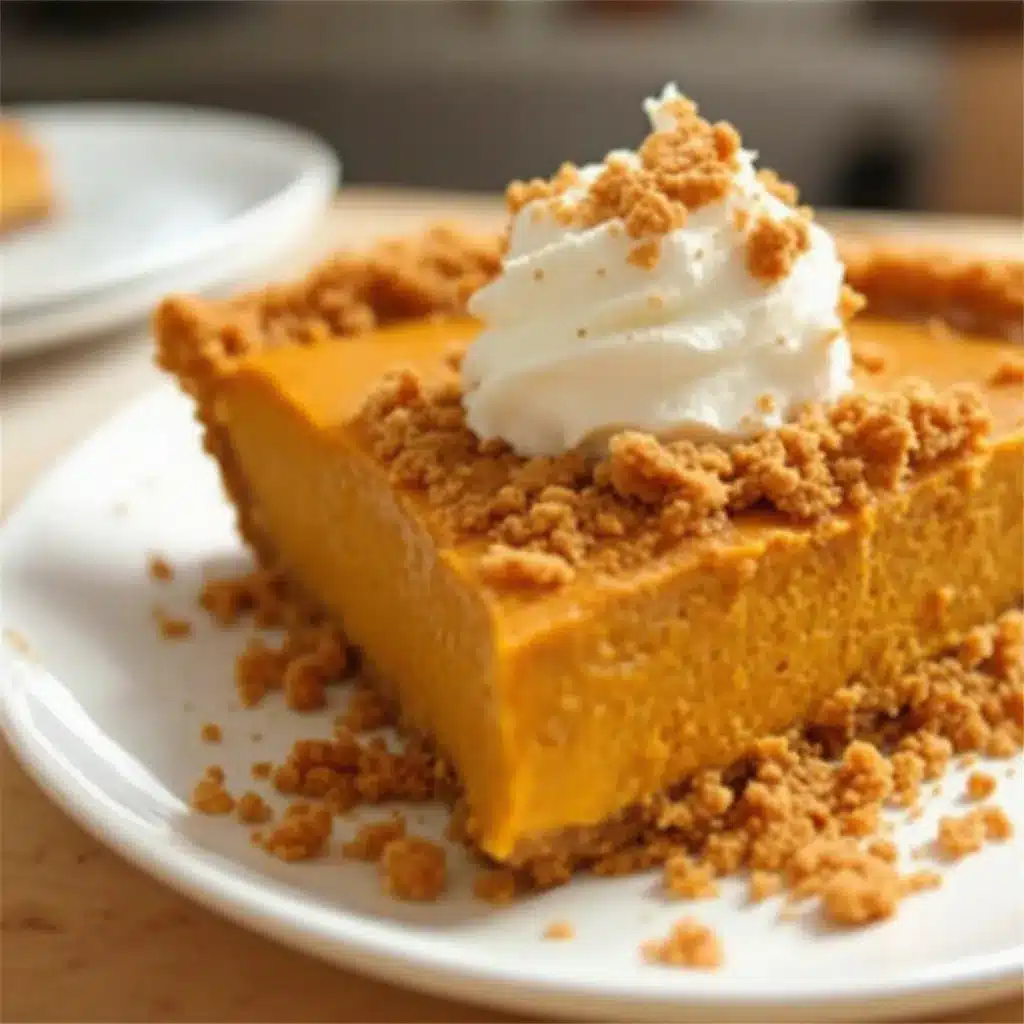
This is that pie. It’s the one I make now when I want all the cozy, nostalgic flavor of pumpkin pie without turning on the oven or stressing over a cracked filling. The crust is buttery and crunchy, the filling is thick and creamy, and the whole thing sets up in the fridge while you do literally anything else. It’s the kind of dessert that makes people say “wait, this is no-bake?” with genuine confusion. And honestly, that never gets old.
It’s become my go-to for fall gatherings, busy weeknights, and those random October afternoons when a slice of pumpkin pie feels like the only reasonable response to the world. No oven required. No stress included.
Why You’ll Love This Recipe
I’ve tested this recipe more times than I care to admit, tweaking the cream cheese ratio, the spice blend, and the chilling time until it was exactly right. Here’s why I keep coming back to it—and why I think you will too.
- No Oven Required: This is the real selling point. Whether your oven is occupied with a turkey or you just don’t feel like heating up the kitchen, this pie comes together entirely on the counter and in the fridge.
- Simple Ingredients: You probably have most of these in your pantry right now. Graham crackers, butter, cream cheese, pumpkin puree, and a few spices. No weird specialty items.
- Perfect for Entertaining: Make it a day ahead. The pie actually gets better after a full night in the fridge, which means one less thing to worry about on the day of your gathering.
- Crowd-Pleaser: I’ve served this to pumpkin purists and no-bake skeptics alike. It disappears fast. The texture is just as rich and satisfying as baked pumpkin pie, maybe even creamier.
- Unbelievably Easy: If you can stir and press crumbs into a pan, you can make this pie. No rolling dough, no blind baking, no temperature checks.
What makes this different from other no-bake pumpkin pies I’ve tried is the texture. Some versions turn out too soft or almost mousse-like. This one slices cleanly, holds its shape, and has that dense, velvety richness you expect from a classic pie. The secret is letting the cream cheese come to room temperature and beating it until it’s truly smooth before adding anything else. It’s a small step, but it makes all the difference.
This is the kind of dessert that makes you close your eyes after the first bite. It’s comfort food at its finest—easy, forgiving, and deeply satisfying.
What Ingredients You Will Need
This recipe uses simple, wholesome ingredients that work together to create a rich, spiced filling and a crunchy, buttery crust. Most of these are pantry staples, especially during fall.
For the Graham Cracker Crust
- Graham cracker crumbs, 1 ½ cups (about 12 full sheets) — You can buy pre-made crumbs, but I prefer crushing whole graham crackers myself. The texture is more consistent. Pulse them in a food processor or seal them in a bag and go to town with a rolling pin. It’s oddly satisfying.
- Unsalted butter, 6 tablespoons, melted — This binds the crumbs and adds richness. If you only have salted butter, just skip the pinch of salt listed below.
- Granulated sugar, 2 tablespoons — A little sweetness for the crust. Brown sugar works too, and adds a deeper flavor.
- Pinch of salt — Balances the sweetness and enhances the buttery flavor.
For the Pumpkin Filling
- Cream cheese, 8 ounces, softened to room temperature — This is the backbone of the filling. It gives the pie structure and that luscious, creamy texture. Use full-fat cream cheese for the best results. I’ve tried low-fat versions, and the filling ends up a bit too soft.
- Pumpkin puree, 1 ½ cups (one 15-ounce can) — Make sure you’re buying 100% pure pumpkin puree, not pumpkin pie filling. The pie filling has added sugar and spices, which will throw off the balance completely. I usually go with Libby’s, but any brand of pure pumpkin works fine.
- Powdered sugar, ½ cup — Dissolves easily into the filling without any grittiness. Regular granulated sugar can leave a slightly grainy texture in a no-bake filling.
- Pumpkin pie spice, 1 ½ teaspoons — You can use store-bought or make your own blend. I make mine with cinnamon, nutmeg, ginger, and a tiny pinch of cloves.
- Ground cinnamon, 1 teaspoon — Because you can never have too much cinnamon in a pumpkin pie.
- Vanilla extract, 1 teaspoon — Adds warmth and rounds out the flavors.
- Heavy cream, ½ cup — This gets whipped and folded into the filling, which makes it light and airy without being fragile. Do not skip this step. Whipped cream from a can won’t give you the same result.
For the Topping (Optional but Recommended)
- Heavy cream, 1 cup
- Powdered sugar, 2 tablespoons
- Vanilla extract, ½ teaspoon
- Ground cinnamon or nutmeg, for dusting
Equipment Needed
You don’t need anything fancy for this recipe, which is part of the appeal. Here’s what you’ll need:
- 9-inch pie plate — A standard glass or ceramic pie dish works perfectly. I use a deep-dish plate because I like a generous filling-to-crust ratio.
- Mixing bowls — You’ll need a medium bowl for the crust and a large bowl for the filling.
- Electric hand mixer or stand mixer — A whisk and some elbow grease can work for the filling, but an electric mixer makes the cream cheese silky smooth and whips the cream in minutes.
- Food processor or zip-top bag and rolling pin — For crushing the graham crackers. The food processor is faster, but the bag method is a great stress reliever.
- Rubber spatula — For scraping down the bowl and folding in the whipped cream.
- Measuring cups and spoons
- Plastic wrap — For covering the pie while it chills.
If you don’t have a pie plate, you can use a 9-inch springform pan or even a deep-dish tart pan. The pie will just be a little taller or wider depending on the pan.
Preparation Method
Let’s make this pie. It’s straightforward, but I’ll walk you through every step so you feel confident.
Step 1: Make the Crust
In a medium bowl, combine the graham cracker crumbs, melted butter, sugar, and salt. Stir with a fork until the crumbs are evenly moistened. They should look like wet sand and hold together when you squeeze a handful.
Pour the mixture into your pie plate. Press it firmly and evenly into the bottom and up the sides. I use the bottom of a measuring cup to really pack it in. A flat-bottomed glass works too. Make sure the edges are thick enough to hold the filling—about ¼ inch is good.
Pop the crust in the fridge for at least 15 minutes while you make the filling. This helps it firm up so it doesn’t crumble when you slice the pie later.
Step 2: Beat the Cream Cheese
In a large mixing bowl, beat the softened cream cheese with an electric mixer on medium speed until it’s completely smooth. This is the most important step. If the cream cheese is lumpy, your filling will be lumpy. Scrape down the sides of the bowl with a rubber spatula halfway through.
Step 3: Add the Pumpkin and Spices
Add the pumpkin puree, powdered sugar, pumpkin pie spice, cinnamon, and vanilla extract to the bowl. Beat on medium speed until everything is combined and smooth. The mixture will be thick and fragrant. Taste it here—if you want more spice, add a little more. I always add an extra pinch of cinnamon because I can’t help myself.
Step 4: Whip the Cream
In a separate bowl, pour the ½ cup of heavy cream. Using clean beaters, whip the cream on medium-high speed until soft peaks form. This takes about 2-3 minutes. You’re looking for the cream to hold its shape when you lift the beaters, but not be stiff or grainy.
Step 5: Fold It All Together
Add the whipped cream to the pumpkin mixture. Use a rubber spatula to gently fold it in. Start from the bottom and work your way up, turning the bowl as you go. Don’t stir—folding keeps the air in the whipped cream, which is what makes the filling light and sliceable. Stop as soon as you don’t see any white streaks.
Step 6: Fill and Chill
Spoon the filling into the chilled crust. Spread it evenly with the spatula. Cover the pie loosely with plastic wrap and refrigerate for at least 6 hours, but overnight is better. The filling needs time to set up properly. I know it’s hard to wait, but trust me on this.
Step 7: Make the Topping (If Using)
When you’re ready to serve, whip the remaining 1 cup of heavy cream with the powdered sugar and vanilla until soft peaks form. Spread or pipe it over the chilled pie. Dust with a little cinnamon or nutmeg right before serving.
Cooking Tips & Techniques
I’ve made this pie enough times to have a few lessons burned into my memory. Here are the things I wish someone had told me the first time.
Don’t rush the cream cheese. Seriously. Cold cream cheese will leave you with lumpy filling no matter how long you beat it. Let it sit on the counter for at least 30 minutes before you start. If you’re in a hurry, cut it into small cubes and let it soften for 15 minutes.
Press the crust firmly. A loose crust will fall apart when you try to serve the pie. Use the bottom of a glass or measuring cup to really compact the crumbs. I’ve had pies where the crust crumbled into the filling, and while it still tasted good, the presentation was a mess.
Fold, don’t stir. I learned this the hard way. The first time I made this, I was in a hurry and stirred the whipped cream into the filling vigorously. The pie turned out denser and less creamy. Gentle folding keeps the texture light and airy.
Chill time is non-negotiable. Six hours is the minimum. If you cut into it too early, the filling will be soft and won’t hold its shape. I’ve made the mistake of slicing after four hours, and it was more like pumpkin mousse than pie. Still delicious, but not what I was going for.
Use room temperature ingredients. The cream cheese and pumpkin puree should both be at room temperature. This helps everything blend together smoothly. Cold pumpkin can make the cream cheese seize up slightly.
Variations & Adaptations
This recipe is pretty forgiving, so feel free to play around with it. Here are some variations I’ve tried and loved.
Gluten-Free Version: Use gluten-free graham crackers or crushed gluten-free cookies for the crust. Everything else in the recipe is naturally gluten-free, but double-check your pumpkin pie spice blend to be safe.
Dairy-Free Option: Swap the cream cheese for a dairy-free cream cheese alternative, use coconut cream instead of heavy cream, and use a vegan butter for the crust. The texture will be slightly different—a bit softer—but still delicious.
Spice It Up: I sometimes add a pinch of cayenne pepper or a teaspoon of orange zest to the filling. The cayenne gives a subtle warmth that plays nicely with the pumpkin, and the orange zest brightens everything up.
Chocolate Lover’s Twist: Melt ¼ cup of semi-sweet chocolate chips and drizzle it over the crust before adding the filling. The chocolate sets into a thin layer that adds a nice contrast to the creamy pumpkin.
Individual Servings: Instead of a pie plate, press the crust into the bottom of small mason jars or ramekins. Layer the filling on top and chill. These are perfect for parties or portion control.
I once made this with a gingersnap cookie crust instead of graham crackers. The spicy, molasses flavor of the gingersnaps paired beautifully with the pumpkin filling. It’s now my second-favorite version of this recipe.
Serving & Storage Suggestions
This pie is best served cold, straight from the fridge. The filling is firm but creamy, and the crust stays crunchy. If you’ve made the whipped cream topping, add it right before serving so it stays fluffy.
I like to serve this with a cup of hot coffee or a warm mug of spiced cider. The contrast between the cold, creamy pie and the hot drink is perfect for a crisp fall day. If you’re feeling extra indulgent, a drizzle of caramel sauce over the top is never a bad idea.
For leftovers, cover the pie tightly with plastic wrap or transfer it to an airtight container. It will keep in the refrigerator for up to 4 days. The crust will soften slightly over time, but the flavor actually improves as the spices meld together.
You can also freeze this pie. Wrap it tightly in plastic wrap and then in foil. Freeze for up to 2 months. Thaw it in the refrigerator overnight before serving. The texture will be slightly softer after freezing, but it’s still delicious. I’ve made a double batch and stashed one in the freezer for Thanksgiving week—it’s a lifesaver.
If you’re serving this at a gathering, I recommend making it the day before. It gives the filling plenty of time to set, and it’s one less thing to worry about on the day of your event. Just add the whipped cream topping right before serving.
Nutritional Information & Benefits
Here’s an approximate nutritional breakdown for one slice of pie (based on 8 servings, without the optional whipped topping):
- Calories: 380
- Fat: 24g
- Carbohydrates: 38g
- Protein: 5g
- Fiber: 2g
- Sugar: 24g
Pumpkin is packed with vitamin A, which is great for eye health and immune function. It also contains fiber and antioxidants. The cream cheese and heavy cream provide calcium and protein, though this is definitely a treat rather than a health food. I like to think of it as a dessert that happens to have some redeeming qualities.
If you’re watching your sugar intake, you can reduce the powdered sugar to ⅓ cup in the filling. The pie will be less sweet but still plenty flavorful thanks to the spices. For a lower-fat option, use reduced-fat cream cheese and skip the whipped cream topping. The texture won’t be quite as rich, but it’s still a solid dessert.
This recipe contains dairy and gluten. For allergen-friendly variations, see the section above.
Conclusion
This easy no-bake pumpkin pie with graham cracker crust is the kind of recipe that makes you wonder why you ever bothered with the oven version. It’s creamy, spiced perfectly, and comes together in about 20 minutes of active work. The hardest part is waiting for it to chill.
I love this recipe because it’s reliable. It works every single time, whether I’m making it for a holiday dinner or a random Tuesday night when I need a little comfort. It’s forgiving enough for beginners and impressive enough for guests. And honestly, anything that lets me skip turning on the oven is a win in my book.
I’d love to hear how this turns out for you! Leave a comment below and let me know if you tried any variations or if this became your new go-to pumpkin pie. And if you’re looking for more easy fall desserts, check out my moist chocolate chip pumpkin bread or these fluffy pumpkin cinnamon rolls. They’re both perfect for the season.
Happy no-bake baking, friends!
Frequently Asked Questions
Can I use canned pumpkin pie filling instead of pure pumpkin puree?
I don’t recommend it. Pumpkin pie filling already has sugar and spices added, which will throw off the balance of this recipe. Stick with 100% pure pumpkin puree for the best results.
How long does this pie need to chill?
At least 6 hours, but overnight is ideal. The filling needs time to firm up so it slices cleanly. If you’re in a hurry, 4 hours will work, but the texture will be softer.
Can I make this pie ahead of time?
Absolutely. This pie is perfect for making a day in advance. In fact, it tastes even better after a full night in the fridge because the flavors have time to meld together. Just add the whipped cream topping right before serving.
Can I freeze this no-bake pumpkin pie?
Yes, you can freeze it for up to 2 months. Wrap it tightly in plastic wrap and then in foil. Thaw it in the refrigerator overnight before serving. The texture will be slightly softer after freezing, but it’s still delicious.
Why is my filling too soft?
There are a few possible reasons. The most common one is not chilling the pie long enough. Make sure it’s in the fridge for at least 6 hours. Another reason could be that the cream cheese wasn’t properly softened, which can affect the structure. Finally, make sure you’re folding the whipped cream gently—overmixing can deflate it and make the filling denser and softer.
Pin This Recipe!
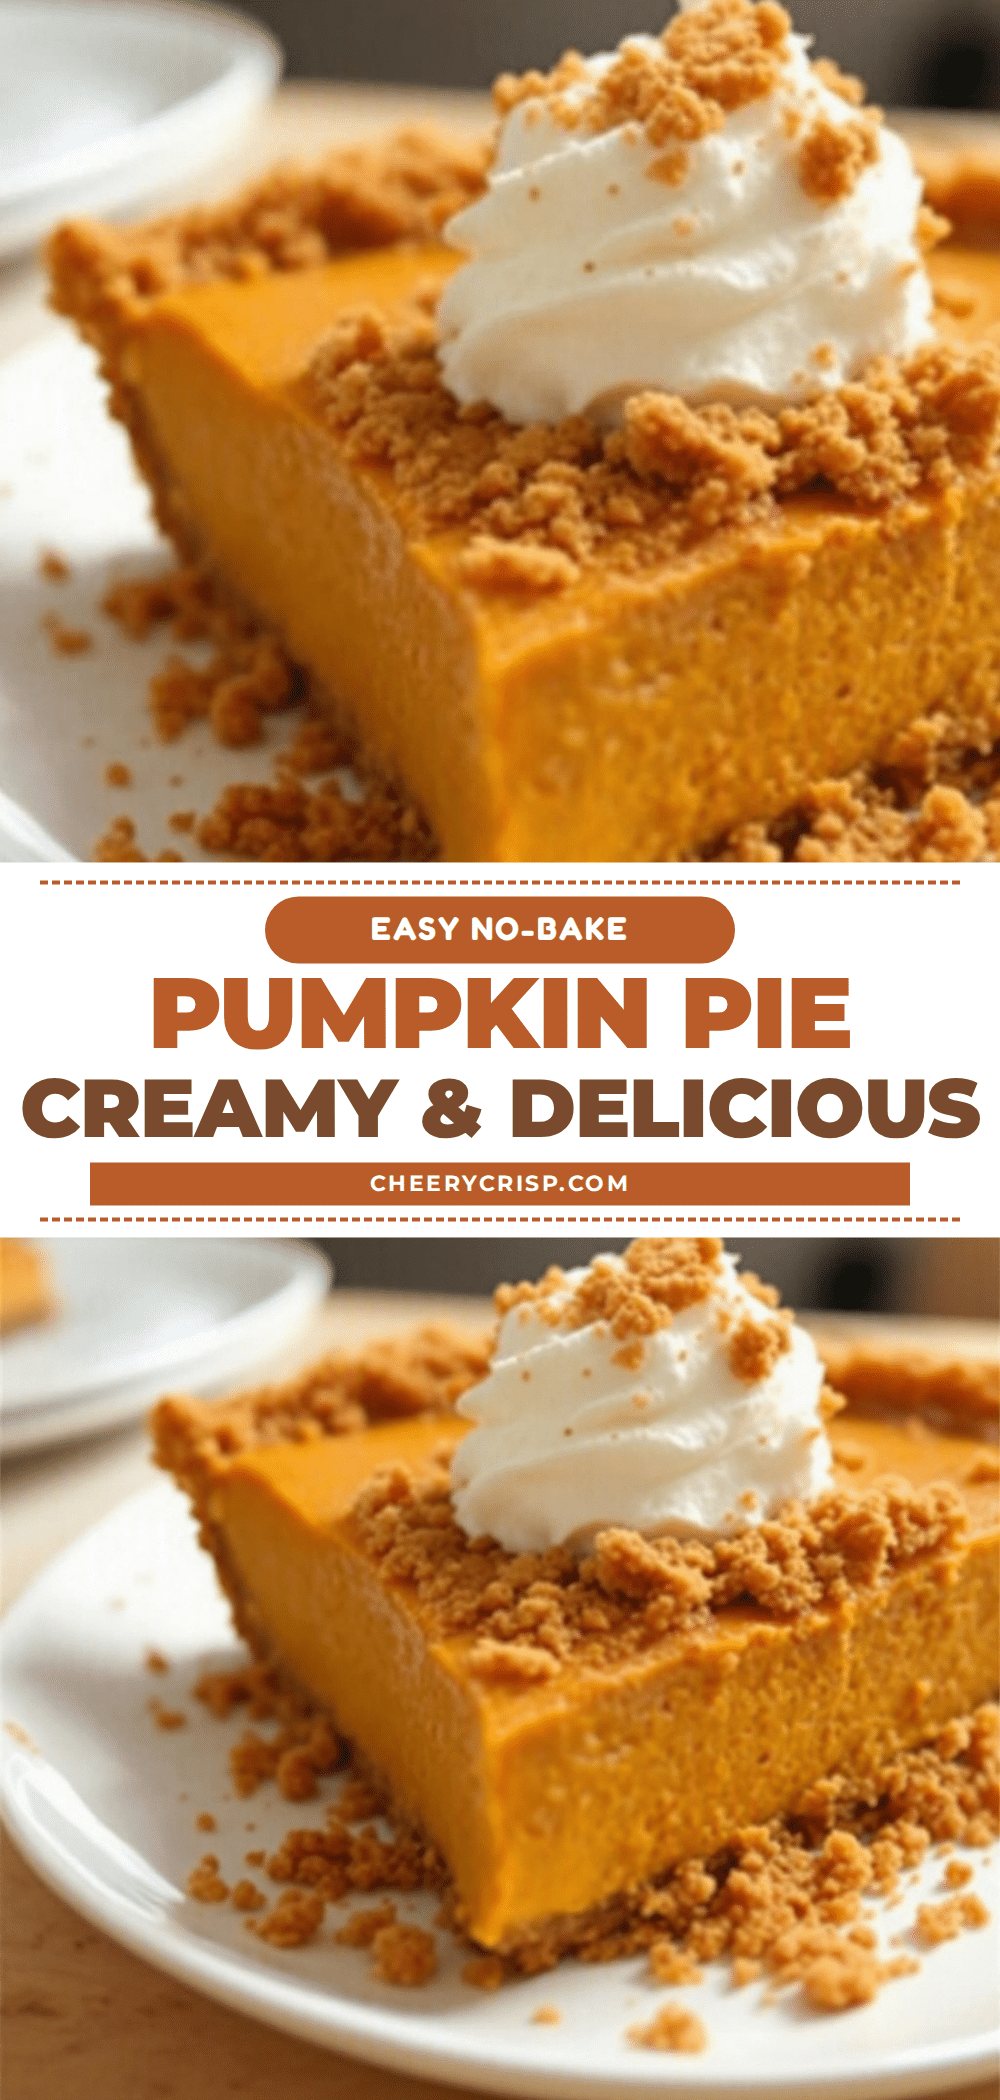
Easy No-Bake Pumpkin Pie with Graham Cracker Crust
This creamy, spiced no-bake pumpkin pie with a buttery graham cracker crust is the perfect easy dessert for fall. No oven required, just a few simple ingredients and a chill in the fridge.
- Prep Time: 20 minutes
- Cook Time: 0 minutes
- Total Time: 6 hours 20 minutes (includes chilling)
- Yield: 8 servings 1x
- Category: Dessert
- Cuisine: American
Ingredients
- 1 ½ cups graham cracker crumbs (about 12 full sheets)
- 6 tablespoons unsalted butter, melted
- 2 tablespoons granulated sugar
- Pinch of salt
- 8 ounces cream cheese, softened to room temperature
- 1 ½ cups pumpkin puree (one 15-ounce can)
- ½ cup powdered sugar
- 1 ½ teaspoons pumpkin pie spice
- 1 teaspoon ground cinnamon
- 1 teaspoon vanilla extract
- ½ cup heavy cream
- For the topping (optional): 1 cup heavy cream, 2 tablespoons powdered sugar, ½ teaspoon vanilla extract, ground cinnamon or nutmeg for dusting
Instructions
- Make the crust: In a medium bowl, combine graham cracker crumbs, melted butter, sugar, and salt. Stir until the crumbs are evenly moistened and hold together when squeezed. Press firmly into the bottom and up the sides of a 9-inch pie plate. Refrigerate for at least 15 minutes.
- Beat the cream cheese: In a large mixing bowl, beat the softened cream cheese with an electric mixer on medium speed until completely smooth. Scrape down the sides of the bowl.
- Add pumpkin and spices: Add pumpkin puree, powdered sugar, pumpkin pie spice, cinnamon, and vanilla extract. Beat on medium speed until combined and smooth.
- Whip the cream: In a separate bowl, whip the ½ cup heavy cream on medium-high speed until soft peaks form, about 2-3 minutes.
- Fold it together: Gently fold the whipped cream into the pumpkin mixture using a rubber spatula. Fold until no white streaks remain.
- Fill and chill: Spoon the filling into the chilled crust and spread evenly. Cover loosely with plastic wrap and refrigerate for at least 6 hours, preferably overnight.
- Make the topping (optional): When ready to serve, whip the remaining 1 cup heavy cream with powdered sugar and vanilla until soft peaks form. Spread or pipe over the chilled pie. Dust with cinnamon or nutmeg.
Notes
Let cream cheese come to room temperature for smooth filling. Press crust firmly to prevent crumbling. Chill at least 6 hours for clean slices. For a gluten-free version, use gluten-free graham crackers. For dairy-free, use dairy-free cream cheese, coconut cream, and vegan butter.
Nutrition
- Serving Size: 1 slice (1/8 of pie)
- Calories: 380
- Sugar: 24
- Sodium: 280
- Fat: 24
- Saturated Fat: 14
- Carbohydrates: 38
- Fiber: 2
- Protein: 5
Keywords: no-bake pumpkin pie, easy pumpkin pie, graham cracker crust, fall dessert, Thanksgiving dessert, no oven pumpkin pie



