Love this? Save it for later!
Share the inspiration with your friends
Fourth time in a month and the kitchen still smells like burnt sugar and regret. I’m staring at a tray of translucent, ghostly discs that look less like Halloween treats and more like accidental ice cubes. The first batch was a disaster—flat, weepy puddles that stuck to the parchment paper like a bad memory. The second batch was too dense, tasting more like meringue powder than actual egg whites. The third? Edible, sure, but they lacked that signature snap that makes a cookie worth the elbow grease. Honestly, I almost threw the whole carton of eggs out the window. But then, on the fourth attempt, something clicked. The whites were whipped to stiff, glossy peaks that held their shape like a stubborn mule. The oven temperature was dialled in perfectly, low and slow, drying them out without browning them. When I pulled the tray from the oven, the ghosts stood proud and rigid. They didn’t crack. They didn’t collapse. They just sat there, judging me with their chocolate chip eyes.
It wasn’t about the flavor, really. Meringue is just sugar and air, after all. It was about the texture. That specific, airy crispness that shatters when you bite down, leaving no crumbs, just a sweet, clean finish. I kept coming back to it because I wanted to get it right. Not just “good enough for guests,” but perfect. The kind of cookie that looks intimidatingly difficult but is actually just three ingredients and patience. I spent weeks tweaking ratios, watching the oven like a hawk, and learning that humidity is the enemy of every baker’s soul. You know how it is when you’re trying to perfect something simple? It becomes this weird, all-consuming project. You stop seeing the world in terms of meals and start seeing it in terms of macaronage and meringue stability.
But here’s the thing. When you finally get it right, when those little ghostly shapes hold their form and taste like sweet, airy clouds, it feels like a small victory. It’s not just a cookie. It’s a test of skill. And once you’ve mastered the crispy ghost meringue, you realize that baking isn’t about following instructions blindly. It’s about understanding the ingredients. It’s about knowing when to stop whipping. It’s about trusting that the sugar will dissolve and the air will stay trapped. I made them for a last-minute party, thinking they’d be a cute garnish. Instead, they were the first thing gone. No one even noticed the other desserts. They just wanted the ghosts. And now, I can’t stop making them. It’s become this quiet ritual. The quiet hum of the mixer, the white foam rising, the careful piping of eyes. It’s calming, in a weird, obsessive way.
Why You’ll Love This Recipe
Let’s be real for a second. Most meringue recipes out there are either too complicated or they turn out chewy when you want them crisp. I’ve tested enough of them to know the difference. This version is different because it’s built for texture. We’re not going for soft and chewy like those chewy pumpkin snickerdoodle cookies. We’re going for that shattering, glass-like snap that disappears on your tongue. It’s the kind of treat that feels fancy but is incredibly simple to make. You don’t need a stand mixer if you have a strong arm, though a mixer helps. You don’t need fancy equipment. Just egg whites, sugar, and a little bit of cream of tartar.
Here is why this recipe earns its spot on your holiday baking list:
- Quick & Easy Prep: The actual hands-on time is under 15 minutes. You whip, you pipe, you bake. The rest is passive. It’s perfect for those last-minute Halloween parties where you’re scrambling for something “spooky” but delicious.
- Simple Ingredients: No exotic spices or hard-to-find garnishes. You likely have everything in your pantry already. It’s just sugar, eggs, and maybe some vanilla. Clean, simple, honest baking.
- Perfect for Trick-or-Treating: These are small, lightweight, and not overly sweet. They’re perfect for little hands to grab without getting sticky fingers. A great alternative to heavy candy bars.
- Crowd-Pleaser: Adults love the sophistication; kids love the shape. It’s a win-win. Plus, they look adorable on a platter, even if they aren’t exactly “scary.”
- Unbelievably Light: There’s no heavy butter or flour here. It’s pure air and sugar. It feels like eating a cloud, but one that crunches. It’s a refreshing change from the usual dense brownies or cookies.
What makes this recipe stand out is the technique. Many people ruin meringue by under-whipping or using dirty bowls. I learned the hard way that even a speck of yolk can ruin the whole batch. This recipe is designed to be foolproof if you follow the steps. The addition of the chocolate chip eyes adds a touch of flavor contrast and makes them instantly recognizable. It’s not just a plain white disc. It’s a character. It’s a little ghost with a personality. And honestly, there’s something deeply satisfying about creating something that looks like it came from a spooky storybook but tastes like pure sweetness. It’s comfort food reimagined for Halloween.
What Ingredients You Will Need
This recipe relies on the purity of its components. Because there are only three main ingredients, the quality of each one matters more than usual. You can’t hide bad eggs behind chocolate or spices. The result is entirely dependent on the sugar dissolving completely and the egg whites holding their structure. I use standard large eggs, but I always make sure they are room temperature. Cold egg whites take longer to whip and don’t reach the same volume. It’s a small detail, but it makes a big difference in the final texture.
Here is what you’ll need to gather:
- Large Egg Whites: You’ll need about 3 large egg whites, separated from the yolks. The yolks can be used for another recipe, like these perfect small batch chocolate chip cookies for two, so don’t throw them away. Make sure your bowl is completely grease-free. Even a tiny drop of yolk will prevent the whites from whipping up properly.
- Granulated Sugar: One cup of white granulated sugar. I prefer caster sugar or superfine sugar if you have it, because it dissolves faster. If you only have regular granulated sugar, that works too, but you’ll need to whip a bit longer. Do not use brown sugar; the moisture will make the meringues chewy instead of crisp.
- Cream of Tartar: One-half teaspoon. This is the secret weapon. It stabilizes the egg whites, preventing them from collapsing. It also helps achieve that stiff, glossy peak. You can find it in the baking aisle next to the spices. It’s inexpensive and lasts forever.
- Vanilla Extract: One teaspoon of pure vanilla extract. Artificial vanilla works in a pinch, but pure vanilla adds a nice depth of flavor that balances the sweetness. Skip the almond extract if you want a neutral taste, but vanilla pairs well with the chocolate chips.
- Mini Chocolate Chips: About 6-8 mini chocolate chips for the eyes. Regular chips are too big. You need something small and cute. Milk chocolate or semi-sweet both work. I like semi-sweet for a slight bitterness to cut the sugar.
- Parchment Paper: Essential for lining your baking sheets. Meringues stick badly to silicone mats sometimes, so parchment is safer. You can also use a silicone mat, but you’ll need to be careful when peeling them off.
I recommend using a digital scale for the sugar if you want precision, but volume measurements work fine here. Just make sure your cups are level. And please, for the love of all things holy, clean your bowl. Wipe it out with a paper towel dipped in vinegar or lemon juice to remove any grease. It sounds extreme, but it’s the difference between a fluffy meringue and a sad, flat mess.
Equipment Needed
You don’t need a fancy kitchen to make these ghosts. A few basic tools will get you there. The most important piece of equipment is a mixing bowl. Glass or metal is best. Plastic can hold onto grease, which is bad news for egg whites. If you’re using a hand mixer, make sure the beaters are clean and dry. A stand mixer with a whisk attachment is easier, but not required. You need about 5-7 minutes of whipping time either way.
- Mixing Bowl: Large, clean, and grease-free. Glass is ideal because you can see the consistency of the whites clearly.
- Electric Mixer: Hand-held or stand mixer. A hand mixer is fine, but it requires more effort. Make sure the beaters are dry.
- Piping Bag: A disposable or reusable piping bag. I like using a star tip for a textured look, but a round tip works too. If you don’t have a piping bag, you can use a zip-top bag with the corner cut off. It’s less pretty but gets the job done.
- Baking Sheets: Two standard-sized baking sheets. Light-colored sheets are better because they reflect heat and prevent the bottoms from browning too quickly.
- Parchment Paper: To line the baking sheets. This prevents sticking and makes cleanup a breeze.
- Spatula: A rubber spatula for scraping down the sides of the bowl. This ensures all the sugar is incorporated.
- Oven Thermometer: Highly recommended. Ovens are often inaccurate. If your oven runs hot, your meringues will brown instead of dry out. A thermometer helps you dial in the true temperature.
I’ve ruined batches by using a bowl that wasn’t clean. Don’t make my mistake. And if you don’t have a piping bag, don’t worry. You can just spoon small mounds onto the tray. They won’t look as neat, but they’ll still taste great. The goal is fun, not perfection. But if you want those cute ghost shapes, a piping bag is worth the investment. They’re cheap and disposable, so no cleanup required.
Preparation Method
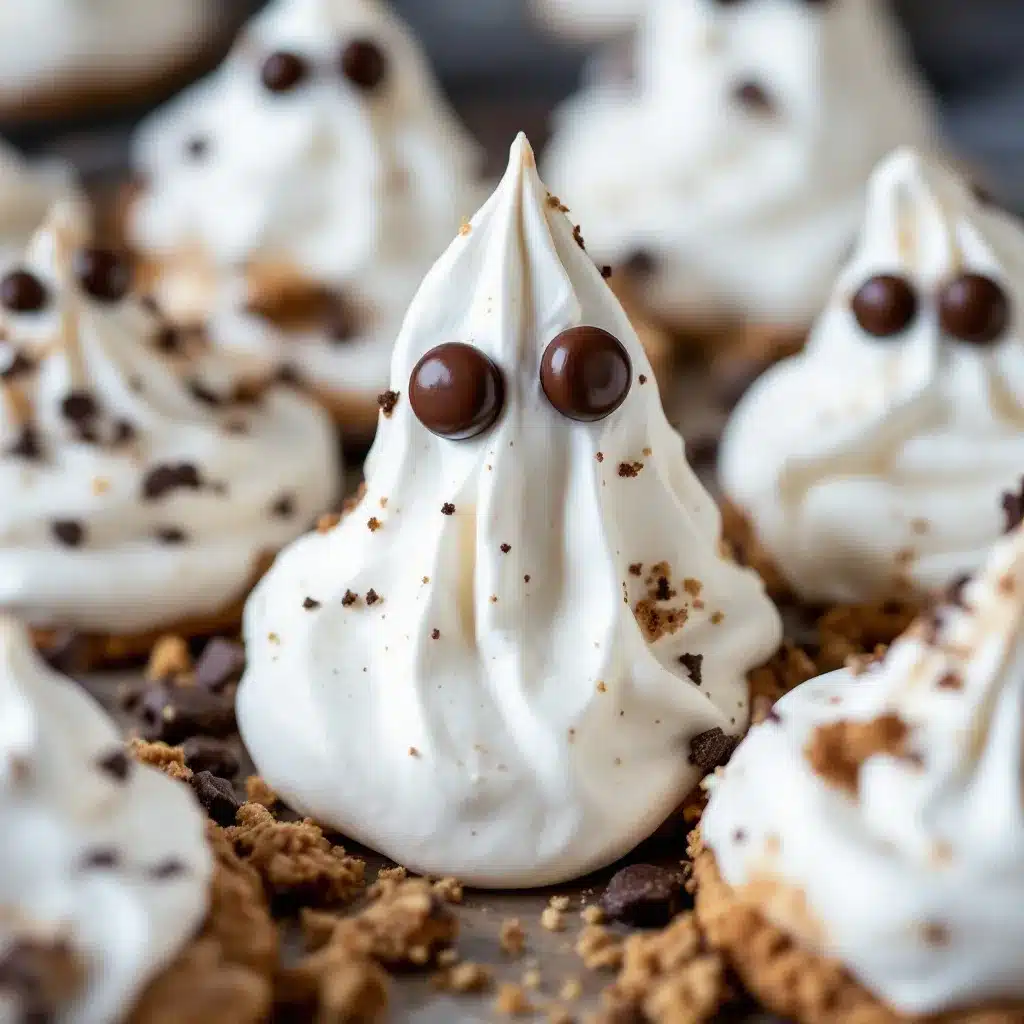
Making crispy ghost meringue cookies is a process of patience and precision. Here is how to do it right, step by step.
- Prep the Oven and Pan: Preheat your oven to 200°F (95°C). This low temperature is crucial. You want to dry out the meringues, not bake them. Line two baking sheets with parchment paper. Make sure the parchment is flat and smooth. If it’s curled, weigh it down with a heavy pan for a few minutes.
- Separate the Eggs: Separate the egg whites from the yolks. Do this carefully. If any yolk gets into the whites, start over. Yolk contains fat, which prevents the whites from whipping. Place the whites in a clean, dry mixing bowl. I usually separate them while they are cold, then let them come to room temperature in the bowl. It whips faster.
- Whip the Egg Whites: Start whipping the egg whites on medium speed. Once they become foamy and white, add the cream of tartar. This helps stabilize the foam. Continue whipping on medium-high speed. The whites should become stiff and glossy. This takes about 3-5 minutes with a hand mixer. You know they’re ready when you lift the beaters and the peaks stand straight up without drooping.
- Add the Sugar: With the mixer running on medium, slowly pour in the sugar. Do it slowly, about a tablespoon at a time. If you add it too fast, it won’t dissolve. Once all the sugar is added, increase the speed to high. Whip for another 2-3 minutes. The mixture should be thick, glossy, and hold stiff peaks. Rub a little bit between your fingers; if you feel grit, keep whipping. The sugar needs to be fully dissolved.
- Add Vanilla: Turn off the mixer and stir in the vanilla extract with a spatula. Be gentle. You don’t want to deflate the mixture. Just fold it in until combined.
- Pipe the Ghosts: Transfer the mixture to a piping bag fitted with a star tip. Pipe small mounds onto the prepared baking sheets. To make a ghost shape, pipe a round base and then a smaller, taller mound on top. Or, just pipe simple ovals. Leave space between them because they don’t spread much. I pipe about 12 per sheet.
- Add the Eyes: Immediately press two mini chocolate chips into the top of each ghost for eyes. Do this while the meringue is still wet. If you wait, they won’t stick. You can use a tiny bit of water or egg white to help them adhere if needed, but usually, the wet surface is enough.
- Bake: Place the sheets in the oven. Bake for 1.5 to 2 hours. The meringues are done when they are dry to the touch and release easily from the parchment. They should be white or very slightly ivory. If they are browning, your oven is too hot. Lower the temperature to 175°F (80°C).
- Cool: Turn off the oven and crack the door open. Let the meringues cool completely inside the oven. This gradual cooling helps prevent cracking. Once cool, they should be crisp and light as air.
The key here is patience. Don’t rush the whipping. Don’t rush the baking. If you take them out too early, they’ll be chewy. If you leave them too long, they’ll brown. Trust the process.
Cooking Tips & Techniques
Meringue can be finicky, but once you understand the science, it’s easy. The biggest mistake people make is not whipping enough. You need those stiff peaks. If your peaks droop, the cookies will spread and lose their shape. Another common error is adding sugar too quickly. It needs time to dissolve. If you taste the meringue and feel sugar grains, keep whipping.
Humidity is the enemy. If it’s a rainy day or very humid, the meringues might not dry out properly. In that case, leave them in the oven longer. Or, use a dehydrator if you have one. I’ve learned that my kitchen’s humidity varies by season. In winter, they dry faster. In summer, they take longer. Adjust accordingly.
Also, make sure your bowl is absolutely clean. Wipe it with vinegar. It sounds like a grandma tip, but it works. Fat is the enemy of foam. Even a tiny bit of oil can ruin the batch. And don’t use plastic bowls if you can help it. Glass or metal is better.
I once tried to make meringues in a humid kitchen and they turned into sticky puddles. I was so frustrated. I threw them out and started over. This time, I left them in the turned-off oven overnight. They dried out perfectly. So, don’t be afraid to let them sit. The longer they dry, the crispier they get.
Variations & Adaptations
While the classic ghost is great, you can play around with this recipe. Here are a few ideas:
- Food Coloring: Add a drop of gel food coloring to the egg whites before whipping. You can make pastel ghosts or spooky orange ones. Gel coloring is better because it doesn’t add extra liquid.
- Flavor Variations: Swap the vanilla for almond extract for a different flavor profile. Or add a pinch of cinnamon for a fall twist. Lemon zest also works well if you want a citrusy ghost.
- Gluten-Free: This recipe is naturally gluten-free. Just make sure your chocolate chips are certified gluten-free if you have celiac disease.
- Egg-Free Option: You can use aquafaba (the liquid from a can of chickpeas) instead of egg whites. Whip it like egg whites and add cream of tartar. It works surprisingly well, though the texture might be slightly less crisp.
- Alternative Eyes: Use crushed cookies, sprinkles, or even small pieces of candy corn for the eyes. Get creative with the decorations.
I tried making orange ghosts with a drop of yellow and orange gel coloring. They looked cute, but the coloring slightly altered the texture. It’s still good, but the white ghosts are more traditional. I also tried using almond extract, and it paired well with the chocolate chips. It gave a nice, subtle nutty flavor.
Serving & Storage Suggestions
These cookies are best served at room temperature. They don’t need to be warmed up. In fact, heating them might make them soft. Store them in an airtight container at room temperature. They should stay crisp for up to a week. If they start to get soft, pop them back in the oven at 200°F for 15 minutes to re-crisp them.
They are perfect for Halloween parties, trick-or-treating, or just a spooky snack. They go well with coffee or tea. The sweetness balances well with the bitterness of coffee. I also like serving them with a glass of cold milk. It’s a classic combo.
Don’t store them in the fridge. The moisture will make them soggy. Keep them in a cool, dry place. If you live in a humid climate, you might need to store them with a desiccant packet to keep them crisp. I’ve done this before, and it works.
Nutritional Information & Benefits
These meringue cookies are light and airy. They are low in fat and protein, but high in sugar. Each cookie has about 15-20 calories. They are gluten-free and dairy-free (if you use dairy-free chocolate chips). They are a good option for those with gluten sensitivities. However, due to the high sugar content, they should be enjoyed in moderation. They are a treat, not a health food. But they are a lighter alternative to heavy cakes or brownies.
Conclusion
Making crispy ghost meringue cookies is a fun, spooky, and delicious activity. It’s simple, but it requires patience and precision. Once you get the hang of it, you’ll be making them all season long. They are a great way to use up egg whites and create a cute treat for friends and family. I love how they look on a platter. They are elegant yet playful. Try this recipe and see what you think. Customize them with different colors or flavors. Make them your own. And if you try it, let me know how they turned out. I’d love to hear your stories. Happy baking!
Frequently Asked Questions
Why are my meringues chewy instead of crisp?
They likely weren’t baked long enough or at a low enough temperature. Make sure to bake them at 200°F for at least 1.5 hours. They should be dry to the touch before you take them out.
Can I use brown sugar instead of white sugar?
No. Brown sugar contains molasses, which adds moisture. This will make the meringues chewy and sticky. Stick to white granulated sugar for crisp results.
How do I store meringue cookies?
Store them in an airtight container at room temperature. Do not refrigerate them, as the moisture will make them soft. They will stay crisp for up to a week.
Can I make these gluten-free?
Yes, this recipe is naturally gluten-free. Just ensure your chocolate chips are certified gluten-free if you have celiac disease.
What if I don’t have a piping bag?
You can use a zip-top bag with the corner cut off. Or, you can just spoon small mounds onto the baking sheet. They won’t look as neat, but they will still taste great.
Pin This Recipe!
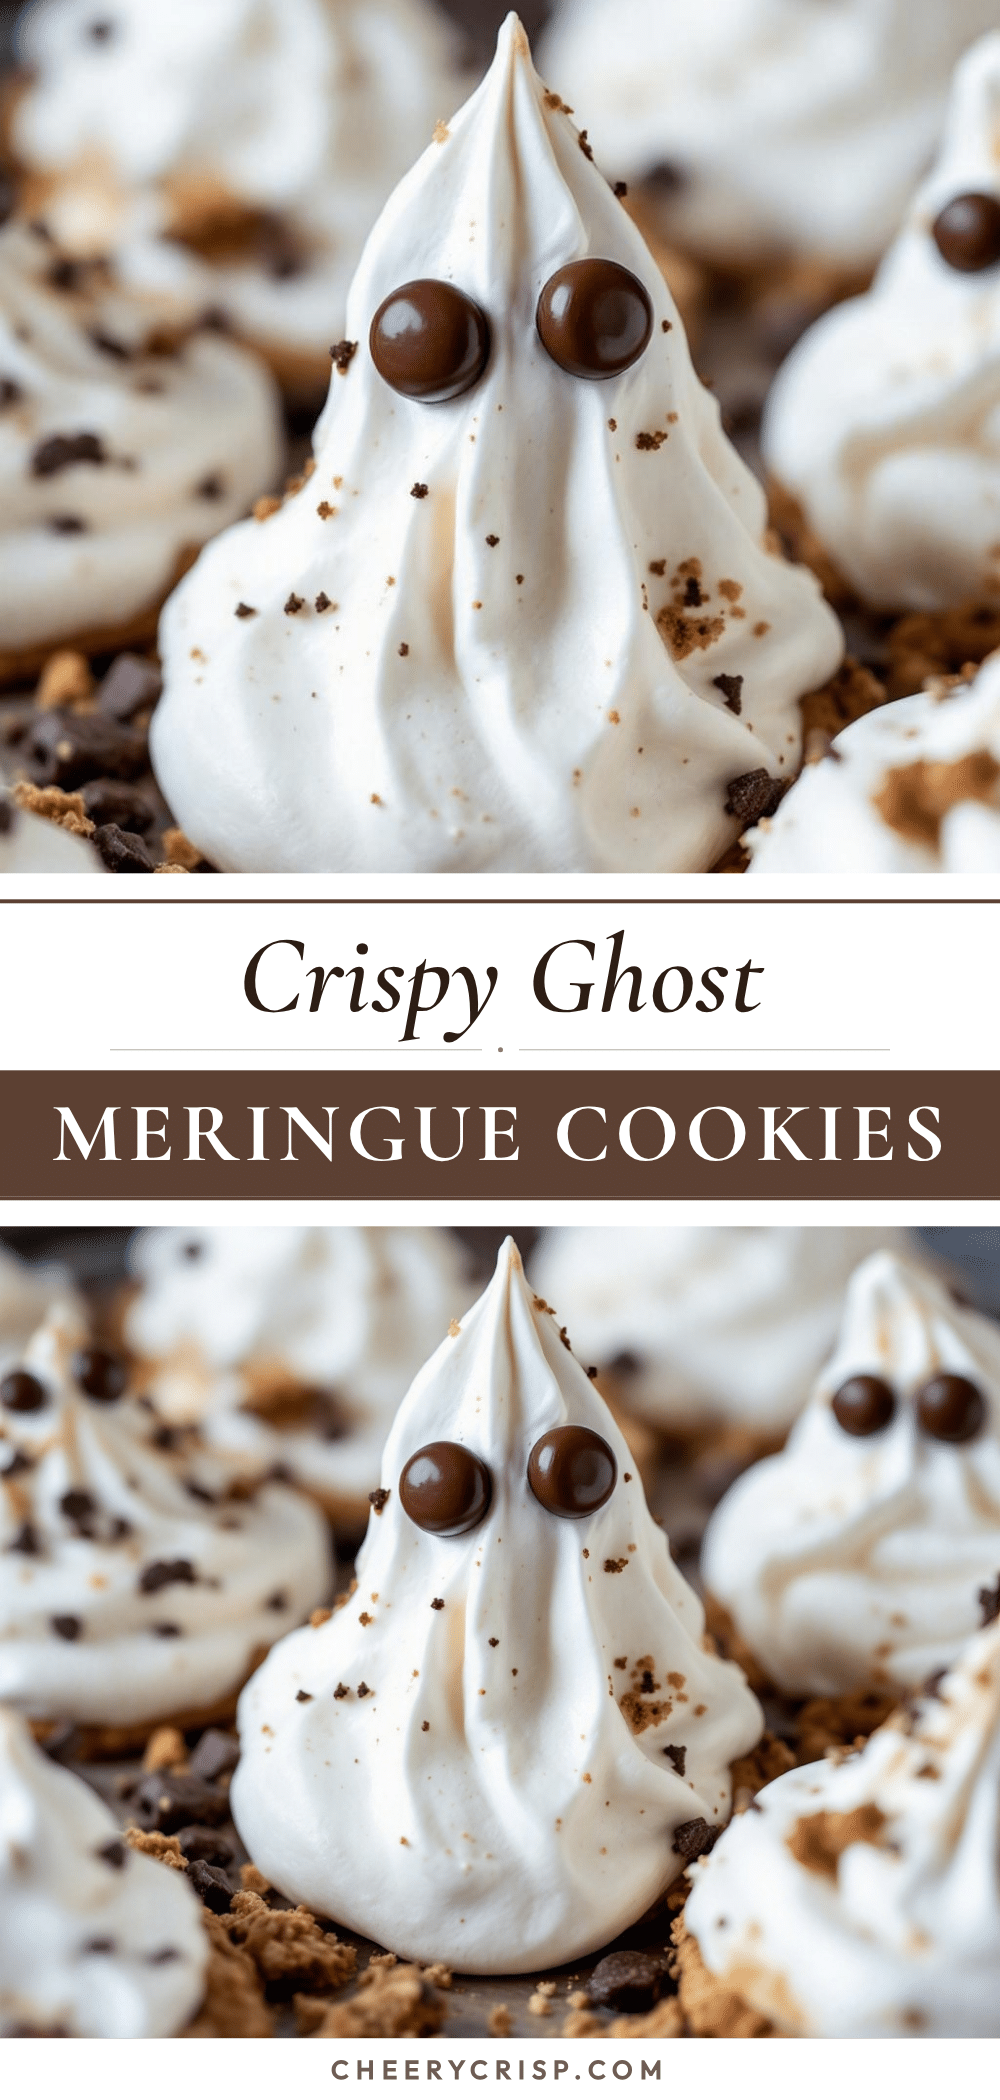
Crispy Ghost Meringue Cookies: Easy Halloween Treat
These crispy ghost meringue cookies are a simple, elegant Halloween treat made with just egg whites, sugar, and cream of tartar. They offer a shattering, airy texture and are decorated with mini chocolate chip eyes.
- Prep Time: 15 minutes
- Cook Time: 1.5 to 2 hours
- Total Time: 2 hours 15 minutes
- Yield: 12 servings 1x
- Category: Dessert
- Cuisine: American
Ingredients
- 3 large egg whites, room temperature
- 1 cup granulated sugar (caster or superfine preferred)
- 1/2 teaspoon cream of tartar
- 1 teaspoon pure vanilla extract
- 6–8 mini chocolate chips (milk or semi-sweet) for eyes
- Parchment paper for lining baking sheets
Instructions
- Preheat oven to 200°F (95°C). Line two baking sheets with parchment paper.
- Separate egg whites from yolks, ensuring no yolk gets into the whites. Place whites in a clean, grease-free glass or metal bowl.
- Whip egg whites on medium speed until foamy. Add cream of tartar and continue whipping on medium-high speed until stiff, glossy peaks form (3-5 minutes).
- With mixer running on medium, slowly add sugar, one tablespoon at a time. Increase speed to high and whip for another 2-3 minutes until sugar is fully dissolved and mixture is thick and glossy.
- Turn off mixer and gently fold in vanilla extract with a spatula.
- Transfer mixture to a piping bag fitted with a star or round tip. Pipe small ghost shapes onto prepared baking sheets.
- Immediately press two mini chocolate chips into the top of each ghost for eyes while the meringue is still wet.
- Bake for 1.5 to 2 hours until dry to the touch and release easily from parchment. If browning, lower temperature to 175°F (80°C).
- Turn off oven and let meringues cool completely inside the oven with the door cracked open to prevent cracking.
Notes
Ensure all equipment is completely clean and grease-free, as even a speck of yolk or oil can prevent egg whites from whipping. Humidity can affect drying time; if the kitchen is humid, leave cookies in the oven longer. Do not use brown sugar as it adds moisture and makes the cookies chewy.
Nutrition
- Serving Size: 1 cookie
- Calories: 18
- Sugar: 4
- Carbohydrates: 4
Keywords: Halloween cookies, meringue recipe, ghost cookies, gluten-free dessert, easy baking, crispy meringue, Halloween treats



