Love this? Save it for later!
Share the inspiration with your friends
Introduction
“You won’t believe this is dairy-free,” my friend Lisa said, scooping a generous spoonful from the bowl. That moment stuck with me. It was a sweltering July afternoon, and I’d stopped by her apartment after a long day of errands. She wasn’t the type to fuss over fancy desserts, but here she was, casually serving up this luscious vanilla ice cream that looked and tasted like the real deal.
Truth is, I always thought dairy-free ice cream meant sacrificing creaminess and richness. But Lisa’s recipe, scribbled hastily on the back of a grocery receipt during her last trip to the health food store, changed my mind. There was no fancy ice cream maker involved, no weird ingredients I couldn’t pronounce, just simple, wholesome components coming together in a way that felt almost magical.
Now, I’m not saying it was flawless the first time I tried making it myself. Oh no, I forgot to chill the coconut milk one evening and ended up with a soupy mess (lesson learned). But after a few tweaks and a little patience, this creamy dairy-free vanilla ice cream recipe has become my go-to treat, especially when the heat waves roll in or when friends with lactose intolerance come over.
Maybe you’ve been there too—craving classic vanilla ice cream but wanting to skip the dairy. Honestly, this recipe hits that spot perfectly, with just enough sweetness and a velvety texture that makes you close your eyes after the first bite. Let me tell you, once you get the hang of it, it’s surprisingly easy and satisfying to whip up at home.
Why You’ll Love This Recipe
Having tested dozens of dairy-free ice cream recipes in my kitchen, I can say this one truly stands out. It blends simplicity with indulgence, making it a reliable favorite for all sorts of occasions. Here’s why you’ll want to keep this creamy dairy-free vanilla ice cream recipe in your dessert arsenal:
- Quick & Easy: Comes together in under 15 minutes of hands-on prep—perfect for busy weeknights or last-minute dessert cravings.
- Simple Ingredients: Uses pantry staples like canned coconut milk and pure vanilla extract, so no need for specialty stores or complicated shopping lists.
- Perfect for All Occasions: Whether it’s a casual family dinner or a summer barbecue, this ice cream fits right in without stealing the show.
- Crowd-Pleaser: Even my most skeptical friends—those who usually avoid dairy-free options—have asked for seconds.
- Unbelievably Delicious: The silky texture and subtle vanilla aroma make it feel like a decadent treat, without any heavy cream.
What sets this recipe apart is the little technique of whipping the chilled coconut cream before folding in the sweetener and vanilla. This step gives the ice cream that melt-in-your-mouth quality without using eggs or artificial stabilizers. Plus, it’s incredibly adaptable; I’ve swapped in maple syrup or coconut sugar depending on what I have on hand.
Trust me, this isn’t just another dairy-free vanilla ice cream recipe—it’s the one that stuck with me after countless trials. It’s comfort food, reimagined to be accessible and nourishing, without losing any of that classic ice cream joy.
What Ingredients You Will Need
This creamy dairy-free vanilla ice cream recipe relies on straightforward ingredients that come together to create a rich, smooth texture and authentic vanilla flavor. Most of these are pantry staples or easy to find in any grocery store, making it perfect for last-minute dessert plans.
- Full-fat canned coconut milk (2 cans, 13.5 oz / 400 ml each) – Chilled overnight; the key to getting that creamy texture. I prefer Chaokoh or Aroy-D brands for their thickness.
- Pure vanilla extract (2 teaspoons) – Use a high-quality extract or vanilla bean paste for the most authentic taste.
- Maple syrup (⅓ cup / 80 ml) – Adds natural sweetness and a subtle caramel undertone; you can also use agave nectar or coconut sugar syrup.
- Sea salt (a pinch) – Enhances all the flavors, balancing the sweetness.
- Lemon juice (1 teaspoon) – Helps brighten the flavor and prevent the coconut from tasting too heavy.
Optional ingredients:
- Vanilla bean (½ bean, scraped) – For an extra layer of vanilla aroma if you want to get fancy.
- Alcohol (1 tablespoon, like vodka or rum) – Keeps the ice cream scoopable by preventing it from freezing too hard, especially if you plan to store it for longer periods.
For those who want to experiment with substitutions:
- Use almond or cashew cream instead of coconut milk for a different flavor profile (note: texture will vary).
- Swap maple syrup with honey if you’re not strictly vegan but want a natural sweetener.
All these ingredients work harmoniously to deliver a dairy-free vanilla ice cream that’s creamy, dreamy, and honestly hard to believe it’s vegan-friendly.
Equipment Needed
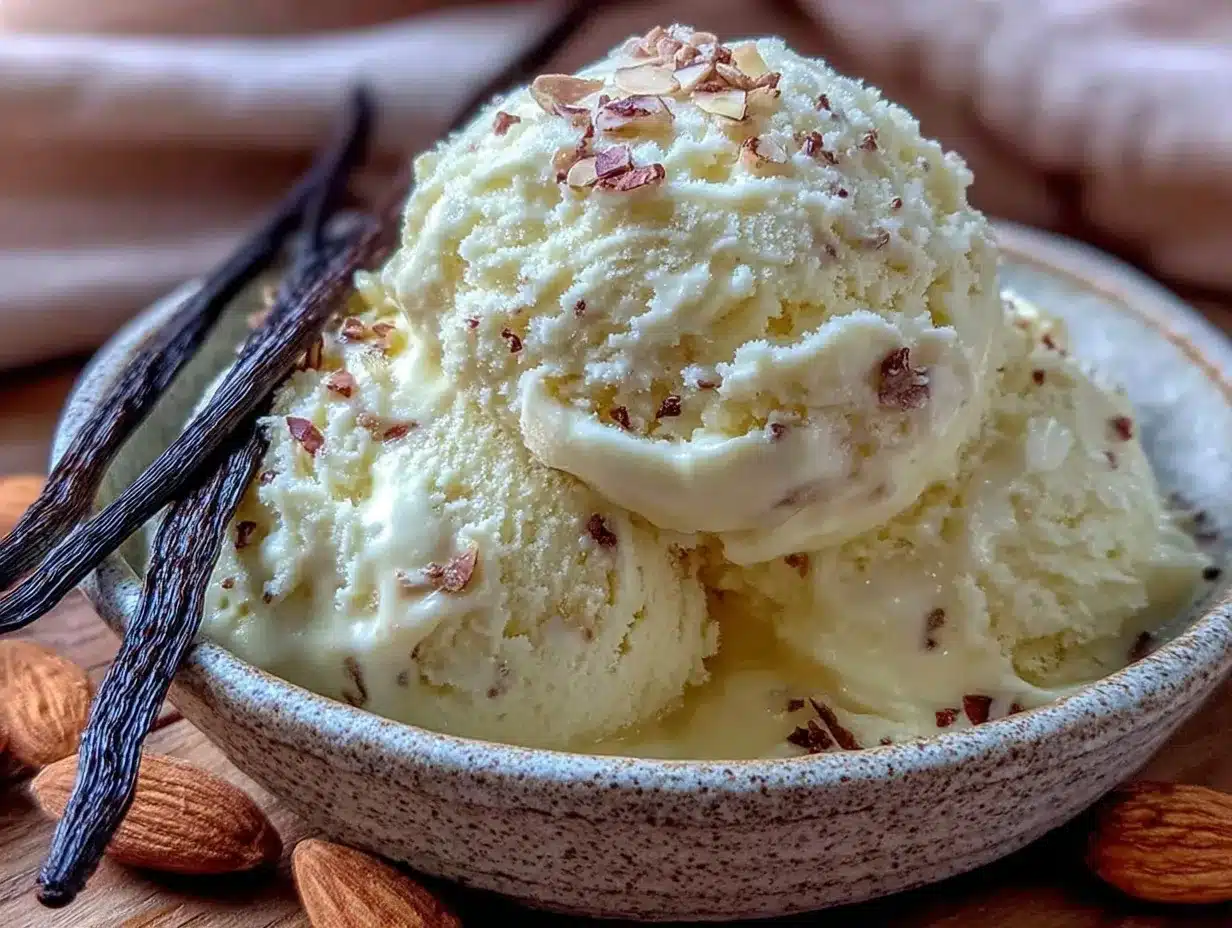
Making this creamy dairy-free vanilla ice cream recipe doesn’t require fancy or expensive equipment. Here’s what you’ll need to get started:
- Mixing bowl: A large bowl, preferably metal or glass, to whip the chilled coconut cream.
- Electric mixer or stand mixer: Whipping the coconut cream by hand is possible but takes a lot longer and effort. I’ve tried both, and the mixer saves time and gives better volume.
- Measuring cups and spoons: For precise ingredient amounts.
- Spatula: To fold ingredients gently without deflating the whipped cream.
- Freezer-safe container: A shallow, airtight container works best for freezing and scooping later.
If you don’t have an electric mixer, a hand whisk with a bit of patience will work fine. Just remember to chill your bowl and whisk beforehand to help the coconut cream whip up faster.
For storage, a container with a tight-fitting lid helps prevent freezer burn and keeps your ice cream tasting fresh longer.
Preparation Method
- Chill the coconut milk. Place the cans of full-fat coconut milk in your refrigerator overnight (or at least 12 hours). This step is crucial for separating the thick cream from the liquid.
- Prepare your tools. For best results, chill your mixing bowl and beaters in the fridge for about 15 minutes before whipping. This helps the coconut cream become fluffy faster.
- Open the cans carefully. Without shaking, open each can and scoop out the thickened coconut cream into your chilled bowl. Leave the watery liquid behind (you can save it for smoothies or cooking).
- Whip the coconut cream. Using your electric mixer on medium-high speed, whip the cream for about 3-5 minutes. It should become light, airy, and form soft peaks—think whipped cream texture.
- Add sweetener and flavorings. Gently fold in the maple syrup, vanilla extract, pinch of sea salt, and lemon juice using a spatula. If you’re using vanilla bean or alcohol, add them now. Be careful not to overmix, or you’ll lose the fluffiness.
- Transfer to container. Spoon the mixture into your freezer-safe container, smoothing the top with the spatula.
- Freeze. Cover tightly and freeze for at least 4 hours or until firm. For best texture, stir the ice cream once or twice during the first couple of hours to prevent large ice crystals from forming.
- Serve. Remove from the freezer 5-10 minutes before scooping to soften slightly. Enjoy your creamy dairy-free vanilla ice cream straight up or with your favorite toppings!
Pro tip: If you notice your coconut cream isn’t whipping up well, it might be too warm or the cans didn’t chill long enough. Also, be sure to use full-fat coconut milk, as light versions won’t provide the needed creaminess.
Cooking Tips & Techniques
Getting that perfect creamy texture in dairy-free vanilla ice cream can be tricky, but here are some tips I’ve learned through trial and error:
- Use full-fat coconut milk. It’s the foundation of this recipe. Lower-fat versions lack the fat needed to whip up properly and will result in icy texture.
- Chill thoroughly. Both the coconut milk and your mixing equipment should be cold. This helps the fat solidify and whip into fluffy peaks.
- Don’t overmix after adding sweeteners. Overfolding can deflate the whipped cream, so stir gently and just until combined.
- Freeze in a shallow container. This speeds up freezing and helps maintain a smooth texture.
- Stir during freezing. Give it a quick mix once or twice in the first couple of hours to break up ice crystals.
- Experiment with sweeteners. I’ve swapped maple syrup for agave or coconut sugar syrup with good results, but keep the sweetness balanced to avoid overpowering vanilla.
- Patience is key. Let the ice cream soften a bit at room temperature before scooping. This makes serving easier and enhances flavor.
One time, I tried skipping the lemon juice and the flavor felt flat. That small amount really brightens the overall taste, so don’t skip it. Also, if you find the ice cream too hard after freezing, a tablespoon of alcohol can help keep it scoopable.
Variations & Adaptations
This dairy-free vanilla ice cream recipe is a fantastic base, and with a few tweaks, you can tailor it to your taste or dietary needs:
- Chocolate version: Stir in ¼ cup (25g) of unsweetened cocoa powder with the sweeteners for a rich chocolate twist.
- Berry swirl: Gently fold in ½ cup (120ml) of homemade or store-bought berry compote after whipping, then freeze as usual for a fruity surprise.
- Nutty crunch: Add toasted chopped almonds or pecans right before freezing for a delightful texture contrast.
- Low-sugar option: Use a sugar substitute like erythritol or stevia, adjusting to taste, but be mindful of potential aftertastes.
- Alternative milks: For those avoiding coconut, try cashew cream or oat milk thickened with a bit of cornstarch, though texture will differ.
Personally, I once made a lavender-infused version by steeping dried lavender in warm coconut milk before chilling. It was subtle and elegant, perfect for a spring gathering. Feel free to experiment with spices like cinnamon or cardamom to make it your own.
Serving & Storage Suggestions
This creamy dairy-free vanilla ice cream is best served chilled but slightly softened. Let it sit at room temperature for 5-10 minutes before scooping for the smoothest texture. I love pairing it with fresh fruit, vegan brownies, or drizzling with warm berry sauce.
Store leftovers in an airtight container in the freezer. It keeps well for up to two weeks, although the texture is best within the first week. Avoid repeated thawing and refreezing to maintain creaminess.
To reheat slightly, transfer the ice cream to a bowl and let it thaw at room temperature for a few minutes before scooping. If it’s too firm, a quick microwave blast of 5-7 seconds can help soften it without melting.
Over time, the flavors meld and deepen, so leftovers often taste even better the next day. Just give it a gentle stir after pulling it out of the freezer to refresh the texture.
Nutritional Information & Benefits
This dairy-free vanilla ice cream is naturally free from lactose and dairy proteins, making it suitable for vegans and those with dairy intolerance. The coconut milk base provides healthy medium-chain triglycerides (MCTs), which some find beneficial for energy.
Per serving (about ½ cup or 125 ml), you can expect roughly:
| Calories | Fat | Carbohydrates | Protein | Sugar |
|---|---|---|---|---|
| 180 | 16g | 10g | 1g | 8g |
Using natural sweeteners like maple syrup adds antioxidants and minerals compared to refined sugar. Plus, the pinch of sea salt helps balance electrolytes.
Keep in mind, this recipe isn’t low-fat, but it’s a wholesome treat free from artificial additives and preservatives that many store-bought dairy-free ice creams contain.
Conclusion
This creamy dairy-free vanilla ice cream recipe has earned a special spot in my kitchen and heart. It’s approachable, satisfying, and reliably delicious—perfect for anyone craving that classic vanilla scoop without the dairy.
Don’t hesitate to personalize it with your favorite sweeteners or mix-ins. After all, the best recipes are the ones you make your own. I hope you enjoy making and sharing this ice cream as much as I do—there’s something truly comforting about serving a homemade treat that everyone can enjoy.
If you try it out, I’d love to hear how it goes or what variations you create. Leave a comment or share your experience—let’s keep the creamy dairy-free vanilla ice cream love going!
FAQs About Creamy Dairy-Free Vanilla Ice Cream
Can I make this recipe without coconut milk?
Yes, you can substitute with cashew cream or thick oat milk, but the texture may be less creamy. Make sure to adjust chilling and whipping times accordingly.
Do I need an ice cream maker for this recipe?
Nope! This recipe is designed to be made without an ice cream maker, relying on whipped coconut cream and freezing in a container.
How do I prevent the ice cream from freezing too hard?
Adding a tablespoon of alcohol like vodka or rum helps keep the ice cream scoopable. Also, letting it soften at room temperature for a few minutes before serving helps.
Can I use a different sweetener?
Absolutely. Maple syrup is preferred for its flavor, but agave, coconut sugar syrup, or honey (if not vegan) can work. Adjust sweetness to your taste.
How long does homemade dairy-free ice cream last in the freezer?
Best enjoyed within 1-2 weeks for optimal texture and flavor. Keep it in an airtight container to prevent freezer burn.
By the way, if you enjoy creating homemade frozen treats, you might appreciate the creamy texture of my vegan chocolate avocado mousse or the delightful flavor of dairy-free mango sorbet for summer days.
Pin This Recipe!
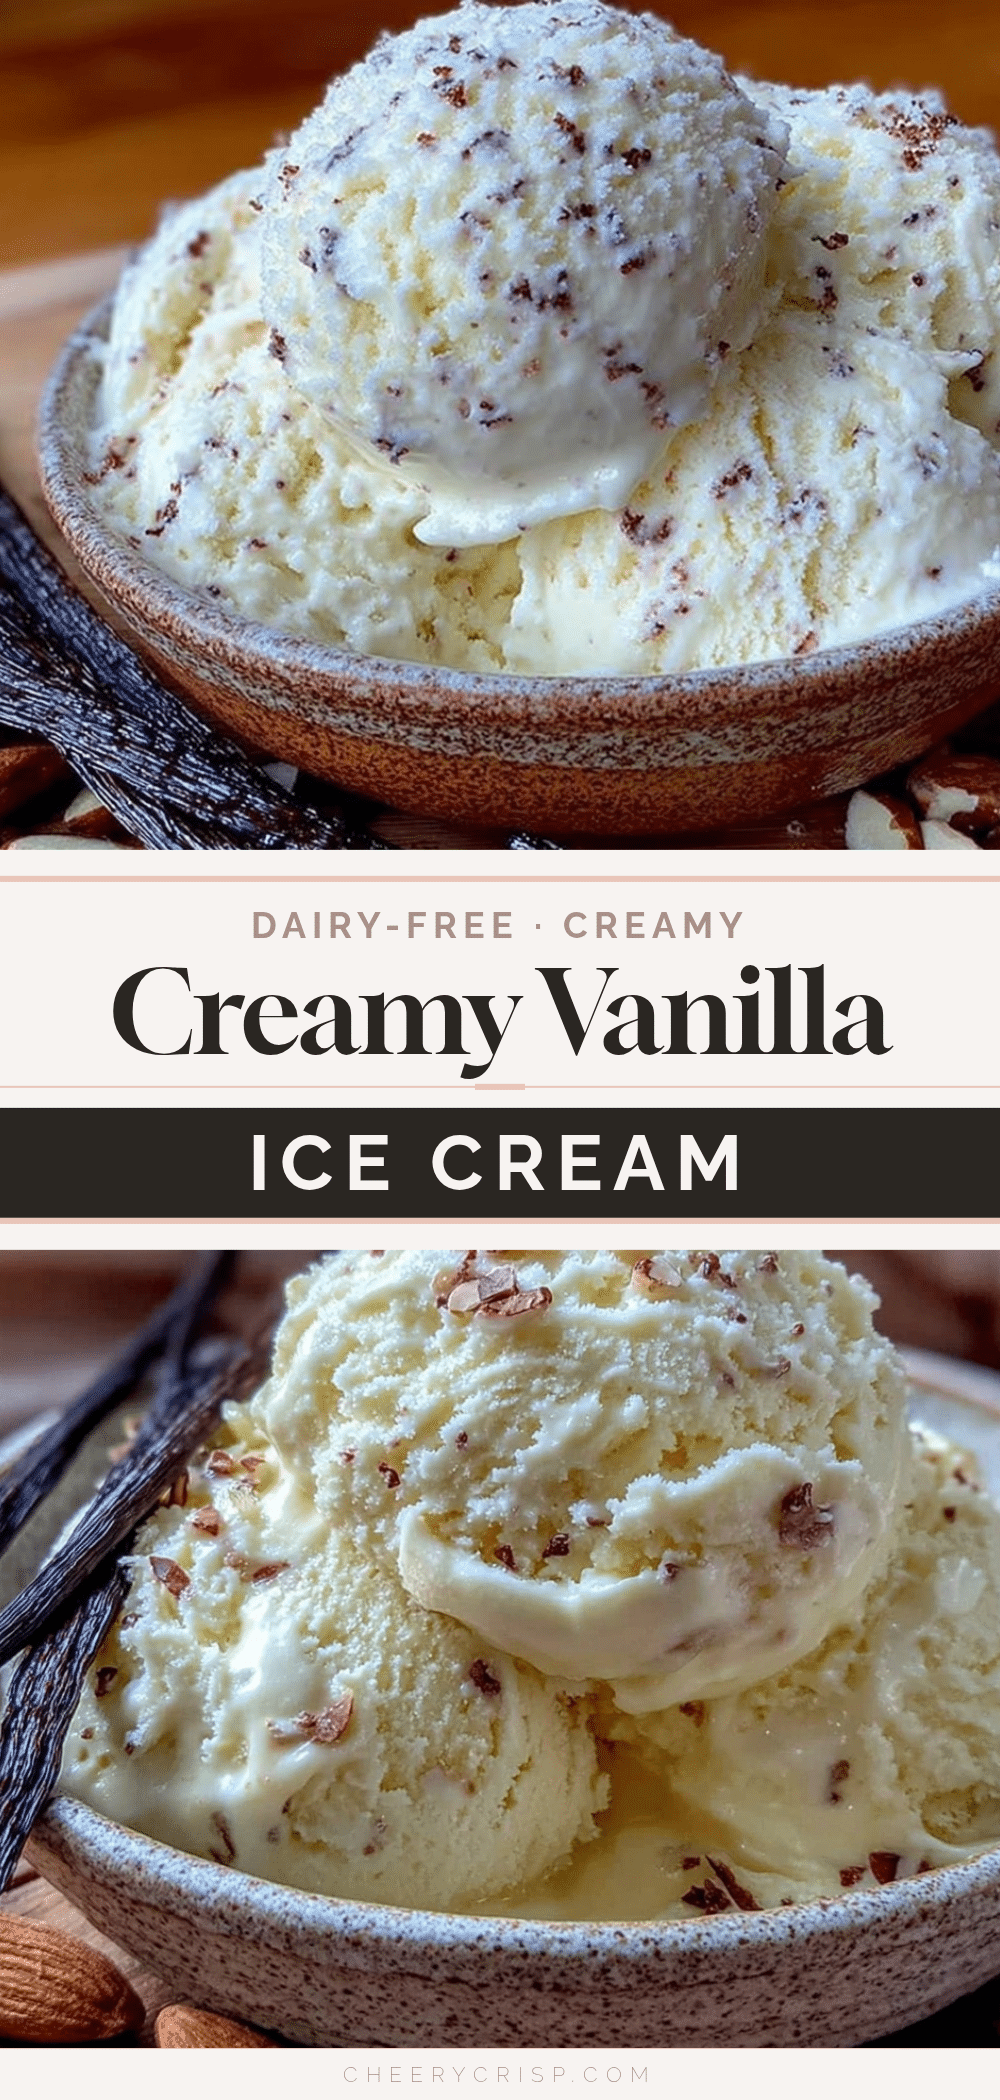
Creamy Dairy-Free Vanilla Ice Cream
A simple and delicious dairy-free vanilla ice cream made with full-fat coconut milk, pure vanilla extract, and natural sweeteners. This easy homemade recipe requires no ice cream maker and delivers a creamy, velvety texture perfect for any occasion.
- Prep Time: 15 minutes
- Cook Time: 4 hours (freezing time)
- Total Time: 4 hours 15 minutes
- Yield: 6 servings 1x
- Category: Dessert
- Cuisine: Vegan, Dairy-Free
Ingredients
- 2 cans (13.5 oz / 400 ml each) full-fat canned coconut milk, chilled overnight
- 2 teaspoons pure vanilla extract
- ⅓ cup (80 ml) maple syrup
- Pinch of sea salt
- 1 teaspoon lemon juice
- Optional: ½ vanilla bean, scraped
- Optional: 1 tablespoon alcohol (vodka or rum)
Instructions
- Chill the coconut milk cans in the refrigerator overnight (at least 12 hours).
- Chill your mixing bowl and beaters in the fridge for about 15 minutes before whipping.
- Open the cans carefully without shaking and scoop out the thickened coconut cream into the chilled bowl, leaving the watery liquid behind.
- Using an electric mixer on medium-high speed, whip the coconut cream for 3-5 minutes until light, airy, and forming soft peaks.
- Gently fold in the maple syrup, vanilla extract, sea salt, and lemon juice using a spatula. Add vanilla bean and alcohol if using, being careful not to overmix.
- Spoon the mixture into a freezer-safe shallow airtight container and smooth the top.
- Cover tightly and freeze for at least 4 hours or until firm. Stir once or twice during the first couple of hours to prevent large ice crystals.
- Remove from freezer 5-10 minutes before scooping to soften slightly and serve.
Notes
Use full-fat coconut milk for best creaminess. Chill coconut milk and equipment thoroughly before whipping. Stir ice cream once or twice during freezing to prevent ice crystals. Adding alcohol helps keep ice cream scoopable. Let ice cream soften 5-10 minutes before serving.
Nutrition
- Serving Size: ½ cup (125 ml)
- Calories: 180
- Sugar: 8
- Fat: 16
- Carbohydrates: 10
- Protein: 1
Keywords: dairy-free vanilla ice cream, vegan ice cream, coconut milk ice cream, homemade ice cream, dairy-free dessert, easy vegan dessert



