Love this? Save it for later!
Share the inspiration with your friends
The smoke detector decided to test its battery at exactly 6:30 AM on a Saturday. I was asleep. The smell of burning sugar woke me up, and I stumbled into the kitchen to find my oven door slightly ajar and a tray of last year’s test batch of pumpkin bread smoking in the back. My husband, bless his heart, didn’t even yell. He just grabbed his coffee mug and said, “Well, we need breakfast.” The fridge was mostly empty except for a half-can of pumpkin puree, a bag of mini chocolate chips that had been sitting in the pantry since September, and some old eggs. No time to go to the store. No time to plan. Just survival mode. I dumped everything into a bowl, threw in some spices that smelled vaguely like autumn, and filled a mini muffin tin because it was the only thing that would fit in the oven without burning the house down again. I wasn’t trying to create a masterpiece. I was trying to save breakfast. But honestly? Those little golden-brown bites were the best thing I ate all week. They were moist, sweet, and perfectly spiced, proving that the best recipes often come from chaos, not careful planning.
Why You’ll Love This Recipe
There is a specific kind of magic that happens when you combine pumpkin spice with chocolate chips in a mini format. It’s not just about the taste; it’s about the convenience and the nostalgia. I’ve tested dozens of pumpkin muffin recipes over the years, and most of them are too dense, too dry, or just too much effort for a weekday morning. This version cuts through all that noise. It relies on simple pantry staples that you probably already have, which means no last-minute grocery runs when you’re rushing out the door.
Here is why these mini pumpkin chocolate chip muffins have become a staple in my kitchen rotation:
- Quick & Easy: These come together in under 20 minutes. From mixing to oven, you are looking at about 35 minutes total. Perfect for busy weeknights or lazy weekend mornings when you want something homemade but don’t have hours to spare.
- Simple Ingredients: No fancy grocery trips needed. You likely already have pumpkin puree, flour, sugar, eggs, and chocolate chips in your kitchen. It’s foolproof cooking for people who hate complicated recipes.
- Perfect for Meal Prep: Because they are mini, they are the ideal size for packing lunches or grabbing a quick snack on the go. They freeze beautifully, so you can make a batch on Sunday and have breakfast sorted for the whole week.
- Crowd-Pleaser: Kids love the chocolate chips, and adults love the pumpkin spice. It’s a rare recipe that satisfies both sweet tooth and spice craving without any complaints.
- Unbelievably Delicious: The texture is the real winner here. They are tender and cake-like, not dense or gummy. The combination of warm cinnamon, nutmeg, and creamy chocolate is next-level comfort food.
What makes this recipe different from the rest is the balance. Many pumpkin recipes rely too heavily on oil, resulting in a greasy muffin. This one uses a bit of butter and yogurt (or sour cream) to keep it moist without weighing it down. It’s not just another version—it’s your best version. It’s the kind of recipe that makes you close your eyes after the first bite because it just tastes like home. It’s comfort food reimagined—healthier, faster, but with the same soul-soothing satisfaction. Whether you are serving these to guests or hiding them from your kids so you can eat them yourself, these muffins deliver.
What Ingredients You Will Need
This recipe uses simple, wholesome ingredients to deliver bold flavor and satisfying texture without the fuss. The key to a great pumpkin muffin is not overcomplicating the ingredient list. You want the pumpkin flavor to shine, supported by warm spices and sweet chocolate. Most of these items are pantry staples, but I recommend checking your spices because old spices can make a huge difference in the final taste.
- Pumpkin Puree: Use 100% pure pumpkin puree, not pumpkin pie filling. Pie filling has added sugar and spices that will throw off the balance. I recommend Libby’s brand for the smoothest texture, but any high-quality puree works fine. Make sure it’s room temperature.
- All-Purpose Flour: The base of the muffin. Don’t try to swap this for almond flour unless you want a completely different texture. All-purpose gives that classic, tender crumb.
- Granulated Sugar: Provides sweetness and helps with browning. You can substitute half with brown sugar for a deeper molasses flavor if you prefer, but white sugar keeps them light.
- Unsalted Butter: Melted butter adds richness. I like using butter over oil for the flavor profile, but it does need to be cooled slightly before mixing so it doesn’t cook the eggs.
- Eggs: Large eggs act as the binder. Room temperature eggs mix more evenly into the batter, preventing lumps.
- Plain Yogurt: This is the secret ingredient. Greek yogurt or plain sour cream adds moisture and tang, keeping the muffins tender for days. If you are dairy-free, coconut yogurt works well here.
- Pumpkin Pie Spice: A mix of cinnamon, nutmeg, ginger, and cloves. If you don’t have a blend, you can mix your own, but the blend saves time. Make sure your jar isn’t empty from last November!
- Baking Powder & Baking Soda: The leavening agents. They ensure the muffins rise properly. Check that they are still fresh for the best lift.
- Salt: Just a pinch to balance the sweetness and enhance the spice flavors.
- Mini Chocolate Chips: Essential. Regular chips are fine, but mini chips distribute more evenly throughout the batter, ensuring every bite has a chocolate surprise.
For the best results, measure your flour correctly. Scooping it directly from the bag can pack it down, leading to dry muffins. Spoon the flour into the measuring cup and level it off with a knife. It’s a small step that makes a big difference.
Equipment Needed
You don’t need a fancy kitchen to make these muffins. The beauty of this recipe is its simplicity. Here is what you’ll need:
- Mini Muffin Tin: This is the most important piece of equipment. Standard muffin tins will work, but you’ll need to adjust the baking time, and the result won’t be the cute mini size these recipes are known for. A standard mini muffin tin holds about 24 muffins.
- Muffin Liners: Paper liners make cleanup a breeze. Since these are small, you might be tempted to skip them, but pumpkin batter can be sticky. Liners save you from scrubbing the tin later.
- Mixing Bowls: You’ll need one medium bowl for wet ingredients and one large bowl for dry ingredients. Two bowls prevent overmixing.
- Whisk and Spatula: A whisk is great for combining dry ingredients and breaking up lumps in the wet mixture. A rubber spatula is essential for folding in the chocolate chips gently without deflating the batter.
- Cooling Rack: Essential for stopping the cooking process once the muffins are out of the oven. Leaving them in the hot tin can make the bottoms soggy.
If you don’t have a mini muffin tin, you can use a standard one, but reduce the baking time to about 15-18 minutes. Check for doneness early. Also, keep an eye on your spatula; a flexible one is best for getting every bit of batter into the liners without waste.
Preparation Method
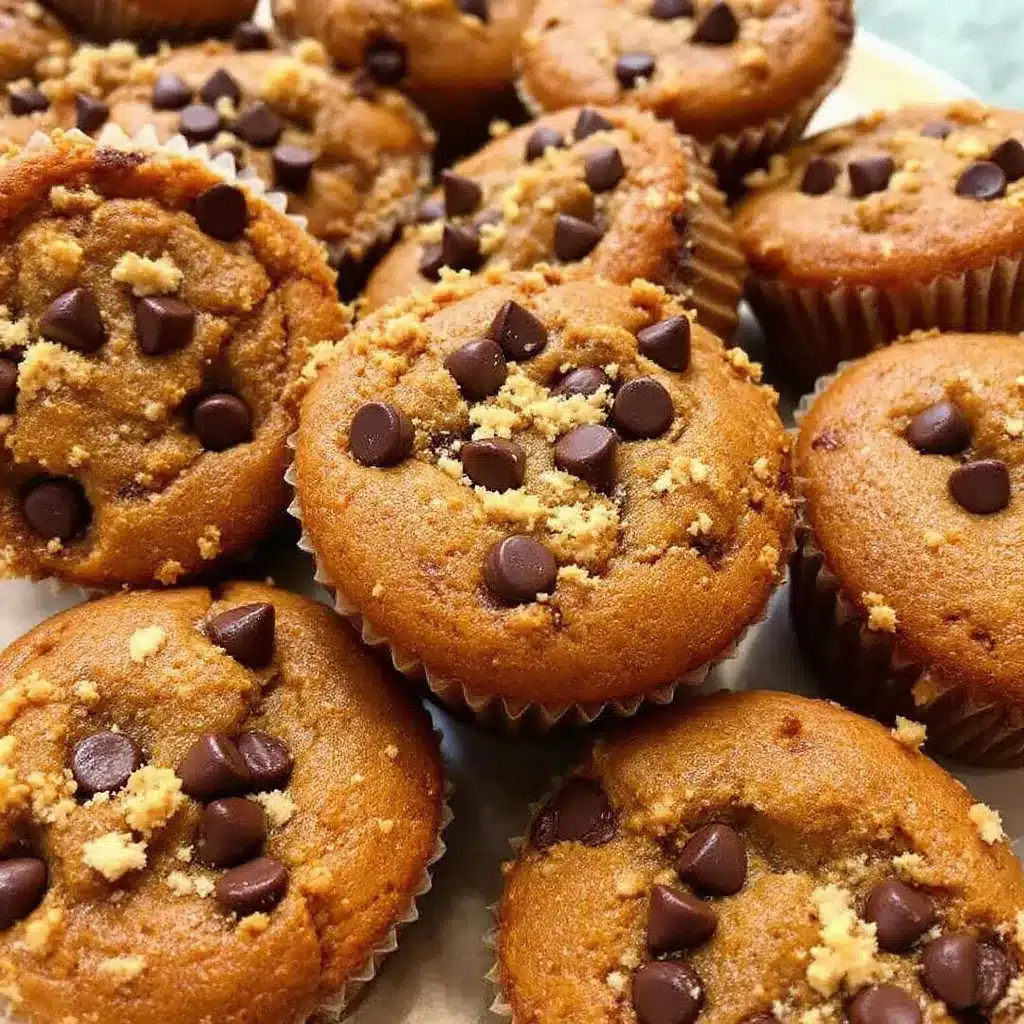
Making these muffins is straightforward, but technique matters. Here is how to do it right, step by step.
- Preheat and Prep (5 minutes): Preheat your oven to 350°F (175°C). This is crucial. If the oven isn’t hot enough, the muffins won’t rise properly. Line your mini muffin tin with paper liners. If you are in a rush, you can grease the tin with cooking spray, but liners are easier.
- Mix Dry Ingredients (2 minutes): In a large bowl, whisk together the all-purpose flour, baking powder, baking soda, salt, and pumpkin pie spice. Whisking ensures the leavening agents and spices are evenly distributed. This prevents pockets of baking soda or strong spice flavors in the final muffin.
- Mix Wet Ingredients (3 minutes): In a separate medium bowl, combine the melted butter, sugar, eggs, pumpkin puree, and plain yogurt. Whisk until the mixture is smooth and uniform. The batter might look a bit curdled at first; that’s okay. Just keep whisking until it comes together. Make sure the melted butter has cooled a bit so it doesn’t scramble the eggs.
- Combine Wet and Dry (2 minutes): Pour the wet ingredients into the dry ingredients. Use a spatula to gently fold them together. Stop mixing as soon as the flour disappears. Overmixing is the enemy of fluffy muffins. It develops gluten, which makes the muffins tough and chewy instead of tender. A few small lumps are fine.
- Add Chocolate Chips (1 minute): Fold in the mini chocolate chips. Be gentle. You want them distributed, not crushed.
- Fill the Tins (2 minutes): Use a small cookie scoop or a spoon to divide the batter among the muffin cups. Fill each cup about 2/3 full. This allows room for the muffins to rise without overflowing. If you overfill them, they will make a mess and bake unevenly.
- Bake (15-18 minutes): Place the tin in the center of the oven. Bake for 15-18 minutes. The muffins are done when the tops are golden brown and a toothpick inserted into the center comes out clean or with just a few moist crumbs. Do not overbake, or they will be dry. The mini size bakes quickly, so keep an eye on them around the 14-minute mark.
- Cool (10 minutes): Let the muffins cool in the pan for 5 minutes, then transfer them to a wire rack to cool completely. This helps them set and prevents them from falling apart when you remove the liners.
Personal tip: If you like a little crunch on top, sprinkle a tiny bit of coarse sugar on the muffins before baking. It adds a nice texture contrast to the soft interior.
How do I know when the muffins are done?
The toothpick test is your best friend. Insert a toothpick into the center of a muffin. If it comes out wet with batter, bake for another 2 minutes. If it comes out clean, they are ready. Also, the tops should spring back lightly when you touch them.
Can I use fresh pumpkin?
You can, but it takes more work. You’ll need to roast the pumpkin, scoop the flesh, and puree it until smooth. Store-bought puree is convenient and consistent, which is why I recommend it for this quick recipe.
Cooking Tips & Techniques
I’ve made my fair share of failed muffins, and I learned a lot from those disasters. Here are some tips to ensure your mini pumpkin chocolate chip muffins turn out perfect every time.
Don’t Overmix the Batter: I cannot stress this enough. When you combine the wet and dry ingredients, mix only until no dry flour is visible. The batter will look lumpy. That is good. Lumpy batter means tender muffins. Smooth batter means tough muffins.
Room Temperature Ingredients: Try to have your eggs and yogurt at room temperature before you start. Cold ingredients can cause the melted butter to solidify into little chunks, leading to an uneven batter. If you forget, just soak your eggs in warm water for 5 minutes.
Measure Flour Correctly: As mentioned earlier, scooping flour packs it down. This can lead to dry muffins. Spoon the flour into your measuring cup and level it off. If you weigh your flour, aim for about 120 grams per cup.
Check Your Oven Temperature: Ovens can be inaccurate. If your muffins are consistently burning on top but raw in the middle, your oven might be too hot. Consider buying an oven thermometer to check. If it is off, adjust your baking temperature accordingly.
Use a Cookie Scoop: For mini muffins, a small cookie scoop (about 1 tablespoon) is perfect for portioning the batter. It ensures all the muffins are the same size, which helps them bake evenly. If you don’t have one, a tablespoon works, but it’s messier.
Don’t Open the Oven Door Early: Resist the urge to peek into the oven for the first 10 minutes. Opening the door lets out heat, which can cause the muffins to collapse. Wait until at least 12 minutes before checking.
Variations & Adaptations
While the classic pumpkin and chocolate chip combination is hard to beat, there are plenty of ways to tweak this recipe to suit your tastes or dietary needs.
- Gluten-Free Option: You can substitute the all-purpose flour with a 1:1 gluten-free flour blend. Look for a blend that includes xanthan gum, or add 1/2 teaspoon of xanthan gum to the dry ingredients. The texture might be slightly denser, but it will still be delicious.
- Dairy-Free: Swap the butter for a dairy-free alternative like coconut oil or a vegan butter stick. Use coconut yogurt or almond milk yogurt instead of dairy yogurt. The flavor will be slightly different, but still great.
- Lower Sugar: Reduce the sugar by 1/4 cup. The pumpkin and chocolate chips provide enough sweetness, so you might not even notice the difference. If you are using semi-sweet chocolate chips, you can reduce the sugar further.
- Added Texture: Fold in 1/2 cup of chopped walnuts or pecans for a nutty crunch. Toasting the nuts first enhances their flavor. This pairs well with the pumpkin spice profile.
- Spice It Up: If you like a kick, add a pinch of cayenne pepper to the dry ingredients. It adds a subtle warmth that complements the chocolate and pumpkin beautifully. I tried this once and it became a favorite.
- White Chocolate Chips: Swap the semi-sweet chips for white chocolate chips. This creates a more subtle, creamy flavor that lets the pumpkin spice shine even more.
For a seasonal twist, try adding a swirl of cream cheese batter in the middle of each muffin before baking. It’s similar to the technique used in perfect pumpkin cheesecake bars, but in muffin form. Just drop a teaspoon of sweetened cream cheese batter on top of the pumpkin batter and swirl it with a toothpick.
Serving & Storage Suggestions
These muffins are best served fresh, but they keep well for several days. Here is how to store and serve them for maximum enjoyment.
Serving Suggestions: Serve these muffins warm for breakfast with a cup of coffee or tea. They pair wonderfully with a homemade pumpkin spice latte for a complete fall morning experience. They are also great for brunch alongside a savory dish like creamy sausage and potato soup to balance the sweetness.
Room Temperature Storage: Store leftover muffins in an airtight container at room temperature for up to 3 days. Place a paper towel in the container to absorb excess moisture and keep them from getting soggy.
Refrigerator Storage: If you live in a hot climate, you can store them in the fridge for up to 5 days. Let them come to room temperature or warm them up in the microwave for 15-20 seconds before eating.
Freezing: These muffins freeze beautifully. Once completely cooled, place them in a freezer-safe bag or container. They will last for up to 3 months. To serve, thaw them at room temperature or warm them in the microwave. They taste just as good frozen as they do fresh.
Flavor Development: Some people swear that pumpkin baked goods taste better the next day as the spices meld together. Give them a day to rest if you can wait that long!
Nutritional Information & Benefits
While these are definitely a treat, they offer some nutritional benefits compared to other baked goods. Pumpkin is rich in vitamin A, which is great for eye health and immune function. It also provides fiber, which aids in digestion. The chocolate chips add a bit of antioxidants, though they are high in sugar.
Each mini muffin contains approximately 60-70 calories, depending on the size and exact ingredients used. They are not low-calorie, but they are portion-controlled, which helps with mindful eating. If you are watching your sugar intake, consider using dark chocolate chips or reducing the sugar in the recipe. For those with dietary restrictions, the gluten-free and dairy-free adaptations make these accessible to more people. Personally, I love that they offer a cozy, comforting feeling without the heavy guilt of a larger dessert. It’s a balanced approach to enjoying fall flavors.
Conclusion
These Cozy Mini Pumpkin Chocolate Chip Muffins are more than just a recipe; they are a solution for busy mornings and a source of comfort during the fall season. They are easy to make, delicious to eat, and perfect for sharing. I hope you try this recipe and find it as useful in your kitchen as I have found it in mine. Feel free to customize it with your favorite add-ins or dietary substitutions. The beauty of baking is making it your own.
If you make these muffins, I’d love to hear how they turned out! Leave a comment below with your thoughts or share a photo of your creation. Don’t forget to pin this recipe for later so you can make it again next fall. Happy baking, and enjoy every bite!
Frequently Asked Questions
Can I use canned pumpkin pie filling instead of pure pumpkin puree?
No, you should not use pumpkin pie filling. Pie filling contains added sugars and spices that will alter the taste and texture of the muffins. Always use 100% pure pumpkin puree for the best results.
How do I prevent the muffins from sticking to the liners?
Using quality paper liners usually prevents sticking. If you are still having issues, you can lightly spray the liners with cooking spray before adding the batter. Also, ensure the muffins are completely cooled before removing the liners.
Can I double the recipe?
Yes, you can double the recipe. Just make sure you have enough batter for your muffin tins. You may need to bake in two batches if you only have one tin. The baking time will remain the same.
Why are my muffins dense?
Dense muffins are usually the result of overmixing the batter or using too much flour. Make sure to mix only until the ingredients are combined and measure your flour correctly by spooning it into the cup.
Can I freeze the batter?
It’s not recommended to freeze the batter because the leavening agents may lose their potency. It’s better to bake the muffins and then freeze them. They thaw and reheat beautifully.
Pin This Recipe!
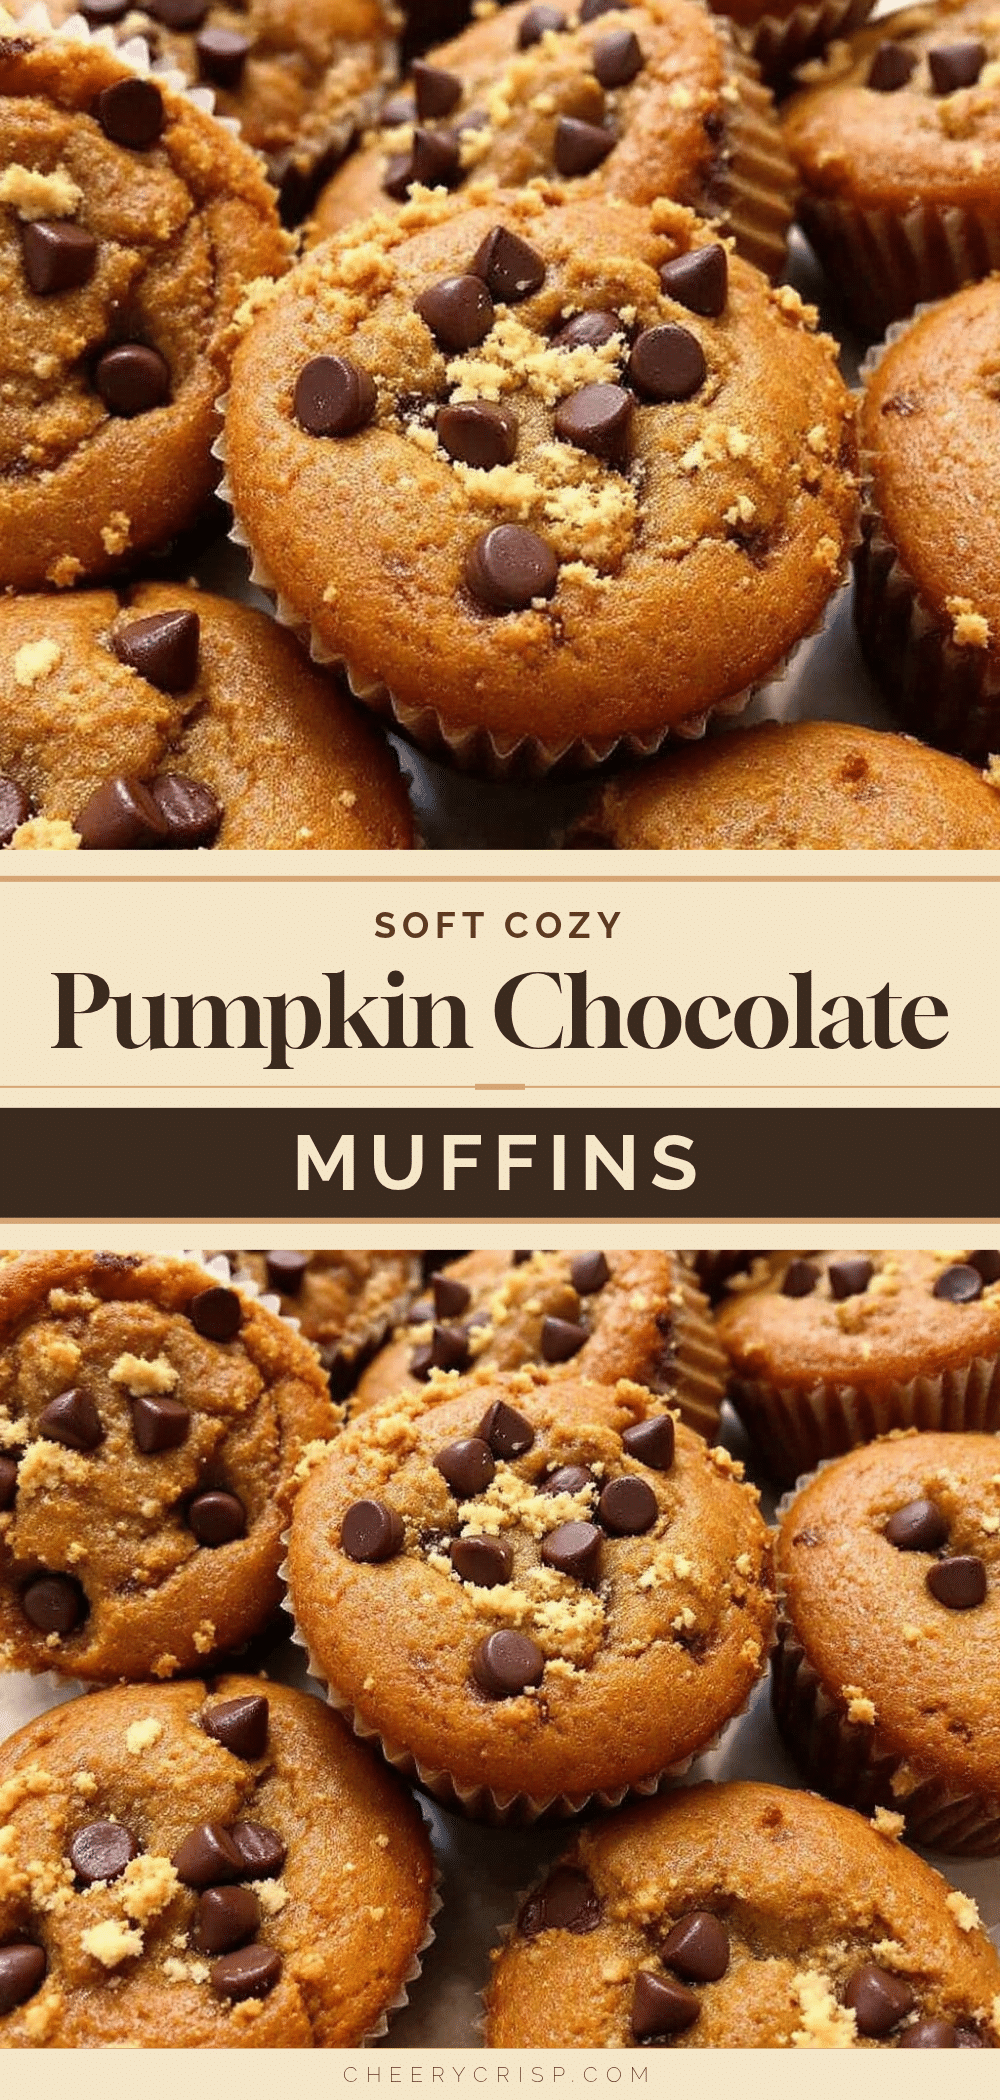
Cozy Mini Pumpkin Chocolate Chip Muffins
These easy mini pumpkin chocolate chip muffins are moist, spiced, and perfect for busy mornings. Made with simple pantry staples like pumpkin puree and yogurt, they offer a tender, cake-like texture that freezes beautifully for meal prep.
- Prep Time: 10 minutes
- Cook Time: 15-18 minutes
- Total Time: 25-30 minutes
- Yield: 24 mini muffins 1x
- Category: Breakfast
- Cuisine: American
Ingredients
- 1 cup all-purpose flour
- 1 teaspoon baking powder
- 1/2 teaspoon baking soda
- 1/2 teaspoon salt
- 1 teaspoon pumpkin pie spice
- 1/2 cup unsalted butter, melted and cooled
- 1/2 cup granulated sugar
- 2 large eggs, room temperature
- 1/2 cup 100% pure pumpkin puree, room temperature
- 1/4 cup plain yogurt or sour cream
- 1/2 cup mini chocolate chips
Instructions
- Preheat oven to 350°F (175°C). Line a mini muffin tin with paper liners or grease lightly.
- In a large bowl, whisk together the flour, baking powder, baking soda, salt, and pumpkin pie spice.
- In a separate medium bowl, whisk together the melted butter, sugar, eggs, pumpkin puree, and yogurt until smooth.
- Pour the wet ingredients into the dry ingredients. Gently fold together with a spatula until just combined; do not overmix.
- Fold in the mini chocolate chips.
- Divide the batter among the muffin cups, filling each about 2/3 full.
- Bake for 15-18 minutes, or until a toothpick inserted into the center comes out clean.
- Let cool in the pan for 5 minutes, then transfer to a wire rack to cool completely.
Notes
Do not overmix the batter to ensure tender muffins. Use 100% pure pumpkin puree, not pie filling. For best results, measure flour by spooning it into the cup and leveling it off. These freeze well for up to 3 months.
Nutrition
- Serving Size: 1 mini muffin
- Calories: 65
- Sugar: 5
- Sodium: 80
- Fat: 3
- Saturated Fat: 2
- Carbohydrates: 8
- Fiber: 0.5
- Protein: 1
Keywords: pumpkin muffins, mini muffins, chocolate chip muffins, fall baking, easy breakfast, meal prep, gluten-free option, dairy-free option



