Love this? Save it for later!
Share the inspiration with your friends
“I’m not supposed to play favorites with recipes, but honestly, these chewy homemade chocolate chip granola bars might just top the list,” I confessed to my coworker one chaotic Wednesday afternoon. She had watched me scramble through my bag, searching for a snack that wasn’t a sad, forgotten granola bar from who-knows-when. Then, without much fanfare, she slid a homemade granola bar across the table, the chocolate chips peeking out like tiny promises of joy.
The way it felt—soft but with a satisfying chew—was a far cry from the dry, crumbly bars I’d been settling for. She didn’t need to explain much; the recipe came wrapped in stories about weekend baking sessions and the simple pleasure of sharing snacks with friends. That cracked mixing bowl she mentioned, stained from years of use, suddenly made the recipe feel like a thoughtful conversation rather than a list of instructions.
Maybe you’ve been there, stuck with store-bought bars that lack soul or flavor, wondering if homemade is worth the effort. Let me tell you, this recipe stuck with me because it’s forgiving, straightforward, and honestly, it turns kitchen moments into little celebrations. I tweaked a few things here and there, making it my own while honoring that original exchange. And now, every time I make these chewy homemade chocolate chip granola bars, I remember that simple, quiet generosity—and the joy of a truly good snack.
Why You’ll Love This Recipe
After testing countless versions (some too dry, some too crumbly, some lacking that perfect chocolate chip hit), this chewy homemade chocolate chip granola bars recipe stands out for a bunch of good reasons. As someone who’s always juggling busy days, I appreciate how reliable and satisfying it is.
- Quick & Easy : Comes together in under 30 minutes, perfect for busy mornings or afternoon cravings.
- Simple Ingredients : No obscure items here—you probably already have everything in your pantry.
- Perfect for Snacks & On-the-Go : Ideal for packing school lunches, office snacks, or a hiking treat.
- Crowd-Pleaser : The chewy texture and melty chocolate chips always get compliments from kids and adults alike.
- Unbelievably Delicious : The combination of oats, honey, and chocolate chips creates a rich, comforting flavor that feels like a little hug in bar form.
What sets this recipe apart? It’s the little technique I picked up—gently warming the honey and butter together before mixing—that locks in moisture, making these bars chewy instead of crumbly. Plus, I like to toss in a pinch of sea salt for that subtle balance that keeps every bite interesting. It’s not just a snack; it’s a small moment of joy when you need it most.
What Ingredients You Will Need
This recipe relies on simple, wholesome ingredients to deliver bold flavor and satisfying texture without the fuss. Most are pantry staples, and substitutions are easy if needed.
- Old-fashioned rolled oats (2 cups / 180 g) – provides the chewy base; I recommend Bob’s Red Mill for a great texture.
- Honey (1/2 cup / 120 ml) – adds natural sweetness and moisture (use maple syrup for a vegan option).
- Unsalted butter (1/4 cup / 57 g), melted – gives richness and helps bind ingredients (coconut oil works well too).
- Brown sugar (1/4 cup / 50 g), packed – deepens flavor and enhances chewiness.
- Vanilla extract (1 tsp / 5 ml) – brings warmth and aroma.
- Baking soda (1/4 tsp) – balances sweetness and adds lightness.
- Salt (1/4 tsp) – essential for flavor balance.
- Mini semi-sweet chocolate chips (3/4 cup / 135 g) – the star ingredient; mini chips melt evenly, creating pockets of gooey chocolate.
- Chopped nuts (optional, 1/2 cup / 60 g) – walnuts or pecans add crunch and texture.
Seasonal tip: In warmer months, try swapping chocolate chips for dried cherries or blueberries for a fruity twist. For a gluten-free version, use certified gluten-free oats. I like to keep a bag of Enjoy Life mini chocolate chips handy—they’re allergy-friendly and taste great.
Equipment Needed
- Mixing bowls – at least two; one for dry ingredients, one for wet.
- Measuring cups and spoons – precise measurement helps with consistency.
- Wooden spoon or silicone spatula – for mixing without breaking up the oats too much.
- 8×8-inch baking pan (20×20 cm) – lined with parchment paper for easy removal.
- Microwave-safe bowl or small saucepan – to melt butter and warm honey.
- Sharp knife – for cutting the bars cleanly.
If you don’t have a baking pan exactly 8×8, a similar-sized dish or even a loaf pan works fine, just adjust baking times a bit. I’ve tried silicone baking pans too; they release bars easily but watch baking time as they can brown faster. For budget-friendly options, parchment paper is a game changer—it saves you from scrubbing sticky pans!
Preparation Method
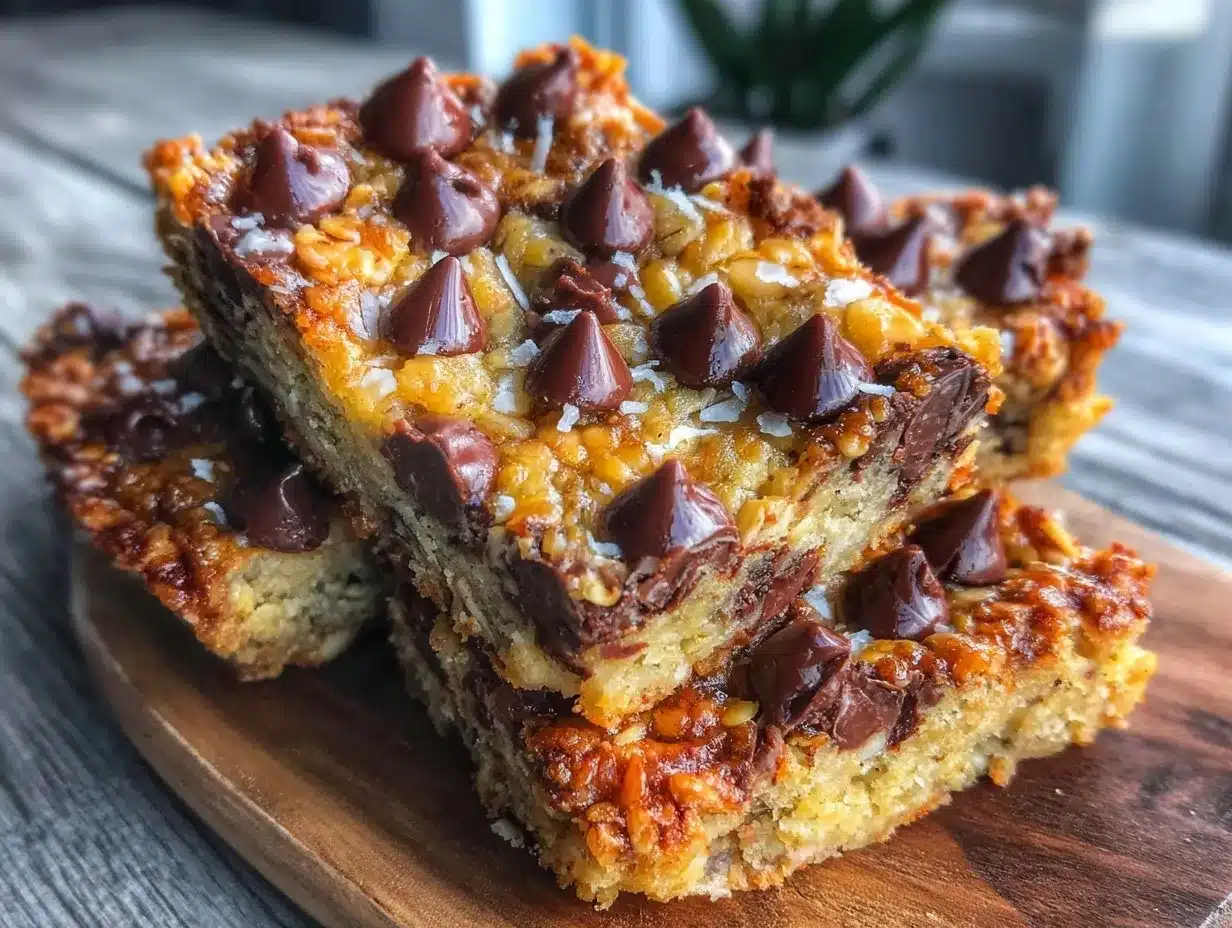
- Preheat your oven to 350°F (175°C). Line an 8×8-inch baking pan with parchment paper, letting some overhang for easy bar removal later. This takes about 5 minutes.
- Warm the wet ingredients: In a microwave-safe bowl or small saucepan, gently melt the butter. Stir in the honey and brown sugar until the sugar dissolves a bit and the mixture is smooth (about 2-3 minutes). Let it cool slightly so it’s warm but not hot—too hot can cook the eggs if you use them or affect flavor.
- Mix dry ingredients: In a large bowl, combine the rolled oats, baking soda, salt, and nuts if using. Stir to distribute evenly. This step takes about 2 minutes.
- Combine wet and dry: Pour the warm honey-butter mixture over the oats. Add vanilla extract. Using a wooden spoon or spatula, mix until every oat is coated and the mixture looks sticky and shiny. This is the key for chewiness—don’t skimp on stirring!
- Add chocolate chips: Fold in the mini chocolate chips gently. If the mixture is too warm, the chips might melt too much before baking; if too cool, they won’t spread evenly. Aim for a warm but not hot mixture. This takes about 1 minute.
- Press mixture into pan: Transfer the sticky oat mixture into your prepared pan. Use a piece of parchment paper or a spatula to press it firmly and evenly into the pan—don’t be shy! This helps the bars hold together. This step takes about 3-5 minutes.
- Bake in the preheated oven for 18-22 minutes. You want golden edges but still a soft center. The smell is a delightful hint you’re close. If your oven runs hot, start checking at 16 minutes.
- Cool completely: Once out of the oven, let the bars cool in the pan for at least 30 minutes. Cooling is crucial; cutting too early leads to crumbling. I usually let them rest while I clean up or make a fresh pot of coffee.
- Cut into bars: Use the parchment overhang to lift the granola slab out of the pan. Place on a cutting board and slice into 12 bars with a sharp knife. A plastic knife or serrated blade can help with cleaner cuts.
Tip: If you want perfectly even bars, score the top gently before baking, but I like the rustic, uneven charm of hand-cut pieces.
Cooking Tips & Techniques
Getting chewy granola bars right is a bit of an art, but here are some lessons I learned the hard way:
- Don’t skip warming the honey and butter. This helps the sugar dissolve and coats oats evenly, preventing dry, crumbly bars.
- Press firmly when transferring the mixture to the pan. I’ve seen bars fall apart because they were loosely packed.
- Watch your baking time. Overbaking dries out the bars, while underbaking makes them too soft to hold. The edges should be golden brown, but the middle still soft.
- Cool fully—this is non-negotiable. If you’re impatient like me, stick the pan in the fridge for 15 minutes after cooling at room temp to speed things up.
- Use mini chocolate chips for even melting and distribution. Larger chips tend to sink or create uneven pockets.
- Salt is your friend. A pinch of sea salt in the mixture balances sweetness beautifully and prevents cloying flavors.
Honestly, the first time I made these, I forgot to line the pan and spent half an hour scraping stuck bits off. Lesson learned—parchment paper is key! Multitasking in the kitchen is great, but give these bars your focused attention for best results.
Variations & Adaptations
- Nut-free version: Skip nuts and add sunflower or pumpkin seeds for crunch. Great for school snacks where allergies are a concern.
- Vegan adaptation: Replace butter with coconut oil and honey with maple syrup. The texture remains chewy with a slightly different sweetness profile.
- Seasonal flavors: Add dried cranberries, chopped dried apricots, or shredded coconut for variety. I once swapped chocolate chips for white chocolate and macadamia nuts—delicious twist!
- Protein boost: Stir in a scoop of your favorite protein powder or add chia seeds for extra nutrition.
- Cooking method: These bars can be pressed into muffin tins for individual portions or baked in a loaf pan for thicker bars. Adjust baking time accordingly.
Serving & Storage Suggestions
These chewy homemade chocolate chip granola bars are best served at room temperature or slightly warmed. I like to pop one in the microwave for 10 seconds to get that melty chocolate goodness—it’s like a mini treat break.
Pair with a cold glass of milk, a cup of coffee, or even a scoop of yogurt for a balanced snack. They also travel well for picnics, hikes, or a quick energy boost during busy days.
Store bars in an airtight container at room temperature for up to a week. For longer storage, keep them in the fridge for 2 weeks or freeze in a sealed container or zip-top bag for up to 3 months. When reheating frozen bars, let them thaw at room temperature or microwave briefly.
Over time, the flavors deepen and the bars get chewier, which is a nice bonus if you’re making them ahead. Just be sure to keep them sealed well to avoid drying out.
Nutritional Information & Benefits
Per serving (based on 12 bars): approximately 180 calories, 6g fat, 25g carbohydrates, 3g protein, and 3g fiber.
The oats provide fiber and sustained energy, while honey and brown sugar add natural sugars for quick fuel. Butter or coconut oil contributes healthy fats, and chocolate chips offer a bit of indulgence.
You can easily tweak this recipe for dietary needs—gluten-free oats make it safe for gluten intolerance, and swapping ingredients can accommodate vegan or nut-free diets. Just be mindful of allergies in nuts and chocolate.
From my perspective, these bars are a wholesome snack that balances nutrition with comfort, making them a smart choice over many processed options.
Conclusion
These chewy homemade chocolate chip granola bars are a little piece of snack-time happiness that’s both simple and satisfying. Whether you’re packing lunches, need a quick bite between meetings, or just crave something sweet with substance, this recipe delivers without fuss.
Feel free to make it your own—swap ingredients, add extras, or tweak the sweetness. I love this recipe because it feels like sharing a moment with a friend, every single time I make it. Now it’s your turn to give it a try, and I’d love to hear how you customize your bars or what memories you create around them.
Go ahead and make a batch today—your snack game will thank you.
FAQs
Can I use quick oats instead of rolled oats?
Quick oats can be used, but the texture will be less chewy and more crumbly. Rolled oats hold up better for chewy bars.
How do I prevent the bars from sticking to the pan?
Line your baking pan with parchment paper, leaving an overhang for easy removal. This is the best way to avoid sticking.
Can I make these bars gluten-free?
Yes! Just use certified gluten-free rolled oats to keep the recipe safe for gluten sensitivities.
How long will the granola bars stay fresh?
Stored in an airtight container, they last about a week at room temperature, two weeks in the fridge, or up to three months in the freezer.
Is it possible to add protein powder to this recipe?
Absolutely. Stir in a scoop of your favorite protein powder when mixing dry ingredients to boost protein content.
Pin This Recipe!
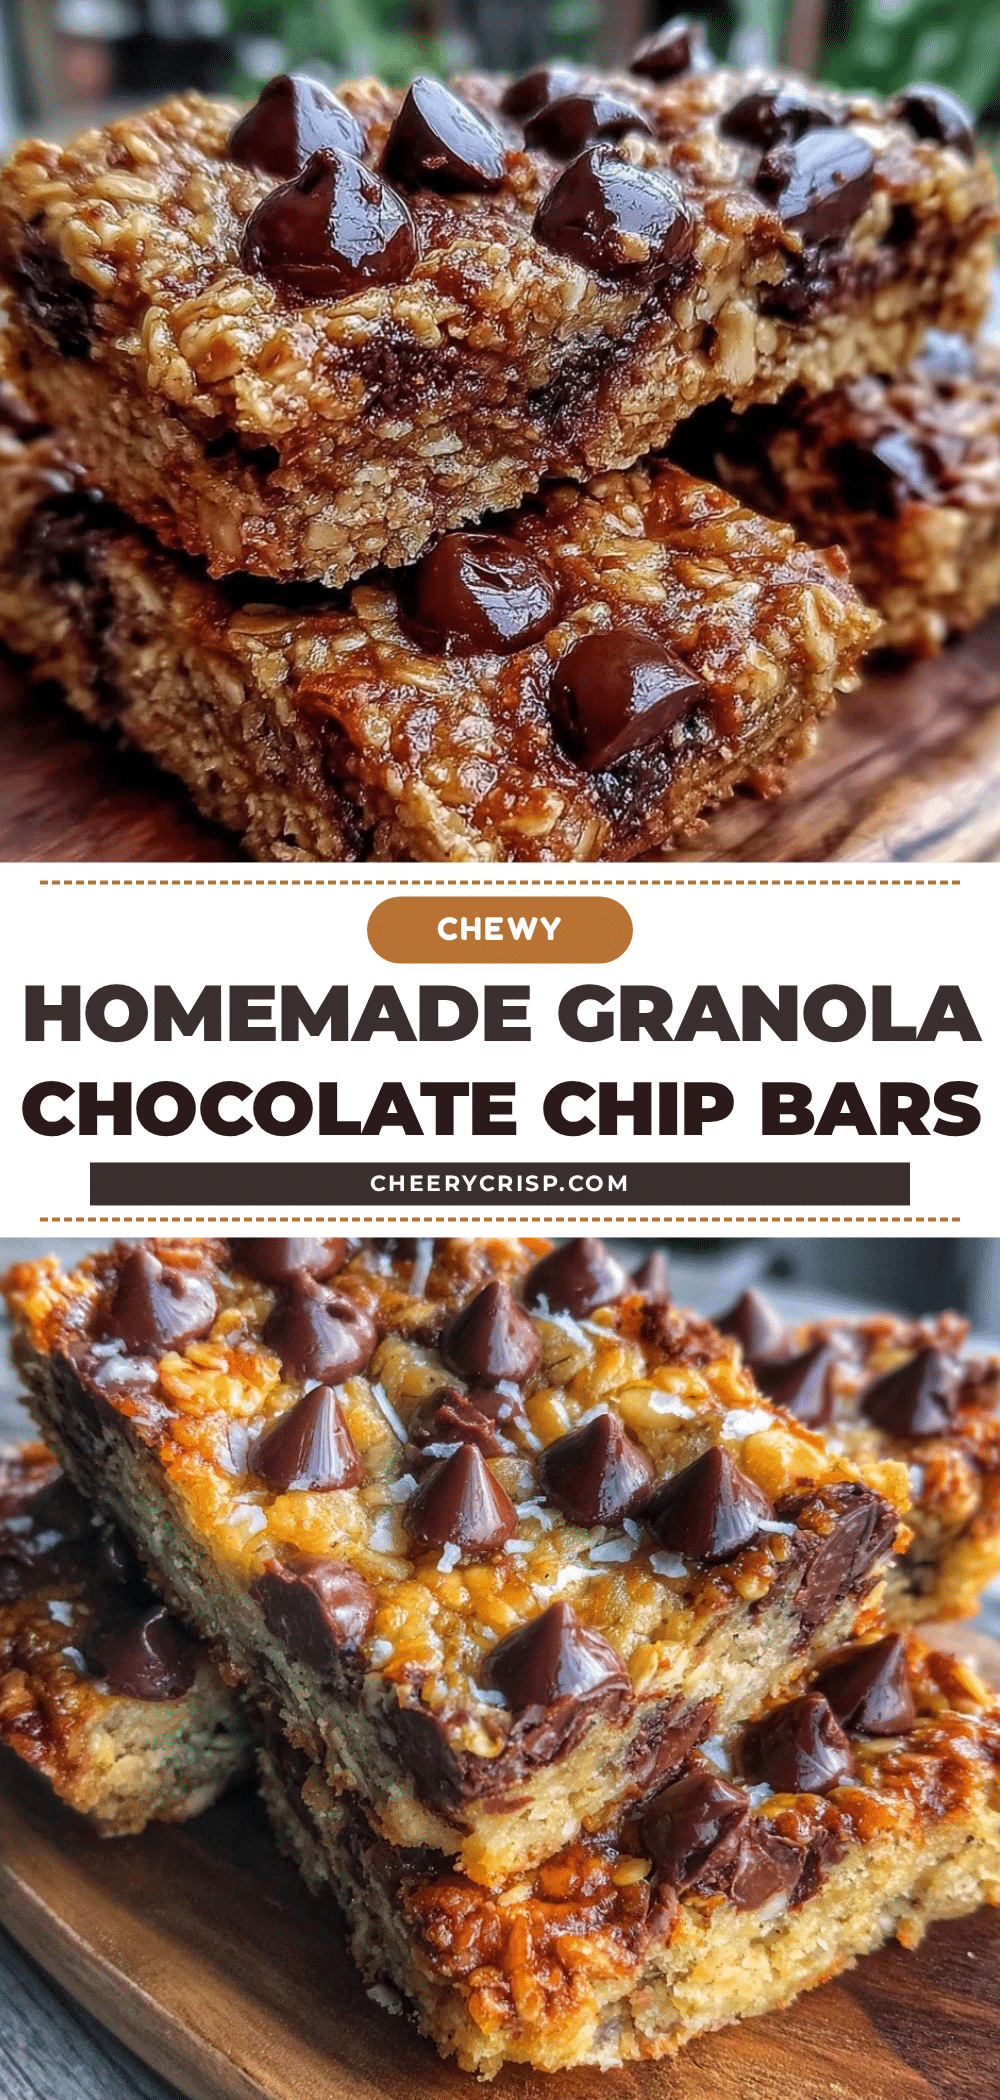
Chewy Homemade Chocolate Chip Granola Bars
These chewy homemade chocolate chip granola bars are easy to make, perfect for snacks, and feature a satisfying texture with melty chocolate chips. Ideal for busy days and on-the-go treats.
- Prep Time: 10 minutes
- Cook Time: 20 minutes
- Total Time: 40 minutes
- Yield: 12 bars 1x
- Category: Snack
- Cuisine: American
Ingredients
- 2 cups old-fashioned rolled oats (180 g)
- 1/2 cup honey (120 ml) – substitute maple syrup for vegan option
- 1/4 cup unsalted butter, melted (57 g) – substitute coconut oil for vegan option
- 1/4 cup packed brown sugar (50 g)
- 1 teaspoon vanilla extract (5 ml)
- 1/4 teaspoon baking soda
- 1/4 teaspoon salt
- 3/4 cup mini semi-sweet chocolate chips (135 g)
- 1/2 cup chopped nuts (optional, 60 g) – walnuts or pecans
Instructions
- Preheat oven to 350°F (175°C). Line an 8×8-inch baking pan with parchment paper, leaving an overhang for easy removal.
- In a microwave-safe bowl or small saucepan, gently melt the butter. Stir in honey and brown sugar until sugar dissolves and mixture is smooth. Let cool slightly until warm but not hot.
- In a large bowl, combine rolled oats, baking soda, salt, and nuts if using. Stir to distribute evenly.
- Pour the warm honey-butter mixture over the oats. Add vanilla extract. Mix thoroughly with a wooden spoon or spatula until every oat is coated and mixture looks sticky and shiny.
- Fold in the mini chocolate chips gently.
- Transfer the sticky oat mixture into the prepared pan. Press firmly and evenly into the pan using parchment paper or a spatula.
- Bake for 18-22 minutes until edges are golden and center is still soft. Start checking at 16 minutes if oven runs hot.
- Cool completely in the pan for at least 30 minutes to prevent crumbling.
- Lift the granola slab out using the parchment overhang and cut into 12 bars with a sharp knife.
Notes
Warm the honey and butter together to dissolve sugar and coat oats evenly for chewiness. Press mixture firmly into pan to prevent bars from falling apart. Cool bars completely before cutting to avoid crumbling. Use mini chocolate chips for even melting. Parchment paper is essential to prevent sticking.
Nutrition
- Serving Size: 1 bar
- Calories: 180
- Sugar: 12
- Sodium: 100
- Fat: 6
- Saturated Fat: 3
- Carbohydrates: 25
- Fiber: 3
- Protein: 3
Keywords: granola bars, chocolate chip, chewy granola bars, homemade snacks, easy granola bars, healthy snacks, kid-friendly snacks



