Love this? Save it for later!
Share the inspiration with your friends
That first whiff of butter browning in the pan — the kind that smells like toasted hazelnuts and melted caramel — still takes me straight back to my tiny apartment kitchen on a cold Tuesday night. I was trying to salvage a batch of cookies that just weren’t hitting the mark. They were fine, you know? Edible. But they lacked that something special, that depth that makes you reach for a second (or third) cookie before the first one is even finished.
I had read about brown butter in fancy baking books, but honestly, it felt like one of those techniques reserved for pastry chefs with spotless aprons. Not for me, a person whose cookie dough often contains a stray cat hair or a forgotten coffee ground. But that night, desperate for a cookie with a soul, I gave it a shot. I stood over the stove, swirling the butter, watching it foam and hiss, and then — magic. Those little brown specks appeared, and the whole kitchen smelled like a bakery in heaven.
These Chewy Brown Butter Chocolate Chip Cookies are the direct result of that happy accident. They are not just another cookie recipe. They are the cookie recipe. The one with the perfectly crisp edges, the soft, almost fudgy center, and that nutty, toffee-like flavor from the brown butter that makes you wonder why you ever made cookies any other way. It’s the kind of cookie that makes you close your eyes after the first bite. Trust me on this one.
Why You’ll Love This Recipe
Look, I have tested more cookie recipes than I care to admit. Some were too cakey, some spread into sad, flat pancakes, and others just tasted like sugar and flour with no real personality. This recipe is different. It is the result of trial, error, and a whole lot of butter.
- Unbelievably Chewy Texture: The combination of melted brown butter and an extra egg yolk creates a texture that is soft, dense, and perfectly chewy. No cakey cookies here, folks.
- Deep, Nutty Flavor: Browning the butter is the single easiest way to add a layer of complex, toffee-like flavor without any extra ingredients. It transforms a simple cookie into something truly special.
- Simple, Pantry Ingredients: You probably have everything you need in your kitchen right now. No fancy flours, no obscure extracts. Just butter, sugar, eggs, flour, and chocolate. It’s the kind of recipe that saves a late-night craving.
- Crowd-Pleaser Guaranteed: I have brought these to potlucks, family dinners, and even a tense work meeting. They disappear. Every single time. They are the kind of cookies that make people ask for the recipe before they even finish chewing.
- No Chill Time Required: This is a big one. You can have these cookies from craving to table in under 30 minutes. Who has time to chill dough for an hour? Not me. Not you. These are ready to go, right now.
This isn’t just another version of a chocolate chip cookie. It is the best version. It is the one you will come back to again and again, the one that feels like a warm hug on a bad day, and the one that makes your house smell like the happiest place on earth.
What Ingredients You Will Need
This recipe uses simple, everyday ingredients, but each one plays a crucial role in building that perfect chewy texture and deep, nutty flavor. The star of the show is, of course, the brown butter, but the supporting cast is just as important.
- Unsalted Butter (1 cup / 2 sticks / 226 grams): This is non-negotiable. We need unsalted butter to control the salt level. We will be browning this, so the quality matters. I like using Kerrygold or Plugrà for their higher fat content, which makes for a richer cookie. You will lose some water weight when browning, so we will add a little water back to get the right consistency.
- Dark Brown Sugar (1 cup, packed / 200 grams): This is the secret to the chewy texture. The molasses in brown sugar adds moisture and that deep, caramel-like flavor that pairs perfectly with the brown butter. Pack it firmly into your measuring cup.
- Granulated Sugar (1/2 cup / 100 grams): This helps with spreading and creates those crispy, lacy edges we all love. The combination of both sugars is the key to the perfect texture.
- Large Egg (1 whole + 1 egg yolk): The whole egg provides structure, while the extra yolk adds richness and tenderness. This is a classic trick for a chewier cookie. Make sure your eggs are at room temperature so they emulsify properly with the butter.
- Vanilla Extract (2 teaspoons): Use the real stuff, not imitation. It enhances all the other flavors and adds a beautiful aromatic quality. I am a fan of Nielsen-Massey, but any pure vanilla extract will do.
- All-Purpose Flour (2 cups + 2 tablespoons / 270 grams): Spoon and level your flour! Do not scoop directly from the bag, or you will end up with dry, dense cookies. The extra 2 tablespoons give the cookies just a bit more structure to hold their shape.
- Baking Soda (1 teaspoon): This is our leavening agent. It helps the cookies spread and become golden brown. Make sure it is fresh — check the expiration date on the box.
- Salt (1 teaspoon): Salt is not just for flavor; it balances the sweetness and enhances the chocolate. I use fine sea salt. A sprinkle of flaky sea salt on top right out of the oven is also a life-changing addition.
- Semi-Sweet Chocolate Chips (2 cups / 340 grams): I prefer semi-sweet because it is not too sweet and not too bitter. It hits the perfect middle ground. Feel free to use a mix of dark and milk chocolate, or chop up a high-quality chocolate bar for those beautiful pools of melted chocolate. Ghirardelli or Guittard are my go-to brands.
Equipment Needed
You do not need a fancy kitchen to make these cookies. Just a few basic tools that you probably already own. Here is what you will need:
- Light-Colored Saucepan or Skillet: This is crucial for browning the butter. A light-colored pan lets you see the milk solids turn that perfect golden-brown color. If you use a dark non-stick pan, you will not be able to see the color change and you risk burning the butter.
- Large Mixing Bowls: You will need one for the wet ingredients and one for the dry ingredients. A glass or stainless steel bowl works best.
- Whisk: For combining the wet ingredients and ensuring everything is smooth.
- Rubber Spatula: For scraping every last bit of that precious brown butter into the bowl and for folding in the chocolate chips.
- Cookie Scoop (1.5-tablespoon size): This ensures all your cookies are the same size, so they bake evenly. If you do not have one, just use two spoons. I have a cheap OXO one that has lasted me years.
- Baking Sheets (2): You will need two sheets to bake all the cookies. Line them with parchment paper for easy cleanup and to prevent sticking.
- Wire Cooling Rack: Essential for letting the cookies cool properly so they set up and get that perfect chewy texture.
If you do not have a cookie scoop, do not worry. A regular tablespoon works just fine. Just try to make the dough balls roughly the same size for even baking.
Preparation Method
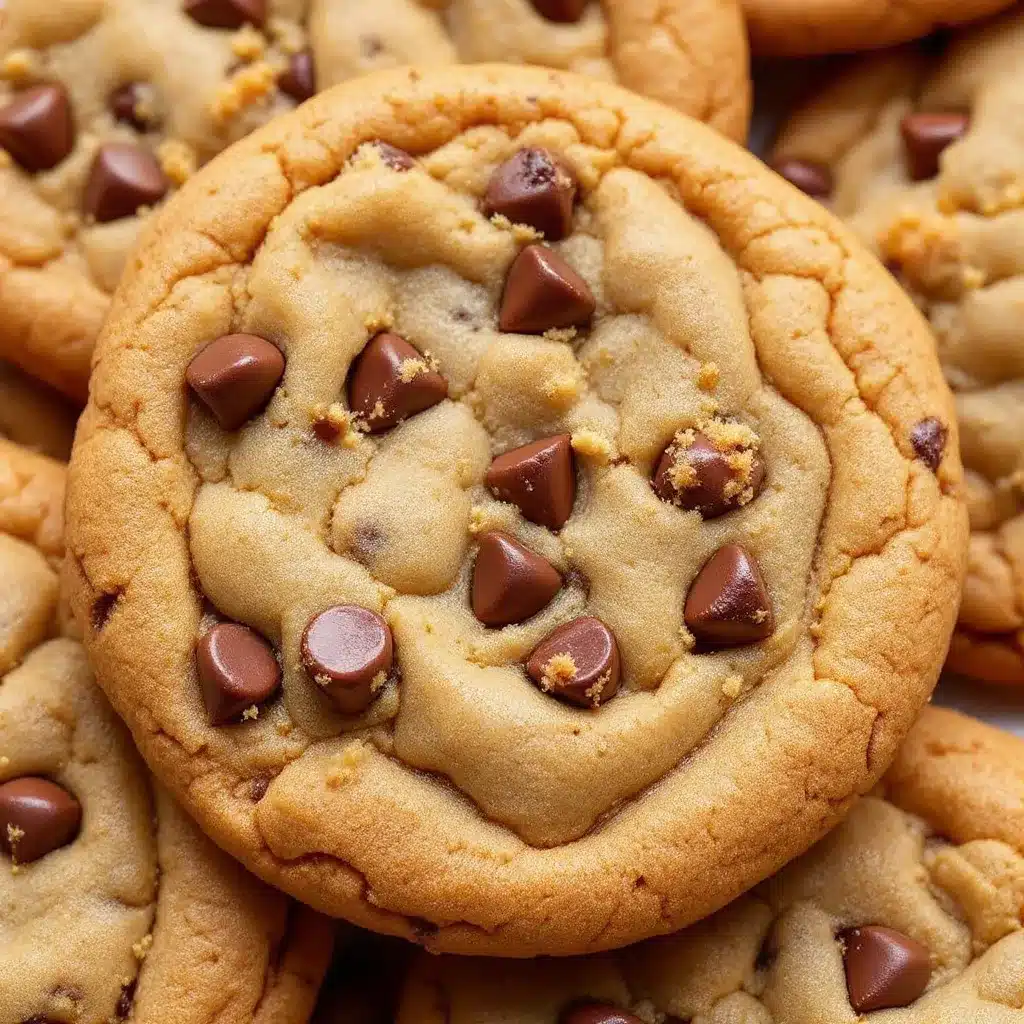
Alright, let’s get to the good part. This process is simple, but there are a few key moments where you need to pay attention. Follow these steps, and you will be rewarded with the best cookies of your life.
- Brown the Butter: Place the 1 cup of unsalted butter in your light-colored saucepan over medium heat. Let it melt completely, then continue to cook, swirling the pan occasionally. The butter will start to foam and crackle. After a few minutes, the foam will subside, and you will see small golden-brown specks forming at the bottom of the pan. The butter will smell nutty and toasty. This whole process takes about 5-6 minutes. Do not walk away! It can go from perfect to burnt in seconds. Once you see those brown specks and get that nutty aroma, immediately remove the pan from the heat.
- Cool the Butter: Pour the browned butter into a large mixing bowl (make sure to scrape all those delicious brown bits into the bowl). Let it cool for about 5-10 minutes. It should be warm but not hot to the touch. If it is too hot, it will cook the eggs when you mix them in.
- Combine Sugars and Butter: Add the packed dark brown sugar and the granulated sugar to the warm brown butter. Whisk vigorously until the mixture is smooth and looks like a thick, grainy paste. It will not be completely smooth, but there should be no large lumps of sugar.
- Add Eggs and Vanilla: Add the whole egg and the extra egg yolk, along with the 2 teaspoons of vanilla extract. Whisk again until the mixture is smooth, shiny, and slightly thickened. This should take about 30-60 seconds. The mixture will look almost like a caramel sauce. This is when you know the sugar has dissolved properly.
- Mix Dry Ingredients: In a separate medium bowl, whisk together the 2 cups + 2 tablespoons of all-purpose flour, 1 teaspoon of baking soda, and 1 teaspoon of salt. This ensures the leavening agents are evenly distributed.
- Combine Wet and Dry: Pour the dry ingredients into the wet ingredients. Use your rubber spatula to fold everything together. Mix just until you no longer see any streaks of flour. Do not overmix! Overmixing develops gluten, which will make your cookies tough instead of tender.
- Add Chocolate Chips: Pour in the 2 cups of semi-sweet chocolate chips. Fold them in gently with your spatula until they are evenly distributed throughout the dough. The dough will be thick and sticky. That is exactly what you want.
- Portion the Dough: Preheat your oven to 375°F (190°C). Line your baking sheets with parchment paper. Using your cookie scoop or a spoon, portion out heaping tablespoons (about 1.5 tablespoons each) of dough and place them about 3 inches apart on the prepared baking sheets. Do not flatten them.
- Bake: Bake for 9-11 minutes, or until the edges are golden brown and the centers look slightly underdone and puffy. The tops should be set but still soft. They will look a little pale in the middle — that is the key to a chewy cookie.
- Cool: Remove the baking sheet from the oven and let the cookies cool on the sheet for 5 minutes. This allows them to set up without over-baking. Then, transfer them to a wire cooling rack to cool completely. Or, you know, eat one warm and gooey. I won’t tell anyone.
Cooking Tips & Techniques
I have made these cookies probably a hundred times, and I have made every mistake in the book. Here are the lessons I learned the hard way so you do not have to.
- Don’t Over-Brown the Butter: This is the most common mistake. You want the milk solids to turn a deep golden brown, not black. Black butter tastes bitter and burnt. If you see black specks, start over. It is not worth it.
- Measure Flour Correctly: I cannot stress this enough. Use the spoon-and-level method. Fluff your flour with a spoon, spoon it into your measuring cup, and level it off with a knife. If you scoop directly from the bag, you can pack in up to 25% more flour, which will give you dry, cakey cookies.
- Room Temperature Eggs: If your eggs are cold from the fridge, they will seize up the warm butter mixture and create a lumpy dough. Place your eggs in a bowl of warm water for 5 minutes to bring them to room temperature.
- The “Underbake” Trick: This is the secret to a chewy cookie. Pull them out of the oven when the centers still look slightly underdone and puffy. They will continue to cook on the hot baking sheet as they cool. If you wait until they look fully baked in the oven, they will be overbaked and crunchy.
- Use a Kitchen Scale: For the most consistent results, use a kitchen scale to weigh your ingredients, especially the flour and butter. It is more accurate than measuring cups and will give you perfect cookies every single time. I use a simple Escali scale that cost me $20 and it has changed my baking life.
Variations & Adaptations
This recipe is a fantastic base, and you can easily adapt it to suit your mood or what you have in your pantry. Here are a few of my favorite variations.
- Chocolate Lover’s Dream: Swap out 1/2 cup of the semi-sweet chips for dark chocolate chunks or chopped dark chocolate. The bitterness of the dark chocolate is a beautiful contrast to the sweet, nutty brown butter. You can also add a tablespoon of cocoa powder to the flour mixture for a double-chocolate version.
- Nutty Crunch: Add 1/2 cup of toasted, chopped pecans or walnuts along with the chocolate chips. Toast them in a dry pan for 2-3 minutes until fragrant to really bring out their flavor. The crunch is a fantastic textural contrast to the chewy cookie.
- Gluten-Free Adaptation: Substitute the all-purpose flour with a 1:1 gluten-free baking flour blend that contains xanthan gum (like Bob’s Red Mill or King Arthur). The cookies will be slightly more delicate but still incredibly delicious and chewy.
- Sea Salt Finish: This is not a variation, it is a necessity. As soon as the cookies come out of the oven, sprinkle a tiny pinch of flaky sea salt (like Maldon) on top of each one. It cuts through the sweetness and makes the flavors pop. I literally cannot eat these cookies without it anymore.
- Peanut Butter Swirl: For a fun twist, drop small spoonfuls of creamy peanut butter onto the cookie dough before baking. Use a knife to gently swirl it into the dough. The combination of brown butter and peanut butter is absolutely heavenly.
Serving & Storage Suggestions
These cookies are best enjoyed warm, fresh from the oven, with a tall glass of cold milk. But they are also fantastic at room temperature the next day — if they last that long.
- Serving Temperature: I love them warm. If you are serving them later, just pop them in a 300°F (150°C) oven for 3-5 minutes to reheat. It brings back that gooey center and crisp edge.
- Storage: Store cooled cookies in an airtight container at room temperature for up to 5 days. To keep them soft, add a slice of bread to the container. The bread will absorb excess moisture and keep the cookies chewy. Replace the bread slice every other day.
- Freezing: These cookies freeze beautifully. You can freeze the baked cookies in a freezer-safe bag for up to 3 months. Thaw at room temperature or reheat in the oven. Even better, freeze the raw cookie dough balls on a baking sheet, then transfer them to a freezer bag. You can bake them straight from frozen — just add 2-3 minutes to the baking time.
- Flavor Development: Honestly, the flavor of these cookies gets even better after a day or two. The brown butter flavor deepens and melds with the chocolate. They are delicious fresh, but they are transcendent on day two.
Nutritional Information & Benefits
Let’s be real — these are cookies, not a health food. But that does not mean they cannot be part of a balanced life. Here is a rough estimate of the nutritional breakdown per cookie (based on 24 cookies).
| Nutrient | Amount Per Cookie |
|---|---|
| Calories | 220 |
| Fat | 12g |
| Saturated Fat | 7g |
| Carbohydrates | 28g |
| Sugar | 18g |
| Protein | 3g |
| Fiber | 1g |
- Dark Chocolate: If you use dark chocolate chips with a high cocoa content (70% or higher), you are getting a dose of antioxidants and minerals like iron and magnesium.
- Portion Control: One cookie is a perfectly reasonable treat. The key is enjoyment without guilt. These are made for sharing, which naturally helps with portion control.
- Allergens: This recipe contains dairy (butter), eggs, gluten (flour), and may contain traces of peanuts/tree nuts depending on your chocolate chips. For a dairy-free version, you can use vegan butter, but the browning process will not work the same way, and the flavor will be different.
Conclusion
These Chewy Brown Butter Chocolate Chip Cookies are more than just a recipe. They are a little piece of kitchen magic that anyone can create. The nutty, caramelized depth of the brown butter takes a classic cookie and turns it into something you will crave. It is the kind of recipe that makes you feel like a pro, even on a random Tuesday night.
I really hope you give these a try. Do not be intimidated by the brown butter — it is just melted butter that you pay a little more attention to. I promise you, the result is worth every second you spend standing over that stove. Make a batch for yourself, share them with someone you love, or just hide them in the freezer for a rainy day. You deserve them.
I would love to hear how they turn out for you! Did you add the sea salt? Did you try the peanut butter swirl? Drop a comment below and let me know. And if you loved them, please share this post with a friend who needs a good cookie in their life. Happy baking!
Frequently Asked Questions
Can I use salted butter instead of unsalted?
Yes, you can. Just reduce the added salt in the recipe to 1/2 teaspoon. The browning process will work the same way, but be aware that salted butter can sometimes brown a little faster due to the lower water content.
Why are my cookies flat and spreading too much?
This usually happens for a few reasons. Your butter might have been too warm when you mixed in the eggs, or your dough was too warm when it went into the oven. Make sure the browned butter is cooled to warm (not hot) before adding the eggs. Also, make sure your baking soda is fresh.
Can I make the dough ahead of time?
Absolutely. You can make the dough, scoop it into balls, and refrigerate them on a baking sheet for up to 48 hours. You can also freeze the dough balls for up to 3 months. Bake from frozen, adding a couple of minutes to the baking time.
How do I get the cookies to be perfectly round?
As soon as the cookies come out of the oven, use a round cookie cutter or a large mug that is slightly larger than the cookies. Place it over a warm cookie and gently swirl it in a circular motion. This pushes the edges inward and creates a perfectly round shape.
Can I use milk chocolate chips instead of semi-sweet?
You can, but the cookies will be much sweeter. The semi-sweet chocolate provides a nice balance to the sweet, nutty brown butter. If you use milk chocolate, consider reducing the granulated sugar by 2 tablespoons to compensate for the extra sweetness.
Pin This Recipe!
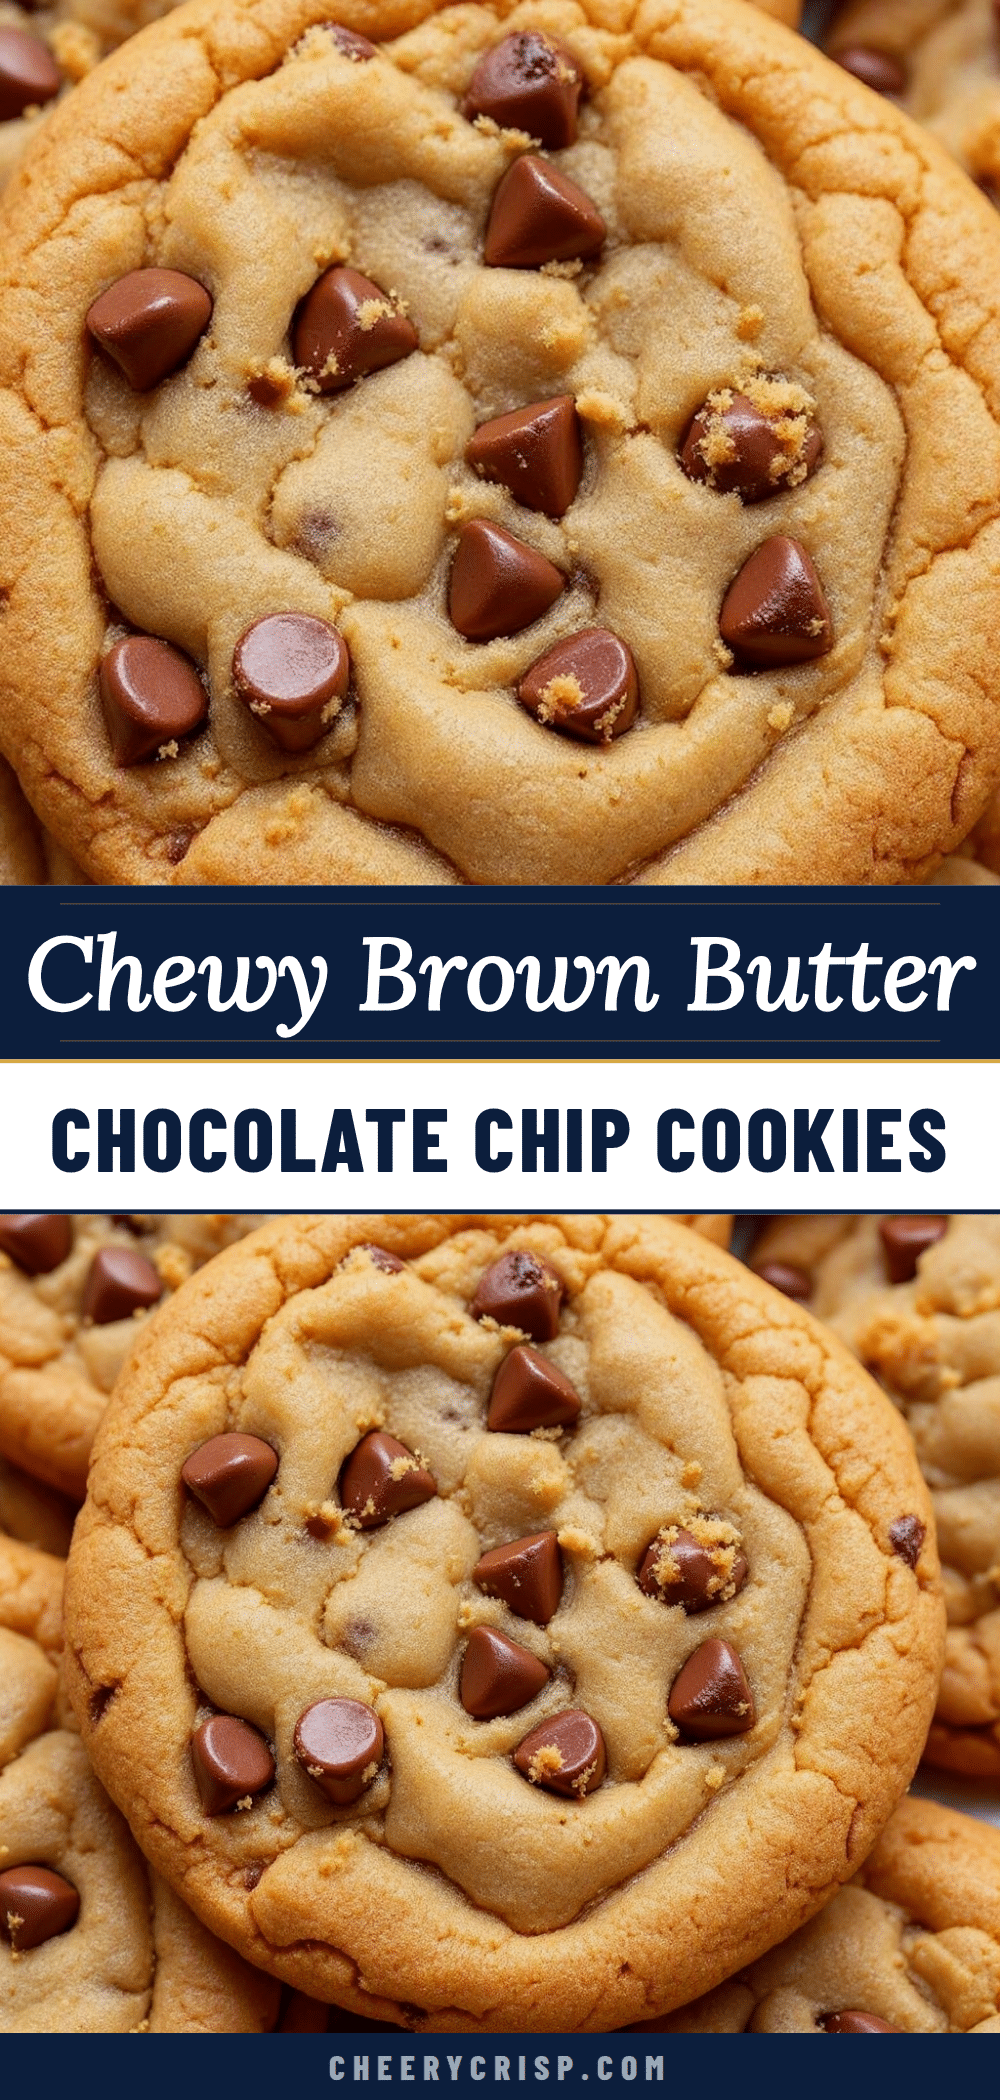
Chewy Brown Butter Chocolate Chip Cookies: Easy & Best Recipe
These Chewy Brown Butter Chocolate Chip Cookies are the best version of a classic cookie. With perfectly crisp edges, a soft, almost fudgy center, and a nutty, toffee-like flavor from the brown butter, they are a crowd-pleaser that requires no chill time.
- Prep Time: 15 minutes
- Cook Time: 10 minutes
- Total Time: 25 minutes
- Yield: 24 cookies 1x
- Category: Dessert
- Cuisine: American
Ingredients
- 1 cup (2 sticks / 226 grams) unsalted butter
- 1 cup (200 grams) packed dark brown sugar
- 1/2 cup (100 grams) granulated sugar
- 1 large egg + 1 egg yolk
- 2 teaspoons vanilla extract
- 2 cups + 2 tablespoons (270 grams) all-purpose flour
- 1 teaspoon baking soda
- 1 teaspoon salt
- 2 cups (340 grams) semi-sweet chocolate chips
Instructions
- Brown the Butter: Place the 1 cup of unsalted butter in a light-colored saucepan over medium heat. Let it melt completely, then continue to cook, swirling the pan occasionally. The butter will start to foam and crackle. After a few minutes, the foam will subside, and you will see small golden-brown specks forming at the bottom of the pan. The butter will smell nutty and toasty. This whole process takes about 5-6 minutes. Do not walk away! It can go from perfect to burnt in seconds. Once you see …
- Cool the Butter: Pour the browned butter into a large mixing bowl (make sure to scrape all those delicious brown bits into the bowl). Let it cool for about 5-10 minutes. It should be warm but not hot to the touch. If it is too hot, it will cook the eggs when you mix them in.
- Combine Sugars and Butter: Add the packed dark brown sugar and the granulated sugar to the warm brown butter. Whisk vigorously until the mixture is smooth and looks like a thick, grainy paste. It will not be completely smooth, but there should be no large lumps of sugar.
- Add Eggs and Vanilla: Add the whole egg and the extra egg yolk, along with the 2 teaspoons of vanilla extract. Whisk again until the mixture is smooth, shiny, and slightly thickened. This should take about 30-60 seconds. The mixture will look almost like a caramel sauce. This is when you know the sugar has dissolved properly.
- Mix Dry Ingredients: In a separate medium bowl, whisk together the 2 cups + 2 tablespoons of all-purpose flour, 1 teaspoon of baking soda, and 1 teaspoon of salt. This ensures the leavening agents are evenly distributed.
- Combine Wet and Dry: Pour the dry ingredients into the wet ingredients. Use your rubber spatula to fold everything together. Mix just until you no longer see any streaks of flour. Do not overmix! Overmixing develops gluten, which will make your cookies tough instead of tender.
- Add Chocolate Chips: Pour in the 2 cups of semi-sweet chocolate chips. Fold them in gently with your spatula until they are evenly distributed throughout the dough. The dough will be thick and sticky. That is exactly what you want.
- Portion the Dough: Preheat your oven to 375°F (190°C). Line your baking sheets with parchment paper. Using your cookie scoop or a spoon, portion out heaping tablespoons (about 1.5 tablespoons each) of dough and place them about 3 inches apart on the prepared baking sheets. Do not flatten them.
- Bake: Bake for 9-11 minutes, or until the edges are golden brown and the centers look slightly underdone and puffy. The tops should be set but still soft. They will look a little pale in the middle — that is the key to a chewy cookie.
- Cool: Remove the baking sheet from the oven and let the cookies cool on the sheet for 5 minutes. This allows them to set up without over-baking. Then, transfer them to a wire cooling rack to cool completely. Or, you know, eat one warm and gooey. I won’t tell anyone.
Notes
Don’t over-brown the butter; it should be golden brown, not black. Measure flour correctly using the spoon-and-level method. Use room temperature eggs to avoid seizing the butter. Pull cookies out of the oven when centers still look slightly underdone for a chewy texture. For best results, use a kitchen scale to weigh ingredients.
Nutrition
- Serving Size: 1 cookie
- Calories: 220
- Sugar: 18
- Sodium: 150
- Fat: 12
- Saturated Fat: 7
- Carbohydrates: 28
- Fiber: 1
- Protein: 3
Keywords: brown butter chocolate chip cookies, chewy chocolate chip cookies, easy cookie recipe, no chill cookies, best chocolate chip cookies



