Love this? Save it for later!
Share the inspiration with your friends
My niece announced she wanted a “creepy but not too scary” Halloween party, and I thought I had it figured out. I had the decorations, the punch, the candy. But I kept circling back to the food table. Everything store-bought felt lazy, and I wanted something that looked genuinely fun without requiring a pastry degree. I had been looking for a Halloween appetizer that actually looked like it belonged at a party, not just a regular dish with a plastic spider stuck on top. For a while, I just accepted that themed party food meant sacrificing taste for spectacle. Then, standing in my kitchen staring at a carton of eggs, it hit me. Deviled eggs are already a crowd favorite—creamy, tangy, totally irresistible. Why not give them a Halloween makeover that was clever instead of complicated? (Plus, I already had everything I needed, which never happens.) The first batch came out looking so ridiculous and fun that I actually laughed out loud. And then I ate three before the party even started. That’s when I knew this was the one.
Why You’ll Love This Recipe
Look, I’ve tested a lot of Halloween recipes over the years. Some look amazing but taste like cardboard. Others taste great but look like a sad afterthought. These spider deviled eggs hit that sweet spot where they’re genuinely delicious and genuinely fun to look at. Here’s why they work:
- Quick and Easy: You can make these in under 30 minutes, and most of that time is just waiting for the eggs to boil. No complicated piping bags or special tools required.
- Simple Ingredients: Eggs, mayo, mustard, paprika, and black olives. That’s it. You probably have everything already, which means no last-minute grocery store panic runs.
- Perfect for Halloween Parties: Whether it’s a kid-friendly gathering, a spooky movie night, or a full-blown costume party, these fit right in. They’re also great for Halloween appetizers spread alongside other themed bites.
- Crowd-Pleaser: I’ve served these to kids who normally won’t touch eggs and adults who claim they’re “not into deviled eggs.” Both groups cleaned the platter. There’s something about the spider shape that makes people forget they’re eating a classic appetizer.
- Unbelievably Delicious: The filling is creamy, tangy, and perfectly seasoned. The olive “spiders” add a briny pop that somehow works perfectly with the richness of the yolk mixture.
What makes this recipe different from the hundreds of other deviled egg variations out there? It’s the balance. The filling isn’t too heavy, the paprika adds just the right warmth, and the olive spiders are clever without being fussy. This isn’t just another Halloween recipe—it’s the one people will ask you to bring every year.
What Ingredients You Will Need
This recipe uses simple, everyday ingredients to create something that looks way more impressive than it actually is. Most of these are pantry staples, which makes this perfect for last-minute Halloween prep.
- 6 large eggs – Use room temperature eggs for easier peeling. If you forgot to take them out, soak them in warm water for 5 minutes before boiling.
- 3 tablespoons mayonnaise – I prefer full-fat mayo here for the creamiest texture. Duke’s or Hellmann’s both work great. (Low-fat versions tend to make the filling runny.)
- 1 teaspoon yellow mustard – Adds that classic tangy flavor. You can use Dijon for a slightly sharper taste if you prefer.
- 1 teaspoon white vinegar – This brightens up the filling and balances the richness. Don’t skip it—it makes a difference.
- ¼ teaspoon salt – Fine sea salt dissolves better than kosher salt in the filling.
- ⅛ teaspoon black pepper – Freshly ground is best, but pre-ground works fine.
- ¼ teaspoon paprika – Smoked paprika adds a lovely depth, but sweet paprika gives that classic deviled egg color. I use smoked for these because it feels more Halloween-y somehow.
- 12 large black olives – You need whole pitted black olives. Look for the biggest ones you can find—they’re easier to slice into spider shapes. I like Lindsay or California Ripe brands.
For garnish: Extra paprika for dusting, and a few fresh chives or parsley if you want to add “grass” to your serving platter (totally optional but very cute).
Equipment Needed
You don’t need any fancy equipment for these spider deviled eggs. Here’s what you’ll need:
- Medium saucepan – For boiling the eggs. Any pot works, but one with a tight-fitting lid helps.
- Mixing bowl – Medium-sized, for mashing the yolks.
- Fork or potato masher – For breaking down the yolks. A fork works perfectly; no need for a food processor.
- Sharp knife and cutting board – For slicing the olives into spider shapes. A paring knife works best for the detail work.
- Piping bag or zip-top bag – For filling the eggs neatly. A zip-top bag with the corner snipped off works just as well as a fancy piping bag. (I’ve used both, and honestly, the zip-top bag is easier to clean.)
- Serving platter – Something flat that shows off the spider design. A dark plate makes the white eggs and black olives pop beautifully.
If you don’t have a piping bag, don’t worry. A small spoon works fine for filling the eggs, though the look won’t be as polished. A butter knife also works if you’re careful.
Preparation Method
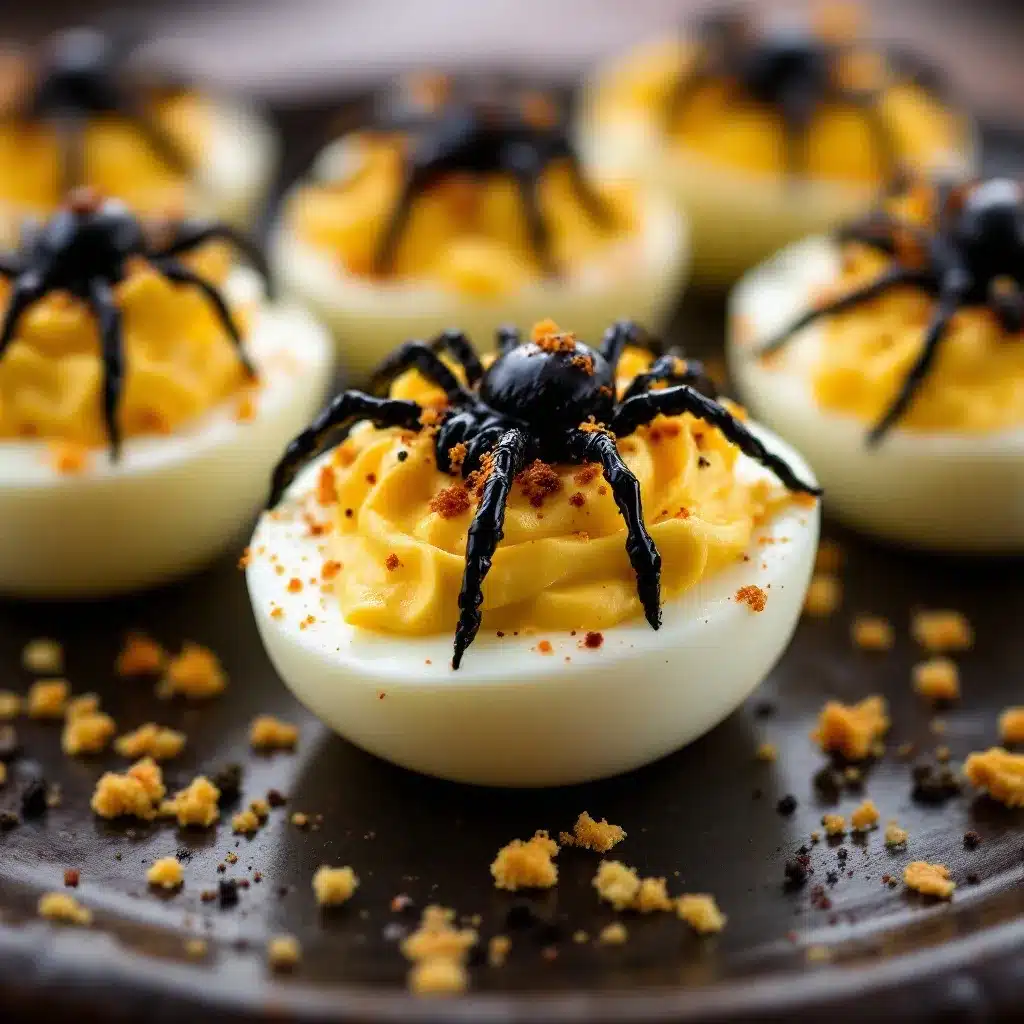
Let me walk you through this step by step. I’ve made these more times than I can count, so I’ll share the little tricks I’ve learned along the way.
- Boil the eggs. Place your eggs in a single layer in the saucepan. Cover them with cold water by about an inch. Bring the water to a full rolling boil over high heat. Once it’s boiling, turn off the heat, cover the pot, and let it sit for exactly 10 minutes. (Set a timer—trust me on this.) This method gives you perfectly hard-boiled yolks without that weird green ring around the outside.
- Ice bath. While the eggs are sitting, fill a large bowl with ice and cold water. As soon as the 10 minutes are up, transfer the eggs to the ice bath using a slotted spoon. Let them chill for at least 5 minutes. This stops the cooking immediately and makes peeling way easier. (I learned this the hard way after years of peeling eggs that looked like they’d been through a war.)
- Peel the eggs. Gently tap each egg on the counter to crack the shell all over, then roll it between your palms to loosen the shell. Start peeling from the wider end—there’s usually an air pocket there that makes it easier. Rinse them under cold water to remove any tiny shell fragments. Pat them dry with a paper towel.
- Slice the eggs. Using a sharp knife, slice each egg in half lengthwise. Wipe the knife clean between cuts for the neatest edges. Carefully pop out the yolks into your mixing bowl. Set the white halves aside on your serving platter or a plate.
- Make the filling. Add the mayonnaise, mustard, vinegar, salt, pepper, and paprika to the bowl with the yolks. Mash everything together with a fork until it’s completely smooth. Taste it and adjust the seasoning if needed. (I always add a tiny pinch more paprika because I love that smoky flavor.) The mixture should be creamy but thick enough to hold its shape when piped.
- Fill the eggs. Spoon the yolk mixture into a piping bag or a sturdy zip-top bag. If using a zip-top bag, squeeze it all into one corner and snip off about ¼ inch from the tip. Pipe the filling into each egg white half, mounding it slightly. You want a nice, generous amount—flat deviled eggs are sad deviled eggs.
- Make the spiders. This is where the magic happens. Take your black olives and slice each one in half lengthwise. Set the olive halves aside—these will be the spider bodies. Now take the remaining olive slices (the ones with the little hole in the middle from the pit) and cut each one into thin strips lengthwise. Each strip will be a spider leg. You should get about 4-6 legs per olive slice. Don’t stress about making them perfect—spiders are naturally a little messy-looking.
- Assemble the spiders. Place one olive half (cut side down) on top of each deviled egg to form the spider’s body. Then arrange 4-6 olive strips on either side of the body to create the legs. Press them gently into the filling so they stay put. The legs should curve outward slightly for that authentic creepy-crawly look.
- Final touch. Lightly dust the finished eggs with a little extra paprika. This gives them a slightly spooky, “aged” look and adds a pop of color against the black olives. If you’re using chives or parsley, arrange them around the edge of your platter to look like grass or spider webs.
Cooking Tips & Techniques
I’ve made these spider deviled eggs about a dozen times now, and I’ve definitely learned a few things along the way. Here are the tips that actually matter:
Use older eggs for easier peeling. Fresh eggs are notoriously hard to peel after boiling. If you can, use eggs that have been in your fridge for at least a week. The slight air gap that develops between the egg and the shell makes peeling a breeze. (I learned this after a particularly frustrating batch where I lost half the egg white to the shell.)
Don’t overmix the filling. You want it smooth, but if you keep stirring, the mayonnaise can break and make the filling greasy. Mix until everything is just combined and creamy.
Make the olive legs ahead of time. If you’re prepping for a party, slice all the olives and store them in a sealed container in the fridge. Then you just have to assemble the spiders right before serving. This saves so much time when you’re juggling multiple dishes.
Chill the filled eggs before adding the spiders. If you pipe the filling and then refrigerate the eggs for 15-20 minutes, the filling firms up slightly. This makes it easier to press the olive legs in without squishing the filling everywhere. A small step that makes a big difference in presentation.
One mistake I made: The first time I made these, I used jumbo olives for the bodies and regular olives for the legs. The scale was all wrong—the spiders looked like they’d been hitting the gym too hard. Stick with the same size olives for both bodies and legs for the best visual effect.
Variations & Adaptations
One of the things I love about this recipe is how easy it is to tweak. Here are some variations I’ve tried and loved:
- Spicy version: Add a dash of hot sauce or a pinch of cayenne pepper to the yolk mixture. The heat pairs surprisingly well with the briny olives and gives the spiders a little attitude.
- Avocado twist: Swap half the mayonnaise for mashed avocado. The green color is perfect for Halloween, and it adds a creamy, fresh flavor. Just be aware that the filling won’t keep as long—serve within a few hours.
- Gluten-free: This recipe is naturally gluten-free, so no adjustments needed. Just double-check your mustard and mayonnaise labels if you’re serving someone with celiac disease.
- Vegan option: Use a vegan egg substitute (like Just Egg) to make hard-boiled “eggs,” and replace the mayo with vegan mayo. The texture won’t be exactly the same, but the flavor is surprisingly close.
- Mini spiders: Use quail eggs for bite-sized versions. They’re adorable and perfect for cocktail parties. You’ll need to adjust the boiling time to about 4-5 minutes.
I personally love the spicy version for adult parties. It adds a little kick that makes people go back for seconds (and thirds).
Serving & Storage Suggestions
These spider deviled eggs are best served chilled or at room temperature. I like to arrange them on a dark-colored platter so the white eggs and black olives really stand out. A black slate board or a dark ceramic dish works perfectly. You can also arrange them in a circle with a small bowl of dipping sauce (like ranch or sriracha mayo) in the center for an extra fun presentation.
For a Halloween party spread, these pair beautifully with other themed snacks. They’re especially good alongside mummy wrapped sausages or black velvet cupcakes for dessert. The savory-sweet balance keeps the snack table interesting.
Storage: These are best eaten within 24 hours of making them. Store them in an airtight container in the refrigerator. Don’t freeze them—the texture will be completely off after thawing.
Reheating: You don’t reheat deviled eggs. Serve them cold or at room temperature. If you’ve stored them in the fridge, let them sit out for about 15 minutes before serving to take the chill off.
Flavor development: Interestingly, the filling actually tastes better after a few hours in the fridge. The flavors meld together and mellow out. If you’re making these for a party, I recommend filling the eggs the night before and adding the olive spiders right before serving. The spiders will stay crisp and the eggs will be perfectly flavorful.
Nutritional Information & Benefits
Here’s the approximate nutritional breakdown for one spider deviled egg (half an egg with filling and olives):
- Calories: 85
- Protein: 6g
- Fat: 6g
- Carbohydrates: 1g
- Fiber: 0g
- Sugar: 0g
Eggs are a fantastic source of high-quality protein and contain important nutrients like choline, which supports brain health. The olives add healthy monounsaturated fats and a dose of vitamin E. This is a relatively low-calorie, low-carb appetizer that fits into most dietary patterns, including keto and low-carb lifestyles.
Dietary considerations: This recipe is naturally gluten-free, nut-free, and low-carb. It contains eggs and may contain dairy if your mayonnaise has dairy ingredients (most don’t, but check the label). If you’re serving someone with an egg allergy, this obviously won’t work—try the vegan variation instead.
I personally love that these feel indulgent without being heavy. They’re the kind of appetizer you can enjoy without guilt, which is rare during Halloween season when everything seems to be coated in sugar or cheese.
Conclusion
These easy spooky spider deviled eggs are proof that Halloween food doesn’t have to be complicated to be impressive. They’re quick, use simple ingredients, and deliver that perfect balance of creepy and cute that makes parties memorable. The best part? They actually taste amazing. No compromise between fun and flavor.
I love making these because they always get the reaction I’m hoping for—a double-take, then a grin, then someone reaching for seconds. They’re the kind of recipe that makes people think you put in way more effort than you actually did. (And I’m not about to correct them.)
If you make these, I’d love to hear how they turned out. Leave a comment below and let me know if your guests were brave enough to eat the spiders! And if you come up with a fun variation, definitely share it—I’m always looking for new ideas. Happy Halloween, and happy cooking!
Frequently Asked Questions
Can I make these spider deviled eggs the night before?
Yes! I actually recommend it. Fill the eggs and store them in an airtight container in the fridge overnight. Add the olive spiders right before serving so they stay crisp and don’t get soggy.
How do I get perfectly hard-boiled eggs every time?
The key is the ice bath. After boiling, immediately transfer the eggs to an ice water bath for at least 5 minutes. This stops the cooking process and prevents that green ring from forming around the yolk. It also makes peeling much easier.
Can I use a different type of olive for the spiders?
Black olives work best because they create the most spider-like appearance. Green olives would work in a pinch, but they’re less convincing visually. Kalamata olives are too soft and will fall apart when you try to slice them.
How long do these keep in the fridge?
They’re best within 24 hours. After that, the filling can start to dry out and the eggs can become rubbery. If you have leftovers, store them in an airtight container and eat them within two days.
Can I make these without a piping bag?
Absolutely. A zip-top bag with the corner snipped off works perfectly. Or you can simply use a small spoon to fill the eggs. The presentation won’t be as smooth, but the taste will be exactly the same.
Pin This Recipe!
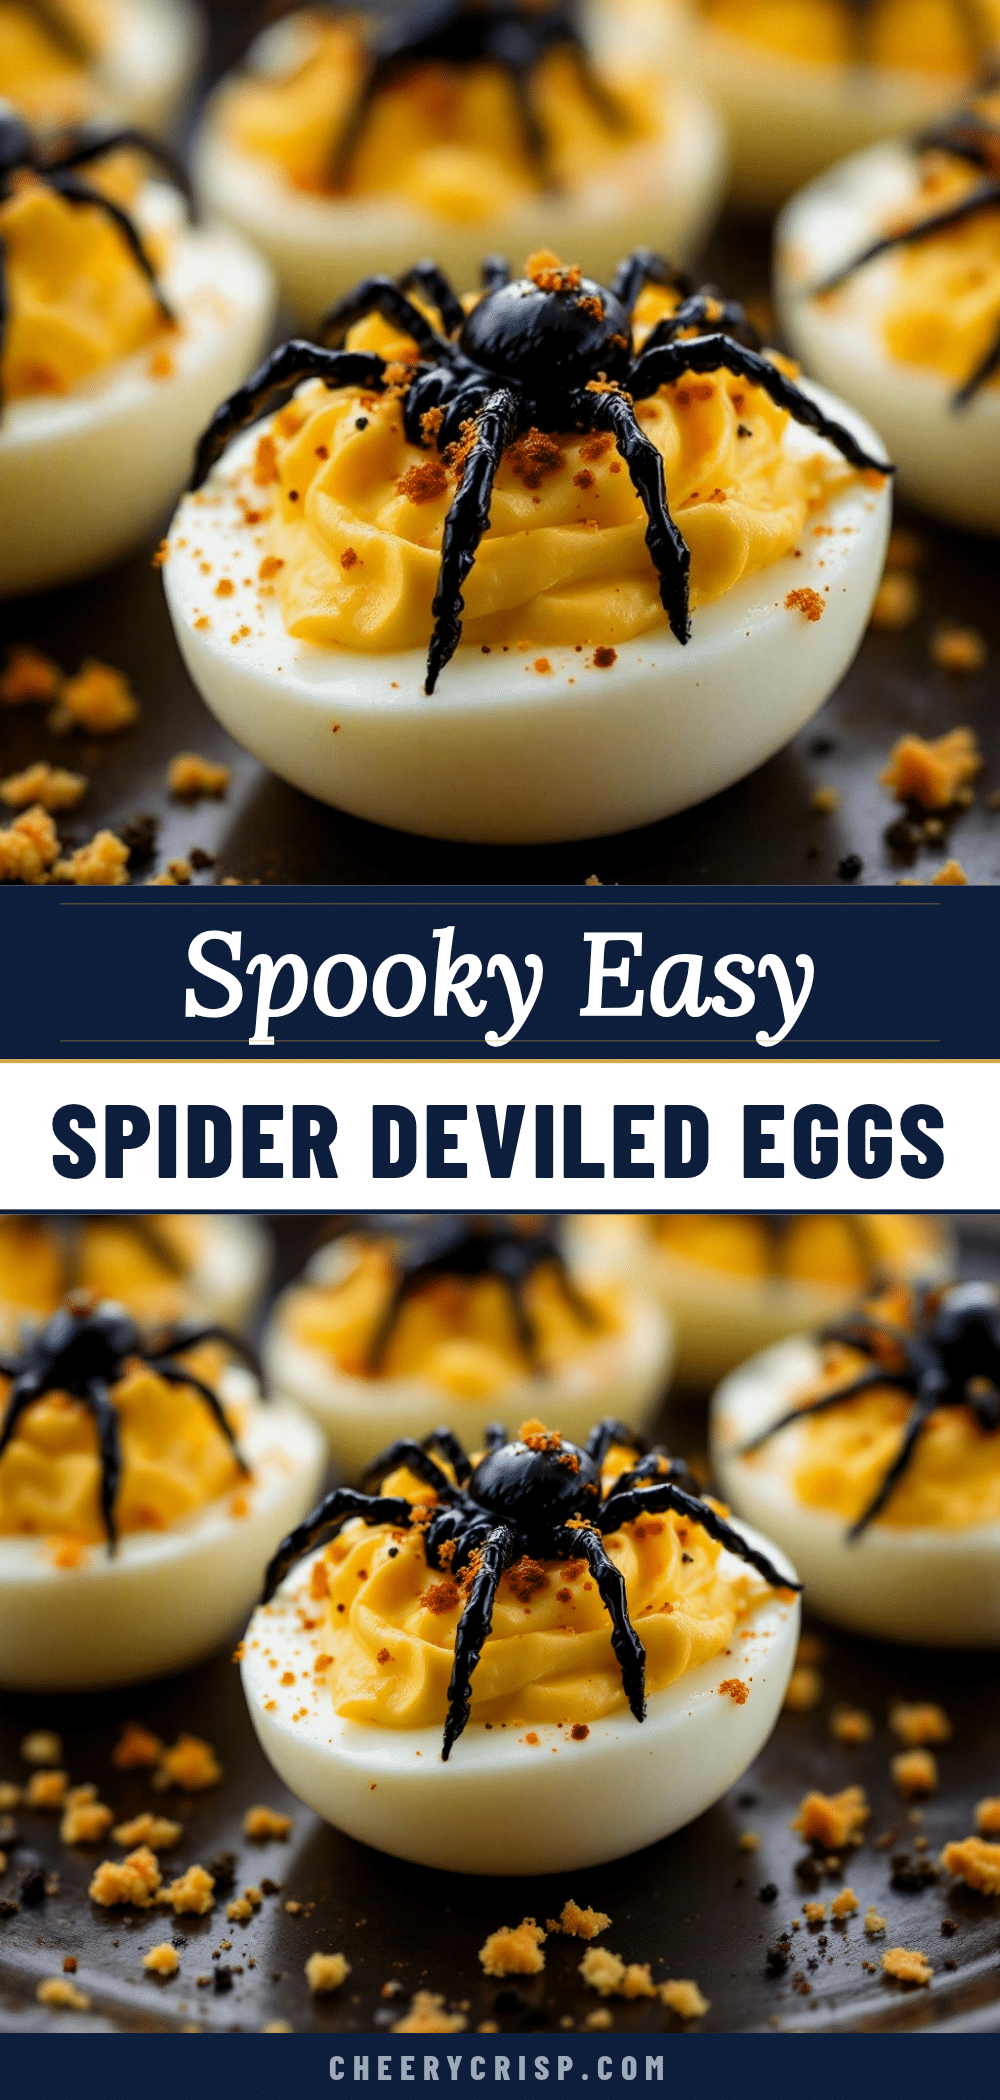
Best Easy Spooky Spider Deviled Eggs Recipe for Halloween
These spider deviled eggs are a fun and delicious Halloween appetizer that’s quick to make with simple ingredients. Creamy, tangy filling topped with olive spiders creates a creepy-cute treat that’s perfect for any spooky gathering.
- Prep Time: 15 minutes
- Cook Time: 10 minutes
- Total Time: 25 minutes
- Yield: 12 servings (1 spider deviled egg per serving) 1x
- Category: Appetizer
- Cuisine: American
Ingredients
- 6 large eggs, room temperature
- 3 tablespoons mayonnaise (full-fat recommended)
- 1 teaspoon yellow mustard
- 1 teaspoon white vinegar
- ¼ teaspoon fine sea salt
- ⅛ teaspoon black pepper, freshly ground
- ¼ teaspoon smoked paprika (or sweet paprika)
- 12 large pitted black olives (e.g., Lindsay or California Ripe)
- Extra paprika for dusting (optional)
- Fresh chives or parsley for garnish (optional)
Instructions
- Boil the eggs: Place eggs in a single layer in a medium saucepan. Cover with cold water by about 1 inch. Bring to a full rolling boil over high heat. Turn off heat, cover, and let sit for exactly 10 minutes.
- Ice bath: While eggs sit, fill a large bowl with ice and cold water. Transfer eggs to ice bath using a slotted spoon. Let chill for at least 5 minutes to stop cooking and make peeling easier.
- Peel the eggs: Gently tap each egg on the counter to crack the shell, roll between palms to loosen, and peel starting from the wider end. Rinse under cold water to remove shell fragments. Pat dry.
- Slice the eggs: Using a sharp knife, slice each egg in half lengthwise. Wipe knife clean between cuts. Carefully pop out yolks into a mixing bowl. Set white halves aside on a serving platter.
- Make the filling: Add mayonnaise, mustard, vinegar, salt, pepper, and paprika to the bowl with yolks. Mash together with a fork until completely smooth. Taste and adjust seasoning if needed.
- Fill the eggs: Spoon yolk mixture into a piping bag or sturdy zip-top bag. If using a zip-top bag, squeeze into one corner and snip off about ¼ inch from the tip. Pipe filling into each egg white half, mounding slightly.
- Make the spiders: Slice each black olive in half lengthwise. Set olive halves aside for spider bodies. Take remaining olive slices (with the hole from the pit) and cut each into thin strips lengthwise to create spider legs (4-6 legs per slice).
- Assemble the spiders: Place one olive half (cut side down) on top of each deviled egg for the body. Arrange 4-6 olive strips on either side of the body for legs. Press gently into filling so they stay put.
- Final touch: Lightly dust finished eggs with extra paprika for a spooky look. If desired, arrange chives or parsley around the edge of the platter to resemble grass or spider webs.
Notes
Use older eggs (at least a week old) for easier peeling. Don’t overmix the filling to avoid greasiness. For best presentation, chill filled eggs for 15-20 minutes before adding olive spiders. Make olive legs ahead of time and store in a sealed container in the fridge. These are best eaten within 24 hours; store in an airtight container in the refrigerator. Do not freeze.
Nutrition
- Serving Size: 1 spider deviled egg
- Calories: 85
- Sodium: 180
- Fat: 6
- Saturated Fat: 1.5
- Carbohydrates: 1
- Protein: 6
Keywords: Halloween deviled eggs, spider deviled eggs, spooky appetizer, Halloween party food, easy Halloween recipe, deviled eggs with olives, creepy appetizer



