Love this? Save it for later!
Share the inspiration with your friends
It was 10:47 PM on a rainy Tuesday, and I had that familiar, restless energy—you know the one. The kind where you want something sweet, something satisfying, but you absolutely refuse to turn on the oven or wash a pile of dishes. I had just finished a long day of recipe testing, and my kitchen looked like a flour bomb had gone off. Honestly, the last thing I wanted was another complicated project. I remember staring into my pantry, hoping for a cookie to magically appear, and instead, I saw a lonely jar of peanut butter, a bag of oats, and a half-empty bag of chocolate chips. My brain, tired and craving, whispered, “Just mash it all together and see what happens.” And let me tell you, that impulsive, slightly unhinged late-night experiment turned into something I now make every single week. These Easy No-Bake Protein Balls with Oats and Chocolate Chips were born from pure laziness and a desperate need for a quick treat. I didn’t have the energy for a food processor, I didn’t have any fancy protein powder, and I certainly wasn’t going to the store. I just wanted something that tasted like dessert but felt a little bit virtuous. Somehow, that weird combination of sticky peanut butter, hearty oats, and melty chocolate chips worked perfectly. It was the kind of moment where you take a bite and think, “Wait, this is actually genius.” And that is why this recipe has stuck with me—it proves that you don’t need a ton of ingredients or effort to make something truly delicious. Maybe you’ve been there too, standing in your kitchen late at night, just hoping for a little bit of magic from your pantry. Well, this is it.
Why You’ll Love This Recipe
I’ve tested a lot of snack recipes over the years—some that were overly complicated and others that just didn’t hit the spot. These protein balls are different. They are the result of multiple kitchen trials, a few happy accidents, and a genuine love for simple, wholesome food. Here is why I think you’ll fall for them too:
- Quick & Easy: These come together in about 15 minutes flat. No baking, no waiting, just mix, roll, and eat. Perfect for those moments when you need a snack right now.
- Simple Ingredients: You probably have everything you need in your pantry right now. Oats, peanut butter, honey, chocolate chips—that is it. No weird specialty items or expensive powders required.
- Perfect for Meal Prep: Make a batch on Sunday and you have healthy snacks for the whole week. They are great for lunchboxes, post-workout refueling, or a quick bite before a meeting.
- Crowd-Pleaser: I have brought these to potlucks, picnics, and even family gatherings, and they always disappear fast. Kids love them, adults love them, and nobody guesses they are actually good for you.
- Unbelievably Delicious: The texture is soft and chewy, with little bursts of chocolate in every bite. It honestly tastes like a cookie dough treat, but with way less sugar and a solid dose of protein.
What makes this version different from all the others out there? It is the balance. I spent time figuring out the perfect ratio of oats to binder so the balls hold together without being dry or crumbly. The honey adds just the right amount of sweetness without overpowering the chocolate, and the pinch of salt makes everything pop. This isn’t just another energy ball recipe—it is the one I keep coming back to because it works every single time. It is comfort food reimagined: faster, healthier, and with the same soul-soothing satisfaction. Perfect for impressing guests without stress, or turning a simple afternoon snack into something memorable.
What Ingredients You Will Need
This recipe uses simple, wholesome ingredients that come together to deliver a bold, satisfying flavor without any fuss. Most of these are pantry staples, making this an easy recipe to whip up anytime a craving strikes.
- Rolled Oats: 1 cup (90g). Use old-fashioned rolled oats for the best texture. They give the balls a nice chewy bite. Quick oats will work in a pinch, but the texture will be a bit softer.
- Creamy Peanut Butter: ½ cup (130g). I recommend using a natural, no-stir peanut butter for the best flavor and consistency. If your peanut butter is too oily or separated, the balls might not hold together well. You can also use almond butter or sunflower seed butter for a nut-free option.
- Honey: ⅓ cup (110g). This acts as the natural sweetener and binder. Maple syrup works as a great vegan alternative, though the mixture might be slightly stickier.
- Mini Chocolate Chips: ½ cup (90g). I love using mini chocolate chips because they distribute more evenly throughout the dough. You can use dark, milk, or semi-sweet—whatever you prefer. For a healthier twist, try using cacao nibs or sugar-free chocolate chips.
- Ground Flaxseed: 2 tablespoons (14g). This is my secret ingredient! It adds a boost of fiber and omega-3s, and it helps bind the mixture together. You can skip it or substitute with chia seeds if needed.
- Vanilla Extract: 1 teaspoon (5ml). A little vanilla goes a long way in enhancing the overall flavor profile. Use pure vanilla extract if you have it.
- Salt: A pinch (about ⅛ teaspoon). This balances the sweetness and makes the chocolate and peanut butter flavors really shine. Don’t skip it—it makes a difference!
Ingredient Selection Tips: For the best texture, look for a peanut butter that is smooth and has a bit of natural oil on top. I personally prefer the brand Justin’s for its flavor and consistency. If you are using a very dry peanut butter, you might need to add a teaspoon of water or coconut oil to help the mixture come together. For the oats, certified gluten-free rolled oats are an easy swap if you need this recipe to be gluten-free.
Equipment Needed
One of the best things about this recipe is that it requires very little equipment. You don’t need a stand mixer or a food processor—just a few basic tools you probably already have in your kitchen.
- Large Mixing Bowl: A standard-sized bowl is perfect for combining all the ingredients without making a mess.
- Wooden Spoon or Rubber Spatula: For mixing everything together. A sturdy spatula works best for getting every bit of the sticky mixture incorporated.
- Measuring Cups and Spoons: Accurate measurements are key to getting the right texture. I recommend using dry measuring cups for the oats and liquid measuring cups for the honey and peanut butter.
- Baking Sheet or Plate: To hold the rolled protein balls while they chill. A small baking sheet lined with parchment paper works great.
- Parchment Paper (optional): Lining your baking sheet makes cleanup a breeze and prevents the balls from sticking.
- Small Cookie Scoop (optional but helpful): If you want perfectly uniform balls, a 1-inch cookie scoop is a game-changer. It makes the rolling process much faster and less messy.
I have made these protein balls with just a bowl and a spoon more times than I can count, so don’t worry if you don’t have fancy equipment. A clean pair of hands works wonderfully for the final rolling step!
Preparation Method
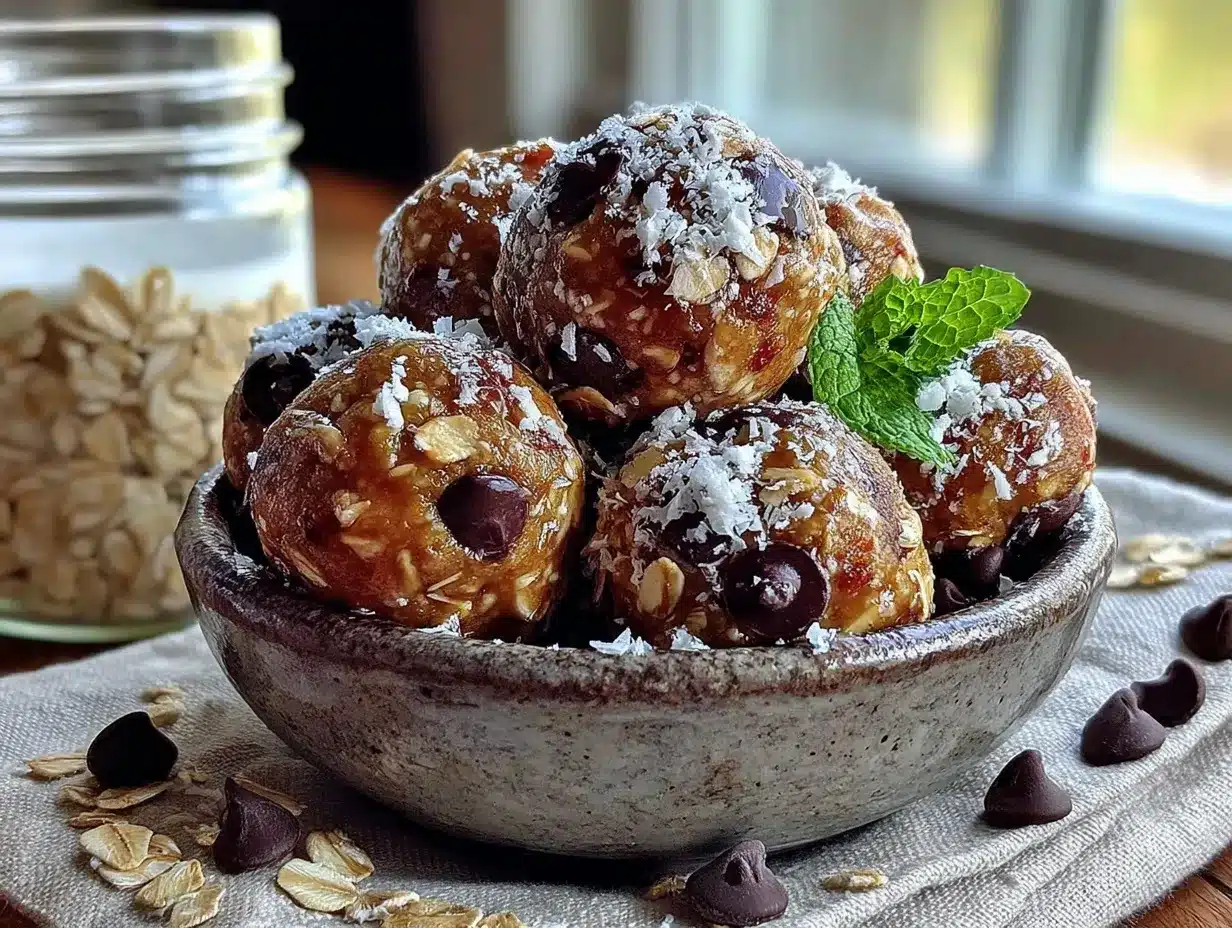
Follow these simple steps to create your own batch of delicious, no-bake protein balls. The process is straightforward, but I have included some personal tips and sensory cues to ensure your success on the first try.
- Combine the Dry Ingredients: In your large mixing bowl, add the 1 cup of rolled oats, 2 tablespoons of ground flaxseed, and a pinch of salt. Use your spoon or spatula to give them a quick stir. This helps distribute the flaxseed evenly so you don’t get clumps later. You will notice the oats and flaxseed have a lovely, earthy, nutty aroma.
- Add the Wet Ingredients: To the same bowl, add the ½ cup of creamy peanut butter, ⅓ cup of honey, and 1 teaspoon of vanilla extract. At this point, the mixture will look a bit messy and separated—that is totally normal. Don’t panic!
- Mix Thoroughly: Start stirring everything together with your wooden spoon or rubber spatula. This will take a bit of elbow grease—the mixture is thick and sticky. Fold the wet ingredients into the dry ingredients until you see no more streaks of flour or oats. The dough should start to clump together and look like a cohesive, slightly sticky mass. If it looks too dry and crumbly, add a teaspoon of water or a tiny drizzle of extra honey. If it looks too wet and sticky, add a tablespoon more of oats.
- Fold in the Chocolate Chips: Once the base dough is well combined, add the ½ cup of mini chocolate chips. Gently fold them into the mixture with your spatula. Make sure they are evenly distributed throughout the dough. You will see little dark flecks of chocolate against the warm, golden-brown dough—it looks so promising!
- Chill the Dough (Important!): Cover the bowl with plastic wrap or a clean kitchen towel and place it in the refrigerator for 15-20 minutes. This step is crucial. Chilling the dough makes it much easier to handle and roll into balls without it sticking to your hands. The peanut butter and honey firm up slightly, creating a perfect rolling consistency. Use this time to clean up your workspace!
- Roll into Balls: After chilling, remove the bowl from the fridge. Line a baking sheet or plate with parchment paper. Using a small cookie scoop or a tablespoon, scoop out portions of the dough. Roll each portion between your palms to form a smooth, round ball. You should get about 16-18 balls, depending on the size. If the dough starts to get too sticky again as you work, simply pop the bowl back in the fridge for 5 minutes.
- Final Chill: Place the rolled protein balls on the prepared baking sheet. Put the sheet in the refrigerator for at least 30 minutes to let them set completely. This final chill helps them hold their shape perfectly. After this, they are ready to eat!
Personal Tip: I find that wetting my hands slightly with cold water before rolling each ball helps prevent the dough from sticking to my palms. It is a small trick that makes the process much smoother and less frustrating.
Cooking Tips & Techniques
Over the years, I have made my fair share of mistakes with no-bake energy balls. I have had batches that were too dry and crumbly, and others that were so sticky they were impossible to roll. Here are my best tips to help you avoid those same pitfalls and get perfect results every time.
- Don’t Overmix: Once you add the wet ingredients, mix just until everything is combined. Overmixing can break down the oats too much, resulting in a gummy, dense texture. You want the oats to retain some of their shape for that satisfying chew.
- Trust the Chill: I cannot stress this enough—do not skip the chilling steps. The first chill firms up the dough for rolling, and the second chill sets the final shape. If you try to roll the dough immediately, you will end up with a sticky mess on your hands. Patience is key here!
- Adjust for Humidity: On a very humid day, your peanut butter and honey mixture might be a bit looser. If the dough feels too sticky after mixing, add an extra tablespoon of oats or a tablespoon of unsweetened shredded coconut to absorb the excess moisture.
- Use Room Temperature Ingredients: If your honey or peanut butter is cold from the fridge, it will be harder to mix. Let them sit on the counter for 15 minutes before you start. This makes the blending process much easier and results in a more uniform dough.
- Test One First: Before rolling all the dough into balls, roll just one test ball. If it holds its shape and doesn’t fall apart, you are good to go. If it crumbles, add a little more honey or peanut butter. If it is too sticky, add more oats. This saves you from having to re-roll an entire batch.
I once forgot to chill the dough and ended up with flat, sad-looking protein pancakes instead of nice round balls. It was a mess, but I learned my lesson! Now, I always set a timer so I don’t forget.
Variations & Adaptations
This base recipe is incredibly versatile. I love experimenting with different flavors and add-ins to keep things interesting. Here are a few of my favorite variations that I have tried and tested in my own kitchen.
- Chocolate Peanut Butter Dream: Add 1 tablespoon of unsweetened cocoa powder to the dry ingredients. This turns your protein balls into a rich, fudgy treat that tastes like a healthier version of a brownie bite. Pair it with dark chocolate chips for an extra deep flavor.
- Tropical Twist: Replace the chocolate chips with ¼ cup of dried, unsweetened coconut flakes and ¼ cup of dried mango or pineapple, chopped small. This variation is bright, chewy, and perfect for summer. The tropical fruit adds a natural sweetness that pairs beautifully with the oats.
- Spiced Pumpkin: In the fall, I love adding ¼ cup of pumpkin puree and 1 teaspoon of pumpkin pie spice to the mixture. You will need to add an extra 2 tablespoons of oats to compensate for the moisture from the pumpkin. These taste like a cozy autumn day.
- Nut-Free & Seed-Based: For a school-safe version, substitute the peanut butter with sunflower seed butter (like SunButter). The flavor will be slightly different, but it works beautifully. Just be aware that sunflower seed butter can sometimes react with baking soda or other ingredients, so stick to this simple recipe. You can also add a tablespoon of hemp seeds for extra protein.
- Crunchy Berry: Swap the chocolate chips for ¼ cup of freeze-dried strawberries or raspberries, crushed slightly. This gives the balls a tangy, fruity flavor and a satisfying crunch. It is a refreshing change from the chocolate version.
My personal favorite variation is the chocolate peanut butter dream—it feels like such a treat, but it is still packed with wholesome ingredients. I have made it for friends who swear they don’t like “healthy snacks,” and they always ask for the recipe!
Serving & Storage Suggestions
These protein balls are wonderfully versatile when it comes to serving and storing. They are designed to be a grab-and-go snack, but a few simple touches can make them feel a bit more special.
Serving Suggestions: These are best enjoyed straight from the refrigerator, as they are firm and chewy. I love having a couple after a workout for a quick protein boost, or packing one in my bag for a mid-afternoon snack at work. For a fun presentation, you can roll the finished balls in a little bit of shredded coconut, cocoa powder, or crushed nuts before serving. This adds a nice visual touch and a bit of extra texture. They pair wonderfully with a cold glass of almond milk, a cup of hot coffee, or even a scoop of vanilla yogurt for a more substantial dessert.
Storage Instructions: Store the protein balls in an airtight container in the refrigerator. They will stay fresh and delicious for up to one week. I like to layer them between sheets of parchment paper so they don’t stick together. For longer storage, you can freeze them! Place the balls in a single layer on a baking sheet and freeze for 1-2 hours until solid. Then, transfer them to a freezer-safe bag or container. They will keep in the freezer for up to 3 months. You can eat them straight from the freezer—they are a bit firmer and almost like a frozen treat—or let them thaw in the refrigerator for about 30 minutes.
Flavor Development: Honestly, these balls taste even better the next day. The flavors have time to meld together, and the oats soften slightly, creating a perfectly uniform texture. So, if you can wait, make them a day ahead of time!
Nutritional Information & Benefits
These no-bake protein balls are not just delicious—they are packed with nutritional benefits that make them a smart choice for a healthy snack. I love knowing that I am fueling my body with good, whole ingredients.
Estimated Nutritional Values (per ball, based on 18 balls):
- Calories: ~145 kcal
- Protein: ~5g
- Fat: ~8g
- Carbohydrates: ~16g
- Fiber: ~2g
- Sugar: ~9g
Health Benefits: The rolled oats provide a good source of complex carbohydrates and fiber, which helps keep you full and energized. The peanut butter offers healthy fats and plant-based protein, which is excellent for muscle recovery. The ground flaxseed is a powerhouse of omega-3 fatty acids and additional fiber, which is great for heart health and digestion. And yes, even the dark chocolate chips have antioxidants! This snack is naturally free from refined flour and is a fantastic option for anyone looking for a balanced, satisfying bite.
Dietary Considerations: This recipe is easily adaptable. Use certified gluten-free oats to make it gluten-free. Replace the honey with maple syrup for a vegan version. For a nut-free option, use sunflower seed butter. Please note that this recipe contains peanuts and is made in a kitchen that also processes tree nuts, so take care if you have severe allergies.
From a personal wellness perspective, these balls are my go-to when I need something that feels like a treat but supports my active lifestyle. They give me a steady energy release without the crash that comes from processed sugary snacks.
Conclusion
So there you have it—my go-to recipe for Easy No-Bake Protein Balls with Oats and Chocolate Chips. These little bites have saved me from countless afternoon slumps and late-night cravings, and I have a feeling they will do the same for you. They are proof that you don’t need a long list of fancy ingredients or a ton of time to create something truly satisfying. Whether you stick to the classic version or try one of the fun variations, I hope you make this recipe your own. That is the beauty of cooking—taking a simple idea and tweaking it until it feels perfect for you.
I would absolutely love to hear how yours turn out! Did you add a special ingredient? Did you make a mess like I did on my first try? Drop a comment below and let me know. And if you share a photo on Pinterest, tag me—I always love seeing your creations. Now go ahead, raid your pantry, and make yourself a batch. You deserve a delicious, healthy snack that took almost no effort at all. Happy rolling!
Frequently Asked Questions
Can I use quick oats instead of rolled oats?
Yes, you can use quick oats, but the texture will be different. Quick oats are more finely chopped, so they will absorb moisture faster and create a softer, less chewy ball. If you only have quick oats, you may need to use slightly less honey or peanut butter, as the mixture can become too sticky. Rolled oats are my top recommendation for the best texture.
My mixture is too dry and crumbly. What did I do wrong?
This usually happens if your peanut butter is a bit too dry or if you measured the oats generously. The fix is easy! Add a teaspoon of honey, a teaspoon of water, or a tiny splash of milk (dairy or non-dairy) to the mixture and stir well. You can also add a teaspoon of melted coconut oil to add moisture and help everything bind together.
How long do these protein balls last at room temperature?
I recommend storing them in the refrigerator for the best texture and safety. They can be kept at room temperature for a few hours if you are taking them to a picnic or packing them in a lunchbox, but they will become softer and a bit stickier. For longer storage, always keep them chilled. They last up to a week in the fridge and up to 3 months in the freezer.
Can I make these protein balls without peanut butter?
Absolutely! You can substitute the peanut butter with any other nut or seed butter. Almond butter, cashew butter, or sunflower seed butter all work wonderfully. Just keep in mind that different butters have different consistencies. If your alternative butter is very runny, you might need to add a tablespoon more of oats. If it is very thick, you might need a splash of water to help the mixture come together.
Are these protein balls healthy for kids?
Yes, they are a fantastic snack for kids! They are packed with fiber, protein, and healthy fats, and they are naturally sweetened with honey instead of refined sugar. Plus, they are a great way to sneak in some oats and flaxseed. Just be mindful of the chocolate chip size—mini chips are perfect for little ones. Always check for nut allergies before serving to children.
Pin This Recipe!
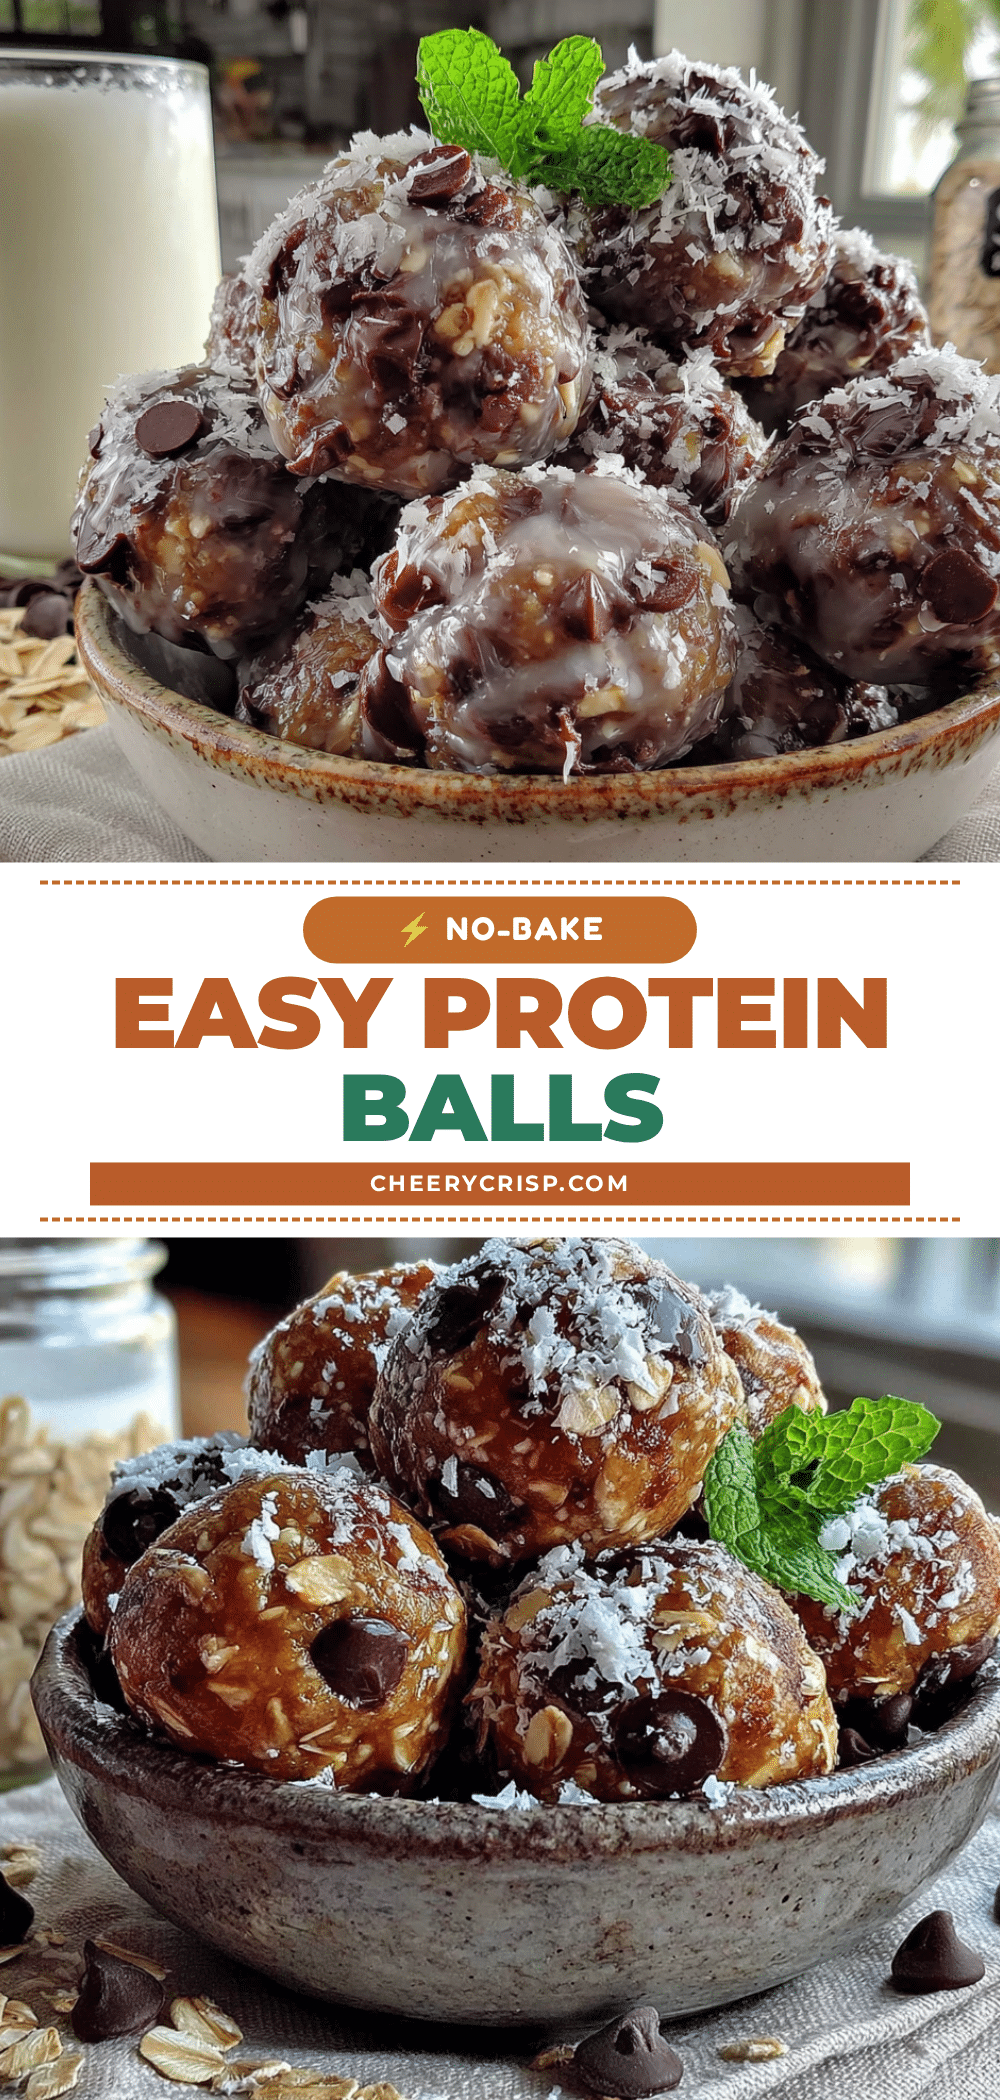
Easy No-Bake Protein Balls Recipe: Best Oat & Chocolate Chip Bites

These easy no-bake protein balls are made with oats, peanut butter, honey, and chocolate chips. They come together in about 15 minutes and are perfect for a quick, healthy snack or meal prep.
- Prep Time: 15 minutes
- Cook Time: 0 minutes
- Total Time: 45 minutes
- Yield: 16-18 balls 1x
- Category: Snack
- Cuisine: American
Ingredients
- 1 cup (90g) rolled oats
- ½ cup (130g) creamy peanut butter
- ⅓ cup (110g) honey
- ½ cup (90g) mini chocolate chips
- 2 tablespoons (14g) ground flaxseed
- 1 teaspoon (5ml) vanilla extract
- Pinch of salt (about ⅛ teaspoon)
Instructions
- In a large mixing bowl, combine the rolled oats, ground flaxseed, and salt. Stir to distribute evenly.
- Add the peanut butter, honey, and vanilla extract to the bowl. Mix thoroughly until a cohesive, slightly sticky dough forms.
- Fold in the mini chocolate chips until evenly distributed.
- Cover the bowl and refrigerate for 15-20 minutes to firm up the dough.
- Line a baking sheet or plate with parchment paper. Using a small cookie scoop or tablespoon, scoop portions of dough and roll into smooth balls (about 16-18 balls).
- Place the rolled balls on the prepared sheet and refrigerate for at least 30 minutes to set.
- Store in an airtight container in the refrigerator for up to 1 week, or freeze for up to 3 months.
Notes
For best results, chill the dough before rolling. If the mixture is too dry, add a teaspoon of water or honey. If too sticky, add a tablespoon more oats. Wetting hands slightly with cold water helps prevent sticking when rolling.
Nutrition
- Serving Size: 1 ball
- Calories: 145
- Sugar: 9
- Sodium: 50
- Fat: 8
- Saturated Fat: 2
- Carbohydrates: 16
- Fiber: 2
- Protein: 5
Keywords: no-bake protein balls, oat and chocolate chip bites, healthy snack, energy balls, gluten-free option, vegan option



