Love this? Save it for later!
Share the inspiration with your friends
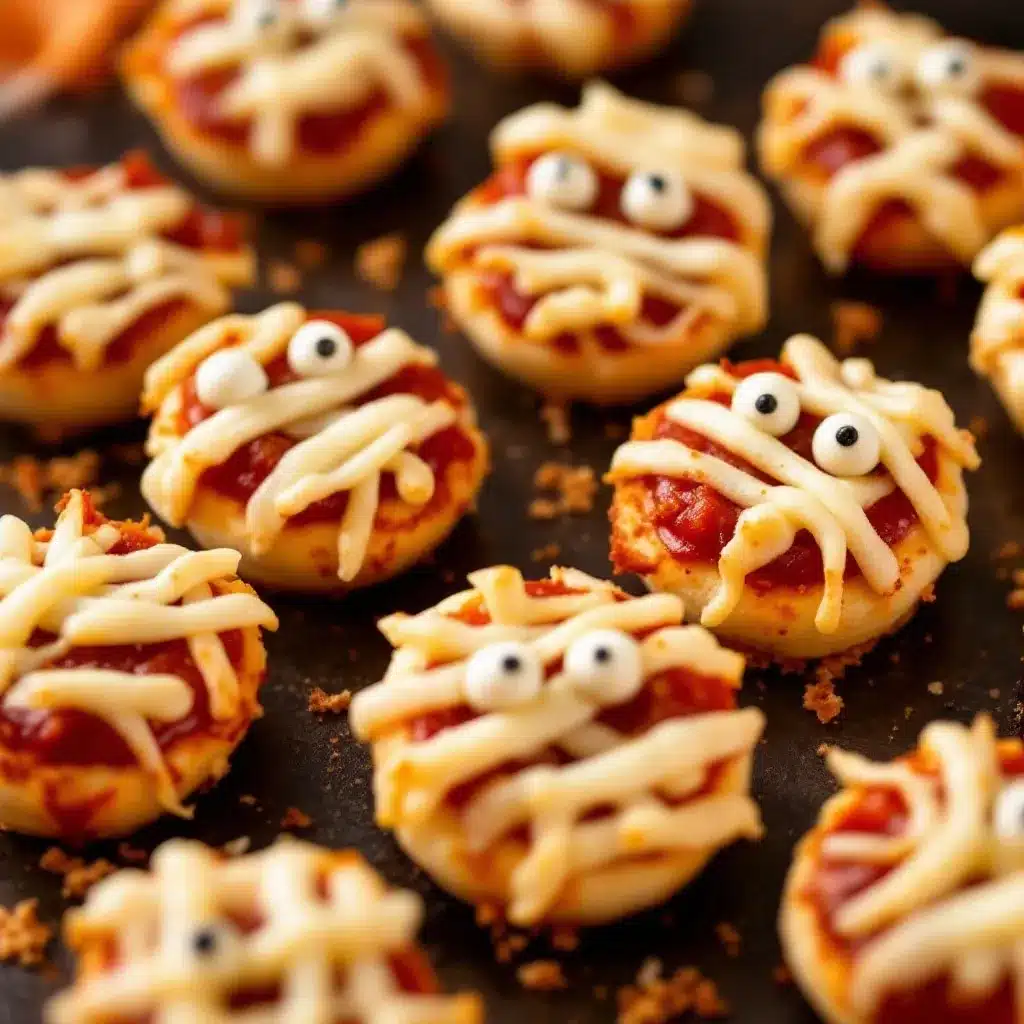
I burned the cheese on my mini mummy pizza bites three times before I figured out the trick. That first batch? Blackened, bubbled-over messes that looked more like Halloween horror than Halloween fun. But somewhere between the smoke alarm and my fourth attempt, I stumbled onto something that actually worked. These easy mini mummy pizza bites for Halloween parties became the thing I’m actually known for now. Not my fancy desserts or my slow-cooked Sunday roasts. Nope. Little pizza bites wrapped in dough strips that look like tiny mummies.
Here’s the thing about Halloween food. It has to be cute enough for the kids to grab, sturdy enough for grown-ups to eat while holding a drink, and simple enough that you’re not sweating in the kitchen when guests show up. These mini mummy pizza bites check every box. They’re basically pizza rolls that got dressed up for a costume party. And honestly, they’re easier than they look.
The first time I brought these to a Halloween potluck, they disappeared before the punch bowl got touched. People kept walking by the table and doing that little double-take. Then the grab. Then the “oh these are good” nod. That’s the moment you want. The quiet nod. These easy mini mummy pizza bites for Halloween parties aren’t just decoration. They’re the food people actually eat. And that’s the whole point, isn’t it?
Why You’ll Love This Recipe
I’ve tested this recipe more times than I care to admit. Here’s why it earned a permanent spot in my Halloween rotation:
- Quick & Easy : From fridge to table in under 25 minutes. No complicated shaping or fancy tools needed.
- Simple Ingredients : Pizza dough, cheese, pepperoni, and a few pantry staples. You might already have everything.
- Perfect for Parties : These hold up well at room temperature and don’t get soggy. Make them ahead and reheat.
- Crowd-Pleaser : Kids devour them. Adults pretend they’re just having one. Nobody stops at one.
- Unbelievably Delicious : The cheese gets perfectly melty inside while the dough strips crisp up like little breadsticks.
What makes these different from every other Halloween appetizer? It’s the texture. The dough strips get golden and slightly crunchy while the inside stays soft and gooey. Most mummy recipes use crescent roll dough, which works fine but doesn’t hold up as well. I use pizza dough. It’s sturdier, tastes better, and gives you that real pizza experience. Plus, you can make the mummy faces with any leftover dough scraps or just use dot-shaped pepperoni slices for eyes. No special equipment needed.
This is the kind of recipe that makes you look like you tried way harder than you actually did. And honestly? That’s my favorite kind of recipe. It’s comfort food dressed up for Halloween. Simple ingredients doing something fun. And when you watch someone take that first bite and their eyebrows go up? That’s the payoff.
What Ingredients You Will Need
This recipe uses straightforward ingredients that do exactly what they’re supposed to. No surprises. No weird substitutions. Just good pizza components that come together into something fun.
For the Mummy Pizza Bites
- Pizza dough – 1 pound (about 450g). Store-bought is fine. I prefer the refrigerated kind from the grocery store bakery section. It has better texture than the canned stuff. (adds chewiness and structure)
- Mozzarella cheese – 8 ounces (225g), cut into 1-inch cubes. Use low-moisture part-skim for best melting. Fresh mozzarella gets too watery.
- Pepperoni – 24 slices. Regular size, not mini. You’ll use some for eyes and some inside the bites.
- Pizza sauce – ½ cup (120ml). Use your favorite jarred sauce or make quick homemade. (adds moisture and flavor)
- Egg wash – 1 large egg beaten with 1 tablespoon (15ml) water. This gives the dough that golden shine.
- Garlic powder – ½ teaspoon. Sprinkled on top before baking. (adds savory depth)
- Dried oregano – ½ teaspoon. Optional but recommended. (adds Italian flavor)
- Salt – A pinch for the egg wash.
For Serving (Optional)
- Marinara sauce – For dipping. Warm it up slightly.
- Ranch dressing – Some people prefer this. No judgment here.
I recommend using a good-quality pizza dough for this. The cheap canned stuff tends to tear when you’re wrapping the mummy strips. I’ve had good luck with the store-brand refrigerated dough from most grocery chains. If you’re feeling ambitious, homemade pizza dough works beautifully too. Just make sure it’s at room temperature before you start working with it. Cold dough is stiff and doesn’t stretch well.
For the cheese, low-moisture mozzarella is non-negotiable here. Fresh mozzarella releases too much water during baking and makes the dough soggy. You want cheese that melts smoothly without creating a steam bath inside your mummy bites. I’ve tested this with both, and the difference is noticeable.
Equipment Needed
You don’t need much for this recipe. That’s part of the appeal.
- Baking sheet – A standard half-sheet pan works perfectly. Line it with parchment paper for easy cleanup.
- Parchment paper – Non-stick and saves you from scrubbing. I’ve forgotten this before. Learn from my mistake.
- Rolling pin – For rolling out the dough evenly. A wine bottle works in a pinch.
- Pizza cutter or sharp knife – For cutting the dough into strips. A pizza cutter is faster and cleaner.
- Pastry brush – For applying egg wash. A silicone brush is easiest to clean.
- Small bowl – For the egg wash mixture.
- Ruler or measuring tape – Optional but helpful for getting consistent strip sizes. I just eyeball it now.
If you don’t have a pastry brush, you can use a paper towel dipped in egg wash. Just be gentle so you don’t tear the dough. And if you don’t have a rolling pin, a clean wine bottle or even your hands can work. The dough doesn’t need to be perfectly even. Imperfect mummies look more authentic anyway.
Preparation Method
Let’s make these easy mini mummy pizza bites for Halloween parties. I’ll walk you through every step, including the stuff I wish someone had told me the first time.
- Preheat your oven to 400°F (200°C). Line a baking sheet with parchment paper. This gives the dough time to heat up while you prep. Don’t skip the preheat. Cold ovens make sad dough.
- Prepare your pizza dough. Lightly flour your work surface. Roll the dough out into a rectangle about 12×8 inches (30x20cm). It should be about ¼ inch (6mm) thick. If the dough keeps shrinking back, let it rest for 5 minutes. It’s just being stubborn. (takes about 5 minutes)
- Cut the dough into strips. Using a pizza cutter, slice the dough lengthwise into strips about ½ inch (1.25cm) wide. You should get about 12 to 14 strips. Don’t stress about perfection. Some strips will be wider, some narrower. The mummies look better that way. (takes about 2 minutes)
- Assemble the mummy bites. Take one cheese cube and place it in the center of a dough strip. Add a small dollop of pizza sauce on top of the cheese. About ½ teaspoon. Then place a pepperoni slice on top of the sauce. Now wrap the dough strip around the filling, overlapping slightly as you go. Leave a small gap near the top for the mummy’s face. The dough should cover most of the filling but leave a little peek of cheese or pepperoni at the top. (takes about 3 minutes per bite once you get the rhythm)
- Place on baking sheet. Set each wrapped mummy bite seam-side down on the prepared baking sheet. Leave about 1 inch (2.5cm) between each one. They’ll puff up a bit during baking.
- Add the eyes. Cut the remaining pepperoni slices into small dots using kitchen shears or a knife. Place two dots on each mummy bite where the eyes should go. Push them gently into the dough so they stay put. (takes about 1 minute)
- Apply egg wash. In a small bowl, beat the egg with 1 tablespoon of water and a pinch of salt. Brush this mixture over the exposed dough strips. Be careful not to get egg wash on the pepperoni eyes. It makes them slide off. (takes about 2 minutes)
- Sprinkle with seasonings. Sprinkle garlic powder and dried oregano over the top. Go light on the oregano. It’s strong. (takes about 30 seconds)
- Bake for 12 to 15 minutes. The mummy bites are done when the dough is golden brown and the cheese is bubbly. Watch closely during the last few minutes. Ovens vary. My first batch burned at 15 minutes. Now I check at 12. (baking time: 12-15 minutes)
- Cool slightly before serving. Let them rest on the baking sheet for 5 minutes. The cheese inside is lava-hot straight out of the oven. Patience here saves burned tongues. (cooling time: 5 minutes)
Here’s what the dough should look like at each stage. Before baking, it should be pale and slightly puffy with visible egg wash shine. After 10 minutes, the edges should start turning golden. At 12 minutes, the bottom should be light brown. At 15 minutes, the top should be deep golden with darker spots on the edges. That’s your sweet spot.
If your mummy bites look pale on the bottom but dark on top, your oven rack might be too high. Move it down a notch next time. If they’re burning on the bottom before the top browns, move the rack up. I learned this after three burned batches. Ovens are finicky creatures.
Cooking Tips & Techniques
I’ve made these easy mini mummy pizza bites for Halloween parties more times than I can count. Here’s what I’ve learned the hard way.
Room temperature dough is your friend. Cold dough tears when you try to stretch it. Let it sit on the counter for 20 minutes before you start. This one change made my mummy wrapping go from frustrating to effortless.
Don’t overfill. I know it’s tempting to stuff these little guys full, but too much filling means the dough can’t seal properly. The cheese leaks out and you get a mess instead of a mummy. One cheese cube, a small spoonful of sauce, and one pepperoni slice. That’s it.
Seal the seam well. Pinch the dough together where it meets. If the seam is loose, the cheese will escape during baking. I lost an entire batch to cheese volcanoes before I figured this out. Place the bite seam-side down on the baking sheet. The weight of the dough helps keep it closed.
Leave the face exposed. The mummy look works best when you can see a little bit of the filling peeking through the top. Don’t wrap the dough all the way up. Leave a small window. It looks cuter and lets steam escape, which keeps the dough from getting soggy.
Work in batches if needed. These don’t spread much during baking, so you can fit about 12 on a standard baking sheet. If you’re making a big batch, bake them in batches rather than crowding the pan. Crowded mummies steam instead of crisp.
Use the broiler for extra crispiness. If your dough looks pale after 12 minutes, switch to the broiler for the last 60 seconds. Watch it like a hawk. Broilers work fast. I burned a batch this way and learned to never walk away during broiler time.
Variations & Adaptations
These easy mini mummy pizza bites for Halloween parties are surprisingly adaptable. Here are some versions I’ve tried and loved.
Vegetarian Mummy Bites – Skip the pepperoni and use small cubes of roasted red pepper or sun-dried tomato instead. The flavor is different but still delicious. I made these for a friend who doesn’t eat meat, and she asked for the recipe.
Spicy Sausage Mummies – Replace pepperoni with crumbled cooked Italian sausage. The fat from the sausage keeps the filling moist and adds a savory kick. This is my husband’s favorite version.
Gluten-Free Option – Use gluten-free pizza dough. The texture will be slightly different, but the concept works. Look for a dough that’s designed for rolling rather than pressing. Some gluten-free doughs are too sticky to work with. I’ve had good luck with the brand that comes in a bag from the refrigerated section.
Air Fryer Method – Cook at 350°F (175°C) for 8 to 10 minutes. Flip halfway through. The air fryer makes the dough extra crispy. I prefer the oven for even browning, but the air fryer is faster and uses less energy.
Dairy-Free Mummies – Use vegan mozzarella and skip the egg wash. Brush with olive oil instead. The flavor won’t be exactly the same, but the visual effect is identical. I tested this for a friend’s dairy-free kid, and they were a hit.
Breakfast Mummies – Fill with scrambled egg, cheese, and cooked breakfast sausage. Wrap in dough strips and bake. Serve with maple syrup for dipping. This is weirdly good and perfect for Halloween morning before school.
Serving & Storage Suggestions
Serve these easy mini mummy pizza bites for Halloween parties warm, but not piping hot. The cheese needs a few minutes to set so it doesn’t burn mouths. I usually let them rest for 5 to 7 minutes after baking. They’re still warm but safe to eat.
For presentation, arrange them on a platter with a bowl of warm marinara sauce in the center. The red sauce looks festive against the golden mummies. You can also serve them on a wooden board with small bowls of ranch dressing and pizza sauce for dipping. Add some black and orange napkins for the full Halloween effect.
These pair beautifully with other party foods. I often serve them alongside mummy wrapped sausages for a full mummy-themed appetizer spread. They also go well with black velvet cupcakes for dessert. The savory-sweet combo works perfectly for Halloween parties.
Storage: Store leftover mummy bites in an airtight container in the refrigerator for up to 3 days. The dough will soften slightly, but they’re still good. To reheat, place them on a baking sheet in a 350°F (175°C) oven for 5 to 7 minutes. The microwave works in a pinch but makes the dough chewy. I don’t recommend it.
Freezing: You can freeze unbaked mummy bites on a baking sheet until solid, then transfer to a freezer bag. Bake from frozen at 400°F (200°C) for 15 to 18 minutes. Add 2 to 3 minutes to the baking time. The texture is nearly identical to fresh. I always keep a batch in the freezer for last-minute Halloween emergencies. They happen more often than you’d think.
The flavors actually develop a bit overnight. Day-old mummy bites taste more savory and the garlic powder mellows out. If you’re making these for a party, you can absolutely assemble them the night before and bake them fresh. Just keep them covered in the refrigerator so the dough doesn’t dry out.
Nutritional Information & Benefits
Here’s the approximate nutritional breakdown for one mini mummy pizza bite (based on 24 servings):
- Calories: 85
- Protein: 4g
- Carbohydrates: 8g
- Fat: 4g
- Fiber: 0.5g
- Sodium: 180mg
These numbers are estimates and vary based on the specific brands you use. But they give you a general idea.
On the health front, these mini mummy pizza bites offer some surprising benefits. The mozzarella cheese provides calcium and protein. The tomato sauce contains lycopene, an antioxidant linked to heart health. And the garlic powder has anti-inflammatory properties. Not bad for a Halloween treat.
If you’re watching your sodium intake, use low-sodium pepperoni and skip the added salt in the egg wash. You can also use whole wheat pizza dough for extra fiber. The taste changes slightly, but the texture holds up well.
These are not health food. Let’s be real. But they’re not as bad as most Halloween party snacks. And when you’re feeding a crowd of hungry kids and adults, sometimes you just need something that works. These work.
Conclusion
These easy mini mummy pizza bites for Halloween parties have become my go-to for every Halloween gathering. They’re fun without being fussy. They’re delicious without being complicated. And they always, always get eaten.
I love that this recipe lets me be creative without stressing me out. The mummy wraps don’t have to be perfect. The eyes don’t have to be exactly centered. In fact, the imperfect ones look more like real mummies. There’s something freeing about that. In a world where so much cooking requires precision, this recipe just asks you to have fun.
If you make these, I’d love to hear how they turn out. Did your kids help wrap them? Did you try a different filling? Did you serve them with something unexpected? Drop a comment below and let me know. And if you’re looking for more Halloween party ideas, check out my spiced pumpkin Halloween coffee syrup for a grown-up drink option that pairs perfectly with these little guys.
Go make some mummies. Your Halloween party will thank you.
Frequently Asked Questions
Can I make these ahead of time?
Yes! Assemble the mummy bites up to 24 hours in advance. Keep them covered in the refrigerator. Bake them fresh just before serving. The dough might darken slightly from the egg wash sitting, but they’ll still bake up beautifully.
Can I use crescent roll dough instead of pizza dough?
You can, but I don’t recommend it. Crescent roll dough is thinner and tears more easily. It also doesn’t hold its shape as well during baking. Pizza dough gives you a sturdier, more satisfying bite. If you only have crescent rolls, use a double layer of strips for each mummy.
How do I keep the pepperoni eyes from falling off?
Press the pepperoni dots gently into the dough before applying egg wash. Make sure the egg wash doesn’t get under the pepperoni. If they still fall off during baking, add fresh pepperoni eyes after baking while the bites are still warm. The residual heat helps them stick.
Can I make these in an air fryer?
Absolutely. Cook at 350°F (175°C) for 8 to 10 minutes. Flip halfway through. The air fryer makes the dough extra crispy. You might need to work in batches depending on the size of your air fryer basket. Don’t overcrowd or they won’t crisp evenly.
What other fillings can I use?
The possibilities are endless. Try cooked Italian sausage, chopped mushrooms, black olives, or even small meatballs. Just make sure the filling is fully cooked before wrapping, since the baking time is short. And don’t overfill. One tablespoon of filling per mummy bite is plenty.
Pin This Recipe!
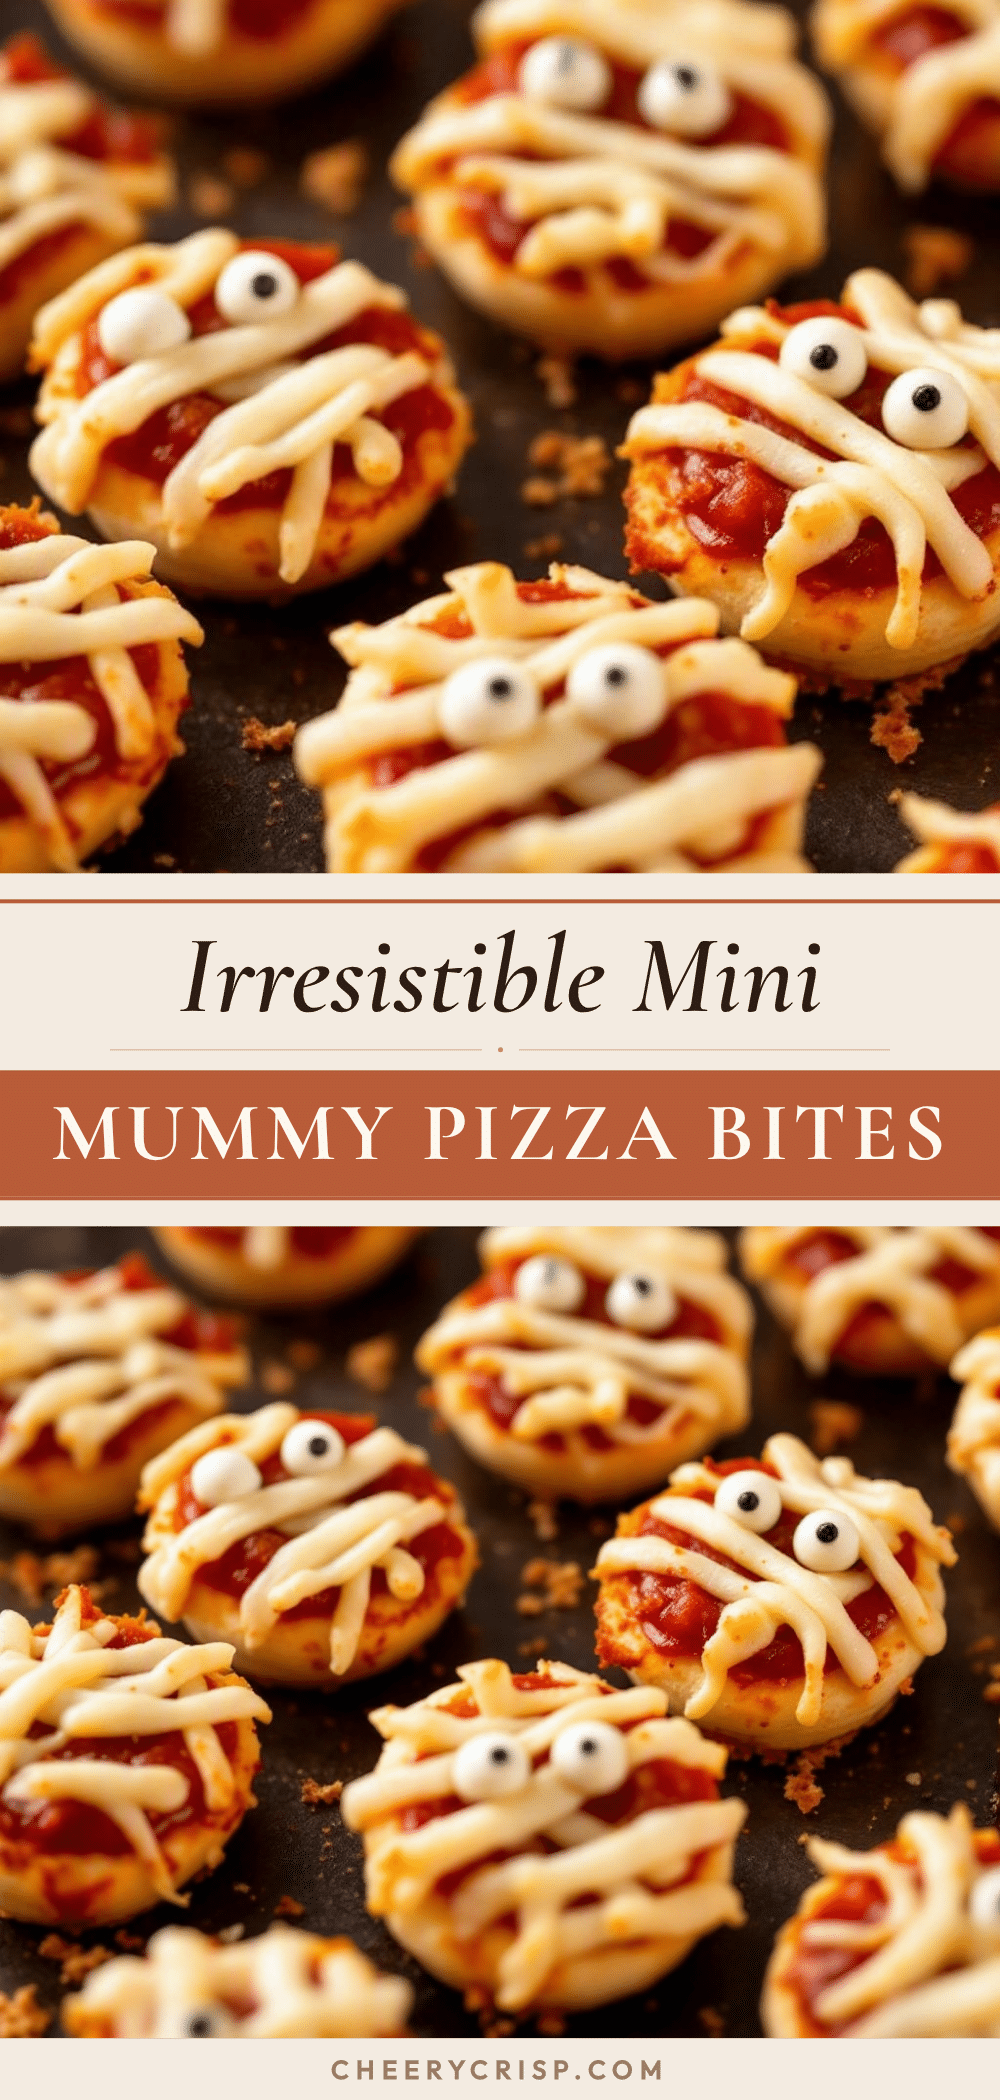
Easy Mini Mummy Pizza Bites for Halloween

These easy mini mummy pizza bites are the perfect Halloween party appetizer. Made with pizza dough, cheese, and pepperoni, they are quick to assemble and always a crowd-pleaser.
- Prep Time: 15 minutes
- Cook Time: 15 minutes
- Total Time: 30 minutes
- Yield: 24 servings 1x
- Category: Appetizer
- Cuisine: American
Ingredients
- 1 pound (about 450g) pizza dough
- 8 ounces (225g) low-moisture part-skim mozzarella cheese, cut into 1-inch cubes
- 24 slices pepperoni
- ½ cup (120ml) pizza sauce
- 1 large egg, beaten with 1 tablespoon (15ml) water (egg wash)
- ½ teaspoon garlic powder
- ½ teaspoon dried oregano (optional)
- Pinch of salt (for egg wash)
- Marinara sauce or ranch dressing for dipping (optional)
Instructions
- Preheat your oven to 400°F (200°C). Line a baking sheet with parchment paper.
- Lightly flour your work surface. Roll the pizza dough out into a rectangle about 12×8 inches (30x20cm) and ¼ inch (6mm) thick. If the dough shrinks back, let it rest for 5 minutes.
- Using a pizza cutter, slice the dough lengthwise into strips about ½ inch (1.25cm) wide. You should get about 12 to 14 strips.
- Take one cheese cube and place it in the center of a dough strip. Add a small dollop (about ½ teaspoon) of pizza sauce on top of the cheese, then place a pepperoni slice on top of the sauce. Wrap the dough strip around the filling, overlapping slightly, leaving a small gap near the top for the mummy’s face.
- Place each wrapped mummy bite seam-side down on the prepared baking sheet, leaving about 1 inch (2.5cm) between each one.
- Cut the remaining pepperoni slices into small dots for eyes. Place two dots on each mummy bite where the eyes should go, pressing gently into the dough.
- In a small bowl, beat the egg with 1 tablespoon of water and a pinch of salt. Brush this egg wash over the exposed dough strips, being careful not to get it on the pepperoni eyes.
- Sprinkle garlic powder and dried oregano over the top.
- Bake for 12 to 15 minutes, until the dough is golden brown and the cheese is bubbly. Check at 12 minutes to avoid burning.
- Let the mummy bites rest on the baking sheet for 5 minutes before serving. The cheese inside is very hot.
Notes
Use room temperature dough for easier handling. Don’t overfill the bites. Seal the seam well and place seam-side down. Leave a small gap at the top for the face. Work in batches if needed. For extra crispiness, use the broiler for the last 60 seconds. Store leftovers in an airtight container in the refrigerator for up to 3 days. Reheat in a 350°F (175°C) oven for 5-7 minutes. Unbaked mummy bites can be frozen and baked from frozen at 400°F (200°C) for 15-18 minutes.
Nutrition
- Serving Size: 1 mini mummy pizza b
- Calories: 85
- Sugar: 1
- Sodium: 180
- Fat: 4
- Saturated Fat: 2
- Carbohydrates: 8
- Fiber: 0.5
- Protein: 4
Keywords: Halloween, pizza bites, mummy, appetizer, party food, easy, kid-friendly



