Love this? Save it for later!
Share the inspiration with your friends
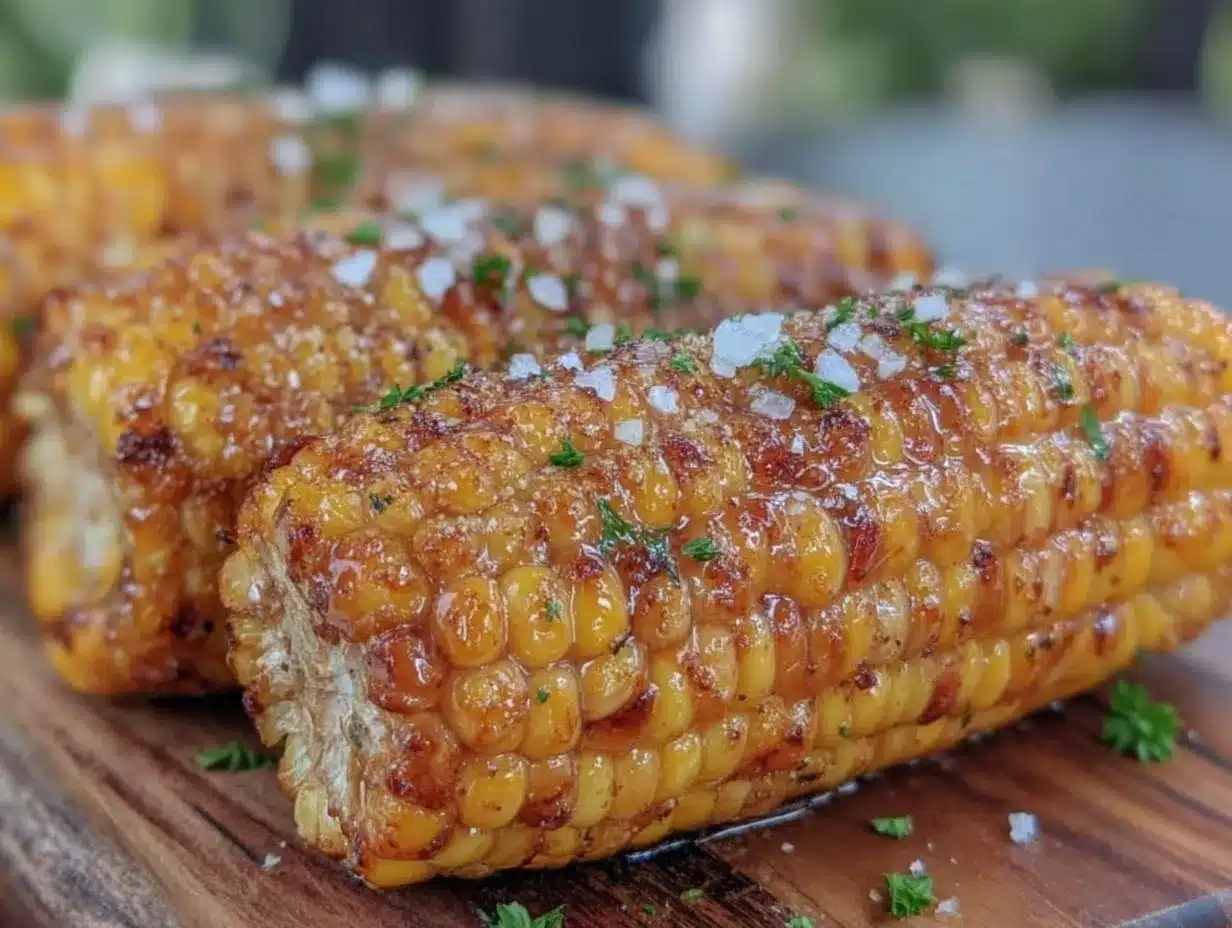
“You know that feeling when you bite into corn on the cob, and it just bursts with juice, sweet and tender, but somehow never soggy or bland? Well, last summer, I stumbled onto what I now call the perfect juicy no-fail corn on the cob recipe, and honestly, it changed my whole approach to this classic summer treat.”
It all started on a scorching Saturday afternoon at my local farmer’s market. I was chatting with Jorge, the guy who runs the veggie stall, while juggling a cracked ceramic bowl I’d just bought (don’t ask). He mentioned how his abuela swore by a simple cooking trick that kept corn juicy and flavorful every single time. Skeptical but intrigued, I decided to give it a shot that very evening.
That night, I forgot half the ingredients for the side dishes and nearly burned the grill, but the corn? Oh, the corn was nothing short of miraculous. Juicy beyond belief, with a hint of natural sweetness and just the right amount of char. It’s been my go-to ever since, perfect for backyard barbecues, lazy Sunday dinners, or just when you need a little taste of summer no matter what the weather’s doing outside.
Maybe you’ve been there—overcooked, dry corn that’s more work than worth. Let me tell you, this recipe has saved me more times than I can count. It’s straightforward, forgiving, and honestly, a little magical. And the best part? You don’t need fancy tools or exotic ingredients to nail it. Just good corn, a few pantry staples, and a method that Jorge’s abuela swore by.
Why You’ll Love This Recipe
I’ve tried countless ways to cook corn on the cob, from boiling to grilling, steaming to roasting. This recipe stands out because it consistently delivers juicy, tender corn with a sweet pop that makes you want to savor every kernel. Here’s why it’s become a favorite in my kitchen and around the neighborhood:
- Quick & Easy: Ready in under 20 minutes, this recipe fits perfectly into busy summer days or last-minute dinner plans.
- Simple Ingredients: No need for complicated marinades or hard-to-find spices — just fresh corn, salt, and a touch of butter or your favorite seasoning.
- Perfect for Any Occasion: Whether you’re hosting a backyard barbecue, packing a picnic, or just craving a cozy night in, this corn on the cob recipe hits the spot.
- Crowd-Pleaser: Kids and adults alike always ask for seconds — the juicy texture and balanced flavor make it irresistible.
- Unbelievably Delicious: The combination of natural sweetness with a hint of smoky char creates a flavor that feels both comforting and fresh.
What makes this recipe different? I learned a simple but genius trick from Jorge’s abuela — soaking the corn briefly in salted water before cooking locks in moisture and boosts sweetness. Plus, finishing on the grill or under the broiler adds that subtle toasted edge without drying it out.
This isn’t just another corn recipe; it’s the kind that makes you close your eyes and smile after the first bite. Honestly, it’s become my little secret weapon for turning humble corn into something memorable, whether for a crowd or a quiet meal.
What Ingredients You Will Need
This recipe uses simple, wholesome ingredients chosen to highlight the natural sweetness and juiciness of fresh corn. Most of these are pantry staples, and substitutions are easy if needed.
- Fresh Corn on the Cob: 4 ears, husked (look for plump kernels and bright green husks)
- Water: For soaking the corn briefly to lock in moisture
- Salt: 2 tablespoons for soaking water (helps enhance natural sweetness)
- Unsalted Butter: 4 tablespoons, melted (optional but adds richness)
- Freshly Ground Black Pepper: To taste (balances the sweetness)
- Optional Seasonings:
- Smoked paprika (adds subtle smokiness)
- Chopped fresh herbs like parsley or cilantro (light freshness)
- Grated Parmesan cheese (for a savory finish)
If you’re feeling adventurous, you can swap butter with olive oil or a dairy-free spread to keep it vegan-friendly. For salt, I usually go with kosher salt for the soaking water — it dissolves nicely and seasons evenly.
In summer, I sometimes add a squeeze of lime right before serving to brighten the flavors, and honestly, that little twist is a game-changer. But the base ingredients stay the same — simple, easy to find, and designed to make the corn shine.
Equipment Needed
- Large pot or deep bowl for soaking the corn
- Grill or broiler (a grill pan works too if you don’t have an outdoor grill)
- Tongs (for turning the corn safely)
- Basting brush (optional, for applying melted butter)
- Kitchen timer or clock (to keep track of soaking and cooking times)
If you don’t have a grill, a broiler is a great alternative that still gives you that slightly charred edge. I’ve even used a cast iron grill pan indoors when the weather wasn’t cooperating — it works surprisingly well. Just be sure to watch the corn closely to avoid burning.
For those on a budget, a simple large pot and oven broiler are enough to nail this recipe. And if you’re lucky enough to have a charcoal grill, you’re in for an extra smoky treat that I highly recommend trying.
Preparation Method
- Prepare the Soaking Water: In a large pot or bowl, dissolve 2 tablespoons of salt in 4 quarts (approximately 3.8 liters) of cold water. Stir briefly until salt is mostly dissolved.
- Soak the Corn: Husk the 4 ears of corn, removing all silk threads. Submerge the ears fully in the salted water. Let them soak for 15 to 20 minutes. This step helps the kernels absorb water and retain juiciness during cooking.
- Preheat Your Grill or Broiler: If using a grill, heat it to medium-high (about 400°F / 200°C). For broiling, set your oven rack about 6 inches (15 cm) from the heat source.
- Remove and Dry: Take the corn out of the soaking water and pat dry with a clean kitchen towel. This prevents excess water from causing flare-ups or steaming instead of grilling.
- Apply Seasoning: Brush the corn lightly with melted unsalted butter. Sprinkle freshly ground black pepper and any optional seasonings like smoked paprika or herbs.
- Cook the Corn:
- If grilling, place the corn directly on the grill grates. Turn every 2 to 3 minutes to ensure even cooking and char marks. Total grilling time is about 10 to 12 minutes.
- If broiling, lay the corn on a foil-lined baking sheet. Broil for 10 minutes, turning halfway through to prevent burning.
- Check for Doneness: The kernels should be tender when pierced with a fork and have a few charred spots. The corn will smell sweet and slightly smoky.
- Final Touch: Brush with a little more melted butter before serving, and add a pinch of salt if needed.
Pro tip: Keep an eye on the corn during cooking. Flare-ups on the grill can happen fast, so moving the ears around helps avoid blackened kernels. Also, drying the corn after soaking is crucial — I learned this the messy way when a sudden flare-up singed my sleeve once!
Cooking Tips & Techniques
Getting perfect juicy corn on the cob is all about balancing moisture and heat. Here are a few lessons I’ve learned (sometimes the hard way):
- Don’t Skip the Soaking: Soaking in salted water is the secret to juicy kernels. It’s a quick step but makes a world of difference.
- Pat Dry Before Cooking: Excess water can cause steaming instead of grilling, resulting in mushy corn. Drying prevents that.
- Turn Often: Whether on the grill or under the broiler, turning every few minutes ensures even cooking and prevents burning.
- Watch the Heat: Medium-high heat is ideal. Too hot, and you risk burnt kernels; too low, and the corn dries out.
- Butter Timing: Apply butter both before and after cooking for the best flavor and moisture.
- Multitasking: While the corn cooks, it’s a great time to prep sides or set the table — just don’t get distracted and forget to turn the corn!
One time, I left the grill unattended for a moment and ended up with some charred spots that weren’t so pretty. But honestly, a little char adds to the flavor if you keep it balanced. The key is watching closely and turning frequently.
Variations & Adaptations
This corn on the cob recipe is wonderfully flexible. Here are a few ways I’ve tweaked it to suit different tastes or dietary needs:
- Spicy Kick: Mix melted butter with cayenne pepper or chili powder before brushing for a smoky, spicy flair.
- Herb-Infused: Add finely chopped basil, thyme, or dill to the butter for a fresh herbal note that pairs beautifully with grilled corn.
- Vegan Version: Swap butter for coconut oil or olive oil and add a sprinkle of nutritional yeast for a cheesy flavor without dairy.
- Oven-Roasted: If you don’t have a grill or broiler, roast the soaked corn wrapped in foil at 425°F (220°C) for 20-25 minutes. The texture is slightly different but still juicy and tasty.
- Cheesy Treat: After cooking, sprinkle the corn with grated Parmesan or Cotija cheese and a squeeze of lime for a popular Mexican street corn twist.
I once tried smoking the corn on a charcoal grill with hickory chips — took the flavor to another level! Feel free to experiment; the basics stay the same, but these tweaks add personality.
Serving & Storage Suggestions
Serve the corn hot off the grill or broiler with extra butter on the side for dipping. Presentation-wise, a sprinkle of fresh herbs or a dash of paprika brightens the look and flavor.
This corn pairs wonderfully with light salads, grilled meats, or even a chilled summer soup. Personally, I love it alongside a simple tomato salad or with crispy garlic chicken for a satisfying meal.
To store leftovers, wrap cooled corn tightly in plastic wrap or place in an airtight container and refrigerate for up to 3 days. Reheat gently in the microwave or on the grill for a minute or two. Avoid overheating to keep the kernels juicy.
Flavors mellow and develop slightly after resting, so sometimes I prepare the corn a little ahead and enjoy the subtle sweetness that deepens with time.
Nutritional Information & Benefits
A serving of one ear of corn on the cob contains roughly 90-100 calories, with 2-3 grams of fiber and a good dose of vitamins like B-complex, folate, and vitamin C. Corn is naturally gluten-free and provides antioxidants that support health.
Using unsalted butter or oil in moderation adds healthy fats, and the simplicity of this recipe keeps it light and wholesome. For those watching carbs, corn is moderate but packed with fiber, making it a satisfying choice.
From my experience, enjoying corn on the cob like this feels like a treat that’s both nourishing and comforting — perfect for summer indulgence without guilt.
Conclusion
This perfect juicy no-fail corn on the cob recipe is truly a keeper. It’s simple enough for any home cook to master and delivers consistently delicious results that will have everyone asking for more. I love how it brings a little piece of summer into the kitchen, no matter the season.
Feel free to customize it with your favorite spices or toppings — that’s part of the fun. Honestly, I keep coming back to this method because it’s reliable, tasty, and just plain satisfying.
If you try it, I’d love to hear how your corn turns out or what twists you add. Leave a comment below and share your story — cooking is better when we do it together!
Here’s to many juicy bites ahead!
FAQs About Perfect Juicy Corn on the Cob
How do you keep corn on the cob juicy?
Soaking the husked corn in salted water before cooking helps the kernels absorb moisture, which keeps the corn juicy during grilling or broiling.
Can I cook corn on the cob without a grill?
Absolutely! You can broil the corn in your oven or roast it wrapped in foil. Both methods give great results if you watch the timing carefully.
Should I remove the husks before cooking?
For this recipe, yes. Husk and silk removal before soaking and cooking ensures even seasoning and prevents steaming instead of grilling.
What’s the best way to season corn on the cob?
Simple melted butter and salt work beautifully. You can add pepper, smoked paprika, fresh herbs, or cheese for extra flavor depending on your preference.
How long does cooked corn on the cob last in the fridge?
Stored properly in an airtight container or wrapped tightly, cooked corn on the cob can be kept for up to 3 days in the refrigerator.
Pin This Recipe!
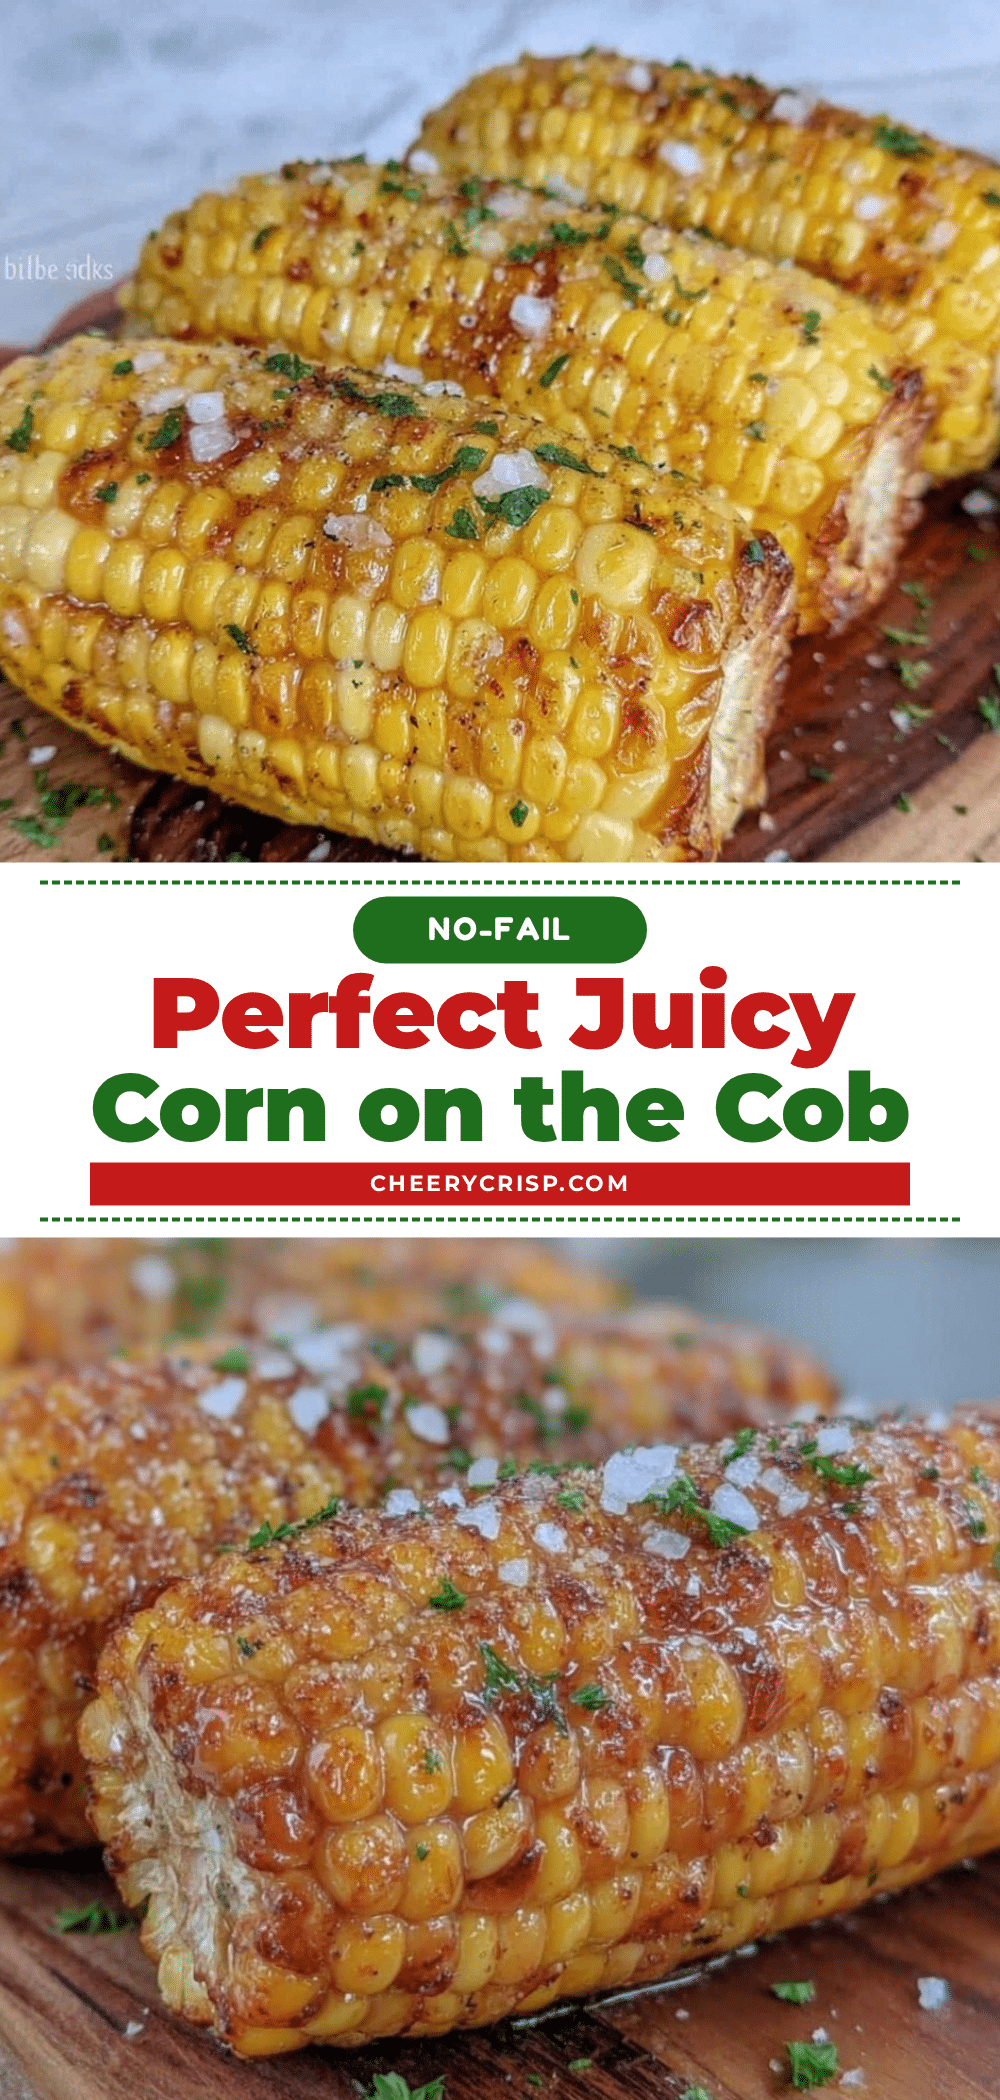
Perfect Juicy Corn on the Cob Recipe Easy No-Fail Method for Summer

This recipe delivers juicy, tender corn on the cob with a sweet pop and a hint of smoky char, perfect for summer barbecues or cozy meals. The secret is soaking the corn in salted water before grilling or broiling to lock in moisture and sweetness.
- Prep Time: 5 minutes
- Cook Time: 12 minutes
- Total Time: 20 minutes
- Yield: 4 servings 1x
- Category: Side Dish
- Cuisine: American
Ingredients
- 4 ears fresh corn on the cob, husked
- 4 quarts cold water (for soaking)
- 2 tablespoons salt (for soaking water)
- 4 tablespoons unsalted butter, melted (optional)
- Freshly ground black pepper, to taste
- Optional seasonings: smoked paprika, chopped fresh herbs (parsley or cilantro), grated Parmesan cheese
Instructions
- In a large pot or bowl, dissolve 2 tablespoons of salt in 4 quarts (approximately 3.8 liters) of cold water. Stir briefly until salt is mostly dissolved.
- Husk the 4 ears of corn, removing all silk threads. Submerge the ears fully in the salted water. Let them soak for 15 to 20 minutes to help the kernels absorb water and retain juiciness during cooking.
- Preheat your grill to medium-high heat (about 400°F / 200°C) or set your oven broiler rack about 6 inches (15 cm) from the heat source.
- Remove the corn from the soaking water and pat dry with a clean kitchen towel to prevent flare-ups or steaming.
- Brush the corn lightly with melted unsalted butter. Sprinkle freshly ground black pepper and any optional seasonings like smoked paprika or herbs.
- If grilling, place the corn directly on the grill grates. Turn every 2 to 3 minutes to ensure even cooking and char marks. Grill for about 10 to 12 minutes total.
- If broiling, lay the corn on a foil-lined baking sheet. Broil for 10 minutes, turning halfway through to prevent burning.
- Check for doneness by piercing kernels with a fork; they should be tender with a few charred spots and smell sweet and smoky.
- Brush with a little more melted butter before serving and add a pinch of salt if needed.
Notes
Soaking the corn in salted water before cooking locks in moisture and boosts sweetness. Patting the corn dry before grilling prevents steaming and flare-ups. Turn corn frequently during cooking for even char and to avoid burning. Butter can be applied before and after cooking for best flavor and moisture. If no grill is available, broiling or oven-roasting wrapped in foil at 425°F for 20-25 minutes are good alternatives.
Nutrition
- Serving Size: 1 ear of corn
- Calories: 100
- Sugar: 6
- Sodium: 400
- Fat: 5
- Saturated Fat: 3
- Carbohydrates: 19
- Fiber: 3
- Protein: 3
Keywords: corn on the cob, juicy corn, grilled corn, summer recipe, easy corn recipe, no-fail corn, barbecue side dish