Love this? Save it for later!
Share the inspiration with your friends
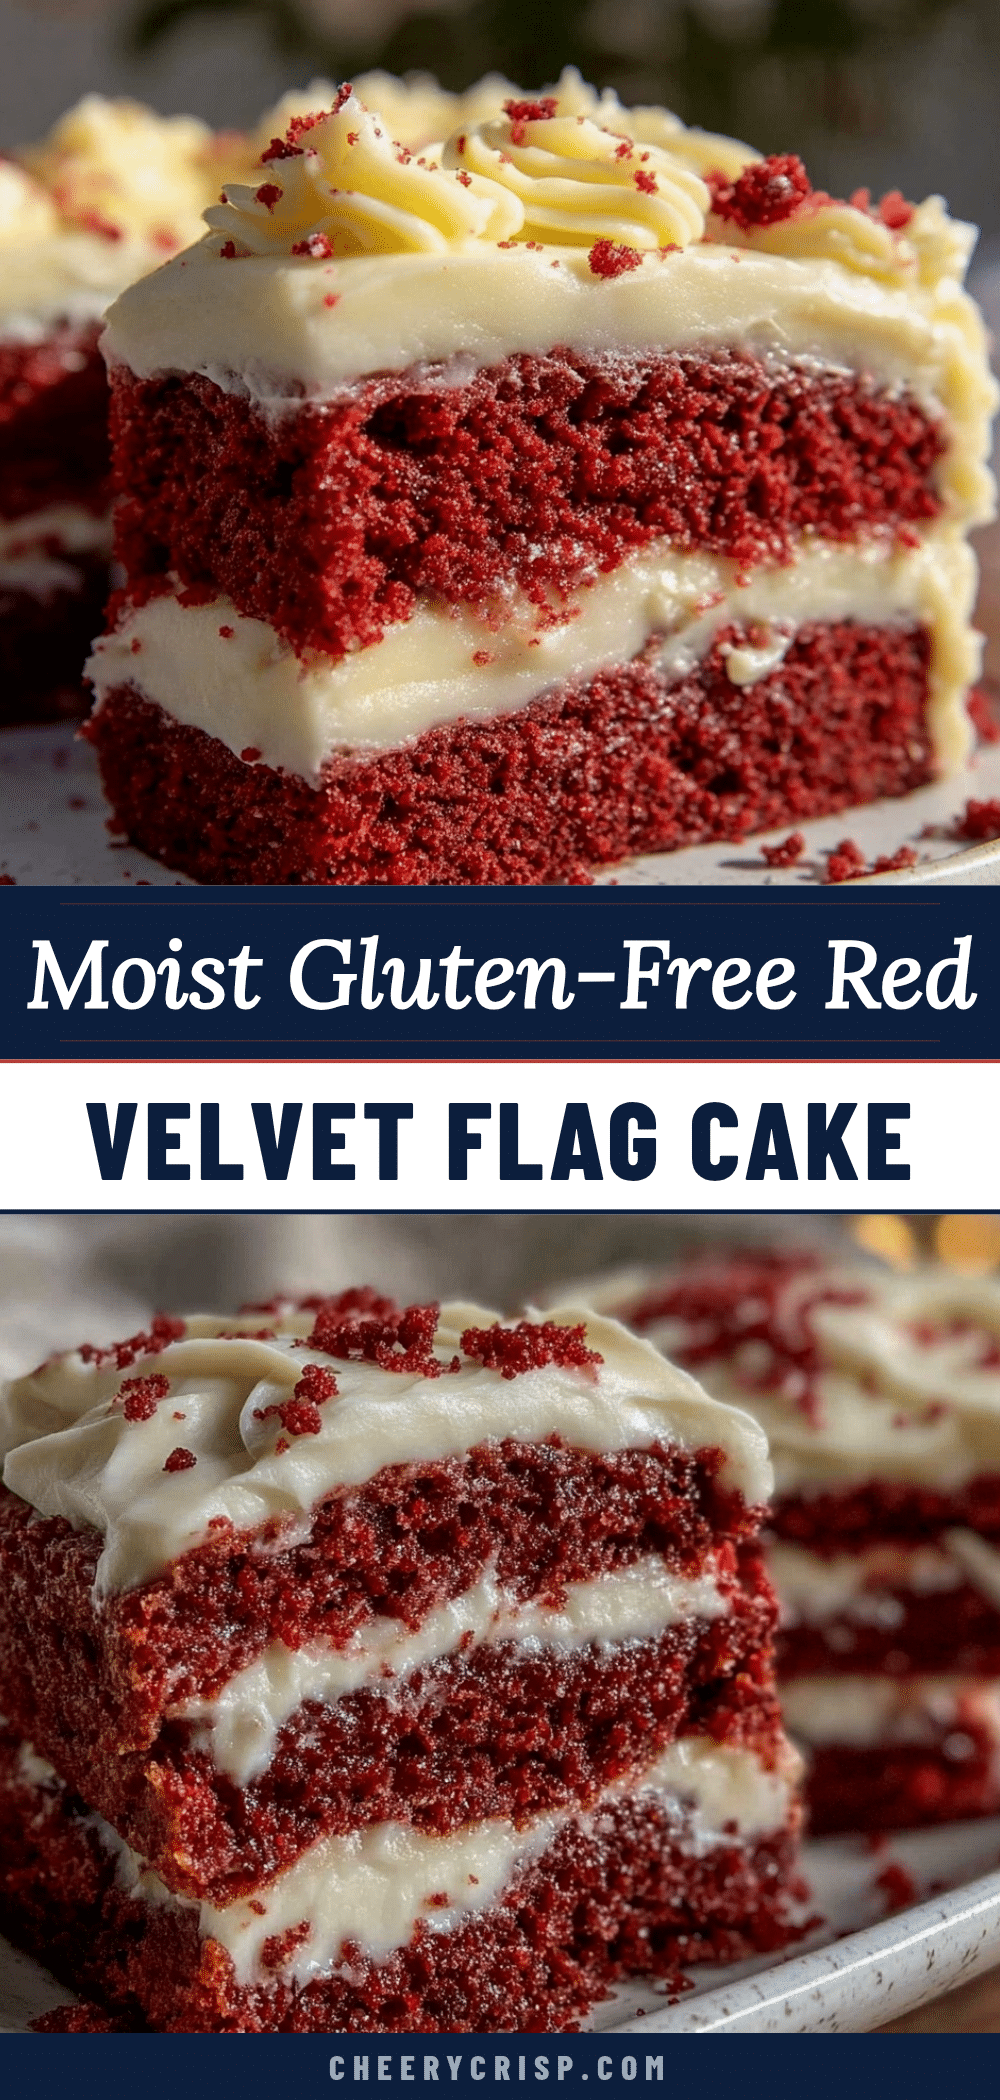
“I wasn’t sure a gluten-free cake could ever live up to the classic red velvet I remembered from my college days,” I confessed to my friend Maria one humid July afternoon. We were sitting under the shade of her porch, chatting about summer barbecues and dessert disasters. Honestly, I’d tried a dozen gluten-free cakes before, and they all ended in crumbly disappointment or weird textures. But then Maria, who had recently embraced gluten-free baking herself, pulled out this red velvet flag cake she’d whipped up for the Fourth of July potluck. It looked stunning—three vibrant layers of red velvet, each perfectly stacked and frosted with dreamy cream cheese frosting. I admit, I was skeptical as I took a bite, but the way the cake was moist, tender, and just the right amount of sweet convinced me otherwise. The colors were so striking, too—like a little edible flag waving on a summer day.
That afternoon, I scribbled down the recipe on the back of a paper napkin, between coffee rings and a few smudged fingerprints. I remember almost dropping the bowl halfway through mixing—classic me—but the result was worth every little mishap. It’s been my go-to recipe ever since, especially when I want to impress guests without stressing over gluten issues or complicated ingredients. Maybe you’ve been there, hunting for a red velvet cake that’s gluten-free but doesn’t taste like cardboard or chalk. Well, let me tell you, this Perfect Gluten-Free Red Velvet Flag Cake with Cream Cheese Frosting might just change that.
What makes it stick with me is how it turns a kitchen experiment into a celebration centerpiece. Whether it’s a summer party, a birthday, or just a random Tuesday craving, this cake has a way of bringing people to the table with smiles. And honestly, that’s what cooking is about, right? Sharing something that feels like a little victory—imperfect, joyful, and totally delicious.
Why You’ll Love This Recipe
After countless trials in my gluten-free kitchen, this Perfect Gluten-Free Red Velvet Flag Cake with Cream Cheese Frosting stands out in ways that make it a keeper for any occasion. Here’s why:
- Quick & Easy: It comes together in under an hour, making it perfect for those last-minute celebrations or when you just want a sweet fix fast.
- Simple Ingredients: No exotic flours or hard-to-find extracts—just straightforward pantry staples with a few trusted gluten-free swaps.
- Perfect for Patriotic Celebrations: The flag design fits any summer BBQ, Memorial Day, or Fourth of July gathering—and you can customize the colors if you want to mix it up.
- Crowd-Pleaser: Kids and adults alike rave about this cake’s moist crumb and that classic cream cheese frosting tang.
- Unbelievably Delicious: The texture is rich but light, with a subtle cocoa background and just the right hint of vanilla, making every bite memorable.
What really sets this recipe apart is the technique I use to get that ultra-moist crumb without gluten, plus the way I balance the cream cheese frosting with just enough sweetness and tang to cut through the cake’s richness. I also add a tiny touch of vinegar and baking soda that creates a delicate lift, making it feel like a traditional red velvet but without gluten’s usual heaviness. Honestly, this isn’t just another gluten-free red velvet cake—it’s my best version, the one I share when I want to impress yet keep things simple.
And here’s the thing: this cake isn’t just dessert. It’s a little celebration packed into layers, a reason to gather around the table, and a reminder that gluten-free doesn’t mean flavor-free. If you’ve been hunting for a recipe that’s reliable, tasty, and visually stunning, I think you’re about to find your new favorite.
What Ingredients You Will Need
This recipe uses simple, wholesome ingredients to create that classic red velvet flavor and moist texture, all without gluten. Most of these are pantry staples or easy to find in any grocery store. I’ve included some options for substitutions, too, to fit different dietary needs.
- For the Cake Batter:
- 1¾ cups (210g) gluten-free all-purpose flour blend (I recommend Bob’s Red Mill 1-to-1 for best texture)
- 1 cup (200g) granulated sugar
- 2 tablespoons unsweetened cocoa powder (use Dutch-processed for richer color)
- 1 teaspoon baking soda
- ½ teaspoon salt
- 1 cup (240ml) buttermilk, room temperature (or use dairy-free milk with 1 tablespoon lemon juice for a vegan option)
- ½ cup (120ml) vegetable oil
- 2 large eggs, room temperature
- 2 teaspoons pure vanilla extract (I love Nielsen-Massey for flavor)
- 1 tablespoon distilled white vinegar
- 2 tablespoons red food coloring (gel-based works best for vibrant color without thinning batter)
- For the Cream Cheese Frosting:
- 8 ounces (225g) cream cheese, softened
- ½ cup (115g) unsalted butter, softened
- 3 cups (360g) powdered sugar, sifted
- 1 teaspoon pure vanilla extract
- Pinch of salt
Pro tip: When picking gluten-free flour, look for blends that contain xanthan gum or add ½ teaspoon separately to help with structure. For the best buttermilk substitute, let your dairy-free milk sit with lemon juice for 10 minutes before using.
Equipment Needed
- Three 8-inch (20 cm) round cake pans – If you don’t have three, you can bake in batches.
- Mixing bowls – One large for dry ingredients, one medium for wet ingredients.
- Electric mixer or stand mixer – Hand mixing is possible but takes longer and might not achieve the same fluffy texture.
- Rubber spatula – For folding and scraping the batter cleanly.
- Wire cooling racks – Essential to cool cakes evenly and prevent sogginess.
- Offset spatula or butter knife – For spreading the cream cheese frosting smoothly.
- Measuring cups and spoons – Accurate measuring is key for gluten-free baking.
If you’re on a budget, you can substitute cake pans for an 8×12 inch rectangular pan, adjusting baking time accordingly. And honestly, I’ve used a hand whisk in a pinch, but the mixer really helps get that creamy frosting and airy batter going without a workout.
Preparation Method
- Preheat your oven to 350°F (175°C). Grease and flour your three 8-inch cake pans with gluten-free flour or line with parchment paper for easy removal. This step helps prevent sticking and keeps edges nice and clean. (Time: 10 minutes)
- Mix the dry ingredients. In a large bowl, sift together the gluten-free flour blend, cocoa powder, baking soda, and salt. Sifting is important here to avoid lumps, especially with cocoa powder. (Time: 5 minutes)
- Combine the wet ingredients. In a separate medium bowl, whisk the sugar, vegetable oil, eggs, vanilla extract, vinegar, and red food coloring until fully blended. The batter will look bright and inviting here—that’s your cue! (Time: 5 minutes)
- Alternate adding dry and wet ingredients. Add the dry ingredients to the wet in three parts, alternating with the buttermilk, beginning and ending with the dry. Mix gently after each addition to avoid overmixing, which can make the cake tough. The batter should be smooth and thick but pourable. (Time: 5 minutes)
- Divide batter evenly. Pour the batter into the three prepared pans, using a kitchen scale or measuring cups to keep layers uniform. Tap the pans lightly on the counter to release air bubbles. (Time: 5 minutes)
- Bake the cakes. Place the pans in the oven and bake for 25-30 minutes, or until a toothpick inserted in the center comes out clean. Avoid opening the oven too often to prevent sinking. (Time: 25-30 minutes)
- Cool the cakes. Remove from oven and cool in pans for 10 minutes, then invert onto wire racks to cool completely before frosting. This prevents the frosting from melting and sliding. (Time: 30-40 minutes)
- Prepare the cream cheese frosting. Beat cream cheese and butter together until smooth and creamy. Gradually add powdered sugar and beat until light and fluffy. Add vanilla and a pinch of salt, then mix again. (Time: 10 minutes)
- Assemble the flag cake. Place the first cake layer on your serving plate and spread an even layer of frosting on top. Repeat with the second layer. For the third layer, you can frost all over the cake. Use the frosting to create the flag pattern—white frosting as the base, then add red stripes and a blue star section with food coloring or natural coloring options. (Time: 20 minutes)
Tip: If your cake layers have domed during baking, level them gently with a serrated knife for a professional finish. And watch out for frosting that’s too warm—it’ll slide off easily. Chill it briefly if needed before spreading.
Cooking Tips & Techniques
Making a gluten-free red velvet cake that’s moist and tender can be tricky, but a few tricks have saved me from many baking mishaps. First, always use room temperature eggs and buttermilk. Cold ingredients can cause the batter to curdle or bake unevenly.
Another tip is not to overmix the batter. Gluten-free flour blends don’t behave like wheat flour; overworking them can make the cake dense or rubbery. Mix just until combined, and you’ll get a light crumb.
When it comes to the cream cheese frosting, beating the butter and cream cheese thoroughly before adding sugar makes all the difference. If your frosting seems runny, pop it in the fridge for 10 minutes—patience here pays off.
Lastly, for the flag design, if you want sharp lines, use a small offset spatula or piping bag. I learned this the hard way after my first attempt looked more like a colorful abstract painting than a flag!
Timing-wise, plan to bake your layers back-to-back if you only have one oven pan. While one layer bakes, prep your wet ingredients for the next to save time. Multitasking in baking is a skill I never thought I’d appreciate until I had three hungry kids waiting!
Variations & Adaptations
This Perfect Gluten-Free Red Velvet Flag Cake recipe is flexible, so you can tweak it to fit your needs or mood. Here are a few ideas I’ve tried or considered:
- Vegan version: Use flax eggs instead of regular eggs (1 tablespoon ground flaxseed plus 3 tablespoons water per egg), and swap cream cheese and butter for dairy-free alternatives. The texture is slightly different but still delicious.
- Seasonal twist: Add fresh raspberries or strawberries between layers for a fruity surprise that complements the red velvet flavor beautifully.
- Flavor variation: Swap the vanilla extract for almond extract for a subtle nutty undertone or add a pinch of cinnamon for warmth.
- Alternative frostings: If cream cheese isn’t your thing, a whipped coconut cream frosting works well and is dairy-free.
- Mini flag cakes: Make cupcakes instead of layers for easy individual servings—just adjust baking times to 18-20 minutes.
Personally, I once added a thin layer of homemade strawberry jam between the cake layers for a surprise burst of flavor—totally worth the extra step!
Serving & Storage Suggestions
This cake tastes best served at room temperature, about 30 minutes after coming out of the fridge. The cream cheese frosting softens nicely, and the flavors meld into a perfect balance. For presentation, I like to serve slices with a fresh berry garnish or a dollop of whipped cream.
It pairs beautifully with a cup of black coffee or a chilled glass of milk—both cut through the richness and refresh the palate.
To store, keep the cake tightly covered in the refrigerator for up to 4 days. You can also freeze individual slices wrapped in plastic wrap and foil for up to 3 months. When reheating, let slices thaw overnight in the fridge, then bring to room temperature before serving.
One thing I’ve noticed is that the flavors deepen after a day or two in the fridge, making leftovers even more indulgent.
Nutritional Information & Benefits
Each serving of this gluten-free red velvet flag cake (1/12th of the cake) roughly contains:
| Calories | 320 |
|---|---|
| Fat | 18g |
| Carbohydrates | 36g |
| Protein | 3g |
| Fiber | 1g |
Thanks to the use of gluten-free flour and simple ingredients, this cake is a great option for those with gluten sensitivities or celiac disease. The use of buttermilk adds calcium and protein, while the moderate fat content comes from healthier vegetable oils and cream cheese.
Keep in mind that this is still a dessert, so enjoy it as a treat! For those avoiding dairy, the vegan adaptations I mentioned can reduce lactose content. Also, the recipe contains eggs, so it’s not suitable for egg allergies without further modification.
Conclusion
This Perfect Gluten-Free Red Velvet Flag Cake with Cream Cheese Frosting isn’t just a recipe—it’s a little celebration wrapped in layers of flavor and color. Whether you’re new to gluten-free baking or a seasoned pro, this cake delivers the moistness, tang, and wow factor you want without fuss or compromise.
I love how it brings a bit of festivity to everyday moments and special occasions alike. Plus, it’s simple enough to make on a weekday but impressive enough for weekend gatherings.
Give it a try and make it your own! Feel free to tweak the frosting, add your favorite fillings, or experiment with colors. And if you do, I’d love to hear about your versions—drop a comment below or share your photos. Baking is always better when we swap stories and tips.
Here’s to many happy, gluten-free celebrations with this perfect flag cake!
FAQs
Can I make this red velvet cake dairy-free?
Yes! Use dairy-free milk like almond or coconut with lemon juice as a buttermilk substitute, and swap cream cheese and butter for vegan alternatives. The texture might be a bit different but still tasty.
What gluten-free flour blend works best?
I recommend a 1-to-1 gluten-free all-purpose blend that includes xanthan gum, like Bob’s Red Mill. It gives the cake structure and a tender crumb without grittiness.
How do I get vibrant red color without artificial dyes?
You can use natural alternatives like beet juice powder or pomegranate juice concentrate, but the color will be more muted. Gel food coloring gives the brightest, most classic red velvet look.
Can I prepare the cake layers ahead of time?
Absolutely! Bake the layers a day ahead, wrap them tightly in plastic wrap, and refrigerate. Let them come to room temperature before frosting for best results.
How do I store leftover cake?
Keep the cake covered in the fridge for up to 4 days or freeze slices wrapped in plastic and foil for up to 3 months. Thaw in the fridge overnight before enjoying.
For more delicious gluten-free treats, you might enjoy my recipes for gluten-free chocolate chip cookies or easy gluten-free banana bread, both favorites in my kitchen.
Pin This Recipe!
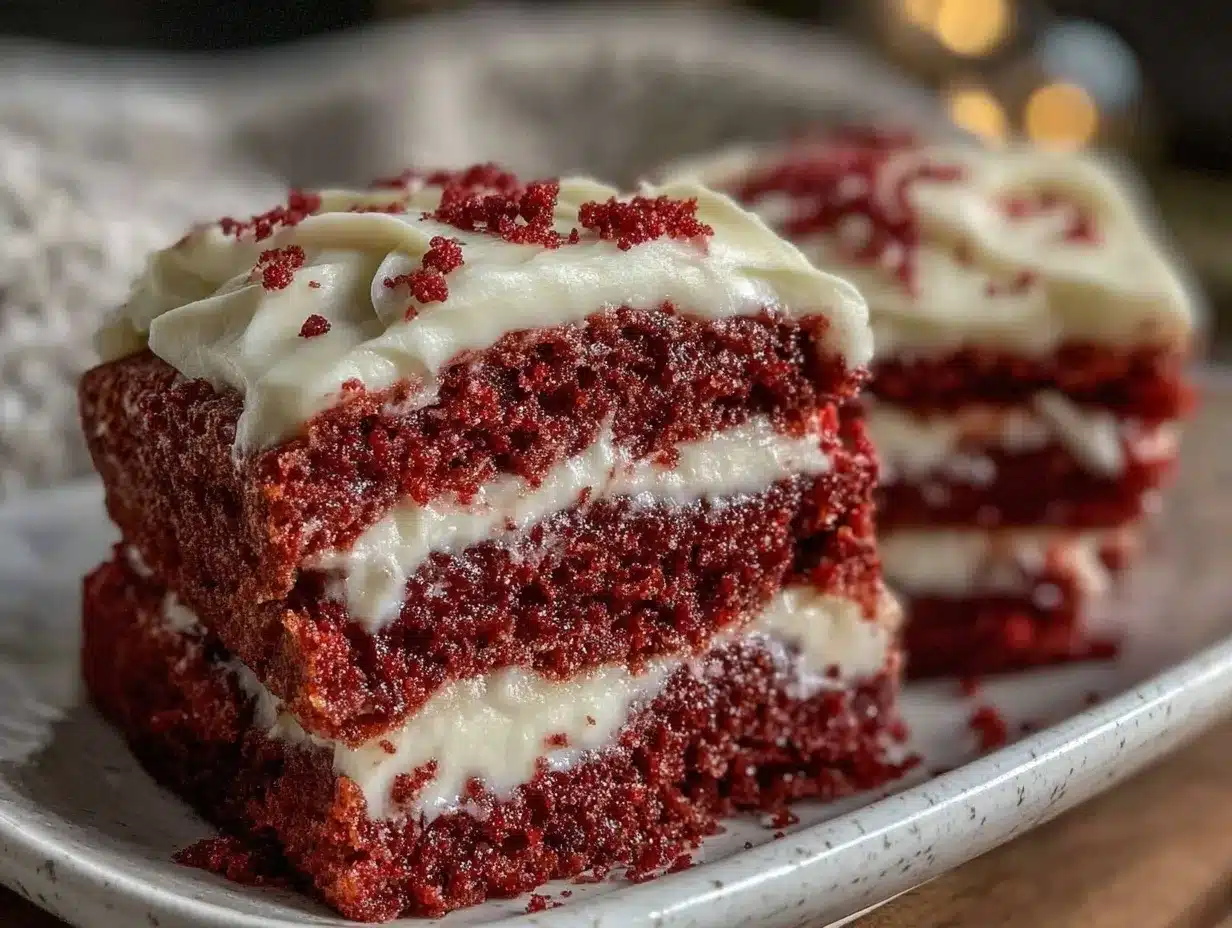
Perfect Gluten-Free Red Velvet Flag Cake
A moist and tender gluten-free red velvet cake with cream cheese frosting, perfect for patriotic celebrations and everyday indulgence.
- Prep Time: 20 minutes
- Cook Time: 30 minutes
- Total Time: 50 minutes
- Yield: 12 servings 1x
- Category: Dessert
- Cuisine: American
Ingredients
- 1¾ cups (210g) gluten-free all-purpose flour blend (recommended Bob’s Red Mill 1-to-1)
- 1 cup (200g) granulated sugar
- 2 tablespoons unsweetened cocoa powder (Dutch-processed recommended)
- 1 teaspoon baking soda
- ½ teaspoon salt
- 1 cup (240ml) buttermilk, room temperature (or dairy-free milk with 1 tablespoon lemon juice for vegan option)
- ½ cup (120ml) vegetable oil
- 2 large eggs, room temperature
- 2 teaspoons pure vanilla extract
- 1 tablespoon distilled white vinegar
- 2 tablespoons red food coloring (gel-based preferred)
- 8 ounces (225g) cream cheese, softened
- ½ cup (115g) unsalted butter, softened
- 3 cups (360g) powdered sugar, sifted
- 1 teaspoon pure vanilla extract
- Pinch of salt
Instructions
- Preheat oven to 350°F (175°C). Grease and flour three 8-inch cake pans with gluten-free flour or line with parchment paper.
- In a large bowl, sift together gluten-free flour blend, cocoa powder, baking soda, and salt.
- In a medium bowl, whisk sugar, vegetable oil, eggs, vanilla extract, vinegar, and red food coloring until fully blended.
- Alternate adding dry ingredients and buttermilk to the wet ingredients in three parts, beginning and ending with dry. Mix gently after each addition until smooth and thick but pourable.
- Divide batter evenly among prepared pans. Tap pans lightly to release air bubbles.
- Bake for 25-30 minutes or until a toothpick inserted in the center comes out clean. Avoid opening oven frequently.
- Cool cakes in pans for 10 minutes, then invert onto wire racks to cool completely.
- Beat cream cheese and butter until smooth and creamy. Gradually add powdered sugar and beat until light and fluffy. Add vanilla and salt, mix again.
- Assemble cake by spreading frosting between layers and over the top and sides. Decorate with flag pattern using frosting and food coloring as desired.
Notes
Use gluten-free flour blends containing xanthan gum or add ½ teaspoon separately for structure. Use room temperature eggs and buttermilk for best results. Avoid overmixing batter to prevent dense texture. Chill frosting if too warm before spreading. Level domed cake layers with serrated knife for professional finish. Bake layers back-to-back if only one oven pan is available.
Nutrition
- Serving Size: 1 slice (1/12th of c
- Calories: 320
- Fat: 18
- Carbohydrates: 36
- Fiber: 1
- Protein: 3
Keywords: gluten-free, red velvet cake, cream cheese frosting, patriotic cake, Fourth of July dessert, dairy-free option, vegan option