Love this? Save it for later!
Share the inspiration with your friends
There used to be this tiny, no-frills sports bar tucked away on a quiet corner of South Main Street that made the most unforgettable chili dogs. When they shuttered their doors during the pandemic, I was genuinely crushed. I mean, you know that feeling when a favorite hangout just disappears, and with it, your go-to comfort meal? Yeah, that hit me hard. The thing about those chili dogs was the sauce — a rich, slightly tangy beer chili sauce that wasn’t just a topping but the star of the show. It was smoky, hearty, with just the right kick, and honestly, nothing else came close.
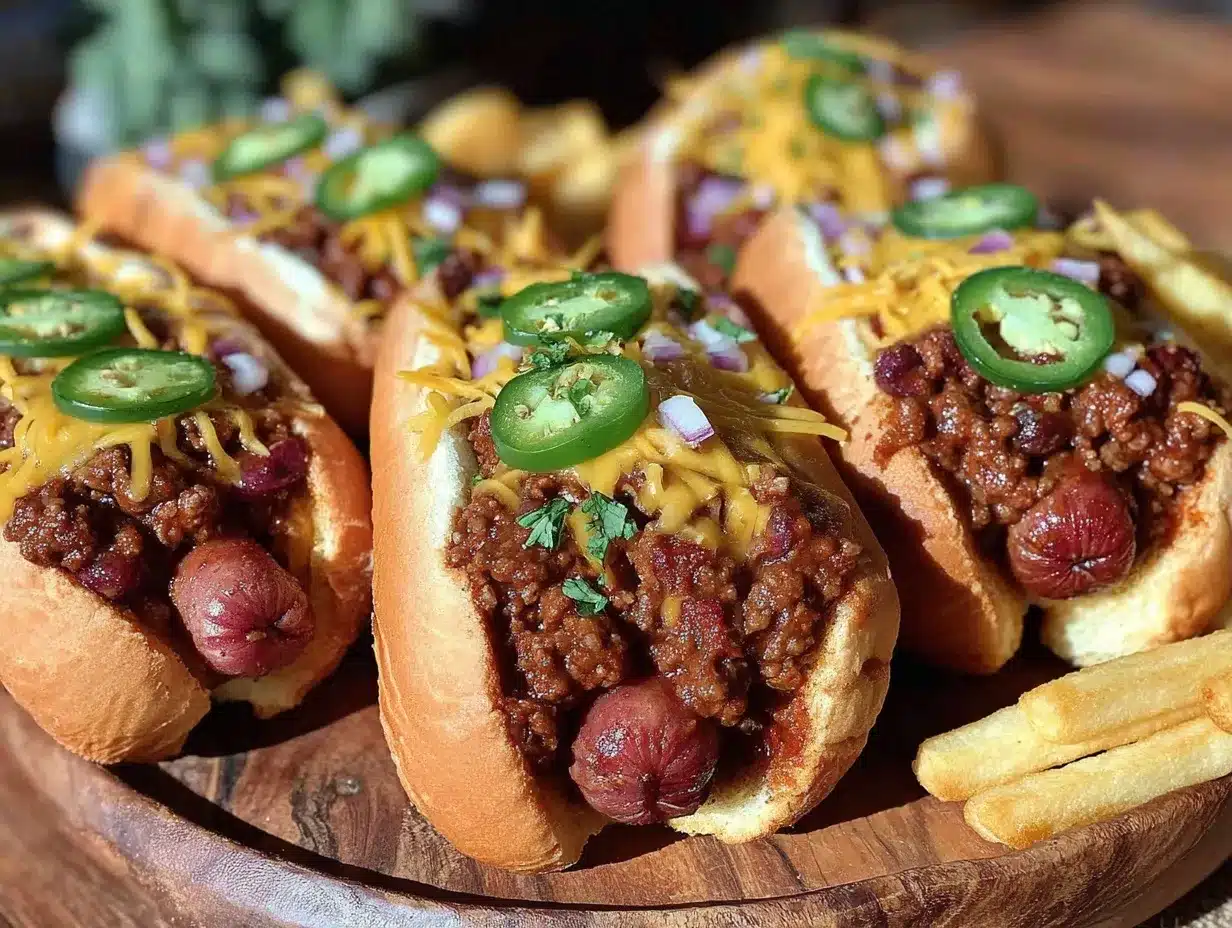
After nearly a dozen tries and more burnt pots than I care to admit, I finally got it. The homemade beer chili sauce clings perfectly to juicy, grilled hot dogs nestled in soft buns, piled with melty cheese, crunchy onions, and a splash of mustard. I even cracked one of my favorite bowls in the process — classic me, right? But every messy moment was worth it. This recipe isn’t just about recreating a dish; it’s about capturing a piece of that lost neighborhood vibe and sharing it with you. You might’ve been there, stuck craving that perfect game day snack, and honestly, this loaded chili dogs recipe will bring that same satisfying buzz right to your kitchen.
Why You’ll Love This Recipe
After testing this loaded chili dogs recipe multiple times (trust me, I’m a relentless tinkerer), I can confidently say it ticks all the boxes for a game day hit. Here’s why it’s going to become your new favorite:
- Quick & Easy: The homemade beer chili sauce simmers in about 30 minutes, and the whole dish comes together in under an hour — perfect when you want something hearty without the fuss.
- Simple Ingredients: No need for fancy or hard-to-find items. Most are pantry staples or easy to grab at your local store.
- Perfect for Game Day: Whether you’re cheering in the living room or tailgating, these chili dogs are crowd-pleasers that keep spirits high.
- Crowd-Pleaser: Kids love the classic flavors, and adults appreciate the rich beer-infused chili sauce that adds depth to every bite.
- Unbelievably Delicious: The combination of smoky, savory chili with melty cheese and crunchy toppings makes this comfort food next-level indulgent.
What sets this recipe apart is the homemade beer chili sauce — not your typical canned chili. I use a robust amber ale that gives the sauce a subtle malt sweetness and a gentle bitterness, balancing the spices perfectly. Plus, instead of just spooning chili over the dogs, I let it simmer till thick and luscious, so every bite is dripping with flavor. Honestly, it’s the kind of recipe that makes you close your eyes and savor that smoky, spicy goodness. It’s game day food but with a little more soul and a lot less takeout packaging.
What Ingredients You Will Need
This loaded chili dogs recipe uses straightforward, wholesome ingredients to deliver that bold, comforting flavor without any fuss. Most are pantry staples, and you can swap a few to fit your taste or dietary needs.
- For the Beer Chili Sauce:
- 1 lb (450g) ground beef (85% lean) – adds hearty flavor and texture
- 1 small yellow onion, finely chopped – for sweetness and depth
- 3 cloves garlic, minced – essential aromatic punch
- 12 oz (355ml) amber ale beer – I recommend a quality craft beer like Sierra Nevada for best flavor
- 1 can (15 oz/425g) crushed tomatoes – for rich tomato base
- 2 tbsp tomato paste – intensifies the tomato flavor
- 1 tbsp chili powder – key spice for that chili dog vibe
- 1 tsp smoked paprika – adds that smoky undertone
- 1/2 tsp ground cumin – earthy warmth
- 1/4 tsp cayenne pepper (optional) – for a subtle heat kick
- Salt and freshly ground black pepper, to taste
- 1 tsp brown sugar – balances acidity
- For the Loaded Chili Dogs:
- 8 beef hot dogs – I use Nathan’s Famous for that classic snap
- 8 soft hot dog buns – lightly toasted
- 1 1/2 cups shredded sharp cheddar cheese – melts perfectly
- 1/2 cup diced white onions – for crunch and bite
- Yellow mustard – a classic finishing touch
If you want to go dairy-free, swap cheddar for a plant-based cheese. For gluten-free, choose buns made from almond or coconut flour. If amber ale isn’t your thing, a lager or even a dark stout can work, but the flavor profile will shift slightly. In summer, fresh tomatoes can replace canned for a lighter sauce, but I prefer canned for consistent taste year-round.
Equipment Needed
- Large skillet or heavy-bottomed saucepan – for simmering the chili sauce evenly
- Wooden spoon or heatproof spatula – to stir without scratching your pans
- Knife and cutting board – for chopping onions and garlic
- Grill pan or outdoor grill – to cook the hot dogs with that perfect char
- Cheese grater – if shredding your own cheddar
- Measuring spoons and cups – for accurate seasoning
If you don’t have a grill pan, a cast-iron skillet works wonders for getting those grill marks indoors. I’ve even used a stovetop griddle during winter with great results. For budget-friendly options, a simple non-stick skillet will do for the chili sauce, but make sure it’s heavy-bottomed to prevent scorching. Keeping your knives sharp makes chopping onions less tearful — trust me, I learned the hard way!
Preparation Method
- Prepare the Beer Chili Sauce (about 30-40 minutes):
Heat a large skillet over medium heat. Add the ground beef and cook, breaking it apart, until fully browned and no longer pink (about 7-8 minutes). Drain excess fat if needed.
Add the chopped onion and minced garlic to the beef. Cook until onions are translucent and fragrant, roughly 4-5 minutes.
Stir in chili powder, smoked paprika, cumin, cayenne pepper (if using), salt, black pepper, and brown sugar. Let the spices toast with the mixture for about 1 minute to bloom their flavors.
Pour in the amber ale beer carefully (it might fizz). Let it simmer for 5 minutes to reduce slightly.
Add the crushed tomatoes and tomato paste, stir well to combine.
Lower the heat and let the sauce simmer gently, uncovered, for 20-25 minutes, stirring occasionally until thickened to your liking. It should coat the back of a spoon and smell smoky and rich.
Tip: If the sauce is too thick, add a splash of water or more beer; if too thin, simmer a bit longer. Taste and adjust seasoning before moving on. - Cook the Hot Dogs (10-12 minutes):
While the sauce simmers, heat your grill pan or outdoor grill over medium-high heat.
Place the hot dogs on the grill and cook, turning occasionally, until grill marks appear and the dogs are heated through with a slight crisp on the skin (about 8-10 minutes).
Toast the buns lightly on the grill for 1-2 minutes until warm and golden.
Tip: If you’re pressed for time, you can boil or pan-fry the hot dogs, but grilling really brings out the flavor. - Assemble the Loaded Chili Dogs:
Place each hot dog in a toasted bun.
Spoon a generous amount of the homemade beer chili sauce over each dog.
Sprinkle shredded sharp cheddar cheese so it melts slightly on the warm chili.
Top with diced white onions and a squirt of yellow mustard.
Serve immediately while warm.
Tip: For an extra touch, add pickled jalapeños or a dash of hot sauce if you like it spicy.
Cooking Tips & Techniques
One thing I learned the hard way with this recipe is patience — rushing the chili sauce’s simmer means a watery, flavorless mess. Letting it bubble gently for at least 20 minutes concentrates those flavors and thickens the sauce just right. Also, don’t skip browning the beef well; that caramelization adds layers of taste you can’t fake.
When grilling hot dogs, medium-high heat is key to get those satisfying grill marks without burning the skin. I like to turn them every couple of minutes to ensure even cooking. Toasting the buns on the grill for just a minute adds a slight crunch and smoky aroma, which complements the sauce perfectly.
For consistency, I always measure spices and taste as I go — especially salt and chili powder. Everyone’s heat tolerance varies, so adjust the cayenne or chili powder accordingly. And a quick note: don’t overload the dogs with chili; too much sauce can make the buns soggy pretty fast, so find your perfect balance.
Multitasking helps here — start your sauce first, then prep toppings while it simmers. That way, everything comes together hot and fresh.
Variations & Adaptations
- Vegetarian Version: Swap ground beef for crumbled tempeh or cooked lentils in the chili sauce. Use veggie dogs to keep the spirit intact.
- Spicy Kick: Add diced jalapeños or chipotle powder to the chili sauce for extra heat. Top with sliced fresh jalapeños for crunch.
- Cheese Options: Try pepper jack or smoked gouda instead of cheddar for a flavor twist.
- Cooking Method: If you don’t have a grill, pan-fry the hot dogs in a cast-iron skillet for a crispy skin or broil them in the oven under high heat for a few minutes.
- Gluten-Free: Use gluten-free buns and ensure the beer you select is gluten-free or substitute with beef broth for the chili.
I once tried adding a splash of bourbon to the chili sauce instead of beer — it was a fun experiment that gave it a slightly sweeter, deeper flavor. Not quite the same, but worth a try if you want to mix things up.
Serving & Storage Suggestions
Serve these loaded chili dogs hot, right off the grill with your favorite game day sides like crispy fries, baked beans, or a fresh coleslaw. A cold beer or iced tea pairs beautifully with the smoky, spicy flavors.
Leftover chili sauce stores well in an airtight container in the refrigerator for up to 4 days. Reheat gently on the stove or microwave, adding a splash of water or beer if it thickens too much. Hot dogs are best eaten fresh but can be wrapped and refrigerated for up to 2 days; reheat in a skillet or microwave.
Interestingly, the chili sauce’s flavors deepen overnight, so making it a day ahead can actually improve the taste. Just reheat slowly and stir well before assembling your chili dogs.
Nutritional Information & Benefits
This loaded chili dogs recipe provides a hearty balance of protein, fats, and carbohydrates. The ground beef offers a good source of iron and B vitamins, while the beer chili sauce incorporates antioxidants from tomatoes and spices like paprika and chili powder, known for their anti-inflammatory properties.
Using lean beef helps keep saturated fat moderate, and you can control sodium levels by seasoning carefully. The recipe can be adapted for gluten-free or dairy-free diets with simple ingredient swaps. While definitely comfort food, it can fit into an active lifestyle when enjoyed in moderation.
Personally, I find that making this recipe from scratch — especially the beer chili sauce — adds a freshness and control over ingredients that store-bought versions just can’t match. It’s a flavorful way to enjoy indulgence with a bit of homemade care.
Conclusion
If you’re looking for a game day snack that’s juicy, flavorful, and downright satisfying, these loaded chili dogs with homemade beer chili sauce are the way to go. The recipe captures that smoky, savory magic I chased for so long and brings it right to your table. Feel free to tweak the spice level, cheese choice, or toppings to make it truly yours.
I love this recipe because it’s more than just food — it’s a little taste of that vanished neighborhood bar, a reminder that great flavors live on in our kitchens. Give it a try, then come back and share how you made it your own. There’s something special about passing along a recipe that brings friends and family together — and I’d love to hear your stories.
So grab your grill, crack open a cold one, and get ready to make some memories with these loaded chili dogs!
FAQs
Can I make the beer chili sauce ahead of time?
Absolutely! The sauce actually tastes better after resting overnight. Just store it in an airtight container in the fridge and reheat gently before serving.
What if I don’t have amber ale beer?
You can substitute with any medium-bodied beer like a lager or even a dark stout. If you prefer not to use beer, beef broth works as a substitute but will change the flavor slightly.
How do I keep the buns from getting soggy?
To prevent sogginess, toast the buns lightly and don’t overload with chili. Serving immediately helps too, as the sauce thickens and clings better when fresh.
Can I freeze the chili sauce?
Yes, the chili sauce freezes well for up to 3 months. Thaw overnight in the fridge and reheat on the stove with a splash of water or beer to loosen it up.
Are there any vegetarian options for this recipe?
Definitely! Use crumbled tempeh or cooked lentils instead of ground beef for the chili sauce, and veggie dogs or grilled vegetables to replace the hot dogs.
Pin This Recipe!
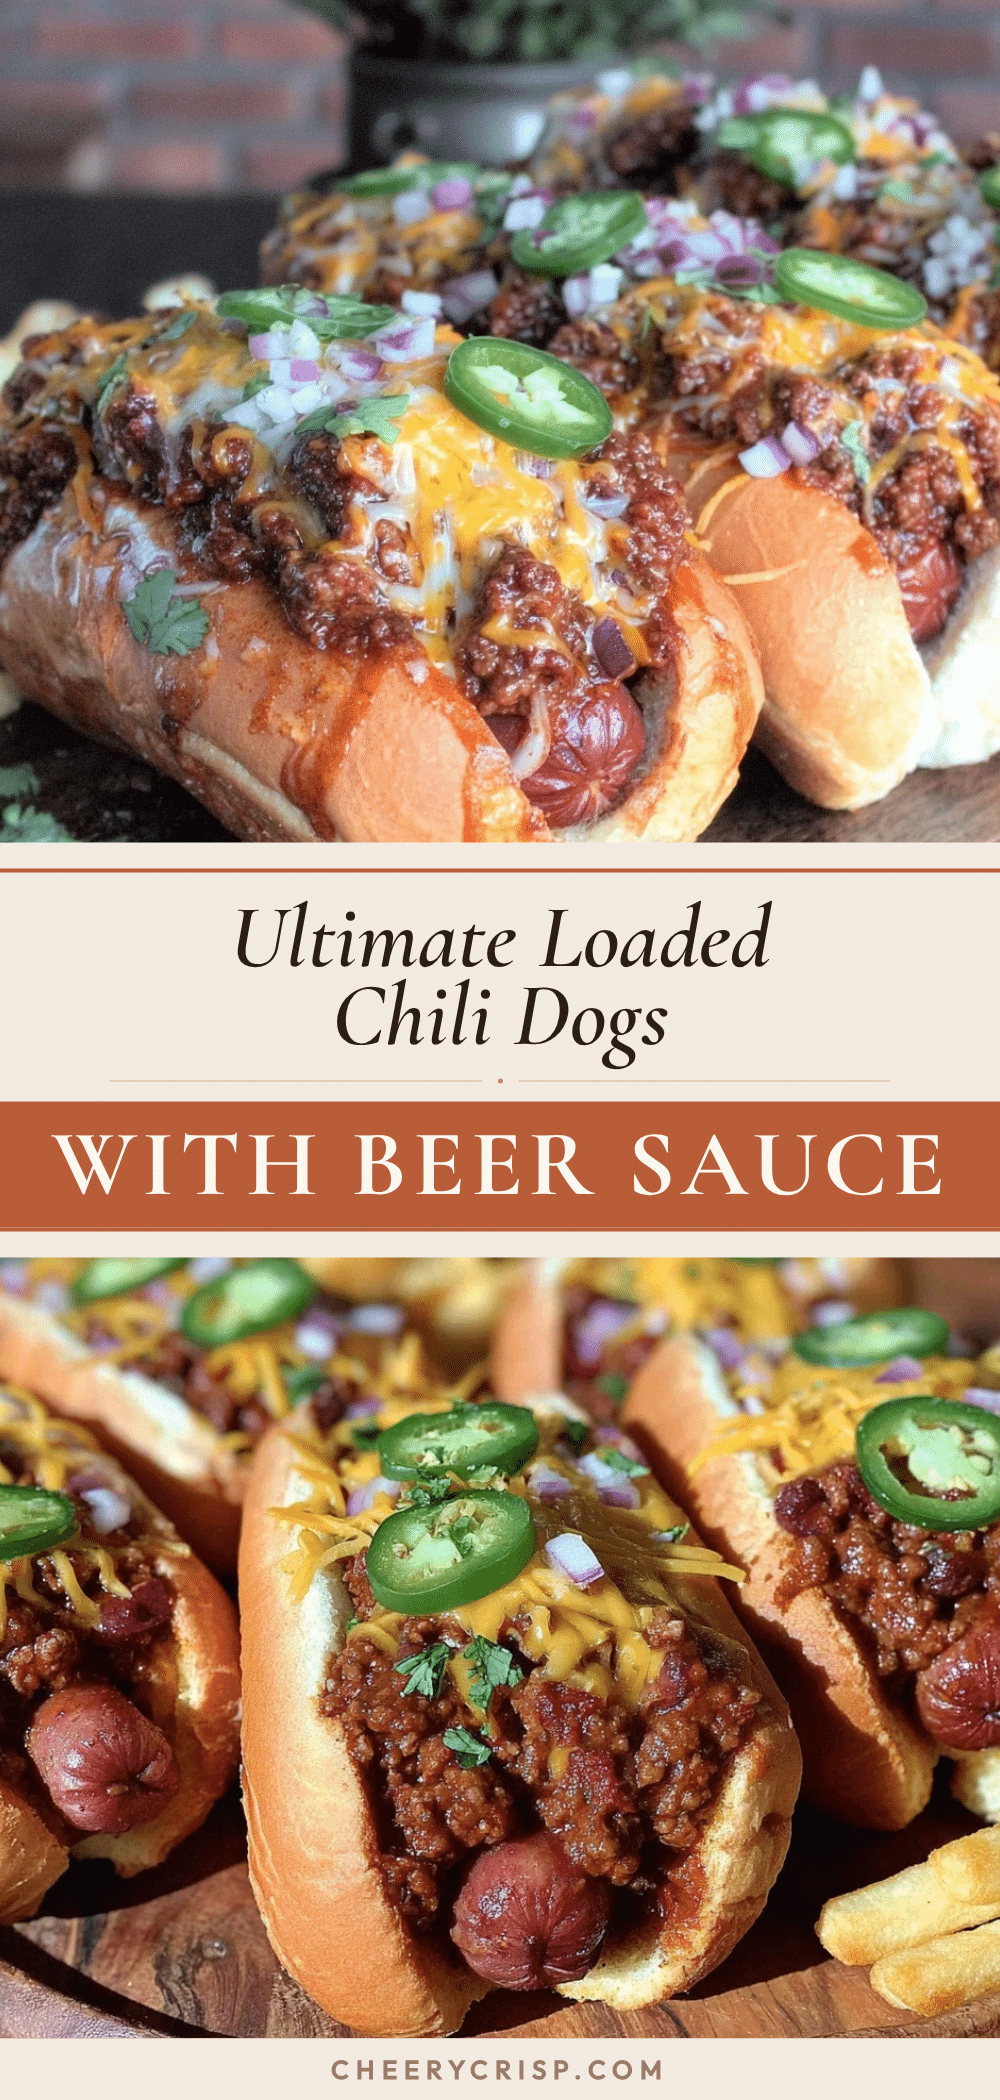
Loaded Chili Dogs Recipe Easy Homemade Beer Chili Sauce for Game Day

This recipe features juicy grilled hot dogs topped with a rich, smoky homemade beer chili sauce, melty cheddar cheese, crunchy onions, and mustard—perfect for game day or any comfort food craving.
- Prep Time: 15 minutes
- Cook Time: 40 minutes
- Total Time: 55 minutes
- Yield: 8 servings 1x
- Category: Main Course
- Cuisine: American
Ingredients
- 1 lb ground beef (85% lean)
- 1 small yellow onion, finely chopped
- 3 cloves garlic, minced
- 12 oz amber ale beer (e.g., Sierra Nevada)
- 1 can (15 oz) crushed tomatoes
- 2 tbsp tomato paste
- 1 tbsp chili powder
- 1 tsp smoked paprika
- 1/2 tsp ground cumin
- 1/4 tsp cayenne pepper (optional)
- Salt and freshly ground black pepper, to taste
- 1 tsp brown sugar
- 8 beef hot dogs
- 8 soft hot dog buns, lightly toasted
- 1 1/2 cups shredded sharp cheddar cheese
- 1/2 cup diced white onions
- Yellow mustard
Instructions
- Prepare the Beer Chili Sauce (about 30-40 minutes): Heat a large skillet over medium heat. Add the ground beef and cook, breaking it apart, until fully browned and no longer pink (about 7-8 minutes). Drain excess fat if needed.
- Add the chopped onion and minced garlic to the beef. Cook until onions are translucent and fragrant, roughly 4-5 minutes.
- Stir in chili powder, smoked paprika, cumin, cayenne pepper (if using), salt, black pepper, and brown sugar. Let the spices toast with the mixture for about 1 minute to bloom their flavors.
- Pour in the amber ale beer carefully (it might fizz). Let it simmer for 5 minutes to reduce slightly.
- Add the crushed tomatoes and tomato paste, stir well to combine.
- Lower the heat and let the sauce simmer gently, uncovered, for 20-25 minutes, stirring occasionally until thickened to your liking. It should coat the back of a spoon and smell smoky and rich. If the sauce is too thick, add a splash of water or more beer; if too thin, simmer a bit longer. Taste and adjust seasoning before moving on.
- Cook the Hot Dogs (10-12 minutes): While the sauce simmers, heat your grill pan or outdoor grill over medium-high heat.
- Place the hot dogs on the grill and cook, turning occasionally, until grill marks appear and the dogs are heated through with a slight crisp on the skin (about 8-10 minutes).
- Toast the buns lightly on the grill for 1-2 minutes until warm and golden. If pressed for time, you can boil or pan-fry the hot dogs, but grilling really brings out the flavor.
- Assemble the Loaded Chili Dogs: Place each hot dog in a toasted bun.
- Spoon a generous amount of the homemade beer chili sauce over each dog.
- Sprinkle shredded sharp cheddar cheese so it melts slightly on the warm chili.
- Top with diced white onions and a squirt of yellow mustard.
- Serve immediately while warm. For an extra touch, add pickled jalapeños or a dash of hot sauce if you like it spicy.
Notes
Patience is key when simmering the chili sauce to avoid a watery texture. Browning the beef well adds depth of flavor. Toast buns lightly to prevent sogginess. Adjust cayenne and chili powder to taste. Leftover chili sauce stores well refrigerated for up to 4 days and freezes for up to 3 months.
Nutrition
- Serving Size: 1 loaded chili dog
- Calories: 480
- Sugar: 6
- Sodium: 950
- Fat: 28
- Saturated Fat: 11
- Carbohydrates: 28
- Fiber: 3
- Protein: 26
Keywords: chili dogs, beer chili sauce, game day recipe, loaded hot dogs, homemade chili sauce, grilled hot dogs, comfort food



