Love this? Save it for later!
Share the inspiration with your friends
Introduction
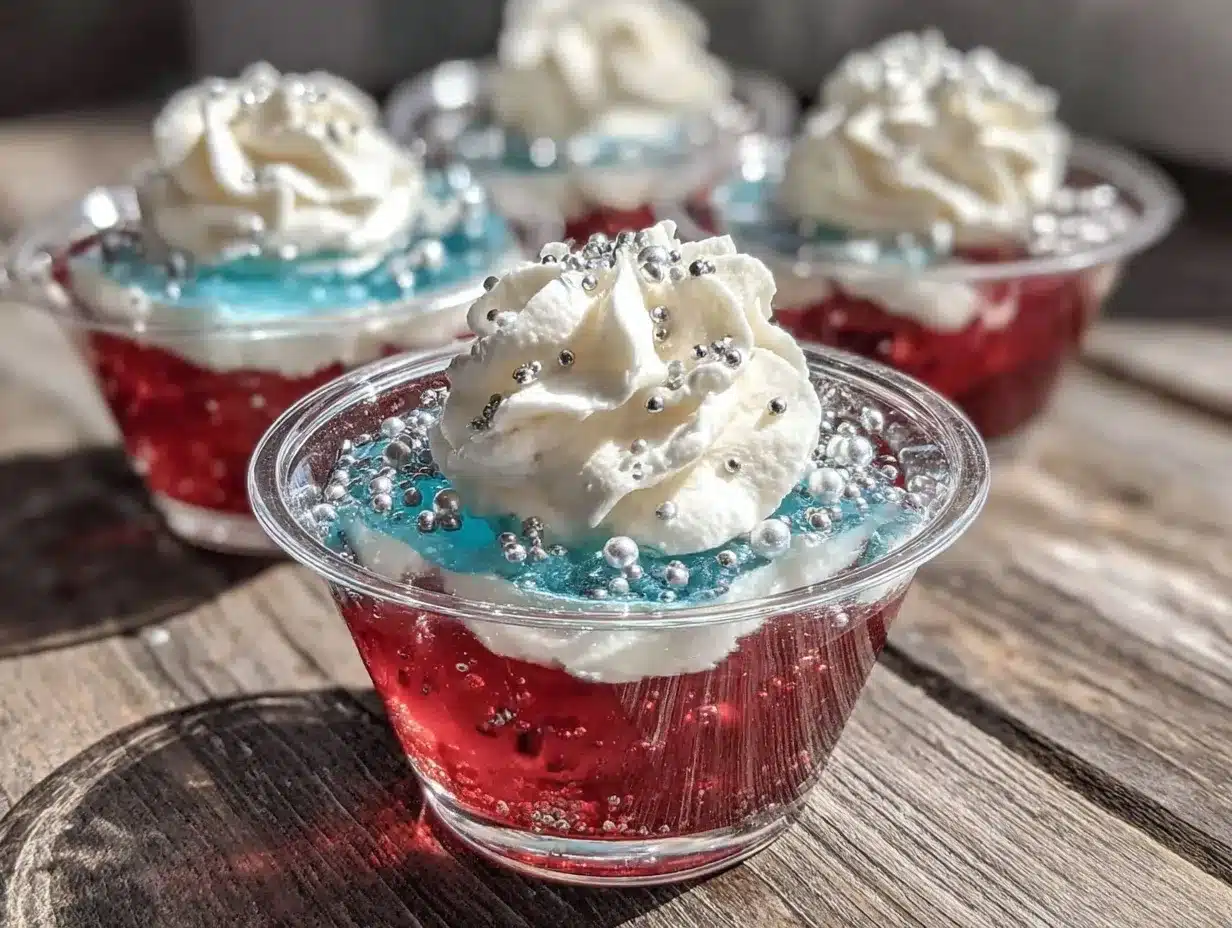
“I never thought a simple cup of Jello could steal the show at our 4th of July picnic,” my friend Jamie confessed last summer. It was one of those blazing hot afternoons, the kind where everyone’s craving something light and fun. Jamie had whipped up these layered red white and blue Jello cups, and honestly, they looked like little edible fireworks in clear cups. The kids were mesmerized by the vibrant colors, and the adults couldn’t stop complimenting the refreshing, nostalgic taste.
The story behind this recipe is a bit of a happy accident. Jamie told me she originally intended to make a classic trifle but forgot to buy a key ingredient. Scrambling to improvise, she pulled out some Jello packets from the pantry, grabbed a tub of whipped topping from the fridge, and started layering. What came out was a perfect balance of sweet, creamy, and fruity—plus, those patriotic colors made it a natural hit for the holiday.
Maybe you’ve been there—last minute dessert idea, the clock ticking, and you want something that’s easy but still feels special. These festive layered Jello cups fit that bill perfectly. They’re simple enough for beginner cooks but impressive enough to bring smiles around the picnic table. Plus, they’re a great way to add that classic red, white, and blue spirit without fuss.
Let me tell you, this recipe has stuck with me ever since Jamie’s picnic. It’s become my go-to when I want a no-fail, crowd-pleasing dessert that’s both nostalgic and fresh. If you’re looking to make your 4th of July (or any patriotic celebration) just a little brighter, this is the recipe you want to keep on hand.
Why You’ll Love This Recipe
After making these festive patriotic layered red white and blue Jello cups a dozen times, I can confidently say they’re a winner every time. Here’s why you’ll fall for them just like I did:
- Quick & Easy: You’ll have these layered beauties ready in about 30 minutes of active prep time, plus chilling. Perfect for those last-minute dessert emergencies or relaxed summer afternoons.
- Simple Ingredients: No need for fancy specialty items. The recipe uses everyday Jello flavors, whipped topping, and a few pantry staples you likely already own.
- Perfect for 4th of July & Beyond: These cups are ideal for patriotic holidays but work just as well for summer barbecues, picnics, or even kids’ birthday parties thanks to their fun colors.
- Crowd-Pleaser: Kids love the bright colors and creamy texture, while adults appreciate the light, refreshing sweetness—everyone wins!
- Unbelievably Delicious: The layering of fruity Jello with smooth whipped cream creates a texture combo that’s both playful and indulgent.
What sets this recipe apart? It’s honestly the layering technique and the choice of flavors. I like to use cherry and blueberry Jello for the red and blue layers because they have just the right balance of sweetness and tartness. The white layer isn’t just plain whipped cream—it’s a creamy mixture that softens the Jello’s edge and gives these cups a perfect melt-in-your-mouth feel.
Honestly, this recipe brings a little nostalgia and a lot of fun to the table. It’s the kind of dessert that makes you smile with the first bite and want to make it again next year.
What Ingredients You Will Need
This recipe uses simple, wholesome ingredients to deliver bold flavor and satisfying texture without the fuss. Most of these are pantry staples or easy to find in any supermarket. Here’s what you’ll need:
- Red Layer:
- 1 package (3 oz / 85 g) cherry or strawberry Jello powder (I prefer Jell-O brand for consistent flavor)
- 1 cup (240 ml) boiling water
- 1/2 cup (120 ml) cold water
- White Layer:
- 1 package (8 oz / 226 g) cream cheese, softened (adds richness and smoothness)
- 1 cup (240 ml) cold milk (whole milk recommended for creaminess; substitute with almond or oat milk for dairy-free)
- 1 package (3.4 oz / 96 g) instant vanilla pudding mix
- 1 cup (240 ml) whipped topping (like Cool Whip), thawed
- Blue Layer:
- 1 package (3 oz / 85 g) blue raspberry or blueberry Jello powder
- 1 cup (240 ml) boiling water
- 1/2 cup (120 ml) cold water
Tip: If fresh berries are in season, toss a few blueberries or raspberries into the blue or red layers for a fun texture contrast. I’ve done this a couple of times, and it adds a lovely fresh burst.
Equipment Needed
- Clear plastic or glass cups (8-10 oz / 240-300 ml size) – to show off those gorgeous layers
- Mixing bowls – at least three, one for each layer
- Whisk and spoon for mixing
- Measuring cups and spoons – accuracy helps with the layering
- Electric mixer or hand mixer – makes cream cheese and pudding mixture smooth and lump-free
- Refrigerator space – you’ll want room to chill the cups undisturbed between layers
- Optional: Offset spatula or small spoon for smoothing layers
If you don’t have an electric mixer, you could use a whisk and a bit of elbow grease, but the texture won’t be quite as smooth. For budget-friendly serving, disposable clear cups work perfectly and are easy to hand out at picnics or parties.
Preparation Method
- Prepare the Red Jello Layer: In a mixing bowl, dissolve the red Jello powder in 1 cup (240 ml) boiling water. Stir for about 2 minutes until fully dissolved. Add 1/2 cup (120 ml) cold water, mix well. Pour about 1/3 cup (80 ml) of this mixture into each clear cup. Place cups in the refrigerator for 30 minutes or until the layer is firm but still slightly tacky (this helps layers stick).
- Make the White Cream Layer: While the red layer chills, beat the softened cream cheese with an electric mixer until smooth. Add the instant vanilla pudding mix and cold milk, continue mixing until thickened, about 2-3 minutes. Gently fold in the whipped topping until fully combined and creamy. This mixture should be thick but spreadable.
- Add the White Layer: Once the red layer is set but tacky, spoon or carefully pour about 1/3 cup (80 ml) of the white cream mixture over it. Use a spoon to gently smooth the surface. Return to refrigerator and chill for 30 minutes until firm.
- Prepare the Blue Jello Layer: Repeat the same process as the red layer: dissolve blue Jello powder in 1 cup (240 ml) boiling water, stir, add 1/2 cup (120 ml) cold water. Let cool to room temperature but do not let it set.
- Finish with the Blue Layer: After the white layer is firm, carefully pour about 1/3 cup (80 ml) of the blue Jello mixture on top. Chill the cups for at least 2 hours until fully set. Avoid moving the cups during this time to keep layers distinct.
Pro tip: If you find the layers mixing or bleeding, make sure each layer is sufficiently chilled and tacky before adding the next. Patience pays off for crisp layers!
I once got a little impatient and added the blue layer too soon. The colors blurred, and the layers looked messy. Trust me, waiting for the right texture before layering is key—your dessert will look like a professional display.
Cooking Tips & Techniques
Layering Jello cups might seem straightforward, but a few tricks make all the difference between a good dessert and a showstopper:
- Temperature Control: Always let each Jello layer cool to room temperature before pouring on the next. Hot or warm Jello will melt the layer below, causing colors to bleed.
- Chilling Time: Don’t rush the chilling process. Each layer should be firm enough to hold the next without mixing, but tacky enough to stick. About 30 minutes per layer works well in a standard fridge.
- Mixing the White Layer: Use an electric mixer to ensure the cream cheese and pudding blend smoothly without lumps. The whipped topping folded in last makes the texture light and fluffy.
- Pouring Technique: Pour the next layer slowly over the back of a spoon held just above the prior layer. This softens the impact and keeps the layers neat.
- Serving Tips: Serve chilled but not frozen. These cups are best enjoyed when the texture is firm but still jiggly and creamy.
Let me share one kitchen moment: I once made these cups for a community picnic, and the blue layer took forever to set because the fridge was overstuffed. Lesson learned—make sure to give your fridge some breathing room!
Variations & Adaptations
If you want to switch things up or accommodate dietary needs, here are some fun ideas:
- Dairy-Free Option: Replace cream cheese with coconut cream and use dairy-free pudding mix with coconut or almond milk. Use dairy-free whipped topping to keep the white layer creamy.
- Fruit-Infused Layers: Stir in fresh or frozen berries into the red and blue Jello layers before setting for added texture and natural sweetness.
- Alcohol-Infused Version: For adult parties, replace half the cold water in the Jello layers with a light vodka or berry liqueur. Just keep proportions to maintain setting.
- Layer Flavors: Swap the vanilla pudding in the white layer with lemon pudding for a zesty twist that brightens the whole dessert.
- Presentation Change: Instead of cups, pour layers into a large clear trifle bowl for a dramatic centerpiece. Scoop into individual servings.
I tried the lemon pudding variation last year, and honestly, the zing gave the dessert a fresh pop that everyone raved about. You might find your own favorite twist here!
Serving & Storage Suggestions
These festive Jello cups are best served chilled, straight from the fridge. You can garnish with fresh mint leaves, a few berries, or a dollop of extra whipped topping for a pretty finishing touch.
Pair them with light, summery dishes like grilled chicken or a fresh fruit salad to keep the meal balanced and refreshing. For drinks, a crisp lemonade or iced tea works beautifully.
Store the cups covered with plastic wrap or in an airtight container in the refrigerator. They’ll keep well for up to 3 days, though the layers are freshest and most vibrant within the first 24 hours.
When reheating isn’t an option here, but if the texture firms up too much in the fridge, just let the cups sit at room temperature for 10 minutes before serving to soften.
Over time, the layers may start to blend slightly, but the flavor remains delightful, making these perfect for prepping ahead of your summer celebrations.
Nutritional Information & Benefits
These festive patriotic layered red white and blue Jello cups are a light dessert option with approximately 150-200 calories per serving, depending on exact ingredients and portion size.
The key ingredients offer some nutritional benefits: Jello itself is low in fat, and the cream cheese and whipped topping add moderate protein and calcium. Using fruit-flavored Jello introduces a bit of vitamin C, especially if fresh berries are added.
For gluten-free diets, this dessert is naturally safe as it contains no wheat ingredients. Dairy substitutions can make it suitable for lactose intolerance or vegan-friendly menus.
While it’s a treat, this recipe balances sweetness with lightness, making it a better choice than many heavy cream-based desserts for warm-weather gatherings.
Conclusion
This festive patriotic layered red white and blue Jello cups recipe brings a delightful mix of fun, flavor, and nostalgia to your holiday table. It’s a perfect example that simple ingredients, a little patience, and a touch of creativity can result in a dessert that’s both impressive and approachable.
I love how these cups bring people together—kids admiring the colors, adults reminiscing about childhood favorites, and everyone enjoying a sweet bite of summer. Feel free to tweak the layers or try one of the variations to suit your own tastes.
If you give this recipe a try, I’d love to hear which variation is your favorite or how your version turned out. Don’t hesitate to share your photos or tips! Here’s to making your next patriotic celebration a little sweeter and a lot more fun.
FAQs
How long does it take for each Jello layer to set properly?
Each layer typically needs about 30 minutes to become firm but still tacky enough to hold the next layer without mixing. The final layer should chill for at least 2 hours to fully set.
Can I prepare these Jello cups a day ahead of time?
Yes! You can prepare them a day in advance. Just keep them covered in the refrigerator to prevent drying out. They taste freshest within 24 hours but can last up to 3 days.
What if I don’t have cream cheese for the white layer?
You can substitute the cream cheese with mascarpone for a richer taste or use dairy-free cream cheese alternatives for a lactose-free version.
Can I make these in a large dish instead of individual cups?
Absolutely! Layer the red, white, and blue mixtures in a clear trifle bowl or glass dish. Chill between layers as usual, then scoop for serving.
Is it possible to make these Jello cups without gelatin for a vegetarian option?
Yes, use vegetarian gelatin substitutes like agar-agar, but note that setting times and textures may vary. Follow the instructions on the agar-agar package for best results.
For a similar crowd-pleasing party dessert, you might enjoy my crispy garlic chicken recipe for a savory twist at your gatherings. Also, if you love layered treats, the classic trifle recipe offers a rich, fruity alternative perfect for any celebration.
Pin This Recipe!
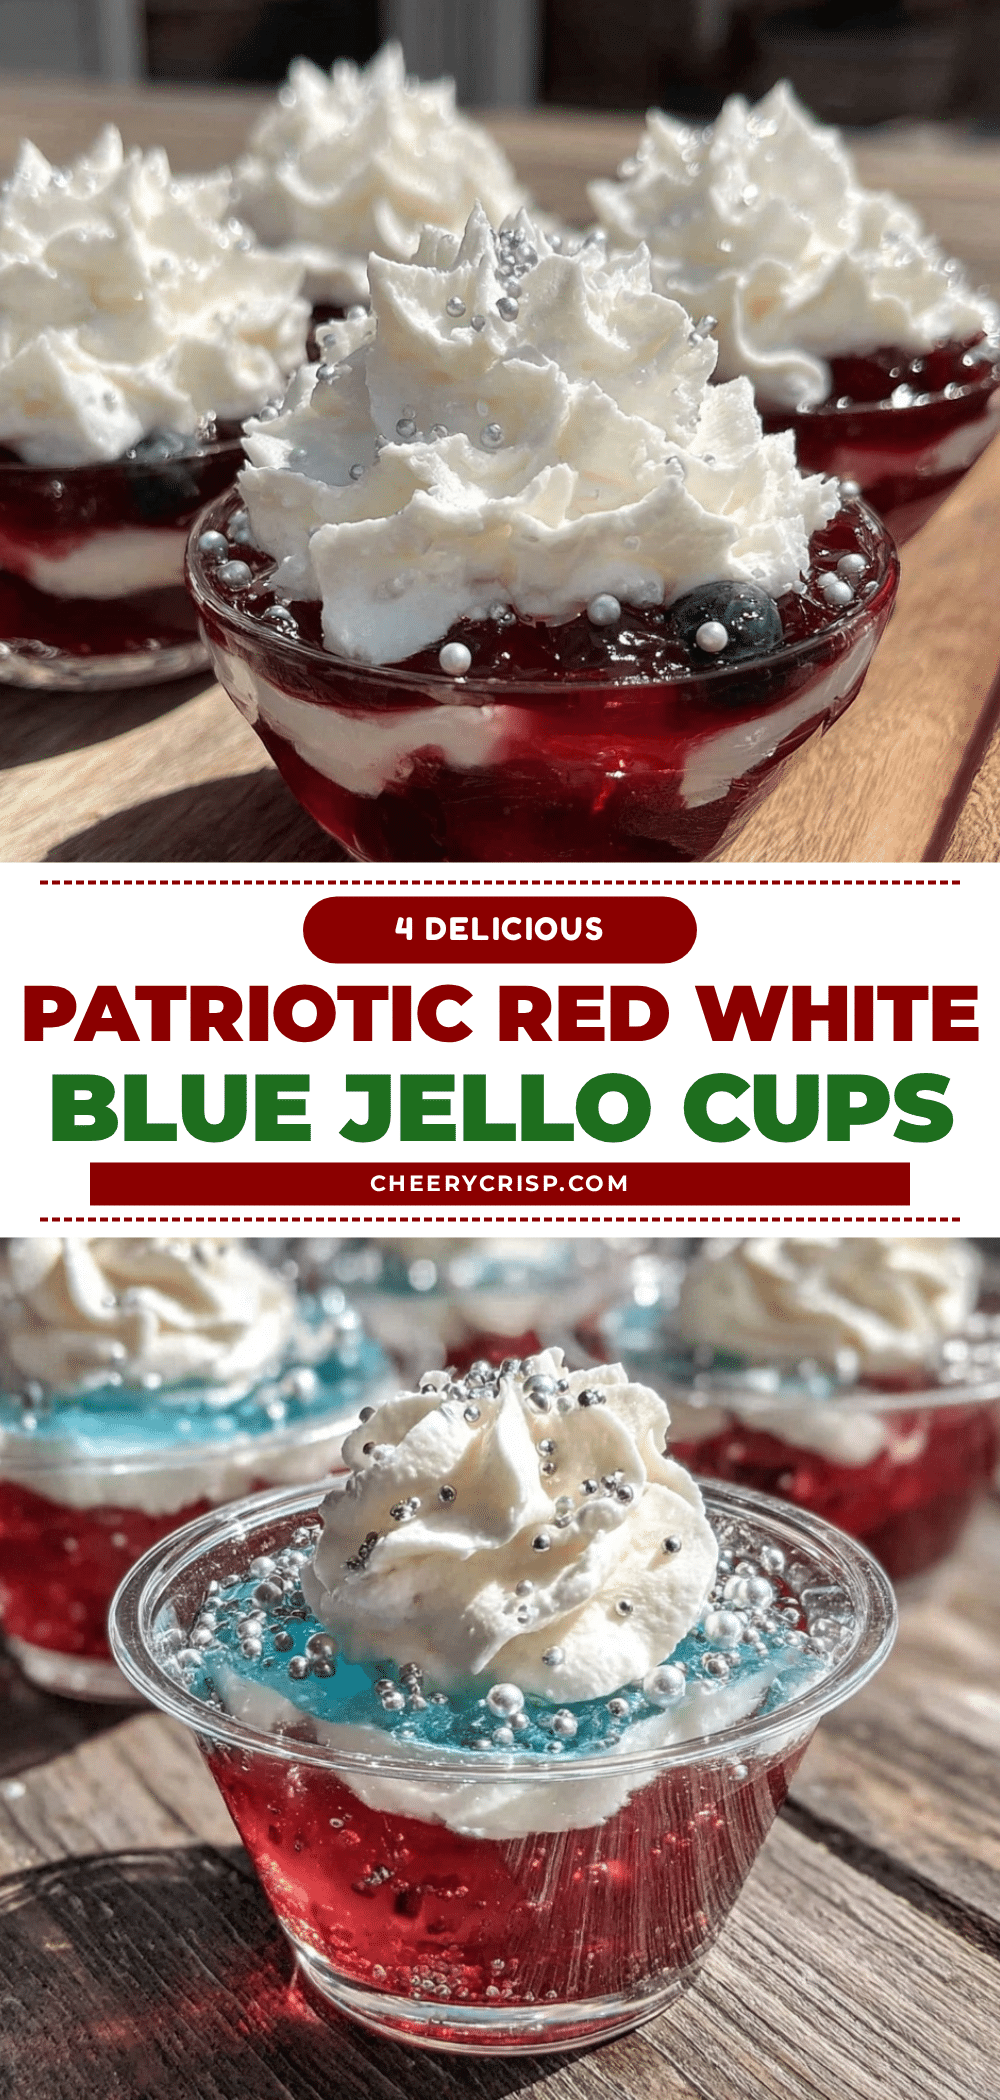
Festive Patriotic Layered Red White and Blue Jello Cups

A simple, crowd-pleasing dessert featuring layered red, white, and blue Jello with a creamy middle layer, perfect for 4th of July celebrations and summer gatherings.
- Prep Time: 30 minutes
- Cook Time: 2 hours 30 minutes (includes chilling time)
- Total Time: 3 hours
- Yield: 8 servings 1x
- Category: Dessert
- Cuisine: American
Ingredients
- 1 package (3 oz / 85 g) cherry or strawberry Jello powder
- 1 cup (240 ml) boiling water (for red layer)
- 1/2 cup (120 ml) cold water (for red layer)
- 1 package (8 oz / 226 g) cream cheese, softened
- 1 cup (240 ml) cold milk (whole milk recommended; almond or oat milk for dairy-free)
- 1 package (3.4 oz / 96 g) instant vanilla pudding mix
- 1 cup (240 ml) whipped topping (like Cool Whip), thawed
- 1 package (3 oz / 85 g) blue raspberry or blueberry Jello powder
- 1 cup (240 ml) boiling water (for blue layer)
- 1/2 cup (120 ml) cold water (for blue layer)
Instructions
- Prepare the Red Jello Layer: Dissolve the red Jello powder in 1 cup boiling water, stir for 2 minutes until dissolved. Add 1/2 cup cold water and mix well. Pour about 1/3 cup into each clear cup. Refrigerate for 30 minutes until firm but tacky.
- Make the White Cream Layer: Beat softened cream cheese until smooth. Add instant vanilla pudding mix and cold milk, mix until thickened (2-3 minutes). Fold in whipped topping until creamy and spreadable.
- Add the White Layer: Spoon or pour about 1/3 cup of the white cream mixture over the red layer. Smooth the surface gently. Chill for 30 minutes until firm.
- Prepare the Blue Jello Layer: Dissolve blue Jello powder in 1 cup boiling water, stir, then add 1/2 cup cold water. Let cool to room temperature but do not set.
- Finish with the Blue Layer: Pour about 1/3 cup of the blue Jello mixture over the white layer. Chill for at least 2 hours until fully set. Avoid moving cups during this time.
Notes
Ensure each Jello layer is firm but still tacky before adding the next to prevent colors from bleeding. Use the back of a spoon to gently pour layers. For dairy-free, substitute cream cheese with coconut cream and use dairy-free pudding and whipped topping. Fresh berries can be added to red or blue layers for texture. Can prepare a day ahead and keep refrigerated covered. Serve chilled but not frozen.
Nutrition
- Serving Size: 1 cup (approximate)
- Calories: 150200
- Sugar: 18
- Sodium: 150
- Fat: 8
- Saturated Fat: 4
- Carbohydrates: 22
- Protein: 3
Keywords: Jello cups, patriotic dessert, 4th of July dessert, layered Jello, red white and blue dessert, easy summer dessert, crowd-pleaser, no-bake dessert