Love this? Save it for later!
Share the inspiration with your friends
“You really think you can just throw together a cheese plate and call it a party snack?” my friend Jenna asked, raising an eyebrow as I pulled out a handful of crackers and a few cheese wedges from the fridge. Honestly, I wasn’t sure either, but that night turned into one of the easiest, most relaxed gatherings I’ve hosted in a while.
It all started on a hectic Friday evening when I realized I was totally unprepared for the impromptu guests heading my way. I didn’t have time to cook, and honestly, I wasn’t in the mood to stress over the stove. So, with nothing but a quick trip to the grocery store and a bit of curiosity, I whipped up what I now lovingly call my Easy Beginner-Friendly Cheese Plate for No-Cook Entertaining. No fuss, no fancy tools, just simple, tasty ingredients arranged in a way that got everyone chatting and nibbling happily.
Maybe you’ve been there too — last-minute invites, no time to cook, but still wanting to impress. This recipe is for those moments when you want to keep it casual but still feel like you’ve got your hosting game on point. Plus, I’ll let you in on a little secret: it’s actually pretty fun to put together once you get the hang of it. And yes, even beginners can pull off a cheese plate that looks and tastes fantastic.
So let me tell you how this simple idea became a staple in my entertaining routine. It’s a no-cook, no-stress way to bring people together, and honestly, it’s saved me more times than I can count. Let’s get started—you’ll see why this easy cheese plate recipe might just become your go-to for laid-back get-togethers.
Why You’ll Love This Recipe
This Easy Beginner-Friendly Cheese Plate for No-Cook Entertaining has been my secret weapon for casual gatherings and spontaneous hangouts. Over numerous trials (and a few near disasters), I’ve found this approach to be a total crowd-pleaser.
- Quick & Easy: Ready in under 15 minutes, making it perfect when you’re short on time but want to offer something thoughtful.
- Simple Ingredients: Uses staples you probably already have or can snag quickly at any grocery store—no hunting down exotic cheeses required.
- Perfect for Any Occasion: Whether it’s a last-minute wine night, a weekend brunch, or a relaxed holiday gathering, this cheese plate fits right in.
- Crowd-Pleaser: Kids and adults alike tend to flock to these plates—there’s just something about the mix of textures and flavors that hits the spot.
- Unbelievably Delicious: The combination of creamy cheese, crunchy crackers, and sweet or savory accompaniments makes every bite a little celebration.
What makes this cheese plate different? I focus on balance—mixing textures, flavors, and colors without overcomplicating the prep. For example, pairing a tangy goat cheese with a touch of honey and fresh fruit adds a burst of flavor that feels fancy but requires zero cooking skills. Plus, I’ve learned through experience that the presentation matters just as much as the ingredients. A little scatter of nuts or a sprig of herbs can turn a simple plate into a feast for the eyes.
This isn’t just another cheese plate; it’s a beginner’s best friend in the kitchen and your ticket to effortless entertaining that leaves guests impressed and relaxed. Trust me, once you try this, you’ll be reaching for it every time you want to keep things simple but special.
What Ingredients You Will Need
This cheese plate recipe uses straightforward, wholesome ingredients to deliver big flavor and texture—without any cooking. These are mostly pantry staples with a few fresh touches that make it shine.
- Cheeses:
- Sharp Cheddar (aged, about 6 oz / 170 g) – adds a nice bite and firmness
- Soft Brie (about 4 oz / 115 g) – creamy and mild, perfect for spreading
- Goat Cheese log (about 4 oz / 115 g) – tangy and smooth, pairs well with honey or jam
- Crackers and Bread:
- Water crackers or plain thin crackers (about 1 cup / 120 g) – neutral base for all cheeses
- Baguette slices, toasted (about 1/2 French baguette) – adds crunch and heartiness
- Fresh Fruits:
- Seedless grapes (1 cup / 150 g) – sweet and juicy contrast
- Apple slices (1 medium apple, thinly sliced) – tartness balances creaminess
- Accents and Extras:
- Honey (2 tbsp) – drizzle over goat cheese or brie for a touch of sweetness
- Mixed nuts (1/3 cup / 50 g), unsalted – adds crunch and depth
- Olives, pitted (1/2 cup / 75 g) – optional, for a salty kick
- Dried apricots or figs (about 1/4 cup / 40 g) – chewy sweetness
- Fresh Herbs:
- Fresh rosemary or thyme sprigs (a few) – for garnish and aroma
I usually pick cheeses from brands like Cabot for cheddar or Président for brie, but honestly, any quality local cheese will work great. When selecting fruits, go for fresh and firm options—no mushy grapes here! You can swap dried apricots for dried cranberries or cherries if you like a different flavor profile.
Equipment Needed
For this beginner-friendly cheese plate, you won’t need anything fancy. Here’s what I use:
- Cheese board or large serving plate: A wooden cutting board works perfectly and adds rustic charm.
- Cheese knives: A set with different blade shapes helps with soft and hard cheeses. No worries if you don’t have these; a regular paring knife or butter knife will do just fine.
- Small bowls: For holding olives, nuts, or honey so things don’t get messy.
- Fruit knife: For slicing apples or other fresh fruits.
- Small spoons or spreaders: Useful for drizzling honey or spreading goat cheese.
If you’re after budget-friendly options, cutting boards from bamboo or plastic are perfectly fine and easier to clean. Over time, I noticed that having a dedicated cheese knife set makes the presentation smoother, but honestly, the first few times I just used what was at hand and nobody complained!
Preparation Method
- Gather all ingredients. Lay out your cheeses, crackers, fruits, nuts, and extras on the counter. This usually takes about 2 minutes.
- Slice the cheeses. Cut the cheddar into thin slices or small cubes (about 1/4-inch / 0.6 cm thick). Slice the brie into wedges. Leave the goat cheese as a log—guests love to spread it fresh. This step takes about 5 minutes.
- Prepare the fruits. Rinse grapes and pat dry. Thinly slice the apple, leaving the skin on for color and texture. To prevent browning, you can quickly toss apple slices with a splash of lemon juice if you like (optional). This takes 3-4 minutes.
- Arrange the base. Place crackers and baguette slices around the edges of your board or plate. Spread them out so guests can easily grab them without crowding. About 2 minutes.
- Place cheeses strategically. Space out the cheddar, brie, and goat cheese log on the board. This balances the visual appeal and makes it easy for guests to access each cheese.
- Add fruits and extras. Fill in gaps with grapes, apple slices, nuts, olives, and dried fruits. Group similar items together for neatness but keep it casual. Drizzle honey over the goat cheese or put it in a small bowl with a spoon. This might take 5 minutes.
- Garnish with fresh herbs. Add a few sprigs of rosemary or thyme for color and aroma. Just a touch makes a difference! Less than a minute.
- Final touches and serve. Step back and see if the plate looks balanced and inviting. Adjust spacing if needed. Serve immediately or cover and refrigerate for up to 2 hours before serving.
Tip: If you’re prepping in advance, slice the apple just before guests arrive to keep it fresh, or keep it in lemon water until ready to serve. Also, I once forgot the honey and had to improvise with jam—turns out that worked well too, so don’t stress if you miss something!
Cooking Tips & Techniques
Even though this is a no-cook recipe, there are a few tricks to get your cheese plate just right.
- Choose contrasting textures: Mixing creamy, hard, and crumbly cheeses keeps each bite interesting. For example, cheddar’s firmness contrasts beautifully with the spreadability of brie or goat cheese.
- Room temperature cheeses: Let cheeses sit out for about 20 minutes before serving. Cold cheese can dull the flavors and make it less creamy.
- Don’t overcrowd the board: Give each ingredient space to shine. Overstuffing can overwhelm the eye and make it tricky for guests to grab what they want.
- Knife usage: Use a separate knife for each cheese to avoid flavor mixing. It’s a small detail that guests will appreciate.
- Balance sweet and savory: Adding fruit or honey balances the saltiness of cheese and nuts. I learned this the hard way after the first few plates tasted a bit one-note.
- Keep it simple: Resist the urge to overcomplicate. I’ve found that the best plates are those where flavors and textures are clear and complementary.
Multitasking tip: While the cheese rests at room temp, prep the fruits and arrange your crackers to save time. It turns the process into a smooth flow instead of a frantic scramble.
Variations & Adaptations
This easy cheese plate is a flexible canvas that welcomes tweaks based on your needs or preferences.
- Dietary swaps: For a gluten-free option, swap crackers and baguette slices with gluten-free crackers or sturdy vegetable sticks like cucumber or carrot.
- Seasonal twists: In summer, fresh berries like strawberries or blueberries make a lovely swap for grapes. In fall, try adding slices of pear or quince paste for a cozy vibe.
- Flavor variations: Swap cheddar for a smoky gouda or add a blue cheese for a bold punch. I once added marinated artichokes for extra tang and it was a hit.
- Cooking method adjustments: If you want a warm element, briefly broil the brie until it’s soft and melty—though that steps away from no-cook, it’s a nice option for chilly evenings.
- Personal favorite: I like adding a small bowl of fig jam alongside the honey for guests who want a sweeter spread option. It’s a simple touch that makes people smile.
Serving & Storage Suggestions
Serve the cheese plate at room temperature for the best flavor and texture. Arrange it on a sturdy board or platter that invites guests to graze freely.
Pair this cheese plate with a crisp white wine like Sauvignon Blanc or a light red like Pinot Noir. Sparkling water with lemon also refreshes the palate between bites.
To store leftovers, wrap cheeses tightly in parchment paper and then plastic wrap to keep them fresh in the fridge. Keep crackers and bread separate in airtight containers to maintain crunch.
Reheat is generally not needed here, but if you added any warm elements like broiled brie, you can gently warm them again in a low oven (about 300°F / 150°C) for 5-7 minutes.
Flavors often meld beautifully if you prepare the plate a little ahead, but fresh fruit is best added just before serving to avoid sogginess.
Nutritional Information & Benefits
This beginner-friendly cheese plate offers a balanced mix of macronutrients: protein from cheese, healthy fats from nuts, and fiber and vitamins from fruits. It’s naturally gluten-free if you choose suitable crackers or skip bread.
Cheese provides calcium and vitamin B12, important for bone and nerve health. Including fresh fruits adds antioxidants and natural sweetness without refined sugars.
The nuts contribute heart-healthy fats and a satisfying crunch that rounds out the plate nutritionally. For those watching calories, portion control with this plate is easy since it’s meant for sharing and savoring slowly.
Keep in mind potential allergens like nuts and dairy—substitutions like dairy-free cheeses or seed mixes can make this plate inclusive for many diets.
Conclusion
This easy, beginner-friendly cheese plate for no-cook entertaining is proof that simple can be stunning. It’s a recipe that fits into real life—whether you’re scrambling for last-minute snacks or planning a laid-back get-together. I love it because it brings people together without adding stress to my day, and that’s a win in my book.
Feel free to customize your plate based on what you love or what’s in season. The joy comes from the mix of flavors, the casual vibe, and the smiles it brings.
If you give this recipe a try, I’d love to hear how you made it your own—drop a comment below or share your tweaks! Here’s to easy entertaining that tastes like you spent hours, even when you didn’t.
FAQs
What cheeses are best for a beginner-friendly cheese plate?
Start with a mix of textures and flavors like sharp cheddar, creamy brie, and tangy goat cheese—they’re easy to find and appeal to most palates.
Can I prepare the cheese plate ahead of time?
You can prep most items a few hours before serving, but add fresh fruits and honey right before to keep everything looking and tasting fresh.
What can I serve with the cheese plate to make it a fuller meal?
Pair with fresh veggies, cured meats, or a simple green salad for a more substantial spread without much extra effort.
How do I keep the apple slices from browning?
Toss apple slices in a little lemon juice or keep them in cold water until ready to arrange on the plate.
What are some good non-alcoholic beverage pairings?
Try sparkling water with a splash of fresh citrus or a lightly brewed iced tea to refresh the palate alongside your cheese plate.
Pin This Recipe!
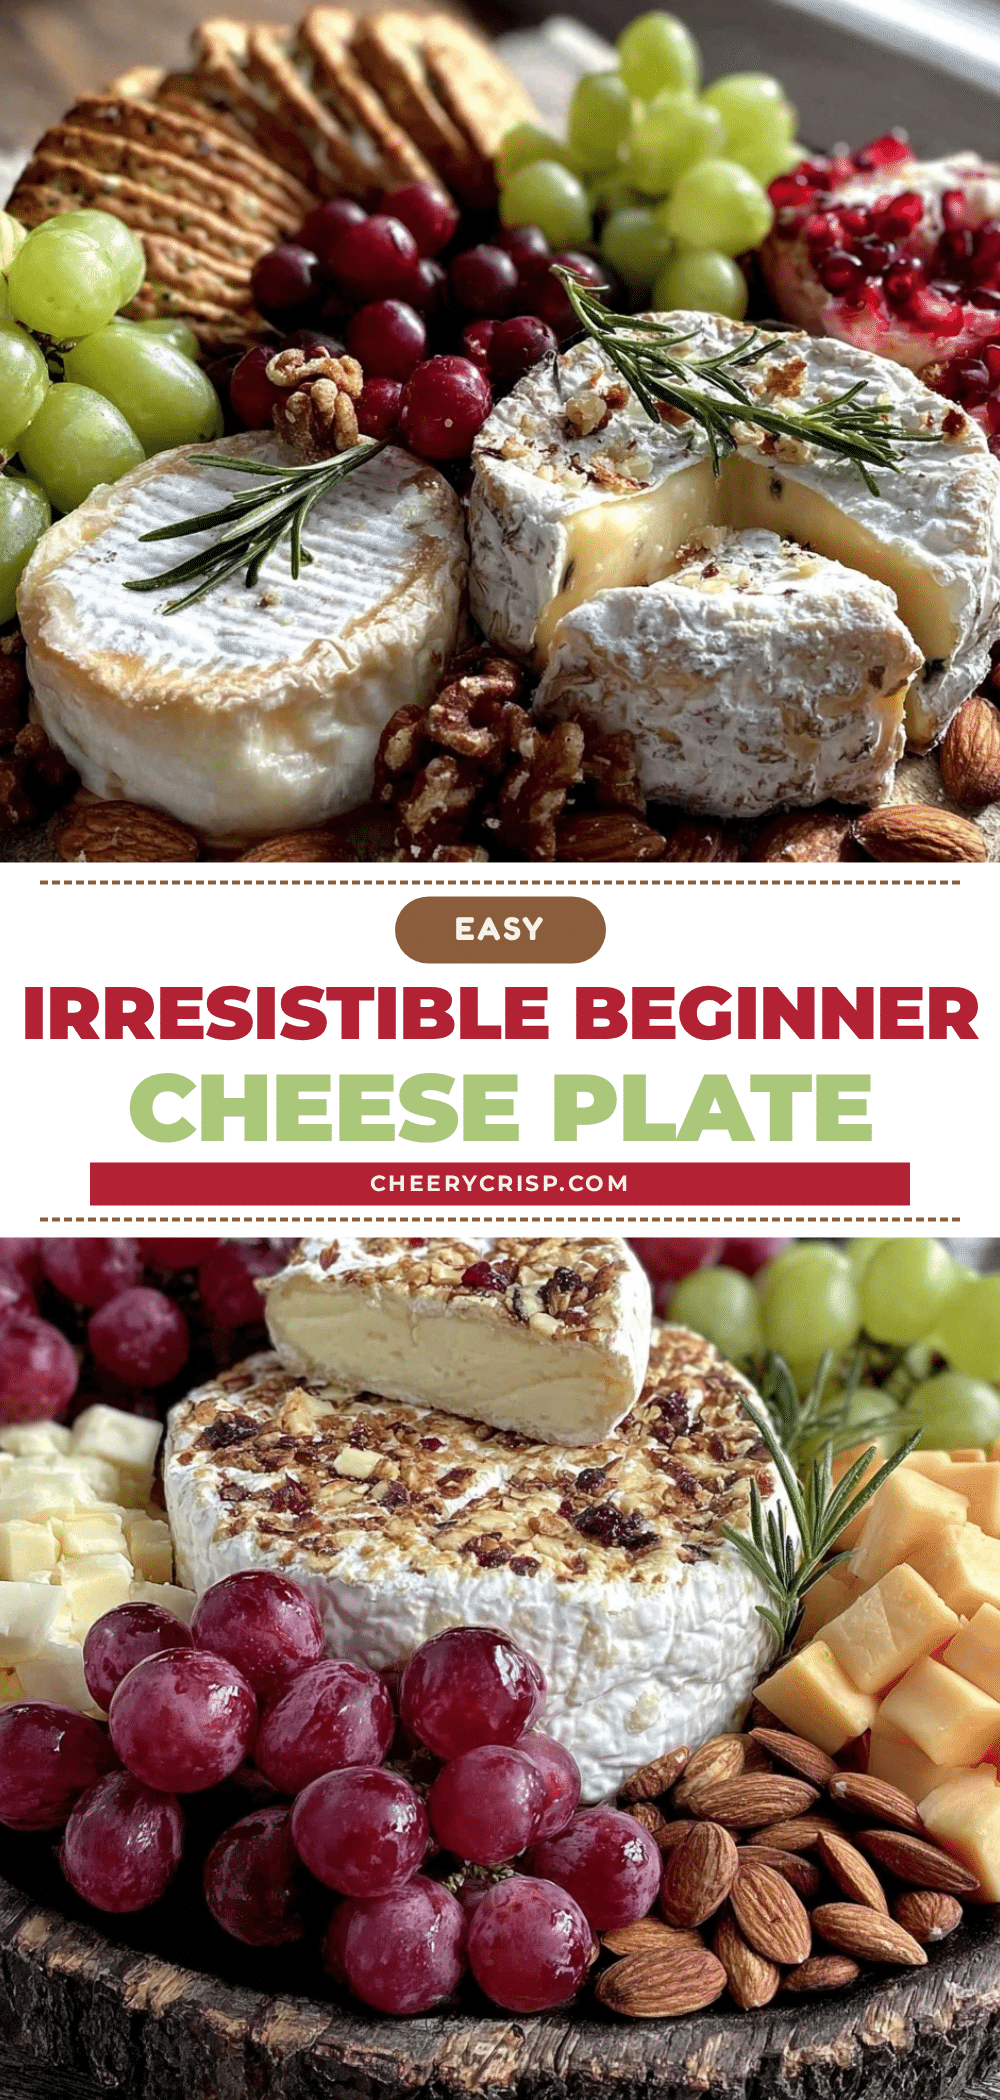
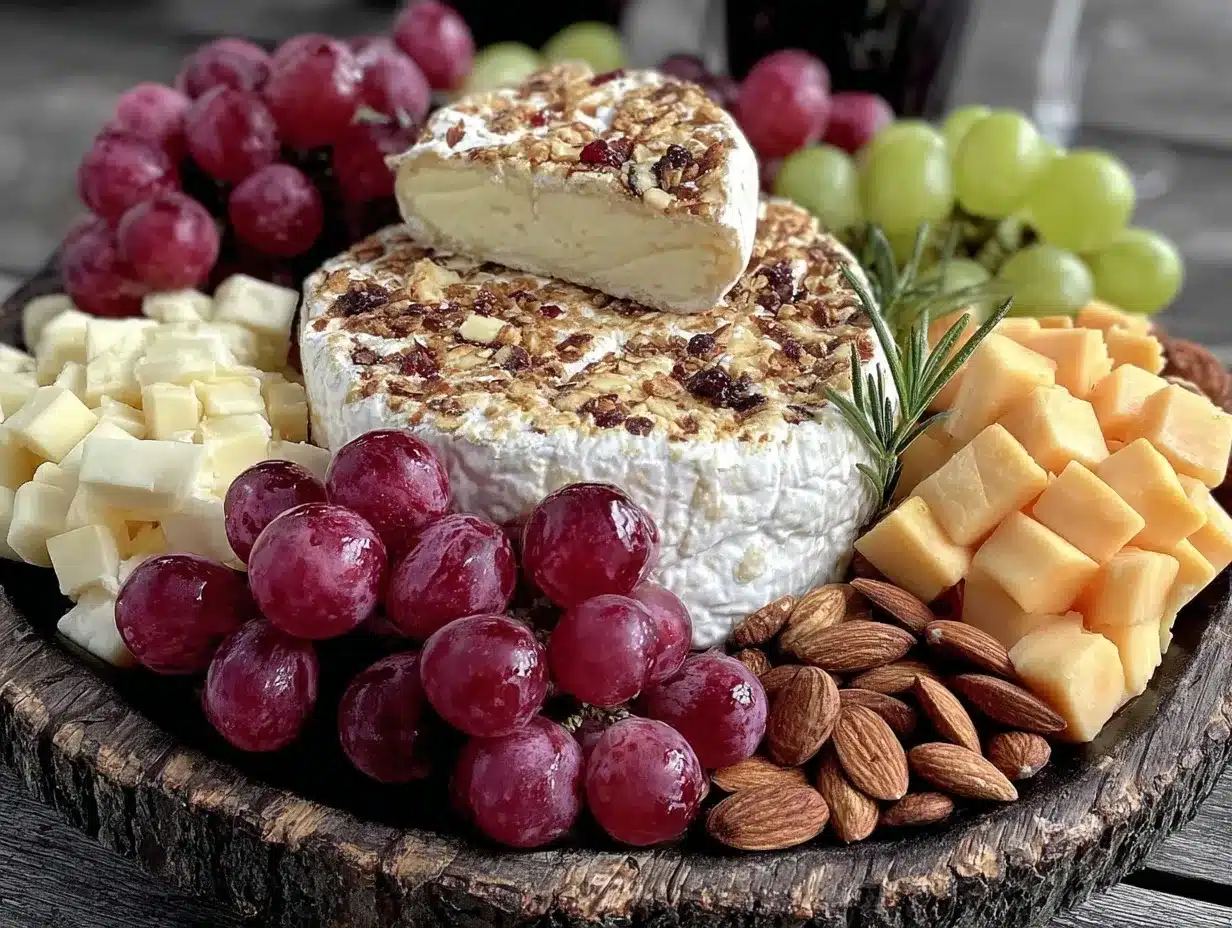
Easy Beginner-Friendly Cheese Plate Recipe for Perfect No-Cook Entertaining

A simple, no-cook cheese plate recipe perfect for casual gatherings and last-minute entertaining. Combines a variety of cheeses, crackers, fruits, and nuts for a balanced and crowd-pleasing snack.
- Prep Time: 10 minutes
- Cook Time: 0 minutes
- Total Time: 10 minutes
- Yield: 4 servings 1x
- Category: Appetizer
- Cuisine: American
Ingredients
- 6 oz sharp cheddar cheese (aged)
- 4 oz soft brie cheese
- 4 oz goat cheese log
- 1 cup water crackers or plain thin crackers
- 1/2 French baguette, sliced and toasted
- 1 cup seedless grapes
- 1 medium apple, thinly sliced
- 2 tbsp honey
- 1/3 cup mixed unsalted nuts
- 1/2 cup pitted olives (optional)
- 1/4 cup dried apricots or figs
- Fresh rosemary or thyme sprigs for garnish
Instructions
- Gather all ingredients and lay them out on the counter.
- Slice the cheddar into thin slices or small cubes about 1/4 inch thick. Slice the brie into wedges. Leave the goat cheese as a log.
- Rinse grapes and pat dry. Thinly slice the apple, leaving the skin on. Optionally toss apple slices with a splash of lemon juice to prevent browning.
- Arrange crackers and toasted baguette slices around the edges of your serving board or plate.
- Place the cheddar, brie, and goat cheese log spaced out on the board for easy access and visual balance.
- Fill in gaps with grapes, apple slices, mixed nuts, olives, and dried fruits. Drizzle honey over the goat cheese or serve honey in a small bowl with a spoon.
- Garnish with a few sprigs of fresh rosemary or thyme for color and aroma.
- Adjust spacing if needed and serve immediately or cover and refrigerate for up to 2 hours before serving.
Notes
Let cheeses sit at room temperature for about 20 minutes before serving for best flavor. Use separate knives for each cheese to avoid flavor mixing. Add fresh fruit and honey just before serving to keep freshness. For gluten-free option, substitute crackers and baguette with gluten-free crackers or vegetable sticks.
Nutrition
- Serving Size: Approximately 1/4 of
- Calories: 320
- Sugar: 10
- Sodium: 350
- Fat: 22
- Saturated Fat: 9
- Carbohydrates: 18
- Fiber: 2
- Protein: 12
Keywords: cheese plate, no-cook recipe, easy appetizer, beginner-friendly, entertaining, cheese board, party snack