Love this? Save it for later!
Share the inspiration with your friends
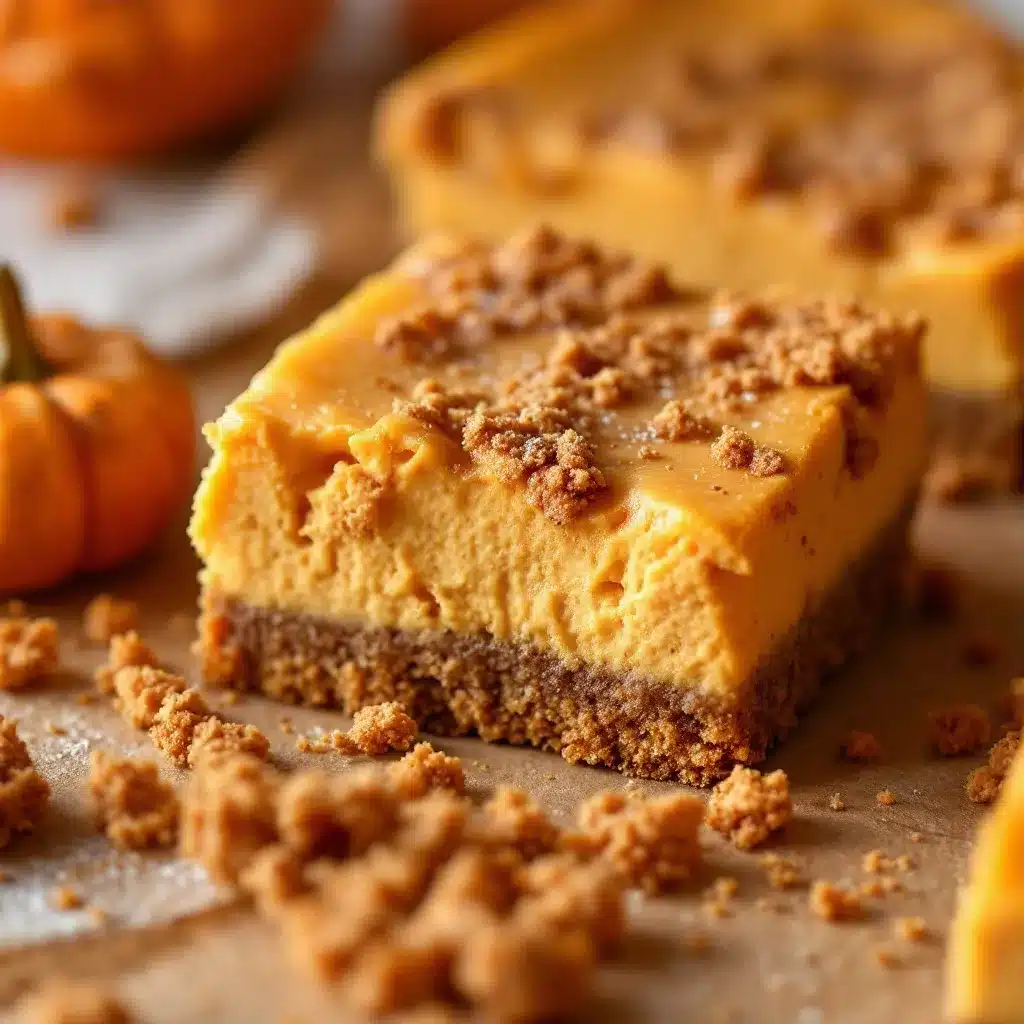
That first clean break through the gingersnap crust. Honestly, that sound—a sharp, sandy crunch giving way to the silent, dense slide of the knife through the chilled cheesecake layer—is half the reason I make these. The other half is the color. That deep, almost sunset-orange against the pale, creamy white. It’s not a subtle dessert. It’s a statement. A two-toned slab of fall on a plate, and I’m not sorry about it.
I spent three whole autumns trying to get a pumpkin cheesecake bar right. The first batch was a sad, watery mess that slid right off a soggy graham cracker crust. The second had a curdled-looking top that tasted fine but looked like a science experiment gone wrong. The third? The third was the one where I finally stopped trying to make it “healthier” and just let the cream cheese and pumpkin have their moment. I swapped the graham crackers for gingersnaps on a whim, and that was it. The spicy, molasses-y crunch against the velvety, spiced filling—it clicked. I knew I wasn’t going to tweak it anymore.
These bars are the kind of thing you make when you want the payoff of a fancy bakery cheesecake without the water bath, the cracking anxiety, or the three-hour bake time. They’re for the person who wants a slice of something special on a Tuesday night with their coffee, not just at the Thanksgiving table. They’re for the moment you realize that a simple, well-built bar can be just as satisfying as anything fussy. And honestly, that first bite of the gingersnap crust is the only proof you’ll need.
Why You’ll Love These Pumpkin Cheesecake Bars
I’ve tested this recipe more times than I care to admit. I’ve made it with full-fat cream cheese, Neufchâtel, and even a desperate attempt with a block of store-brand that just didn’t whip up right. I’ve used fresh pumpkin puree and canned. I’ve baked it in a glass dish, a metal pan, and a ceramic one. So when I tell you this version is the one, I mean it. Here’s why it works.
- No Water Bath Needed : The cheesecake layer is thin enough to bake evenly and set without cracking, so you can skip the fuss of wrapping your pan in foil.
- That Gingersnap Crust : It’s not just a crust—it’s a flavor bomb. The spicy, deep molasses notes of the gingersnaps are a much better match for pumpkin than plain graham crackers.
- Simple Ingredients : You probably have most of this in your pantry right now. No trips to a specialty store for obscure extracts or hard-to-find spices.
- Perfect for Fall Gatherings : These bars are the star of any potluck, Friendsgiving, or cozy night in. They slice cleanly and travel well, which is more than I can say for a full cheesecake.
- Make-Ahead Friendly : They actually taste better after a night in the fridge. The flavors meld, the texture firms up, and the crust stays perfectly snappy.
This isn’t just another pumpkin bar recipe. It’s the one where the texture is actually right—a creamy, dense filling that doesn’t feel heavy, resting on a crust that crunches instead of getting soft. It’s the kind of dessert that makes you close your eyes after the first bite, not because it’s overly sweet, but because the balance of tangy cream cheese, earthy pumpkin, and warm spice is just… right. It’s comfort food that feels a little bit special, without needing a special occasion.
What Ingredients You Will Need
This recipe uses simple, wholesome ingredients to build layers of flavor and texture. Nothing here is overly complicated, but a few key choices make all the difference. Let’s break it down.
For the Gingersnap Crust
- 2 cups (about 200g) gingersnap cookie crumbs — I use store-bought gingersnaps from the bakery aisle. You want a cookie that’s crunchy, not soft. Pulse them in a food processor until they’re fine crumbs. If you don’t have a processor, put them in a zip-top bag and go to town with a rolling pin. It’s a good arm workout.
- 6 tablespoons (85g) unsalted butter, melted — This binds the crumbs. Use melted butter, not just softened. It coats the crumbs evenly and helps the crust hold together when you press it into the pan.
- 2 tablespoons (25g) granulated sugar — Just a little extra sweetness to balance the spicy cookies.
- 1/4 teaspoon fine sea salt — Don’t skip this. It sharpens the flavor of the crust and keeps it from tasting flat.
For the Pumpkin Cheesecake Filling
- 16 ounces (452g) full-fat cream cheese, softened to room temperature — This is non-negotiable. Low-fat cream cheese has a higher water content and will make your filling runny. Let it sit on the counter for at least an hour. I set it out when I start making the crust.
- 3/4 cup (150g) granulated sugar — Enough to sweeten the filling without making it cloying.
- 1 cup (245g) pumpkin puree — Not pumpkin pie filling. You want 100% pure pumpkin. I prefer Libby’s for its consistent thickness and flavor. If you’re using homemade, make sure you’ve squeezed out as much liquid as possible with a clean kitchen towel.
- 2 large eggs, room temperature — Cold eggs can seize the cream cheese mixture and create lumps. If you forgot to take them out of the fridge, place them in a bowl of warm water for 5 minutes.
- 1 teaspoon vanilla extract — Use pure vanilla, not imitation. It adds a subtle warmth that rounds out the spices.
- 1 1/2 teaspoons pumpkin pie spice — You can use a store-bought blend or make your own with 1/2 teaspoon cinnamon, 1/4 teaspoon nutmeg, 1/4 teaspoon ginger, 1/4 teaspoon allspice, and a pinch of cloves.
- 1/2 teaspoon ground cinnamon — For extra warmth. I’m a cinnamon fan, so I always add a little more.
- 1 tablespoon all-purpose flour — This helps stabilize the filling and prevents cracking. It’s a small amount, but it makes a big difference.
Ingredient Substitution Note: If you’re dairy-free, you can use a high-quality vegan cream cheese block (not the spreadable kind), but the texture will be slightly softer. For a gluten-free option, use gluten-free gingersnap cookies and a gluten-free all-purpose flour blend in the filling. I’ve tried it with almond flour in the filling, and it works, but the texture is a little grainier.
Equipment Needed
You don’t need a professional bakery setup for these bars. Here’s what you’ll actually use.
- 9×9-inch square baking pan — This is the perfect size for a thick crust and a generous filling layer. An 8×8 pan will work, but your bars will be taller and may need a few extra minutes of bake time.
- Parchment paper — Line the pan with two overlapping sheets, leaving overhang on all sides. This creates “handles” that let you lift the whole block of bars out cleanly for slicing.
- Food processor or zip-top bag and rolling pin — For crushing the gingersnaps. A food processor is faster and gives you a finer, more even crumb.
- Electric hand mixer or stand mixer — You need to beat the cream cheese until it’s smooth and fluffy. A whisk and some elbow grease could work, but it’s a lot of effort. I’ve been there, and it’s not fun.
- Large mixing bowls — One for the crust, one for the filling.
- Spatula — For scraping down the bowl and smoothing the filling.
- Cooling rack — Essential for letting the bars cool completely before you chill them.
Preparation Method
Let’s get to it. The process is straightforward, but a few small details make the difference between a good bar and a great one.
- Preheat and Prep. Preheat your oven to 350°F (175°C). Line your 9×9-inch pan with parchment paper, leaving a 2-inch overhang on two opposite sides. This is your lifting handle.
- Make the Crust. In a medium bowl, combine the gingersnap crumbs, melted butter, sugar, and salt. Stir with a fork until the mixture looks like wet sand and all the crumbs are evenly coated. Press the mixture firmly and evenly into the bottom of the prepared pan. I use the flat bottom of a measuring cup to really pack it down. A loose crust will fall apart when you cut the bars. Bake the crust for 10 minutes. It should be fragrant and just starting to darken around the edges. Set it aside to cool while you make the filling. Leave the oven on.
- Beat the Cream Cheese. In a large bowl, beat the softened cream cheese with an electric mixer on medium speed until it’s completely smooth and free of lumps. This takes about 2 minutes. Scrape down the sides and bottom of the bowl with a spatula. Add the sugar and beat for another 2 minutes until the mixture is light and fluffy.
- Add the Pumpkin and Eggs. Add the pumpkin puree, vanilla, pumpkin pie spice, cinnamon, and flour. Beat on low speed until just combined. Add the eggs one at a time, beating on low after each addition until the yolk disappears. Don’t overmix. Overbeating incorporates too much air, which can cause the cheesecake to puff up and crack as it bakes. Scrape the bowl well.
- Assemble and Bake. Pour the filling over the pre-baked crust. Use a spatula to spread it into an even layer, right to the edges. Gently tap the pan on the counter a few times to release any air bubbles. Bake for 35 to 40 minutes. The edges should be set and slightly puffed, but the center should still have a slight jiggle when you gently shake the pan. It will continue to set as it cools. If the edges start to brown too quickly, tent the pan loosely with foil for the last 5 to 10 minutes of baking.
- Cool Completely. Place the pan on a wire rack and let it cool to room temperature. This takes about 1 to 1.5 hours. Don’t rush this step. If you put the warm bars in the fridge, condensation will form on the surface and make it watery.
- Chill for Slices. Once the pan is cool to the touch, cover it with plastic wrap and refrigerate for at least 4 hours, but preferably overnight. This is the hardest part. The chilling time is what gives you those clean, sharp slices. The flavor also deepens overnight as the spices meld with the cream cheese.
- Slice and Serve. Lift the bars out of the pan using the parchment overhang. Place the block on a cutting board. Use a long, sharp knife to slice into squares. For the cleanest cuts, wipe the knife clean with a damp paper towel between each slice. I like 16 small bars (4×4 grid), but you can cut them into 9 larger squares if you prefer a more generous portion.
Troubleshooting Tip: If you see a small crack forming on the surface of the filling as it bakes, don’t panic. It happens. Because these are bars, you can just hide the crack with a dollop of whipped cream or a sprinkle of cinnamon when you serve them.
Cooking Tips & Techniques
Over the years, I’ve made just about every mistake you can make with a cheesecake bar. Here are the lessons I learned the hard way so you don’t have to.
Room Temperature is Real. I used to think this was a myth invented by food bloggers to sound professional. Then I tried making these bars with cold cream cheese straight from the fridge. The batter was lumpy. I beat it for five minutes, and it was still lumpy. The lumps didn’t bake out. They stayed, creating little pockets of dense, unappealing cream cheese. Let your cream cheese and eggs sit out for at least an hour. Your mixer will thank you.
Don’t Overmix the Filling. When you add the eggs, mix on low speed just until they disappear. If you beat the filling on high, you incorporate too much air. That air expands in the oven, then deflates as it cools, leaving you with a sunken, cracked surface. Low and slow is the way to go.
Press the Crust Firmly. A loose crust is a crumbly crust. I press mine down with the flat bottom of a glass or a measuring cup. I press hard. I press until the crumbs feel like a solid, compact layer. If you can still see loose crumbs on the surface, press some more.
Trust the Jiggle. The center of the bars will look underdone when you pull them out of the oven. That’s okay. Overbaking is the number one cause of dry, cracked cheesecake. The residual heat in the pan will finish cooking the center as it cools. A slight jiggle in the middle is your friend.
Patience is a Virtue. I know you want to eat these right now. I know the smell of pumpkin and spice is filling your kitchen. But cutting into these bars while they’re still warm is a recipe for a messy, gooey disaster. The filling needs time to set. Four hours in the fridge is the minimum. Overnight is better. Trust the process.
Variations & Adaptations
One of the best things about this recipe is how easy it is to change up. Here are a few ways I’ve played with it.
Bourbon Pumpkin Cheesecake Bars. Add 1 tablespoon of good bourbon to the filling along with the vanilla. The smoky, oaky notes of the bourbon are a fantastic match for the pumpkin and spices. I made these for a Halloween party once, and they disappeared in minutes.
Chocolate Swirl Pumpkin Cheesecake Bars. Melt 1/4 cup of semi-sweet chocolate chips with 1 tablespoon of coconut oil. After you pour the filling into the pan, drop small spoonfuls of the melted chocolate on top. Use a knife to swirl it into the filling in a figure-eight pattern. You get a beautiful marbled effect and a hint of chocolate in every bite.
Vegan & Dairy-Free Version. Use a dairy-free cream cheese block (like Miyoko’s or Violife) and a vegan butter stick for the crust. Replace the eggs with a flax egg (1 tablespoon ground flaxseed mixed with 3 tablespoons water per egg, let sit for 5 minutes). The texture will be slightly softer and less firm, but the flavor is still fantastic. I’ve tested this for a friend with a dairy allergy, and it passed the test.
Gluten-Free Adaptation. Use certified gluten-free gingersnap cookies for the crust. Replace the all-purpose flour in the filling with a 1:1 gluten-free baking flour blend. The crust will be a little more delicate, so handle it gently when you press it into the pan.
Mini Cheesecake Bars. Line a 12-cup muffin tin with paper liners. Press about 1 1/2 tablespoons of crust mixture into the bottom of each cup. Bake for 5 minutes. Fill each cup with about 2 tablespoons of filling. Bake for 15 to 18 minutes. These are perfect for parties or portion control. Or both.
Serving & Storage Suggestions
These bars are versatile. Here’s how to serve and store them like a pro.
Serving Temperature. I prefer these bars cold, straight from the fridge. The filling is firm, the crust is snappy, and the flavors are clean. Some people like them at room temperature, which softens the texture and makes the filling a little creamier. Try both and see which camp you fall into.
Presentation Ideas. For a simple, elegant look, dust the tops with a little ground cinnamon or pumpkin pie spice before serving. A dollop of lightly sweetened whipped cream is never a bad idea. For a more decadent finish, drizzle with salted caramel sauce or a ribbon of maple glaze. If you’re feeling fancy, garnish with a few candied pecans or a sprinkle of flaky sea salt.
What to Serve With It. A hot cup of coffee is the classic pairing. The bitterness of the coffee cuts through the richness of the cheesecake. A chai latte or a mug of spiced apple cider also works beautifully. For an after-dinner drink, a small glass of bourbon or a dark rum complements the gingersnap crust perfectly.
Storage Instructions. Store the bars in an airtight container in the refrigerator for up to 5 days. Layer them between sheets of parchment paper so they don’t stick together. The flavor actually improves after the first day as the spices continue to meld.
Freezing Instructions. These bars freeze beautifully. Place the sliced bars on a baking sheet and freeze until solid, about 1 hour. Transfer the frozen bars to a freezer-safe container or zip-top bag, separating layers with parchment paper. They will keep for up to 3 months. Thaw in the refrigerator overnight before serving. Do not thaw at room temperature, as condensation will make the crust soggy.
Reheating Note. I don’t recommend reheating these bars. They are meant to be served cold or at room temperature. If you want a warm dessert, try serving them with a warm caramel sauce or a hot cup of coffee instead.
Nutritional Information & Benefits
Let’s be real—these are a treat. But knowing what’s in them helps you enjoy them mindfully. Here’s the estimated breakdown for one bar (based on 16 servings).
| Nutrient | Amount Per Serving |
|---|---|
| Calories | 245 |
| Total Fat | 16g |
| Saturated Fat | 9g |
| Cholesterol | 65mg |
| Sodium | 220mg |
| Total Carbohydrates | 22g |
| Dietary Fiber | 1g |
| Sugars | 15g |
| Protein | 4g |
| Vitamin A | 45% DV |
| Calcium | 4% DV |
| Iron | 6% DV |
Pumpkin is a good source of Vitamin A, which supports eye health and immune function. The cream cheese provides a small amount of calcium and protein. The gingersnaps add a touch of iron from the molasses. This isn’t a health food, but it’s a dessert made with real ingredients, and that counts for something.
Dietary Considerations: This recipe contains dairy, gluten, and eggs. See the Variations section above for vegan, dairy-free, and gluten-free adaptations.
Conclusion
These Perfect Pumpkin Cheesecake Bars with Gingersnap Crust are the kind of recipe that becomes a fall tradition. They’re simple enough for a Tuesday night baking project, but impressive enough to bring to a holiday gathering. The spicy, crunchy crust. The creamy, tangy filling. The way the pumpkin and spices come together in a way that feels both familiar and special.
I love this recipe because it doesn’t ask for perfection. It doesn’t need a water bath or a special technique. It just needs a little patience and a willingness to follow a few simple steps. And the payoff is a dessert that makes people close their eyes and smile.
I’d love to hear how these turn out for you. Did you add a swirl? Try a different crust? Share your version in the comments below. Tag me in your photos. Let’s make this fall the season of perfect pumpkin cheesecake bars.
Frequently Asked Questions
Can I use a different crust?
Absolutely. Graham crackers, vanilla wafers, or even shortbread cookies will work. Just keep the butter-to-crumb ratio the same. The flavor won’t be as bold as the gingersnap, but it will still be delicious.
Why did my cheesecake filling crack?
Overbaking is the most common cause. The center should still have a slight jiggle when you pull it out of the oven. Overmixing the batter can also introduce too much air, which causes cracking as it deflates.
Can I use pumpkin pie filling instead of pumpkin puree?
I don’t recommend it. Pumpkin pie filling is already sweetened and spiced, which will throw off the balance of the recipe. Stick with 100% pure pumpkin puree for the best results.
How do I get clean, sharp slices?
Chill the bars for at least 4 hours, preferably overnight. Use a long, sharp knife and wipe it clean with a damp paper towel between each cut. Run the knife under hot water and dry it off for an even cleaner cut.
Can I make these bars ahead of time for a party?
Yes, and I actually recommend it. They taste better after a day in the fridge. You can make them up to 3 days in advance. Just keep them covered in the refrigerator until you’re ready to slice and serve.
Pin This Recipe!
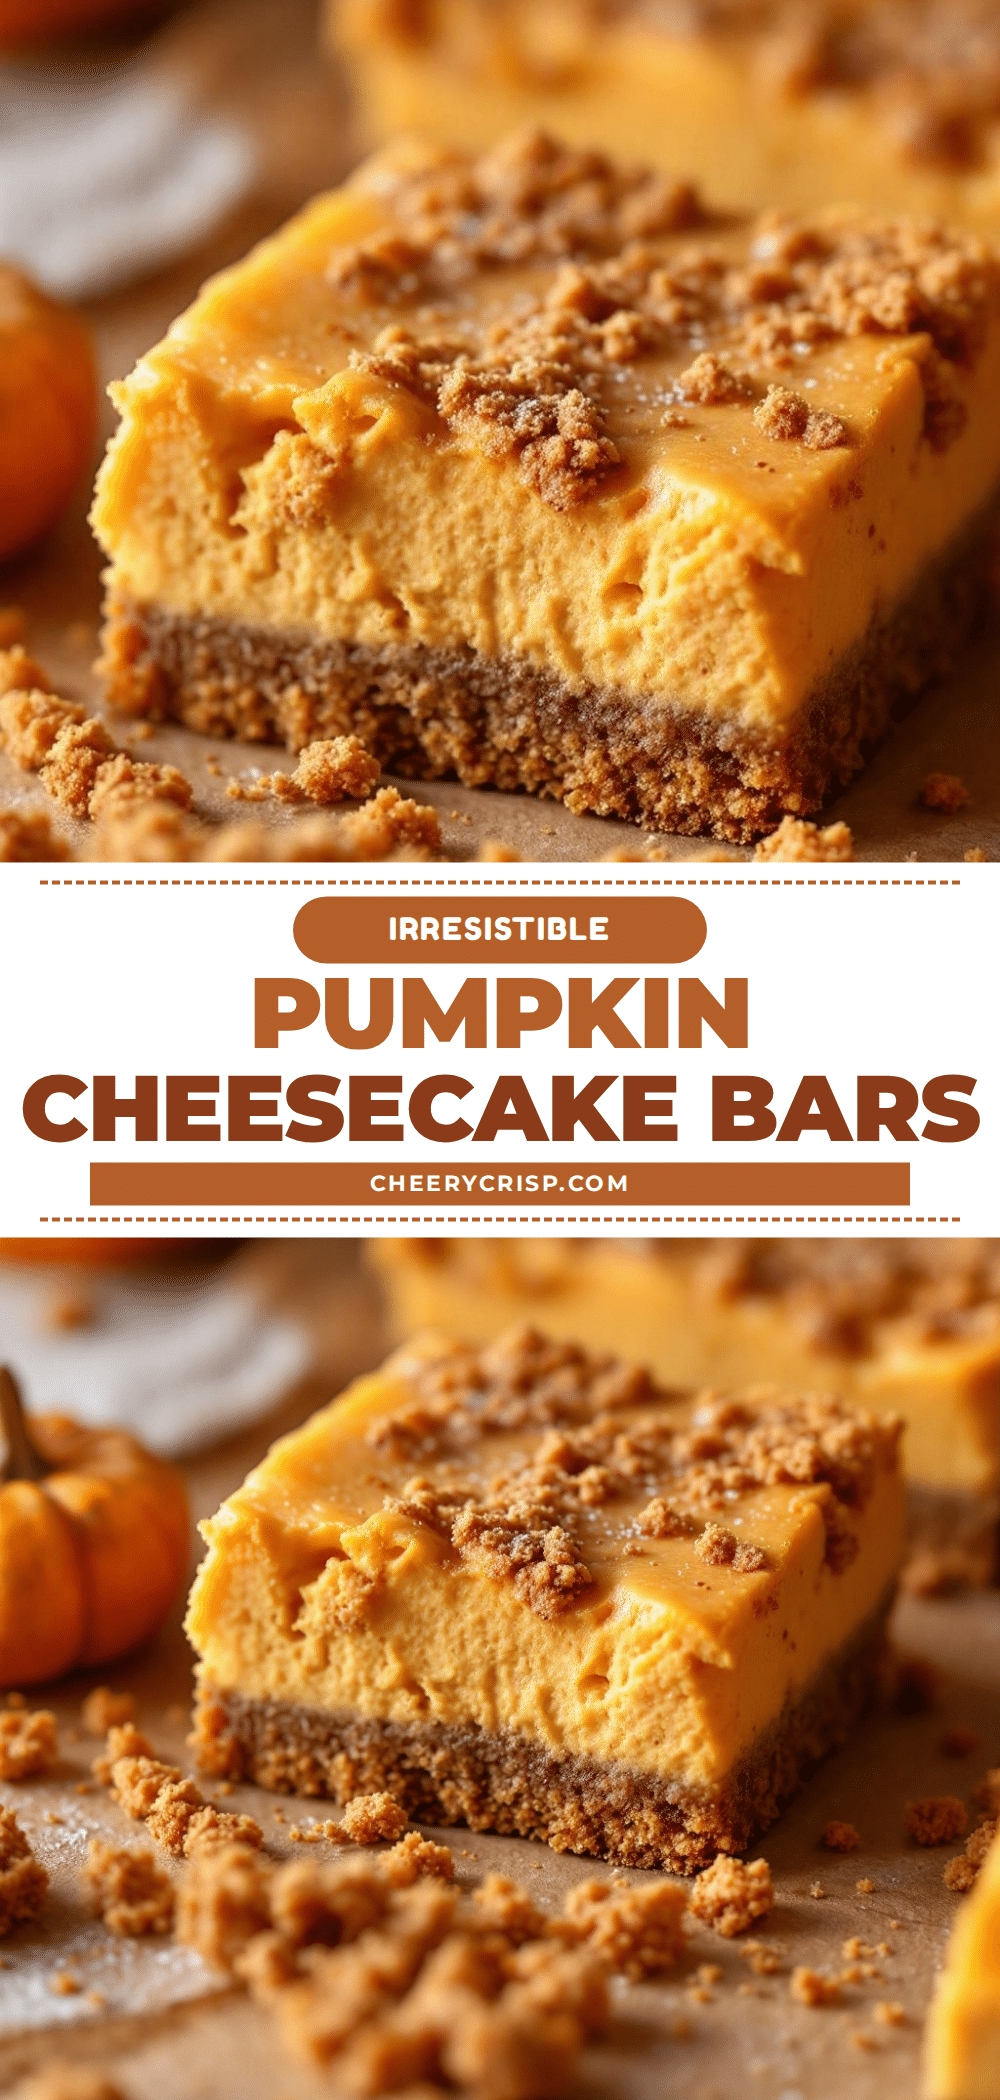
Perfect Pumpkin Cheesecake Bars (Easy Fall Dessert)
These Perfect Pumpkin Cheesecake Bars feature a spicy gingersnap crust and a creamy, tangy pumpkin cheesecake filling. They are an easy, no-water-bath dessert that delivers bakery-quality results with simple ingredients.
- Prep Time: 20 minutes
- Cook Time: 40 minutes
- Total Time: 5 hours (includes chilling)
- Yield: 16 servings 1x
- Category: Dessert
- Cuisine: American
Ingredients
- 2 cups (about 200g) gingersnap cookie crumbs
- 6 tablespoons (85g) unsalted butter, melted
- 2 tablespoons (25g) granulated sugar
- 1/4 teaspoon fine sea salt
- 16 ounces (452g) full-fat cream cheese, softened to room temperature
- 3/4 cup (150g) granulated sugar
- 1 cup (245g) pumpkin puree (not pumpkin pie filling)
- 2 large eggs, room temperature
- 1 teaspoon vanilla extract
- 1 1/2 teaspoons pumpkin pie spice
- 1/2 teaspoon ground cinnamon
- 1 tablespoon all-purpose flour
Instructions
- Preheat your oven to 350°F (175°C). Line a 9×9-inch baking pan with parchment paper, leaving a 2-inch overhang on two opposite sides.
- In a medium bowl, combine the gingersnap crumbs, melted butter, sugar, and salt. Stir until the mixture looks like wet sand. Press firmly and evenly into the bottom of the prepared pan. Bake for 10 minutes, then set aside to cool. Leave the oven on.
- In a large bowl, beat the softened cream cheese with an electric mixer on medium speed until smooth, about 2 minutes. Scrape down the sides. Add the sugar and beat for another 2 minutes until light and fluffy.
- Add the pumpkin puree, vanilla, pumpkin pie spice, cinnamon, and flour. Beat on low speed until just combined. Add the eggs one at a time, beating on low after each addition until the yolk disappears. Do not overmix.
- Pour the filling over the pre-baked crust and spread into an even layer. Gently tap the pan on the counter to release air bubbles. Bake for 35 to 40 minutes, until the edges are set and the center has a slight jiggle. Tent with foil if edges brown too quickly.
- Place the pan on a wire rack and cool completely to room temperature, about 1 to 1.5 hours.
- Cover with plastic wrap and refrigerate for at least 4 hours, preferably overnight.
- Lift the bars out of the pan using the parchment overhang. Place on a cutting board and slice into squares using a long, sharp knife. Wipe the knife clean between cuts for neat slices.
Notes
For clean slices, chill the bars for at least 4 hours or overnight. Use a sharp knife and wipe it clean between cuts. If a small crack forms, hide it with whipped cream or a sprinkle of cinnamon. The bars can be stored in the refrigerator for up to 5 days or frozen for up to 3 months.
Nutrition
- Serving Size: 1 bar
- Calories: 245
- Sugar: 15
- Sodium: 220
- Fat: 16
- Saturated Fat: 9
- Carbohydrates: 22
- Fiber: 1
- Protein: 4
Keywords: pumpkin cheesecake bars, fall dessert, gingersnap crust, easy cheesecake bars, pumpkin dessert



