Love this? Save it for later!
Share the inspiration with your friends
My husband took one bite of these fries, looked at me with this suspicious squint, and said, “Wait, these are butternut squash? Are you sure?” He picked up another one, turned it over, examined the crispy edge like he was inspecting evidence, and then just shrugged and ate the rest of the batch without another word. That was the moment I knew this recipe was a keeper.
I’ll be honest—I’ve tried making butternut squash fries before, and they usually ended up as sad, soggy little sticks that made me question why I bothered. The problem is squash is watery. It releases steam in the oven, and all that moisture turns your crispy dreams into limp disappointments. But I was determined to crack the code because, honestly, I wanted fries I could feel good about eating on a random Tuesday night (or, you know, for breakfast the next day).
After a few failed attempts—some too soft, some burnt on the edges and raw in the middle—I finally figured out the magic combination. A hot oven, a light coating of cornstarch, and a generous blanket of Parmesan cheese. The cheese crisps up into this salty, nutty crust that clings to every bite of sweet squash. It’s the kind of side dish that makes you forget you’re eating a vegetable. And when you dip it in a little garlic aioli or warm marinara? Forget about it.
These Crispy Parmesan Butternut Squash Fries have become my go-to for fall dinners, game day snacking, and even just those afternoons when I need something crunchy to get through the rest of the day. They come together fast, bake up beautifully, and disappear even faster. Trust me on this one.
Why You’ll Love This Recipe
I’ve tested this recipe more times than I care to admit—some batches were triumphs, others were tragic. But I learned something from every single one, and I’m sharing all those hard-won lessons with you here. These fries are different because they actually stay crispy.
- Oven-Baked, Not Fried : All the crunch without the mess or guilt of deep frying. You get that satisfying snap when you bite into one, but you’re eating roasted squash. Win-win.
- Simple Ingredients : You probably have everything in your kitchen right now. Butternut squash, Parmesan, cornstarch, and a few pantry spices. No weird specialty items required.
- Perfect for Fall & Beyond : Great as a side for cozy soups, alongside a cozy slow cooker butternut squash soup, or just as a snack while you’re binge-watching your favorite show.
- Crowd-Pleaser : Even my friend who swears she hates squash ate an entire plate of these. The Parmesan creates a savory crust that wins over skeptics every time.
- Unbelievably Crunchy : The secret is the cornstarch-Parmesan coating. It creates a barrier that locks in the squash’s natural sweetness while the outside gets golden and shatteringly crisp.
This isn’t just another roasted vegetable recipe. It’s the one that makes you close your eyes after the first bite and think, “Okay, I get it now.” It’s comfort food that feels light, satisfying, and just a little bit fancy—without any of the stress.
What Ingredients You Will Need
This recipe relies on a short list of everyday ingredients, but each one plays a key role in creating that perfect crispy texture and savory flavor. Here’s what you’ll need and why they matter.
- Butternut squash (1 medium, about 2-3 pounds) – Look for a squash with a long, straight neck—it’s easier to cut into uniform fry shapes. The flesh should feel heavy for its size and have a deep orange color. I prefer organic squash when I can find it, but conventional works just fine.
- Grated Parmesan cheese (½ cup, finely grated) – This is not the time for the pre-shredded stuff in a bag. It has anti-caking agents that prevent it from melting properly. Buy a block of real Parmigiano-Reggiano and grate it yourself. The difference is night and day. I like the one from Whole Foods’ 365 brand or a good imported Italian wedge.
- Cornstarch (2 tablespoons) – This is the unsung hero of crispy oven fries. It absorbs excess moisture from the squash and creates a thin, starchy layer that turns golden and crunchy. Don’t skip it—I tried once and ended up with steamed squash sticks.
- Olive oil (2 tablespoons) – Helps the coating stick and promotes browning. Use a good quality extra virgin olive oil for flavor, or avocado oil if you prefer a neutral taste.
- Garlic powder (1 teaspoon) – Adds savory depth without the risk of burning like fresh garlic would at high heat.
- Paprika (½ teaspoon) – A little smoky sweetness that complements the squash. Smoked paprika works beautifully here too.
- Salt (½ teaspoon, plus more for sprinkling) – I use fine sea salt for the coating and a pinch of flaky salt at the end for texture.
- Black pepper (¼ teaspoon, freshly ground) – Just a touch to round out the flavors.
- Fresh parsley (optional, for garnish) – A little green makes the dish pop, but it’s totally optional.
For serving (optional but highly recommended):
- Garlic aioli, marinara sauce, or ranch dressing for dipping. These fries are also amazing with a drizzle of balsamic glaze.
Equipment Needed
You don’t need a lot of fancy gear for this recipe, but a few tools make the process much smoother.
- Sharp chef’s knife – Butternut squash is dense and unforgiving. A dull knife is dangerous here. I use my trusty 8-inch Wusthof, and it makes cutting through the squash feel almost easy.
- Vegetable peeler – A standard Y-shaped peeler works great for removing the tough skin. I’ve tried using a knife, but the peeler is faster and safer.
- Large baking sheet – A half-sheet pan (18×13 inches) is ideal. If your pan is smaller, use two pans to avoid overcrowding. Overcrowding = soggy fries.
- Parchment paper or silicone baking mat – Helps prevent sticking and makes cleanup a breeze. Silicone mats also promote even browning.
- Large mixing bowl – For tossing the squash with oil and seasonings.
- Measuring spoons – Precision matters with the cornstarch and seasonings.
- Microplane or fine grater – For grating the Parmesan. A box grater works too, but a Microplane gives you that fine, powdery texture that clings best to the squash.
If you don’t have a good chef’s knife, a sturdy vegetable peeler and a little patience will get you through. I’ve also used a mandoline slicer in the past for perfectly even cuts, but honestly, a knife is faster for this job.
Preparation Method
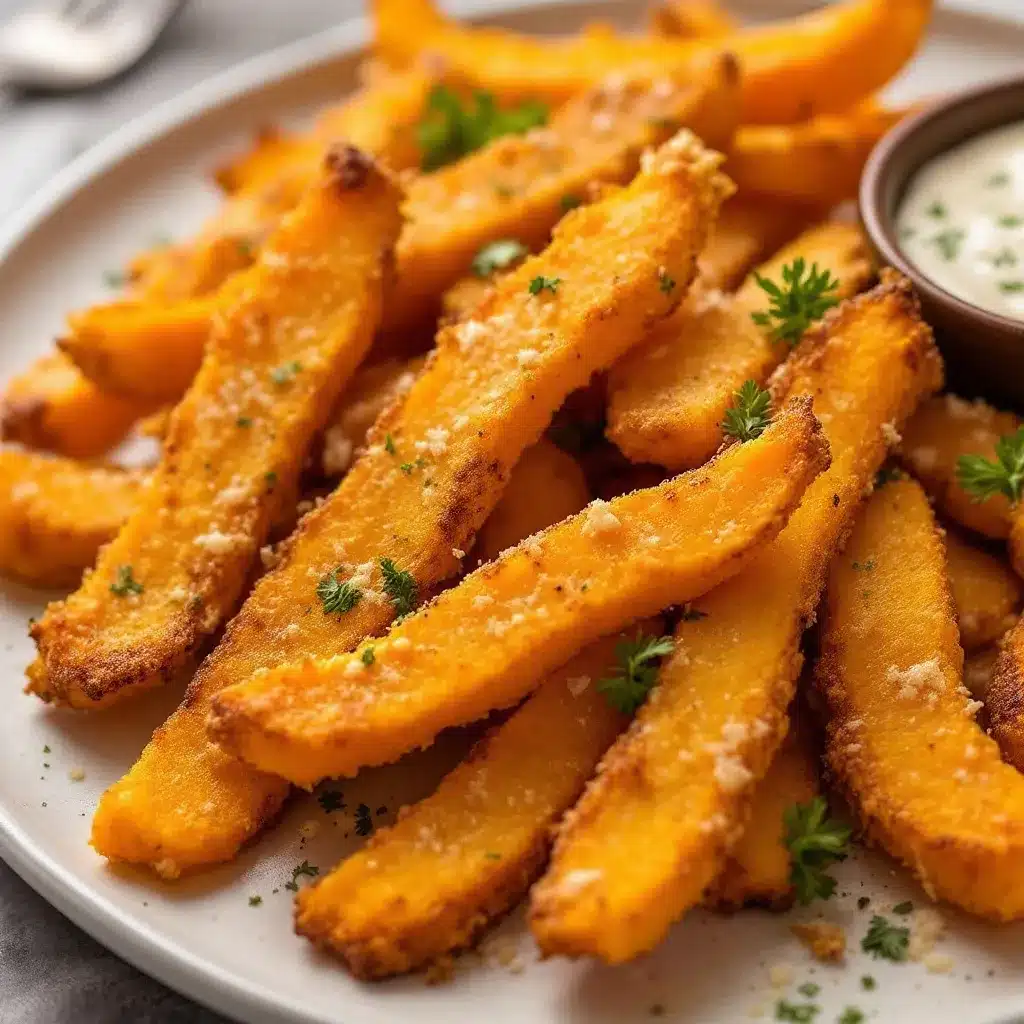
Getting these fries right is all about the prep. Take your time with the cutting, and you’ll be rewarded with even cooking and maximum crispiness.
- Preheat your oven to 425°F (220°C). Place one rack in the middle of the oven. Line a large baking sheet with parchment paper or a silicone baking mat.
- Prepare the butternut squash. Cut off both ends of the squash with your sharp knife. Stand it upright on its flat base and carefully slice off the skin from top to bottom, following the curve of the squash. A vegetable peeler works for this too, but a knife is faster. Cut the squash in half where the narrow neck meets the round bulb. Slice the neck into planks about ½-inch thick, then cut those into ½-inch wide sticks. Scoop out the seeds from the bulb section and cut that part into similar-sized sticks. Try to keep them uniform—about 3 inches long and ½ inch thick—so they cook evenly.
- Soak the squash sticks in hot water (optional but helpful). This is a trick I picked up from making potato fries. Place the cut squash in a bowl and cover with hot tap water. Let it sit for 10 minutes. This helps remove some surface starch and makes the fries extra crispy. Drain them well and pat them very dry with a clean kitchen towel. Moisture is the enemy of crispiness, so be thorough here.
- Mix the coating. In a small bowl, combine the grated Parmesan, cornstarch, garlic powder, paprika, salt, and pepper. Stir with a fork to break up any clumps of cheese.
- Toss the squash with oil. Place the dried squash sticks in a large mixing bowl. Drizzle with olive oil and toss gently with your hands until every piece is lightly coated. Don’t drown them—just a light, even coating.
- Add the Parmesan mixture. Sprinkle the cheese mixture over the oiled squash. Toss again, using your hands to gently massage the coating onto each stick. Some cheese will fall off—that’s okay. The bits that stick will create the crispy crust.
- Arrange on the baking sheet. Place the coated squash sticks in a single layer on the prepared baking sheet. Make sure they have a little space between each fry. If they’re touching, they’ll steam instead of crisp. If you have too many, use a second sheet.
- Bake for 15 minutes. Place the sheet in the preheated oven. Set a timer. Don’t peek for the first 10 minutes—you want the heat to stay consistent.
- Flip and rotate. After 15 minutes, remove the pan from the oven. Use a spatula to carefully flip each fry. They should be golden on the bottom. Rotate the pan (front to back) and return to the oven.
- Bake for another 10-15 minutes. Watch them closely toward the end. They’re done when they’re deep golden brown and feel firm to the touch. The cheese should be bubbly and browned in spots.
- Cool slightly before serving. Let the fries rest on the baking sheet for 2-3 minutes. This allows the crust to set. Then transfer to a serving plate. Sprinkle with a pinch of flaky sea salt and fresh parsley if you’re using it.
Cooking Tips & Techniques
I learned most of these the hard way—by pulling sad, soggy trays out of the oven and vowing to do better next time. Here’s what actually works.
Don’t skip the cornstarch. I know it seems like an extra step, but it’s the difference between crispy fries and limp squash. The cornstarch absorbs moisture and creates that shatteringly crunchy exterior. I once tried using arrowroot powder as a substitute, and it worked okay, but cornstarch is really the best here.
Cut them evenly. I cannot stress this enough. If some sticks are thicker than others, the thin ones will burn while the thick ones stay raw inside. Take an extra minute to check your cuts. Your future self will thank you.
Hot oven, hot pan. If you have time, pop the baking sheet in the oven while it preheats. Adding the fries to a hot pan gives them an immediate sear on the bottom, which helps with crisping. Just be careful—the pan will be very hot.
Don’t overcrowd. This is the number one mistake I see people make. If the fries are crowded, they release steam and get soggy. Give them room to breathe. If you have to use two pans, do it. The extra few minutes of cleanup are worth it.
Flip gently. The Parmesan crust can be delicate. Use a thin metal spatula to flip each fry, and don’t rush. If some of the coating falls off, just press it back on with your fingers.
Let them rest. I know it’s hard to wait, but those 2-3 minutes of resting time are crucial. The fries continue to crisp up as they cool slightly. If you serve them straight from the oven, they might seem a little soft, but they’ll firm up beautifully after a short rest.
Variations & Adaptations
One of the best things about this recipe is how easy it is to change up. Here are a few ways I’ve made it my own over the years.
Spicy Chipotle Version: Add ½ teaspoon of chipotle powder and a pinch of cayenne to the Parmesan coating. The smoky heat pairs beautifully with the sweet squash. I made this version for a smoky chipotle football chili night, and it was a hit with everyone.
Herb & Garlic: Mix in 1 teaspoon of dried rosemary or thyme with the coating. Fresh herbs don’t hold up well at high heat, so stick with dried. I’ve also added a tablespoon of nutritional yeast for a cheesy, dairy-free twist—it works surprisingly well.
Air Fryer Method: If you have an air fryer, this recipe adapts beautifully. Preheat the air fryer to 375°F (190°C). Cook the fries in a single layer (you may need to work in batches) for 10-12 minutes, shaking the basket halfway through. They come out even crispier than the oven version. I’ve tested this with my crispy air fryer chicken breast recipe, and the same principles apply—hot air circulation is your friend.
Sweet Potato Swap: You can use sweet potatoes instead of butternut squash with the same method. Just cut them into similar-sized sticks and reduce the baking time by about 5 minutes since sweet potatoes cook a little faster.
Dairy-Free Option: Replace the Parmesan with ¼ cup of nutritional yeast mixed with 2 tablespoons of almond flour. It won’t be as crispy, but it will still be delicious and completely dairy-free.
Serving & Storage Suggestions
These fries are best enjoyed fresh from the oven, but I’ve got tips for every situation.
Serving Temperature: Serve them warm, not piping hot. A 2-3 minute rest on the baking sheet is perfect. They’re great at room temperature too, making them a solid choice for parties or potlucks.
Dipping Sauces: My personal favorite is a simple garlic aioli—mix ¼ cup mayonnaise with 1 minced garlic clove and a squeeze of lemon juice. Marinara sauce is a classic. Ranch dressing works if that’s your thing. For something a little different, try a spicy sriracha mayo or a tangy balsamic reduction.
Side Dish Pairings: These fries are fantastic alongside a cozy slow cooker butternut squash soup for a double-squash dinner. They also pair beautifully with grilled chicken, roasted salmon, or a simple green salad. I’ve even served them as a topping for grain bowls—they add the perfect crunch.
Storage: Leftover fries can be stored in an airtight container in the refrigerator for up to 3 days. They will lose their crispiness, but they’re still tasty.
Reheating: The oven is your best friend here. Preheat to 400°F (200°C) and spread the fries on a baking sheet. Bake for 5-7 minutes until they’re hot and crispy again. The microwave will make them soggy, so avoid it if you can. An air fryer works great too—just 3-4 minutes at 350°F (175°C).
Freezing: I don’t recommend freezing these fries after baking. The texture won’t hold up. But you can freeze the raw, coated fries on a baking sheet, then transfer them to a freezer bag. Bake from frozen, adding 5-7 minutes to the cooking time.
Nutritional Information & Benefits
Here’s the estimated nutrition for one serving (about ½ of the recipe, or roughly 12-15 fries). Values are approximate and will vary based on exact ingredients used.
| Nutrient | Amount per Serving |
|---|---|
| Calories | 195 |
| Total Fat | 11g |
| Saturated Fat | 3g |
| Cholesterol | 10mg |
| Sodium | 380mg |
| Total Carbohydrates | 22g |
| Dietary Fiber | 4g |
| Sugars | 5g |
| Protein | 7g |
| Vitamin A | 210% DV |
| Vitamin C | 35% DV |
| Calcium | 15% DV |
| Iron | 8% DV |
Butternut squash is packed with vitamin A (from beta-carotene), which supports eye health and immune function. It’s also a good source of fiber, which keeps you full and happy. The Parmesan adds a little protein and calcium, while the olive oil provides healthy monounsaturated fats. These fries are naturally gluten-free and can be made vegetarian. If you’re watching your sodium, you can reduce the salt in the coating and skip the final sprinkle of flaky salt.
Conclusion
These Crispy Parmesan Butternut Squash Fries are the kind of recipe that makes you feel like you’ve discovered a secret. They’re crunchy, savory, and just a little bit sweet—everything you want in a fry, but made from a vegetable that’s actually good for you. I’ve made them for picky eaters, squash lovers, and everyone in between, and I’ve never had leftovers.
I hope you give these a try and make them your own. Maybe you’ll add extra spice, swap the Parmesan for something else, or find a new favorite dipping sauce. That’s the beauty of a good recipe—it’s a starting point, not a rulebook.
If you make these fries, I’d love to hear about it. Drop a comment below and let me know how they turned out. Did you try a variation? Find a new favorite dip? Share your wins (and your learning moments—I’ve had plenty of those too). Happy cooking, friends!
Frequently Asked Questions
Can I use pre-cut butternut squash from the store?
Yes, you can! Look for fresh, pre-cut cubes in the produce section. Just make sure they’re cut into even, fry-sized pieces (about ½ inch thick). Frozen squash won’t work—it releases too much water during baking and will turn soggy.
Why are my fries not crispy?
The most common reasons are overcrowding the pan, not drying the squash well enough, or skipping the cornstarch. Make sure your squash is patted very dry, give each fry space on the baking sheet, and don’t skip the cornstarch—it’s the secret to crunch.
Can I make these ahead of time?
These fries are best fresh, but you can prep the squash up to a day in advance. Cut the sticks and store them in a bowl of cold water in the fridge. Pat them very dry before coating and baking. You can also freeze the raw, coated fries (see storage notes above).
What’s the best way to cut butternut squash safely?
Use a sharp chef’s knife and a stable cutting board. Cut off both ends first, then stand the squash upright. Slice off the skin from top to bottom, following the curve. Cut the neck from the bulb, then slice into planks and sticks. If the squash feels too hard, microwave it for 2 minutes to soften slightly before cutting.
Can I use a different type of cheese?
Absolutely! Pecorino Romano works great and has a saltier, sharper flavor. Asiago is another good option. For a dairy-free version, try nutritional yeast mixed with almond flour (see variations above). Avoid soft cheeses like mozzarella—they won’t crisp up the same way.
Pin This Recipe!
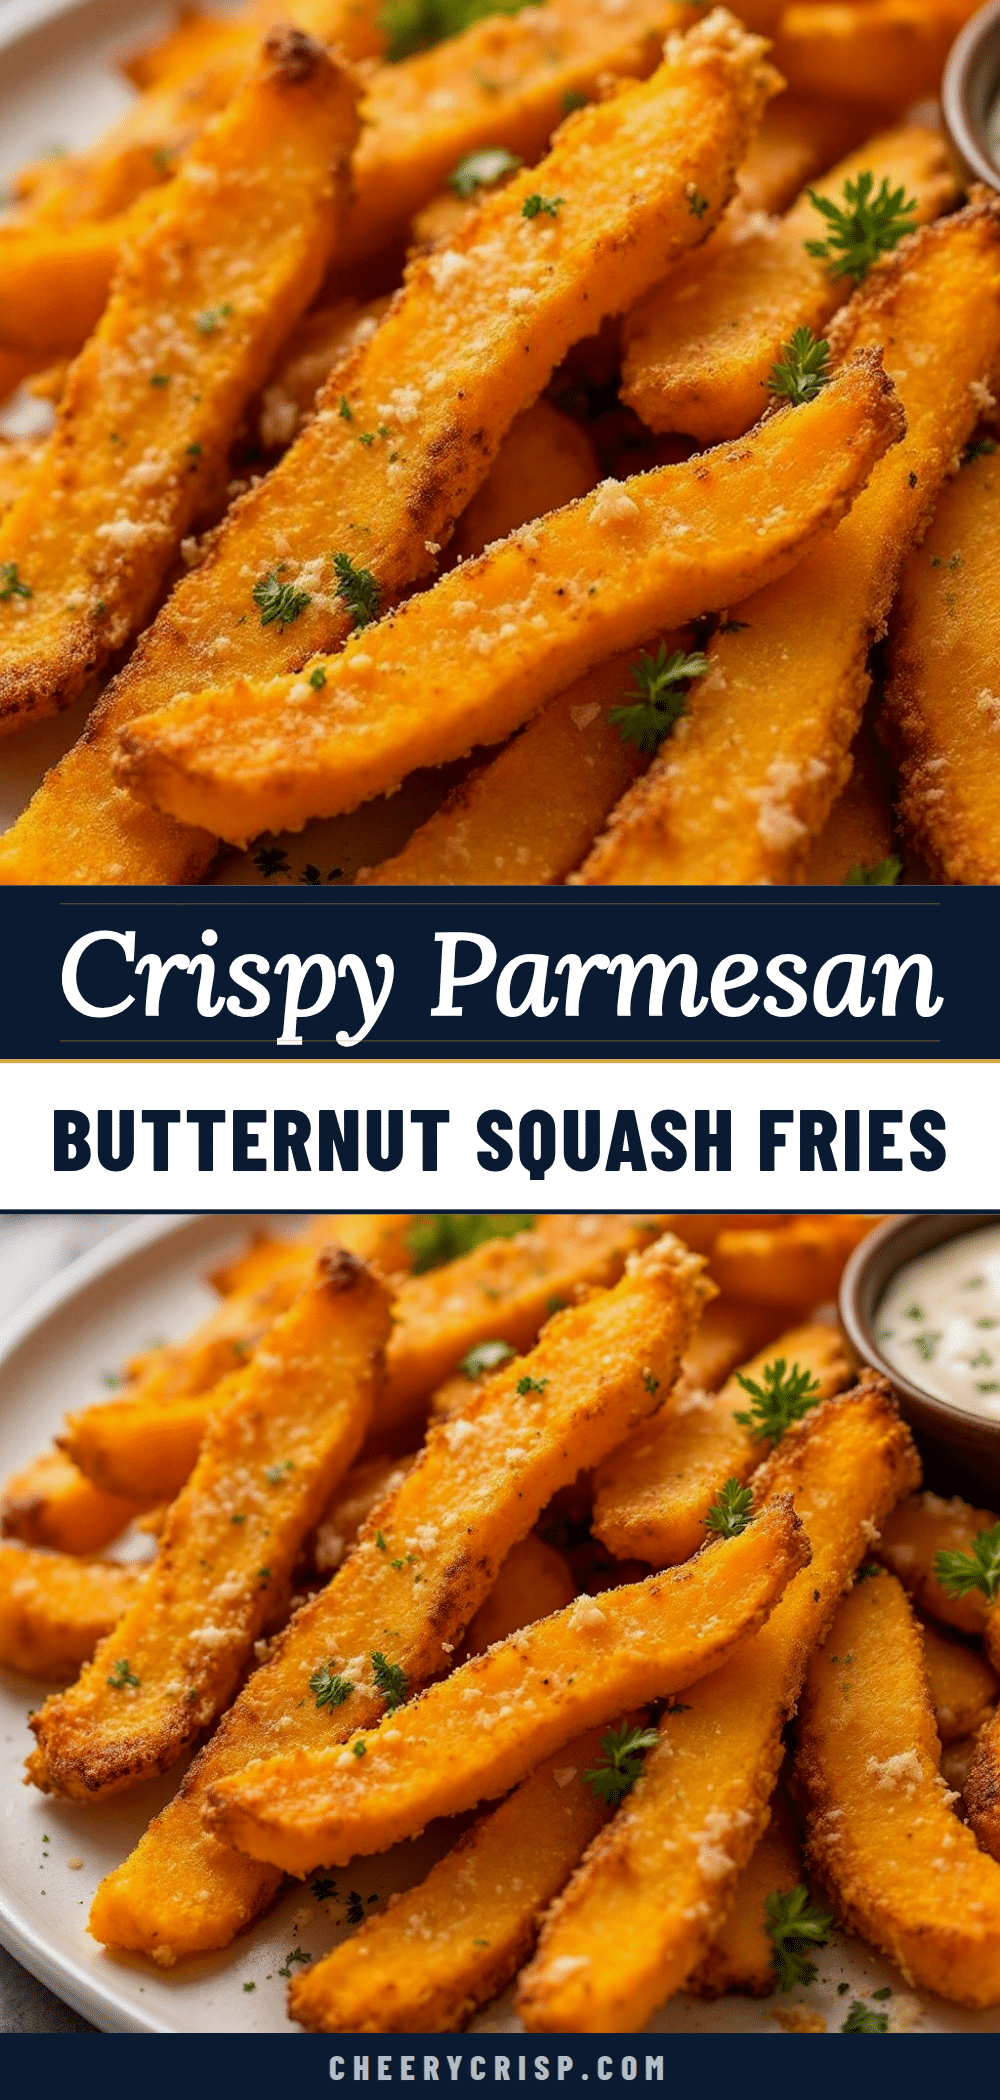
Crispy Parmesan Butternut Squash Fries: Easy Baked Recipe

These oven-baked butternut squash fries are coated in a crispy Parmesan and cornstarch crust, delivering a crunchy, savory snack or side dish that even squash skeptics will love.
- Prep Time: 20 minutes
- Cook Time: 25-30 minutes
- Total Time: 45-50 minutes
- Yield: 4 servings 1x
- Category: Side Dish
- Cuisine: American
Ingredients
- 1 medium butternut squash (about 2–3 pounds)
- ½ cup finely grated Parmesan cheese (preferably Parmigiano-Reggiano)
- 2 tablespoons cornstarch
- 2 tablespoons olive oil
- 1 teaspoon garlic powder
- ½ teaspoon paprika
- ½ teaspoon fine sea salt, plus more for sprinkling
- ¼ teaspoon freshly ground black pepper
- Fresh parsley for garnish (optional)
- Garlic aioli, marinara sauce, or ranch dressing for serving (optional)
Instructions
- Preheat your oven to 425°F (220°C). Place one rack in the middle of the oven. Line a large baking sheet with parchment paper or a silicone baking mat.
- Prepare the butternut squash: Cut off both ends, stand it upright, and slice off the skin. Cut the squash in half where the narrow neck meets the round bulb. Slice the neck into ½-inch thick planks, then cut into ½-inch wide sticks. Scoop out seeds from the bulb and cut into similar-sized sticks, about 3 inches long and ½ inch thick.
- Optional but helpful: Soak the squash sticks in hot water for 10 minutes to remove surface starch. Drain and pat very dry with a clean kitchen towel.
- In a small bowl, combine the grated Parmesan, cornstarch, garlic powder, paprika, salt, and pepper. Stir to break up any clumps.
- Place the dried squash sticks in a large mixing bowl. Drizzle with olive oil and toss gently with your hands until lightly coated.
- Sprinkle the Parmesan mixture over the oiled squash. Toss again, using your hands to gently massage the coating onto each stick.
- Arrange the coated squash sticks in a single layer on the prepared baking sheet, leaving space between each fry to avoid overcrowding.
- Bake for 15 minutes. Do not open the oven for the first 10 minutes.
- Remove the pan from the oven. Carefully flip each fry with a spatula. Rotate the pan front to back and return to the oven.
- Bake for another 10-15 minutes, until deep golden brown and firm to the touch. Watch closely toward the end.
- Let the fries rest on the baking sheet for 2-3 minutes to allow the crust to set. Transfer to a serving plate and sprinkle with flaky sea salt and fresh parsley if desired.
Notes
For extra crispiness, soak the cut squash in hot water for 10 minutes and pat very dry before coating. Do not overcrowd the baking sheet; use two pans if needed. Let fries rest for 2-3 minutes after baking to set the crust. Reheat leftovers in the oven at 400°F for 5-7 minutes to restore crispiness.
Nutrition
- Serving Size: About 12-15 fries
- Calories: 195
- Sugar: 5
- Sodium: 380
- Fat: 11
- Saturated Fat: 3
- Carbohydrates: 22
- Fiber: 4
- Protein: 7
Keywords: butternut squash fries, crispy parmesan fries, baked squash fries, healthy fries, fall side dish, gluten-free fries



