Love this? Save it for later!
Share the inspiration with your friends
It was the third week of September, and my kitchen counter was completely buried under a mountain of pears. My neighbor, a lovely older woman named Irene, had knocked on my door that morning holding a massive cardboard box. “My tree went crazy this year,” she laughed, practically shoving the box into my arms. “You’ll figure something out.” I stood there, staring at what felt like forty pounds of perfectly ripe Bartlett pears, thinking about how I’d already made three loaves of pear bread that week. My husband was starting to side-eye the fruit bowl. I had to do something drastic, and honestly, canning felt like a project for people who had their lives together—not for someone who’d barely slept and had pear juice on her ceiling from a blender mishap the night before.
But here’s the thing about homemade canned pear halves in light vanilla syrup—they make you look like a kitchen wizard with very little actual effort. I mean, I was winging it. I had a big pot, some jars I’d saved from pasta sauce, and a vague memory of watching my grandmother do something similar when I was seven. The first batch I made that afternoon turned out so good that I cried a little. Not even kidding. When you open a jar in January and taste summer, it hits different. That first pop of the lid, the sweet vanilla scent mixing with the soft, tender pear—it’s like capturing a moment in time. I’ve been making them every fall since, and I’ve gotten the process down to where it feels almost meditative. Maybe you’ve been there, standing in your kitchen with more fruit than you know what to do with, wondering if you should just start handing bags to strangers. Trust me on this one—grab your jars and some vanilla beans instead.
Why You’ll Love This Recipe
Let me tell you why this recipe has become my absolute favorite way to preserve pears. I’ve tested it through three different harvest seasons, tweaked the syrup ratios, and even convinced my picky nephew to eat a whole jar in one sitting. It’s that good.
- Simple Ingredients : You only need pears, sugar, water, and vanilla. No pectin, no fancy additives, no weird preservatives. Your pantry probably has everything except the pears right now.
- Beginner-Friendly : If you’ve never canned anything before, this is the perfect starting point. The process is forgiving, and pears are naturally cooperative. I messed up my first batch and they still tasted incredible.
- Incredible Flavor : The light vanilla syrup is subtle—it doesn’t overpower the pear’s natural sweetness. It just adds this warm, comforting note that makes each bite feel special. You’ll find yourself eating them straight from the jar with a fork.
- Year-Round Summer : Opening a jar of these in the middle of winter is pure magic. The pears stay firm and flavorful for months, giving you a taste of autumn whenever you need it.
- Perfect for Gifting : Tie a ribbon around a jar and you’ve got a homemade gift that looks like it came from a fancy boutique. Everyone I’ve given these to has asked for the recipe.
- Versatile : Use them on oatmeal, over ice cream, in salads, or just as a snack. They’re not just for eating plain—they’re a secret weapon in the kitchen.
What makes this recipe different from other canning guides is the careful attention to texture. I don’t boil the pears to mush. I use a hot pack method that keeps them tender but not falling apart. The vanilla isn’t an afterthought—it’s steeped into the syrup so every pear half gets that subtle floral sweetness. This isn’t just another preserving recipe; it’s the one that’ll make you feel like a pro.
What Ingredients You Will Need
This recipe relies on simple, high-quality ingredients to deliver that perfect balance of sweet and fruity. Most of these are pantry staples, and the pears are the star of the show.
- Fresh Pears (about 6-8 pounds) – You want firm, ripe but not mushy pears. Bartlett or Bosc work beautifully. Look for pears that yield slightly to pressure but aren’t soft. Underripe pears actually hold their shape better during canning.
- Granulated Sugar (3 cups) – Regular white sugar creates a clean, light syrup. I’ve tried honey and it changes the flavor too much for my taste. Stick with plain sugar here.
- Water (6 cups) – Filtered water is best if your tap water has a strong chlorine taste. It does make a difference in the final flavor.
- Vanilla Beans (2 whole beans) – This is non-negotiable for me. Vanilla extract can turn cloudy and bitter when heated. Whole vanilla beans infuse the syrup with those beautiful little black specks and a pure, rich flavor. I buy mine in bulk from a local spice shop.
- Lemon Juice (1/4 cup) – Fresh squeezed is ideal, but bottled works in a pinch. The acid helps prevent the pears from browning and balances the sweetness.
- Salt (a pinch) – Just a tiny amount enhances the overall flavor without making the pears taste salty. Trust me on this one.
I recommend using Ball or Kerr canning jars for best results. They’re reliable and widely available. For the vanilla beans, Madagascar vanilla is my go-to—it has that classic, creamy vanilla profile that pairs perfectly with pears. If you’re in a pinch and can’t find whole vanilla beans, use 2 teaspoons of pure vanilla extract added to the syrup after it’s removed from heat, not during boiling.
Equipment Needed
You don’t need a professional canning setup to make this work. Here’s what I use every time:
- Water Bath Canner or Large Stockpot – It needs to be deep enough to cover the jars with at least 1-2 inches of water. I use a basic enamel canner that cost me twenty bucks.
- Canning Jars (6-8 pint-sized jars) – Pint jars are perfect for pear halves. Quart jars work too, but you’ll need to process them longer.
- New Lids and Bands – Never reuse lids. The sealing compound only works once. Bands can be reused as long as they’re not rusty.
- Jar Lifter – This is essential for safely removing hot jars from boiling water. I learned that lesson the hard way with a pair of tongs and a minor kitchen disaster.
- Wide-Mouth Funnel – Makes filling jars with syrup much less messy. Trust me, you don’t want to be pouring hot syrup without one.
- Bubble Remover or Wooden Skewer – You need something to slide down the sides of the jar to release air bubbles. A chopstick works great.
- Clean Kitchen Towels – For wiping jar rims and setting hot jars on. Paper towels can leave lint.
A magnetic lid wand is a nice-to-have but not necessary. I used my fingers for years before I bought one. Just be careful—those lids get hot fast.
Preparation Method
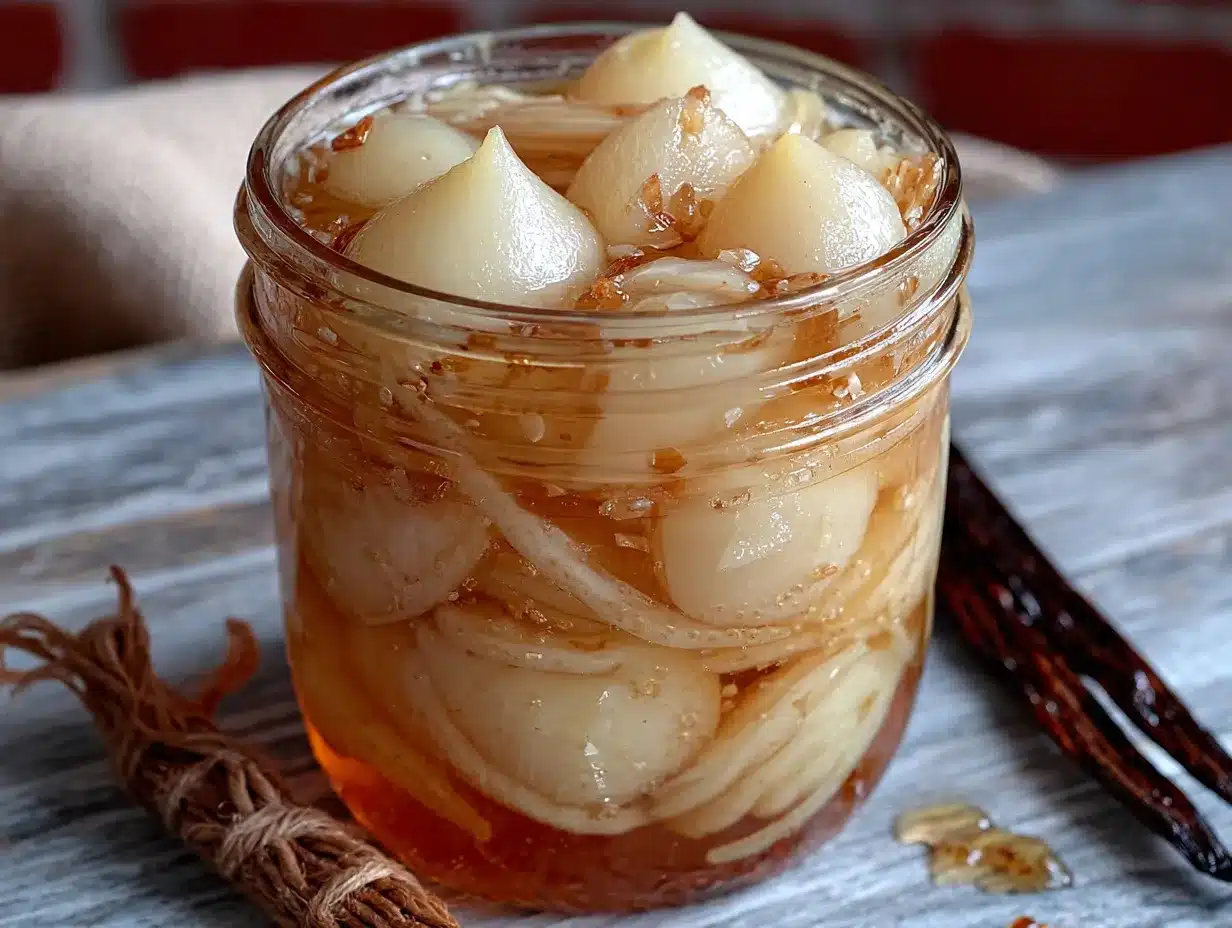
This process takes about 2-3 hours from start to finish, including processing time. Take it step by step and you’ll have beautiful jars of pears to enjoy all year.
- Prepare your canning station. Wash your jars, lids, and bands in hot soapy water. Rinse thoroughly. Place the jars in your canner or stockpot, cover with water, and bring to a simmer. Keep them hot until you’re ready to fill them. Put the lids in a small saucepan of simmering water—don’t boil them, just keep them hot.
- Make the vanilla syrup. In a large saucepan, combine 6 cups of water and 3 cups of granulated sugar. Split your vanilla beans lengthwise with a sharp knife and scrape the seeds into the water. Drop the pods in too. Bring to a boil over medium-high heat, stirring until the sugar dissolves completely. Reduce heat and let it simmer gently while you prepare the pears.
- Prepare the pears. Fill a large bowl with cold water and add the lemon juice. This is your acid bath to prevent browning. Working in batches, peel each pear with a vegetable peeler. Cut them in half lengthwise and use a melon baller or small spoon to scoop out the core and seeds. Drop each half into the lemon water immediately. Don’t let them sit too long—you want them fresh.
- Pre-cook the pears. This step is crucial for texture. Bring a large pot of water to a gentle boil. Using a slotted spoon, transfer the pear halves from the acid bath into the boiling water. Cook for exactly 5 minutes. This softens them slightly and prevents them from floating in the jars. Drain them carefully—they’ll be hot and fragile.
- Pack the jars. Remove a hot jar from the canner using your jar lifter. Place it on a clean towel. Using the wide-mouth funnel, pack the pear halves into the jar as tightly as you can without crushing them. I fit about 4-5 halves per pint jar, depending on size. Leave 1/2 inch of headspace at the top.
- Add the syrup. Ladle the hot vanilla syrup over the pears, leaving that 1/2 inch headspace. You want the pears completely covered. Slide your bubble remover or skewer down the sides of the jar to release any trapped air bubbles. Add more syrup if needed to maintain headspace.
- Wipe and seal. Wipe the rim of each jar with a clean, damp towel to remove any syrup residue. A clean seal is essential for proper closure. Center a lid on the jar and screw on the band until it’s fingertip-tight—not too tight, just snug.
- Process the jars. Place the filled jars back into the canner using your jar lifter. Make sure they’re covered by at least 1-2 inches of water. Bring to a full rolling boil, then start your timer. Process pint jars for 20 minutes at altitudes below 1,000 feet. Adjust for higher altitudes if needed.
- Cool and check seals. After processing, turn off the heat and let the jars sit in the water for 5 minutes. Then remove them to a towel-lined counter. Don’t tip them or tighten the bands. Let them cool completely for 12-24 hours. You’ll hear the satisfying “pop” as each lid seals. Press the center of each lid—if it doesn’t flex, it’s sealed. Refrigerate any unsealed jars and use them within a few weeks.
The pears will look a bit cloudy right after processing—that’s normal. They’ll clear up as they cool and the syrup settles.
Cooking Tips & Techniques
I’ve made plenty of mistakes with this recipe so you don’t have to. Here’s what I’ve learned the hard way:
Don’t skip the pre-cook step. My first batch, I packed raw pears directly into jars and poured boiling syrup over them. They floated to the top like little boats, and the texture was uneven. Pre-cooking for 5 minutes helps them hold their place and gives them a consistent tenderness throughout.
Watch your headspace carefully. Too little headspace and syrup will bubble out during processing, messing up your seal. Too much and the pears might discolor at the top. That 1/2 inch is your sweet spot. I use a ruler sometimes—not kidding.
Use the ripest pears you can find that are still firm. I once tried to can a batch of pears that were a little too soft—they turned into pear sauce in the jars. Not the worst thing in the world, but not what we’re going for here. If your pears are on the softer side, reduce the pre-cook time to 3 minutes.
Timing is everything. I like to start my canning water heating up while I’m prepping the pears. It saves so much time. Have everything laid out before you start—jars hot, syrup simmering, pears in the acid bath. Once you start packing jars, you want to move quickly to keep everything hot.
Don’t over-process. I know 20 minutes seems short, but that’s all it takes. Longer processing turns pears into mush. Set a timer and stick to it. I once got distracted by a phone call and processed for 35 minutes—those pears were sad.
Variations & Adaptations
This recipe is wonderfully flexible. Here are some ways I’ve adapted it over the years:
Spiced Vanilla Pears – Add 2 cinnamon sticks, 4 whole cloves, and a star anise to the syrup while it simmers. Remove them before packing the jars. These are incredible on oatmeal or paired with sharp cheese.
Honey-Vanilla Syrup – Replace half the sugar with honey for a different sweetness profile. Use a mild honey like clover or orange blossom—strong honey can overpower the pears. Reduce the water slightly since honey adds liquid.
Low-Sugar Version – Use a light syrup with just 1 cup of sugar to 6 cups of water. The pears will be less sweet but still delicious. You can also use a sugar substitute like allulose, but check the processing time—some substitutes affect the pH.
Brandy-Poached Pears – Add 1/4 cup of brandy or bourbon to the syrup before processing. The alcohol mostly cooks off but leaves a warm, complex flavor. These are my favorite for holiday gifts.
Different Pear Varieties – I’ve made this with Bartlett, Bosc, Anjou, and even Asian pears. Each gives a slightly different texture and sweetness. Bosc holds its shape the best, while Bartlett has the most classic pear flavor. Mix and match for variety.
I once tried adding a strip of lemon zest to each jar—it added a bright note that was lovely but a little unexpected. My family was split on it, so now I keep it optional.
Serving & Storage Suggestions
These pears are incredibly versatile. Here’s how I use them throughout the year:
At room temperature or chilled – Both work beautifully. I prefer them slightly chilled in summer and at room temperature in winter. The syrup gets a little thicker when cold, which is nice.
Over ice cream or yogurt – A scoop of vanilla bean ice cream with warm pear halves on top is a dessert that takes 30 seconds to assemble but tastes like you spent hours. Greek yogurt with chopped pears and a drizzle of syrup makes an amazing breakfast.
In salads – Slice the pear halves and toss them with arugula, goat cheese, candied walnuts, and a simple vinaigrette. The sweetness of the pears balances the peppery greens perfectly.
On cheese boards – Place a few pear halves next to a wedge of brie or blue cheese. The vanilla syrup pairs beautifully with sharp, funky cheeses. It’s always the first thing to disappear at parties.
Storage – Sealed jars will keep in a cool, dark place for up to 12 months. Once opened, refrigerate and use within 2 weeks. The syrup can be used separately—it’s amazing in cocktails or drizzled over pancakes.
Reheating – For warm pears, just heat the syrup and pears gently in a saucepan over low heat. Don’t boil them or they’ll fall apart. Microwave works too—30 seconds on medium power.
The flavors actually develop over time. I find the pears taste best after about a month of sitting. The vanilla really melds with the fruit in a way that’s different from fresh.
Nutritional Information & Benefits
Each serving of two pear halves with about 2 tablespoons of syrup contains approximately:
- Calories : 180-220
- Carbohydrates : 45-50g
- Fiber : 4-5g
- Sugar : 35-40g (naturally occurring plus added)
- Vitamin C : 10% of daily value
- Potassium : 5% of daily value
Pears are an excellent source of dietary fiber, which supports digestive health and helps you feel full longer. They also contain antioxidants like vitamin C and copper, which support immune function. The vanilla adds trace amounts of antioxidants too, though mostly it’s there for flavor.
This recipe is naturally gluten-free, dairy-free, and vegan. If you use a sugar substitute, it can be made low-carb friendly. The main allergen concern is the pears themselves, which are not common allergens. Always check your vanilla source if you have sensitivities.
I love that this recipe lets me enjoy the nutritional benefits of pears even when they’re out of season. It’s a way to preserve not just the fruit but the goodness it brings to my diet.
Conclusion
Honestly, making homemade canned pear halves in light vanilla syrup has become one of my favorite fall traditions. There’s something deeply satisfying about seeing those golden jars lined up on my pantry shelf, knowing I created that little piece of summer. The process is calming, the result is delicious, and the joy of opening a jar months later never gets old.
I encourage you to make this recipe your own. Adjust the sweetness, try different spices, experiment with pear varieties. That’s the beauty of home canning—it’s flexible and forgiving. And if your first batch isn’t perfect, that’s okay. My first batch had floating pears and a slightly cloudy syrup, but you know what? They still tasted amazing.
I’d love to hear how your pears turn out. Drop a comment below and tell me about your canning adventure—what variety of pears did you use, what variations did you try, did you give any away as gifts? Your stories inspire me and help other readers too. And if you enjoyed this recipe, share it with a friend who needs a little homemade goodness in their life.
Happy canning, friends. Your pantry is about to get a whole lot sweeter.
Frequently Asked Questions
Can I use vanilla extract instead of vanilla beans?
Yes, but add it after the syrup is removed from heat. Vanilla extract can develop a bitter taste when boiled. Use 2 teaspoons of pure vanilla extract stirred into the hot syrup just before packing the jars. The flavor won’t be as intense as whole beans, but it works in a pinch.
Why did my pears float to the top of the jar?
Floating pears usually happen when they’re packed too loosely or not pre-cooked enough. Pre-cooking for 5 minutes helps remove air from the fruit, making it less buoyant. Pack the jars tightly without crushing the pears, and make sure they’re fully submerged in syrup before processing.
How long do these canned pears last?
Properly sealed jars stored in a cool, dark place will last up to 12 months. After that, the quality starts to decline but they’re still safe to eat as long as the seal remains intact. Always check for signs of spoilage like mold, off-odors, or leaking before consuming.
Can I reduce the sugar in the syrup?
Absolutely. For a light syrup, use 1 cup of sugar to 6 cups of water. The pears will be less sweet but still delicious. Just know that sugar helps preserve texture and color, so reducing it too much might affect the final result. I wouldn’t go below 1/2 cup of sugar for safety reasons.
What’s the best pear variety for canning?
Bartlett pears are my top choice—they hold their shape well and have that classic pear flavor. Bosc pears are a close second with their firm texture and honey-like sweetness. Avoid very soft varieties like Comice, which tend to fall apart during processing.
Pin This Recipe!
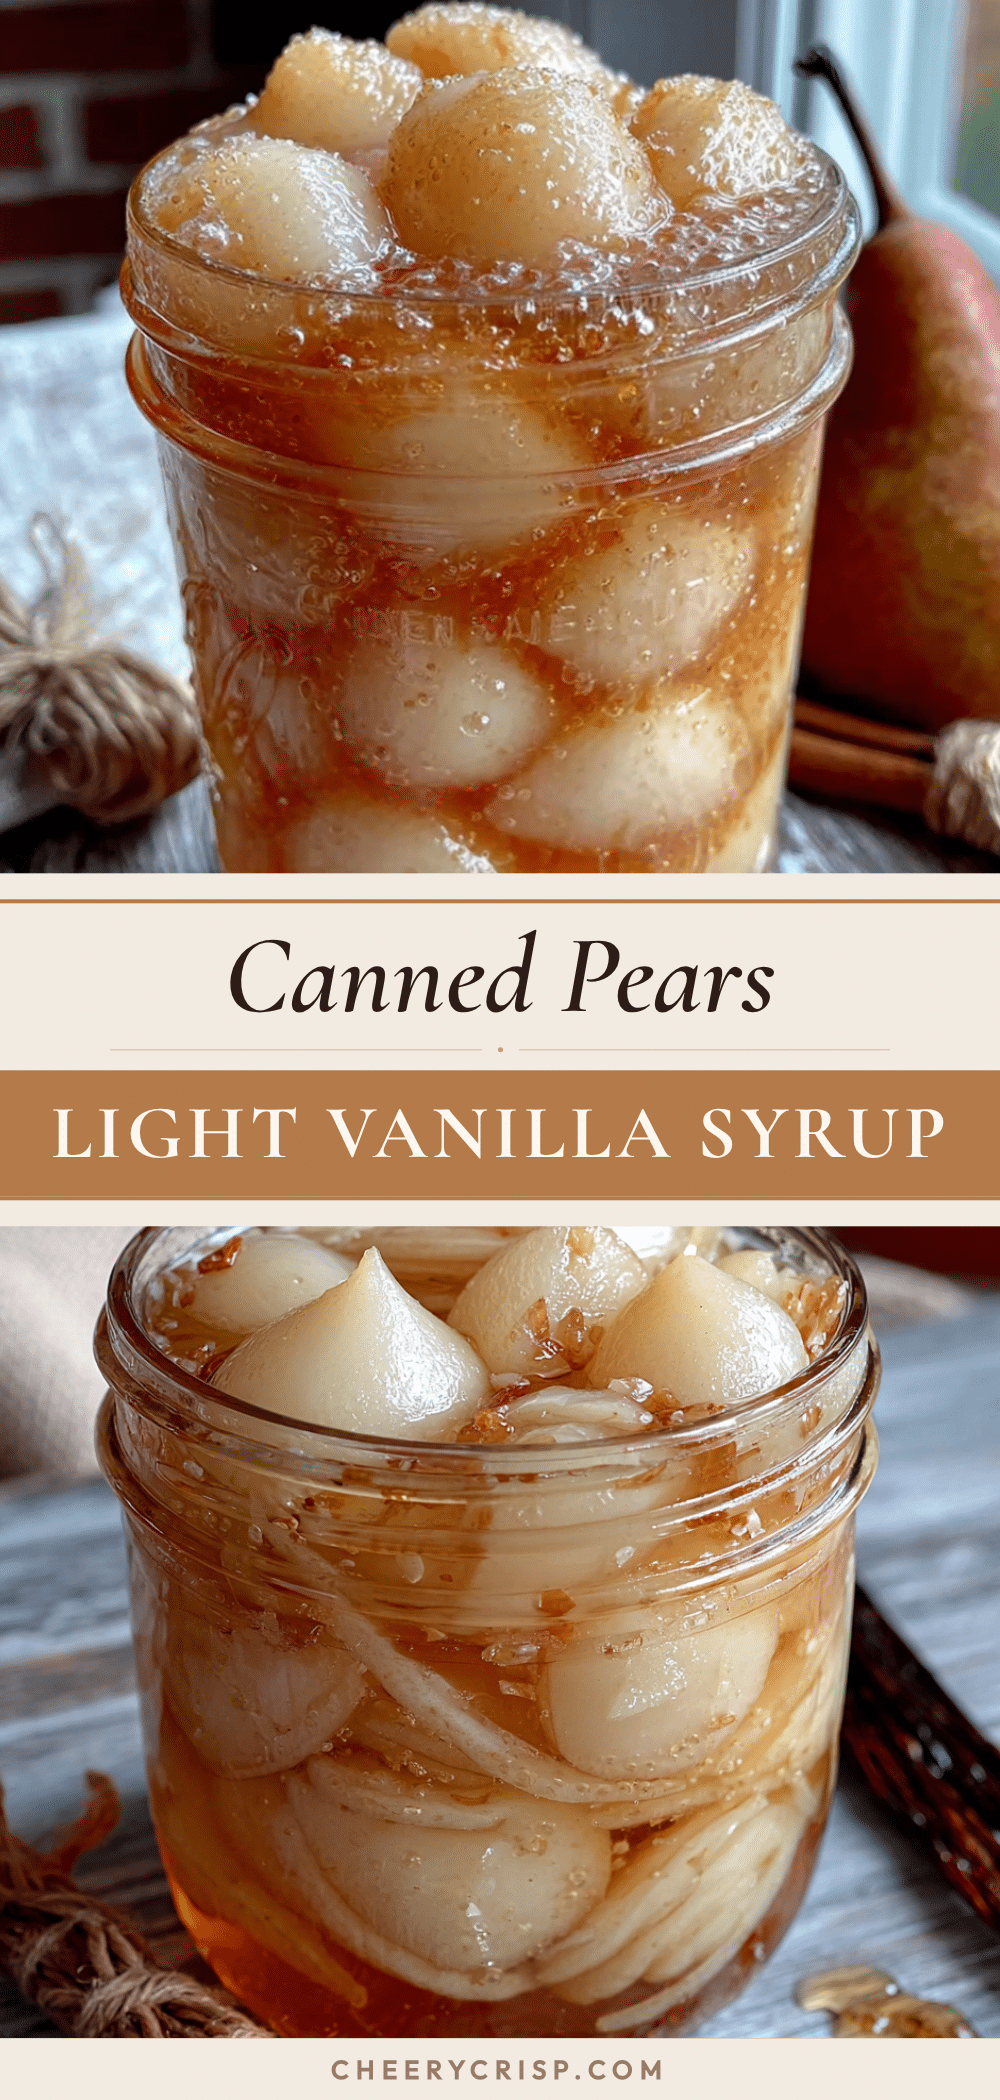
Best Homemade Canned Pear Halves in Light Vanilla Syrup
Capture the taste of summer with these homemade canned pear halves in a delicate vanilla syrup. This beginner-friendly recipe yields tender, flavorful pears perfect for snacking, desserts, or gifting.
- Prep Time: 30 minutes
- Cook Time: 20 minutes
- Total Time: 2 hours 30 minutes
- Yield: 6-8 pint jars (about 24-32 servings) 1x
- Category: Preserves
- Cuisine: American
Ingredients
- 6–8 pounds fresh pears (Bartlett or Bosc, firm but ripe)
- 3 cups granulated sugar
- 6 cups water
- 2 whole vanilla beans
- 1/4 cup lemon juice (fresh squeezed preferred)
- 1 pinch salt
Instructions
- Prepare your canning station: Wash jars, lids, and bands in hot soapy water. Rinse thoroughly. Place jars in canner or stockpot, cover with water, and bring to a simmer. Keep hot until filling. Place lids in a small saucepan of simmering water (do not boil).
- Make the vanilla syrup: In a large saucepan, combine 6 cups water and 3 cups sugar. Split vanilla beans lengthwise, scrape seeds into water, and add pods. Bring to a boil over medium-high heat, stirring until sugar dissolves. Reduce heat and simmer gently while preparing pears.
- Prepare the pears: Fill a large bowl with cold water and add lemon juice. Working in batches, peel each pear with a vegetable peeler. Cut in half lengthwise and use a melon baller or small spoon to remove core and seeds. Drop each half into the lemon water immediately.
- Pre-cook the pears: Bring a large pot of water to a gentle boil. Using a slotted spoon, transfer pear halves from acid bath into boiling water. Cook for exactly 5 minutes. Drain carefully.
- Pack the jars: Remove a hot jar from canner using jar lifter. Place on clean towel. Using wide-mouth funnel, pack pear halves tightly into jar (about 4-5 halves per pint jar), leaving 1/2 inch headspace.
- Add the syrup: Ladle hot vanilla syrup over pears, maintaining 1/2 inch headspace. Slide bubble remover or skewer down sides to release air bubbles. Add more syrup if needed.
- Wipe and seal: Wipe jar rims with clean, damp towel. Center lid on jar and screw on band until fingertip-tight.
- Process the jars: Place filled jars back into canner using jar lifter. Ensure jars are covered by 1-2 inches of water. Bring to a full rolling boil, then process pint jars for 20 minutes (adjust for altitude if above 1,000 feet).
- Cool and check seals: Turn off heat and let jars sit in water for 5 minutes. Remove to towel-lined counter. Do not tip or tighten bands. Cool completely for 12-24 hours. Listen for ‘pop’ as lids seal. Press center of each lid—if it doesn’t flex, it’s sealed. Refrigerate any unsealed jars and use within a few weeks.
Notes
Don’t skip the pre-cook step—it prevents floating pears and ensures even texture. Use the ripest firm pears available. For altitude adjustments, add 5 minutes for every 1,000 feet above sea level. Flavors develop over time; pears taste best after about a month.
Nutrition
- Serving Size: 2 pear halves with a
- Calories: 200
- Sugar: 38
- Sodium: 5
- Carbohydrates: 48
- Fiber: 4.5
- Protein: 0.5
Keywords: canned pears, vanilla syrup, homemade preserves, pear canning, light syrup, fall canning, gift jars



