Love this? Save it for later!
Share the inspiration with your friends
Introduction
It was 11:17 PM on a random Wednesday, and suddenly I had an overwhelming craving for plum jam. The thing is, I didn’t have the usual supplies for a big batch—no fancy canning jars, no pectin packets, no endless hours to babysit boiling pots. What I did have was a handful of ripe, slightly bruised plums sitting on the kitchen counter and a stubborn little vanilla bean I’d bought on a whim from a local spice shop. Honestly, it felt like the perfect late-night jam experiment waiting to happen.
The kitchen was quiet except for the faint hum of the fridge and the occasional tick of the wall clock. I grabbed a cracked mixing bowl (the one with the tiny chip on the rim that always makes me nervous) and started slicing the plums. The texture was a bit uneven—some pieces were perfectly soft while others were still firm—but you know what? That’s the charm of a small batch jam, right? No rules, no pressure.
In the middle of stirring the simmering fruit and vanilla together, my phone buzzed with a message from my neighbor asking if I had any sugar to spare. I probably should’ve said no, but instead, I laughed and told them I was making plum jam, no canning required, with my last bit of sugar and a crazy midnight idea. Maybe you’ve been there—where the kitchen feels like a tiny lab and you’re both the scientist and the taste tester. This easy small batch vanilla bean plum jam is exactly that kind of recipe. It’s honest, a little messy, and so worth it that I keep coming back to it.
Why You’ll Love This Recipe
This easy small batch vanilla bean plum jam isn’t just another jam recipe—it’s the kind you make when you want fresh, homemade flavor without the fuss of traditional canning. Over the years, I’ve tested this recipe countless times, tweaking the sugar balance and simmer times to get just the right texture and flavor. Here’s why it stands out:
- Quick & Easy: Comes together in about 45 minutes, perfect for those spontaneous fruit cravings or when you find a small basket of plums at the market.
- Simple Ingredients: You don’t need a pantry full of specialty items—just ripe plums, sugar, lemon juice, and that lovely vanilla bean for a subtle twist.
- Perfect for Small Batches: No jars to sterilize, no pressure canning, just a single jar of jam to enjoy fresh or share.
- Crowd-Pleaser: The vanilla bean adds an unexpected depth that makes this jam a hit on toast, yogurt, or even drizzled over ice cream.
- Unbelievably Delicious: The balance of tart plums and sweet vanilla is the kind of comfort food you savor slowly. It’s jam that makes you pause and smile, honestly.
What really sets this recipe apart is the no-canning step. It’s a game-changer for anyone who’s intimidated by the traditional jam-making process but still wants that homemade goodness. Plus, using a vanilla bean rather than vanilla extract brings a natural, fragrant warmth that supermarket jams just can’t match.
What Ingredients You Will Need
This easy small batch vanilla bean plum jam recipe uses simple, wholesome ingredients to deliver bold flavor and satisfying texture without the fuss. The ingredients are mostly pantry staples, with the vanilla bean adding a little luxury you might not expect.
- Plums: About 2 cups (around 300 grams) of ripe plums, pitted and chopped (I prefer firm yet juicy plums like Italian or Santa Rosa for the best balance of sweet and tart)
- Granulated Sugar: 3/4 cup (150 grams) – I usually go with organic cane sugar, but white sugar works fine too
- Lemon Juice: 1 tablespoon (15 ml) freshly squeezed – helps brighten the jam and naturally preserves it a bit
- Vanilla Bean: 1 whole bean, split lengthwise and seeds scraped (if you don’t have a vanilla bean, 1 teaspoon pure vanilla extract works as a substitute, but the flavor won’t be quite as intense)
- Water: 2 tablespoons (30 ml) – just enough to start the simmer and prevent sticking
For substitutions, you can swap sugar for honey or maple syrup, but the consistency will change slightly. If you want a vegan option, all these ingredients are naturally plant-based, so you’re good to go.
Equipment Needed
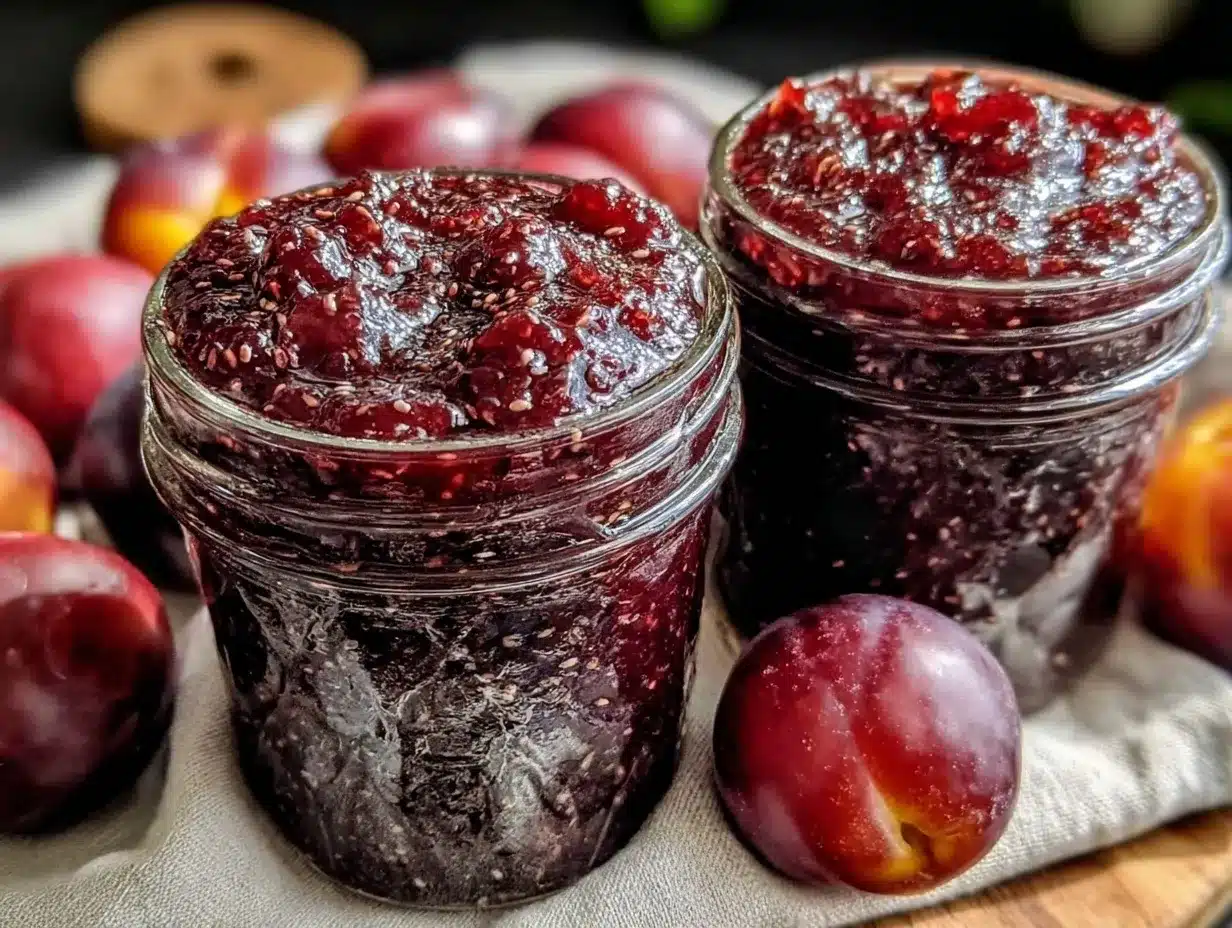
- Medium-sized saucepan (preferably non-stick or heavy-bottomed to prevent burning)
- Wooden spoon or heat-resistant spatula for stirring
- Sharp knife and cutting board for prepping plums
- Measuring cups and spoons (or kitchen scale for accuracy)
- Small bowl for lemon juice and vanilla bean prep
- Sterile glass jar or container with lid for storing the jam (no need for canning jars, but clean glass keeps it fresh)
If you don’t have a vanilla bean scraper, the edge of a knife works fine—just be patient and scoop out those tiny seeds carefully. I once tried this recipe with a flimsy pot, and the jam scorched fast, so invest in a decent saucepan if you can.
Preparation Method
- Prep the Plums: Rinse the plums well, then pit and chop them into roughly 1/2-inch (1.3 cm) pieces. You should have about 2 cups (300 grams) of chopped fruit. The variety of plum you choose will affect the sweetness and tartness, so taste a piece before you start to gauge sugar needs.
- Scrape the Vanilla Bean: Using a sharp knife, split the vanilla bean lengthwise. Scrape out the seeds and set them aside along with the pod. This will infuse the jam with subtle vanilla flavor.
- Combine Ingredients: In your saucepan, add the chopped plums, sugar, lemon juice, water, vanilla seeds, and the vanilla bean pod. Stir gently to combine everything.
- Simmer the Jam: Place the saucepan over medium heat. Stir frequently as the mixture heats up. Once it starts bubbling, reduce the heat to low and let it simmer gently. Stir every few minutes to prevent sticking or burning. This should take about 30-35 minutes. You’ll notice the fruit softening and the mixture thickening.
- Test the Consistency: To check if the jam is ready, place a small spoonful on a chilled plate and tilt it. If it wrinkles and holds shape rather than running off quickly, it’s done. If not, simmer a few more minutes and test again.
- Remove Vanilla Pod and Cool: Take out the vanilla bean pod and discard it. Pour the hot jam into a clean jar or airtight container. Let it cool completely before sealing.
- Store: Keep the jam in the refrigerator and enjoy within 2-3 weeks. The flavor actually deepens after a day or two.
Pro tip: If your jam seems too runny, just simmer it a bit longer, but watch it closely to avoid burning. And if you accidentally forget to stir, you’ll see the bottom start to darken—quickly rescue it by stirring and lowering the heat.
Cooking Tips & Techniques
Making jam might seem straightforward, but I’ve learned a few things the hard way. First, patience is key. Rushing the simmer can lead to undercooked fruit or burnt sugar.
- Use fresh, ripe plums: Overripe plums can make the jam too watery, while underripe ones add unwanted tartness.
- Don’t skip the lemon juice: It balances sweetness and helps with natural preservation.
- Stir often: Prevents sticking and ensures even cooking. I usually keep my wooden spoon glued to the pan.
- Test consistency early: The jam will thicken more as it cools, so don’t overcook it to a hard set.
- Vanilla bean vs. extract: Vanilla beans bring a deeper, natural aroma. If you only have extract, add it after cooking to preserve flavor.
- Use a heavy-bottomed pan: This avoids hotspots that can burn your jam.
Honestly, the first time I tried making this without stirring enough, I ended up scraping burnt bits off the pan. Not fun, but that mistake taught me to respect the simmer and keep a close eye on my jam — especially in small batches.
Variations & Adaptations
This easy small batch vanilla bean plum jam recipe is flexible enough to suit different tastes and dietary needs. Here are some ideas I’ve tried or recommend:
- Spiced Plum Jam: Add a cinnamon stick or a pinch of ground ginger during simmering for a cozy twist.
- Low-Sugar Version: Reduce the sugar by half and add a mashed ripe banana or a splash of apple juice to help with natural sweetness and gel.
- Mixed Berry Plum Jam: Combine plums with raspberries or blackberries for a colorful, tangy jam.
- Vegan & Paleo-Friendly: Swap sugar for coconut sugar or maple syrup and check the simmer time as these sweeteners caramelize differently.
- Cooking Method: You can also make this jam in a slow cooker on low for 3-4 hours for a hands-off approach, stirring occasionally.
One time, I tossed in a splash of balsamic vinegar at the end. It was unexpected but gave a lovely depth that made the jam perfect for cheese boards.
Serving & Storage Suggestions
This vanilla bean plum jam shines best at room temperature, spread thickly on toasted sourdough or swirled into plain yogurt. It also pairs beautifully with creamy cheeses like brie or goat cheese for an easy appetizer. For a cozy breakfast, dollop it over oatmeal or mix into pancake batter.
Store your jam in a clean, airtight container in the fridge where it will last up to 3 weeks. If you want to keep it longer, freezing is an option—just leave some headspace in your jar or use freezer-safe containers. When thawed, it may be a bit more liquidy but still delicious.
Reheat gently on the stove or microwave before serving if you prefer it warm. The flavors tend to meld and deepen after a day or two in the fridge, so if you can wait, that’s ideal.
Nutritional Information & Benefits
This easy small batch vanilla bean plum jam is a relatively low-calorie treat, with about 70 calories per tablespoon (20 grams). Plums are rich in antioxidants and vitamin C, which can support your immune system and skin health. The addition of lemon juice adds a vitamin C boost, while vanilla bean provides trace minerals and a comforting aroma with no added fat or calories.
Since the recipe uses minimal sugar compared to commercial jams, it’s a better option for those watching their sugar intake. It’s naturally gluten-free and vegan, making it suitable for many diets. Just watch out if you have sensitivities to vanilla or citrus.
From my experience, having this homemade jam on hand encourages me to eat more fruit and avoid store-bought spreads loaded with preservatives.
Conclusion
Honestly, this easy small batch vanilla bean plum jam recipe is a total keeper. It’s perfect for anyone who wants the fresh taste of homemade jam without the intimidating canning process. I love how it’s forgiving, quick, and full of natural flavors that feel like a hug in a jar.
Feel free to customize it with your favorite spices or fruit combos—you might find your own signature version. Let me know how your batch turns out and if you’ve tried any twists! Sharing your jam stories always makes my day.
Go ahead, grab some plums and that vanilla bean (or extract), and start your own late-night jam adventure. You won’t regret it.
FAQs
- Can I use frozen plums for this jam? Yes, but thaw and drain them well first to avoid excess water thinning the jam.
- How long will this jam keep without canning? Stored in the fridge, it lasts about 2-3 weeks. Always check for signs of spoilage before eating.
- Is vanilla extract a good substitute for the vanilla bean? Yes, add 1 teaspoon after cooking to preserve flavor, but the bean offers a richer aroma.
- Can I make this jam with less sugar? Definitely! Just be aware it may be less thick and less sweet. Adding natural sweeteners like banana helps.
- Do I need to sterilize the jar if I’m not canning? Clean jars with hot soapy water and rinse well; sterilization isn’t necessary for small batches stored in the fridge.
Pin This Recipe!
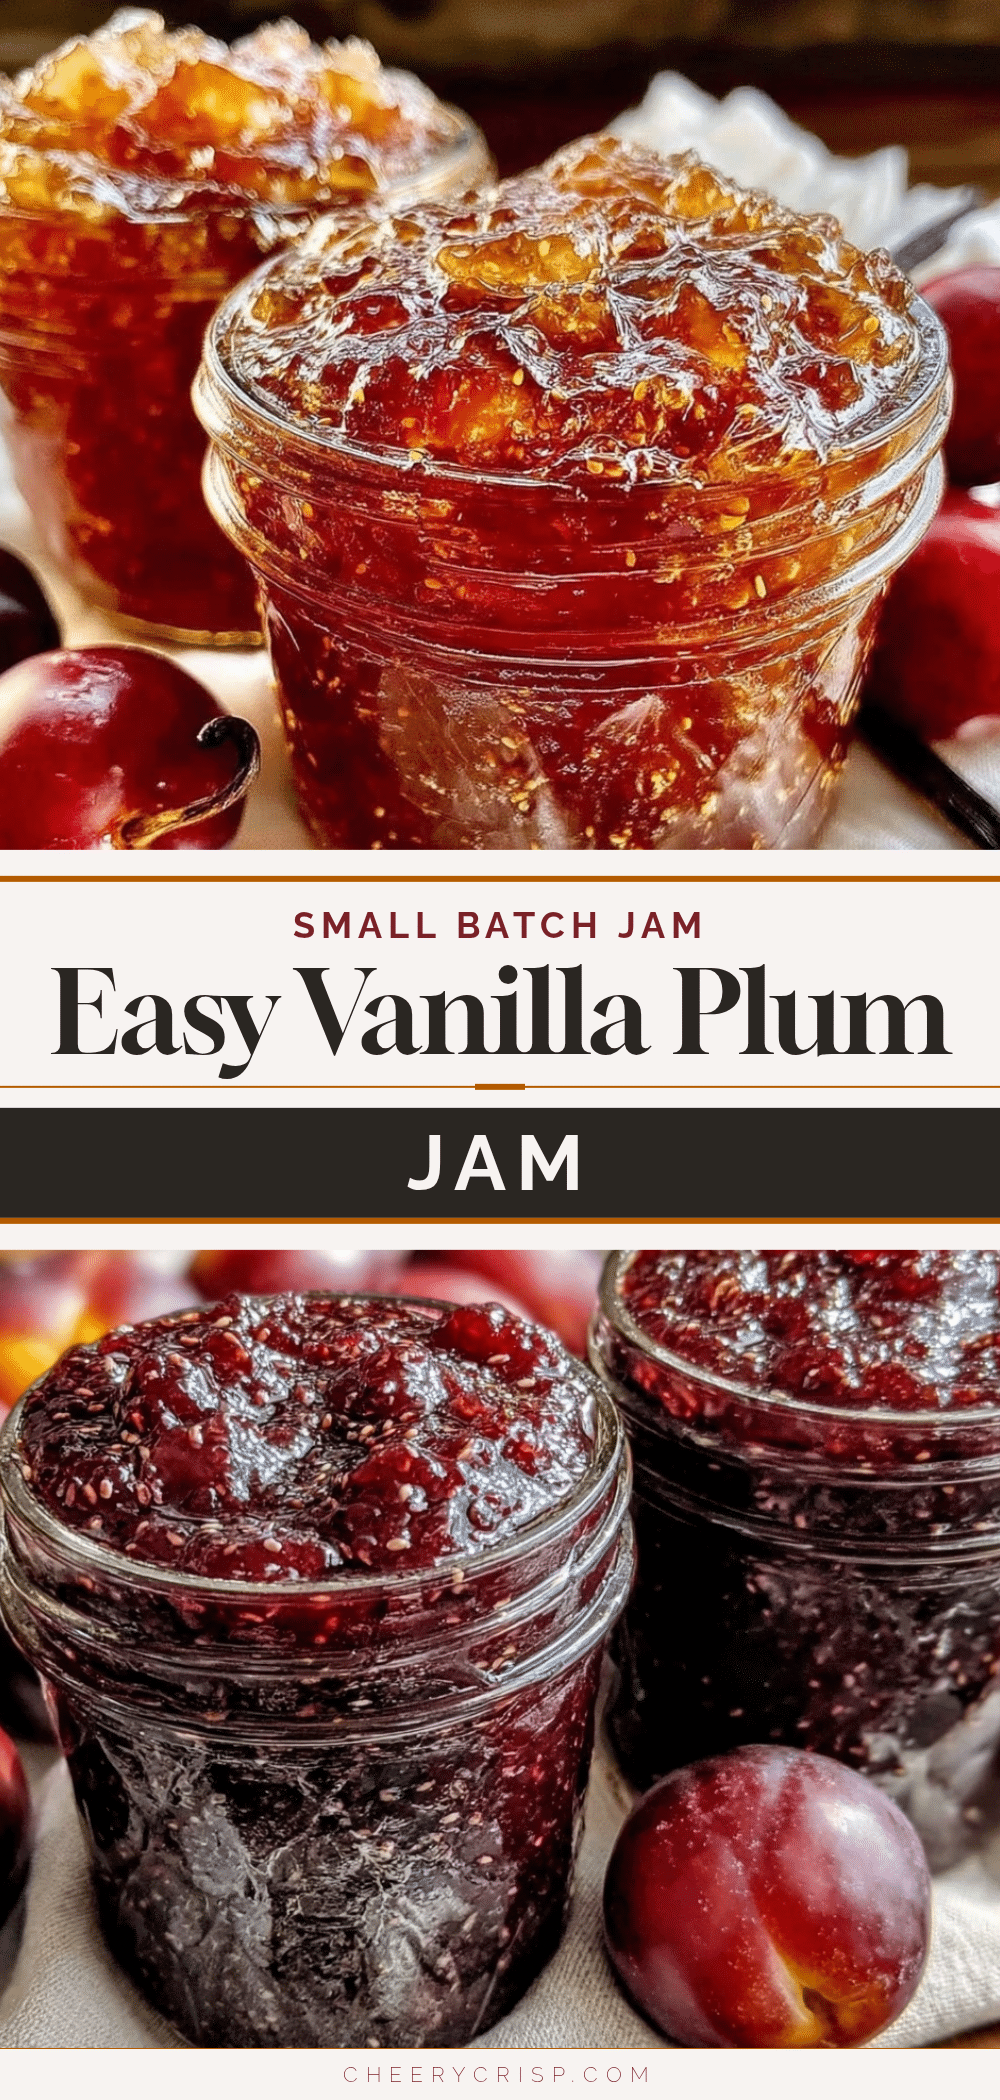
Easy Small Batch Vanilla Bean Plum Jam Recipe No Canning Needed
A quick and easy small batch plum jam infused with vanilla bean, perfect for fresh homemade flavor without the fuss of traditional canning.
- Prep Time: 10 minutes
- Cook Time: 35 minutes
- Total Time: 45 minutes
- Yield: 1 jar (about 1 cup) 1x
- Category: Preserves
- Cuisine: American
Ingredients
- 2 cups (about 300 grams) ripe plums, pitted and chopped
- 3/4 cup (150 grams) granulated sugar
- 1 tablespoon (15 ml) freshly squeezed lemon juice
- 1 whole vanilla bean, split lengthwise and seeds scraped
- 2 tablespoons (30 ml) water
Instructions
- Rinse the plums well, then pit and chop into roughly 1/2-inch pieces.
- Split the vanilla bean lengthwise and scrape out the seeds; set aside seeds and pod.
- In a medium saucepan, combine chopped plums, sugar, lemon juice, water, vanilla seeds, and vanilla bean pod. Stir gently.
- Place saucepan over medium heat and stir frequently until mixture bubbles.
- Reduce heat to low and simmer gently, stirring every few minutes to prevent sticking or burning, for about 30-35 minutes until fruit softens and mixture thickens.
- Test jam consistency by placing a spoonful on a chilled plate; if it wrinkles and holds shape, it is done. If not, simmer a few more minutes and test again.
- Remove and discard the vanilla bean pod.
- Pour hot jam into a clean jar or airtight container and let cool completely before sealing.
- Store in the refrigerator and enjoy within 2-3 weeks.
Notes
Use fresh, ripe plums for best results. Stir often to prevent burning. Test consistency on a chilled plate. Vanilla bean provides richer flavor than extract. If jam is too runny, simmer longer but watch closely. Store jam in refrigerator up to 3 weeks; freezing is possible but may affect texture.
Nutrition
- Serving Size: 1 tablespoon (20 gra
- Calories: 70
- Sugar: 16
- Carbohydrates: 18
- Fiber: 1
Keywords: plum jam, vanilla bean jam, small batch jam, no canning jam, easy jam recipe, homemade jam, fruit preserves



