Love this? Save it for later!
Share the inspiration with your friends
Last Tuesday, my colleague watched me wrestle with my old ice cream maker, fiddling with the crank and trying to time the freezing just right. She didn’t say a word at first, just leaned over and handed me a small bowl of her homemade cookies and cream ice cream. “You don’t need the machine,” she said with a smile, “this one’s all about keeping it simple.” That moment stuck with me. You know that feeling when you think a recipe has to be complicated to taste amazing? Well, this easy creamy no-churn cookies and cream ice cream proved me wrong in the best way.
Honestly, the kitchen was a bit of a mess that day—a few cookie crumbs scattered on the countertop, a half-opened can of sweetened condensed milk forgotten in the fridge—but that casual sharing felt like more than just swapping recipes. It was about passing on something real and approachable. Since then, I’ve made this ice cream more times than I can count, tweaking it just a little here and there, but always coming back to that smooth, creamy texture and crunchy cookie bits that feel like a perfect conversation starter.
Maybe you’ve been there too—wanting to create a homemade dessert that doesn’t demand a full afternoon in the kitchen or a dozen special tools. This recipe stays with me because it’s exactly that: simple, satisfying, and filled with just the right kind of comfort that makes you want to share a bowl (or two) with friends or family on a quiet evening.
Why You’ll Love This Recipe
Through many kitchen trials, this easy creamy no-churn cookies and cream ice cream has become my go-to for homemade desserts that impress without stress. It’s straightforward, forgiving, and tastes just like a scoop from your favorite ice cream parlor—maybe even better because you made it.
- Quick & Easy: Ready in under 20 minutes of prep time, perfect when that ice cream craving hits unexpectedly.
- Simple Ingredients: Uses pantry staples like sweetened condensed milk, heavy cream, and classic sandwich cookies—no hunting for anything fancy.
- Perfect for Any Occasion: Whether it’s a casual family night or a weekend gathering, it fits right in without any fuss.
- Crowd-Pleaser: Kids love the cookie chunks, and adults appreciate the creamy, rich texture that feels indulgent.
- Unbelievably Delicious: The way the cookies soften slightly but keep their crunch is just next-level comfort food.
This isn’t just another ice cream recipe. What sets it apart is the no-churn method that skips the usual equipment and fuss but still delivers that velvety mouthfeel you expect. Plus, folding in the cookies at just the right time keeps them from turning to mush. Honestly, it’s the kind of recipe that makes you close your eyes after the first bite and smile because it’s just so satisfying.
What Ingredients You Will Need
This recipe uses simple, wholesome ingredients to deliver bold flavor and satisfying texture without the fuss. Most of these are probably sitting in your pantry or fridge right now.
- Heavy cream (1 cup / 240 ml, cold) – for that rich, creamy base. I like using organic heavy cream for the best texture.
- Sweetened condensed milk (1 can, 14 oz / 396 g) – adds sweetness and creaminess without needing an ice cream machine.
- Vanilla extract (1 tsp) – a splash of pure vanilla makes all the difference in flavor depth.
- Chocolate sandwich cookies (about 15-20, roughly crushed) – the star ingredient. I typically use classic Oreos, but any similar cookie works.
Optional add-ins:
- Pinch of salt – enhances the sweetness and balances flavors.
- Mini chocolate chips (1/4 cup / 45 g) – for extra bursts of chocolatey goodness.
Ingredient tips: Look for firm, crunchy cookies rather than soft or filled ones for the best texture contrast. If you want a dairy-free version, substitute the heavy cream with full-fat coconut cream and use sweetened condensed coconut milk.
Equipment Needed
- Mixing bowl: A large, cold bowl works best for whipping cream.
- Electric mixer or hand whisk: While you can whip by hand, an electric mixer saves time and effort.
- Spatula: For folding in the cookies gently without deflating the cream.
- Freezer-safe container: A loaf pan or plastic container with a lid to set the ice cream.
If you don’t have an electric mixer, don’t worry—whipping cream by hand is totally doable but expect a little arm workout. I’ve used both a stand mixer and a hand whisk—both work fine, but the mixer gets you fluffy cream much faster. For storage, I prefer a container with a tight-fitting lid to prevent ice crystals from forming.
Preparation Method
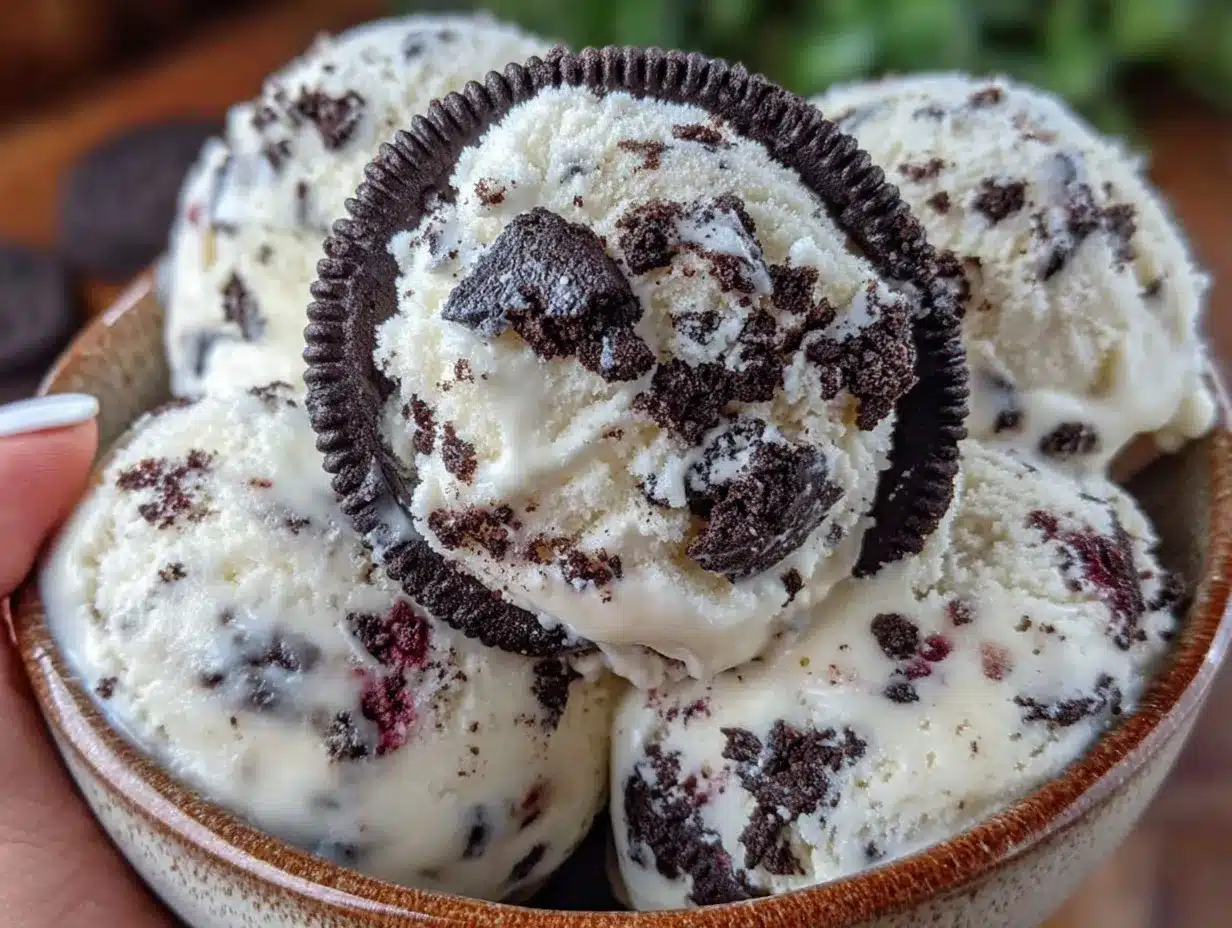
- Chill your tools: Place your mixing bowl and beaters in the fridge for about 15 minutes before you start. Cold equipment helps whip the cream faster and better.
- Whip the heavy cream: Pour 1 cup (240 ml) of cold heavy cream into the chilled bowl. Beat on medium-high speed for about 3-5 minutes until soft peaks form. You’ll know it’s ready when the cream holds shape but still looks light and airy.
- Mix condensed milk and vanilla: In a separate bowl, combine the 14 oz (396 g) can of sweetened condensed milk with 1 teaspoon of vanilla extract. Add a pinch of salt if using. Stir gently to combine.
- Fold the whipped cream into the condensed milk mixture: Use a spatula to fold the whipped cream carefully into the condensed milk blend. The goal is to keep as much air in the mixture as possible to maintain creaminess — don’t overmix!
- Prepare the cookies: Roughly crush 15-20 chocolate sandwich cookies into large chunks. Avoid turning them into crumbs; the texture contrast is key.
- Fold in the cookies: Gently fold the cookie chunks into the ice cream mixture. If you want to add mini chocolate chips, fold them in now as well.
- Transfer to container and freeze: Pour the mixture into a freezer-safe container, smoothing the top with a spatula. Cover with a lid or plastic wrap.
- Freeze for at least 6 hours or overnight: The ice cream needs time to set fully. For best texture, give it a gentle stir after 3 hours to redistribute cookies.
Preparation notes: If you find the cream isn’t whipping up well, double-check it’s cold enough. Also, folding gently is key; you want to keep that airy texture so the ice cream doesn’t turn dense. If you’re in a rush, the ice cream will still be delicious but freezing longer ensures the best scoopable texture.
Cooking Tips & Techniques
Making ice cream without a machine can sound intimidating, but a few tricks make it surprisingly easy and foolproof.
- Cold is key: Chilling your bowl and beaters helps the cream whip up quicker and thicker. I learned this the hard way after a few flat batches.
- Don’t rush folding: Keep your movements gentle and deliberate when combining whipped cream and condensed milk. It keeps the mixture light and creamy rather than dense.
- Cookie texture matters: Add cookie chunks just before freezing to avoid them turning soggy. I’ve noticed that adding them too early makes them lose their crunch.
- Freeze time: Plan for a full 6 hours or overnight freeze. Patience rewards you with a scoop that’s soft but holds shape perfectly.
- Multitasking tip: While the ice cream freezes, it’s a great time to prepare complementary dishes like a fresh fruit salad or even crispy garlic chicken for a full meal experience.
Common mistakes include overwhipping the cream (which can turn to butter) or rushing the freezing process. I’ve been there—it’s a little kitchen dance, but once you get it, you’ll find this method very forgiving and satisfying.
Variations & Adaptations
This recipe is a wonderful base for customizing to your taste or dietary needs. Here are a few twists I’ve tried myself or heard rave reviews about:
- Fruit swap: Replace cookies with crushed strawberries or blueberries for a fresh, fruity ice cream perfect for summer.
- Nutty delight: Add chopped toasted pecans or almonds for a crunchy, nutty variation that pairs well with the creamy base.
- Dairy-free: Use coconut cream instead of heavy cream and sweetened condensed coconut milk to keep it vegan-friendly.
- Chocolate lovers: Mix in a few tablespoons of cocoa powder to the condensed milk before folding in the whipped cream for a chocolate cookies and cream twist.
- Espresso kick: Stir in a teaspoon of instant espresso powder for an adult-friendly mocha flavor.
One personal favorite variation is adding a swirl of salted caramel sauce just before freezing—trust me, it takes the dessert to another level without complicating prep.
Serving & Storage Suggestions
Serve this ice cream straight from the freezer for the best creamy scoop. Let it sit at room temperature for 5 minutes before scooping if it’s too firm. I like to garnish with extra cookie crumbs or even a drizzle of chocolate syrup for a little flair.
This ice cream pairs beautifully with fresh berries or a warm dessert like a crispy garlic chicken dinner to contrast the cold sweetness.
Store leftovers in an airtight container in the freezer. It keeps well for up to two weeks, though honestly, it rarely lasts that long at my house. When reheating, avoid the microwave—just let it thaw slightly at room temperature for the smoothest texture.
Over time, the flavors meld nicely, and the cookies soften just a touch without losing their pleasant crunch. It’s the kind of dessert that gets better with a little patience.
Nutritional Information & Benefits
Here’s a rough estimate per serving (about 1/2 cup or 125 ml):
| Calories | 250-300 |
|---|---|
| Fat | 18g (mostly from heavy cream) |
| Sugar | 22g |
| Protein | 3g |
The heavy cream provides essential fats that help with satiety, while the cookies add a comforting crunch and a bit of indulgence. Keep in mind, this recipe contains dairy and gluten (from the cookies), so it’s not suitable for those with allergies or intolerances unless substitutions are made. Using high-quality ingredients adds nutritional value and flavor — I prefer organic cream and real vanilla extract.
From a wellness perspective, making your own ice cream means you control what goes in, avoiding artificial stabilizers or preservatives commonly found in store-bought versions.
Conclusion
This easy creamy no-churn cookies and cream ice cream recipe is worth every minute of your time. It’s a simple, satisfying treat that’s flexible enough to fit your preferences and skill level. I love how it brings a little joy and comfort without the usual hassle of ice cream machines or complicated ingredients.
Feel free to tweak the cookie types, add mix-ins, or try one of the variations mentioned. And if you do, I’d love to hear how it turned out for you—sharing these little kitchen wins makes all the difference.
Give this recipe a try and enjoy the cozy, creamy goodness that’s truly homemade. And hey, if you want to pair it with something savory, you might find yourself thinking about a juicy crispy garlic chicken dinner to balance out the sweetness!
Happy scooping!
FAQs
- Do I really need an ice cream maker for this recipe?
Nope! This no-churn recipe skips the machine entirely and still gives you creamy, scoopable ice cream. - Can I use other cookies besides Oreos?
Absolutely. Any crunchy chocolate sandwich cookies work well, or swap for your favorite cookies for a unique twist. - How long does it take to freeze completely?
At least 6 hours, though overnight is best for the perfect texture. - Can I make this recipe vegan or dairy-free?
Yes. Use coconut cream and sweetened condensed coconut milk to keep it dairy-free and vegan-friendly. - Will the cookies stay crunchy in the ice cream?
They soften slightly but keep a pleasant crunch if folded in just before freezing and stirred halfway through freezing.
Pin This Recipe!
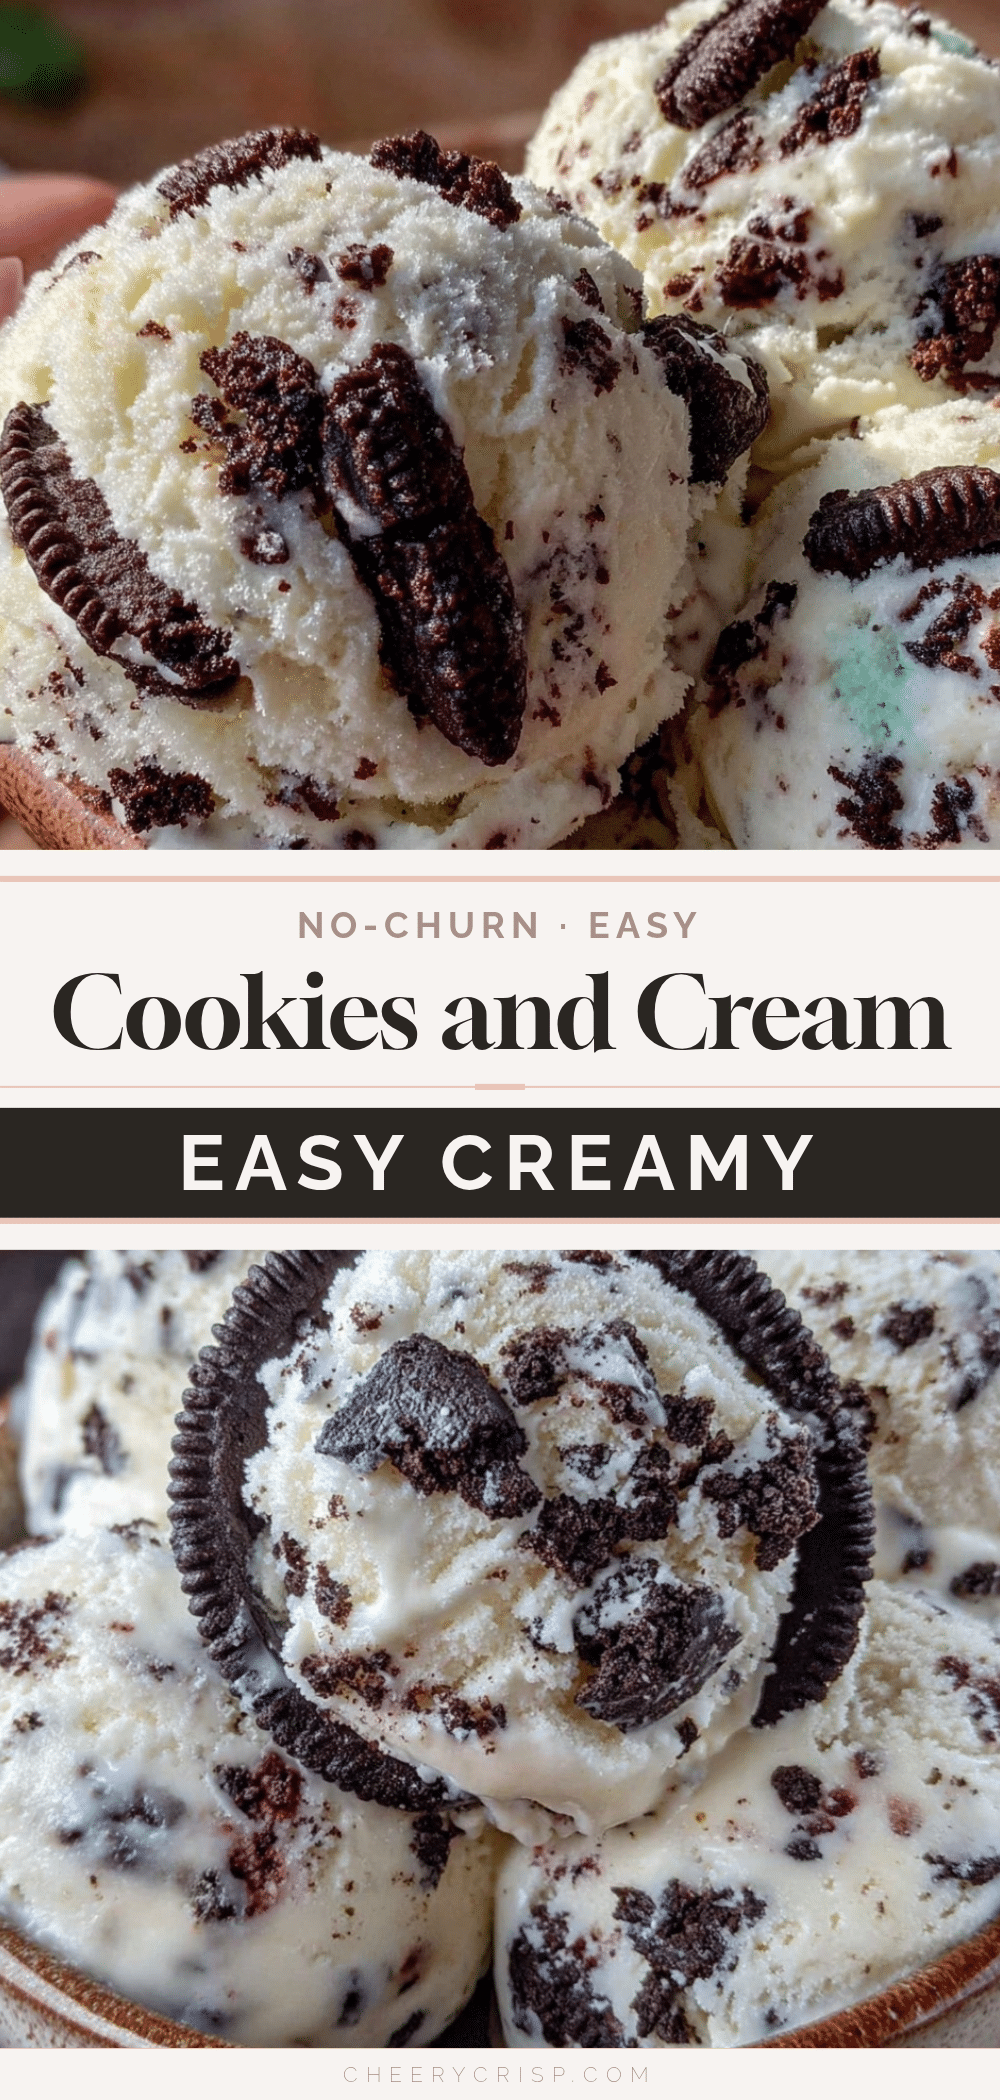
Easy Creamy No-Churn Cookies and Cream Ice Cream Recipe for Perfect Homemade Dessert

A simple, no-churn cookies and cream ice cream recipe that delivers creamy texture and crunchy cookie bits without the need for an ice cream maker. Perfect for quick homemade dessert cravings.
- Prep Time: 15 minutes
- Cook Time: 0 minutes
- Total Time: 6 hours 15 minutes
- Yield: 8 servings 1x
- Category: Dessert
- Cuisine: American
Ingredients
- 1 cup (240 ml) cold heavy cream
- 1 can (14 oz / 396 g) sweetened condensed milk
- 1 teaspoon vanilla extract
- 15–20 chocolate sandwich cookies, roughly crushed
- Pinch of salt (optional)
- 1/4 cup (45 g) mini chocolate chips (optional)
Instructions
- Chill your mixing bowl and beaters in the fridge for about 15 minutes before starting.
- Pour 1 cup (240 ml) of cold heavy cream into the chilled bowl and beat on medium-high speed for 3-5 minutes until soft peaks form.
- In a separate bowl, combine the 14 oz (396 g) can of sweetened condensed milk with 1 teaspoon of vanilla extract and a pinch of salt if using. Stir gently to combine.
- Fold the whipped cream carefully into the condensed milk mixture using a spatula, keeping as much air in the mixture as possible.
- Roughly crush 15-20 chocolate sandwich cookies into large chunks, avoiding turning them into crumbs.
- Gently fold the cookie chunks (and mini chocolate chips if using) into the ice cream mixture.
- Pour the mixture into a freezer-safe container, smooth the top with a spatula, and cover with a lid or plastic wrap.
- Freeze for at least 6 hours or overnight. For best texture, gently stir after 3 hours to redistribute cookies.
Notes
Chill your bowl and beaters before whipping cream for better results. Fold ingredients gently to keep the mixture airy. Add cookie chunks just before freezing to maintain crunch. Stir halfway through freezing for even cookie distribution. For dairy-free version, substitute heavy cream with full-fat coconut cream and sweetened condensed coconut milk.
Nutrition
- Serving Size: About 1/2 cup (125 m
- Calories: 275
- Sugar: 22
- Sodium: 90
- Fat: 18
- Saturated Fat: 11
- Carbohydrates: 28
- Fiber: 1
- Protein: 3
Keywords: no-churn ice cream, cookies and cream, homemade ice cream, easy dessert, no ice cream maker, creamy ice cream, quick dessert



