Love this? Save it for later!
Share the inspiration with your friends
“Mom, why does the tree look like it’s made of cake?” — and that was it. My seven-year-old was staring at the counter where I’d just set down a plate of these festive Christmas tree brownie pops with sprinkles. He didn’t care about the aesthetics or the holiday spirit. He only cared about the fact that dessert had become a forest. Honestly, I couldn’t blame him. These little treats are a bit ridiculous in the best possible way.
We’ve all been there during the holidays. You’re trying to make something that looks like it came from a fancy boutique bakery, but you’re actually running on three hours of sleep and a half-empty bag of chocolate chips. I remember last year, I tried to make those intricate gingerbread houses that looked like architectural disasters. They tasted fine, but let’s face it, they were a headache. These brownie pops? No stress. No complex icing piping skills required. Just simple, fudgy brownies turned into holiday magic.
The real secret isn’t even the sprinkles. It’s the texture. You want that crackly top on your brownie, the kind that shatters when you bite into it. I learned that the hard way after burning my first batch because I was too impatient to let it cool. Now, I wait. I always wait. And the result is a pop that is dense, chocolatey, and completely irresistible to kids and adults alike. It’s the kind of treat that disappears before you can take a photo.
There’s something about the combination of rich chocolate and bright sprinkles that just screams “holiday.” It reminds me of those messy, happy mornings where the kids are eating cereal out of bowls because the kitchen is too chaotic for plates. These pops fit right into that beautiful chaos. They are portable, messy in a fun way, and surprisingly easy to make. Once you try them, you’ll probably find yourself making them for every gathering, not just Christmas.
Why You’ll Love This Recipe
Let’s be real for a second. Most holiday baking feels like a second job. You’re juggling pies, cookies, and casseroles while trying to maintain your sanity. This festive Christmas tree brownie pops with sprinkles recipe changes the game entirely. It’s not just another cookie or bar; it’s a complete experience that delivers on flavor, fun, and convenience without the usual stress.
- Quick & Easy: You can have these ready in under 30 minutes, including cooling time if you’re clever about it. Perfect for busy weeknights or last-minute holiday parties where you need a win.
- Simple Ingredients: No fancy grocery trips needed. You likely already have cocoa powder, butter, sugar, and eggs in your kitchen. It’s pantry-friendly baking at its finest.
- Perfect for Gifting: These are the ultimate hostess gift. Drop a few in a cellophane bag with a ribbon, and you’ve got a present that looks handmade and thoughtful.
- Crowd-Pleaser: Always gets rave reviews from kids and adults alike. The tree shape is cute, but the chocolate flavor is what keeps them coming back.
- Unbelievably Delicious: The texture and flavor combo is next-level comfort food. Dense, fudgy, and loaded with festive colors.
What makes this recipe different from the rest is the method. Instead of baking individual cakes, we bake a thin sheet of brownie, cut it into strips, and roll it. This creates a perfect cone shape that holds together beautifully. It’s a technique I picked up years ago when I was trying to feed a crowd on a budget, and it has stuck with me ever since. It’s not just good—it is the kind that makes you close your eyes after the first bite. It’s comfort food reimagined—healthier in the sense that it’s not overly sweet, but with the same soul-soothing satisfaction. Perfect for impressing guests without stress, or turning a simple meal into something memorable.
What Ingredients You Will Need
This recipe uses simple, wholesome ingredients to deliver bold flavor and satisfying texture without the fuss. The beauty of these festive Christmas tree brownie pops with sprinkles lies in their accessibility. You don’t need exotic flours or rare spices. Just good-quality chocolate and pantry staples.
- For the Brownie Base:
- Unsalted butter, softened (adds richness and moisture)
- Granulated sugar (provides that essential crackly top)
- Large eggs, room temperature (helps bind the batter)
- Vanilla extract (enhances the chocolate flavor)
- All-purpose flour (the structure builder)
- Unsweetened cocoa powder (I recommend Dutch-processed cocoa for a deeper, smoother chocolate taste)
- Baking powder (helps them rise slightly)
- Salt (balances the sweetness)
- For the Dipping & Decoration:
- Milk chocolate chips or semi-sweet chocolate chips (for dipping; Guittard is my go-to for smooth melting)
- White chocolate chips (for the snowy tips)
- Green food coloring gel (gel colors work better than liquid so they don’t seize the chocolate)
- Festive sprinkles (jimmies or nonpareils for that classic look)
If you want to get creative, you can substitute the milk chocolate with dark chocolate for a less sweet option. For a dairy-free version, swap the butter and chocolate chips for vegan alternatives. I’ve also used white chocolate mixed with a tiny bit of green gel to create a more vibrant green base, but dipping the whole pop in green chocolate is easier for beginners. The key is to have your sprinkles ready before you start dipping, as the chocolate sets fast.
Equipment Needed
You don’t need a fancy kitchen to make these festive Christmas tree brownie pops with sprinkles. A few basic tools will get the job done efficiently.
- 8×8 inch Baking Pan: A standard metal pan works best for even heating. Glass pans might take longer to bake.
- Wire Cooling Rack: Essential for cooling the brownies evenly. Letting them cool in the pan can make them soggy.
- Parchment Paper: Line your pan to make removal easy. This is non-negotiable for clean cuts.
- Microwave-Safe Bowl: For melting the chocolate chips. A glass bowl is best for even melting.
- Piping Bag or Ziploc Bag: For applying the white chocolate “snow” to the tips. Snip the corner for control.
- Small Skewers or Toothpicks: To hold the pops while dipping. Wooden skewers give a nicer handle.
If you don’t have a microwave, you can use a double boiler on the stove. Just be gentle with the heat. Also, keep a roll of parchment paper nearby to place your finished pops on. They need to set up completely before you touch them.
Preparation Method
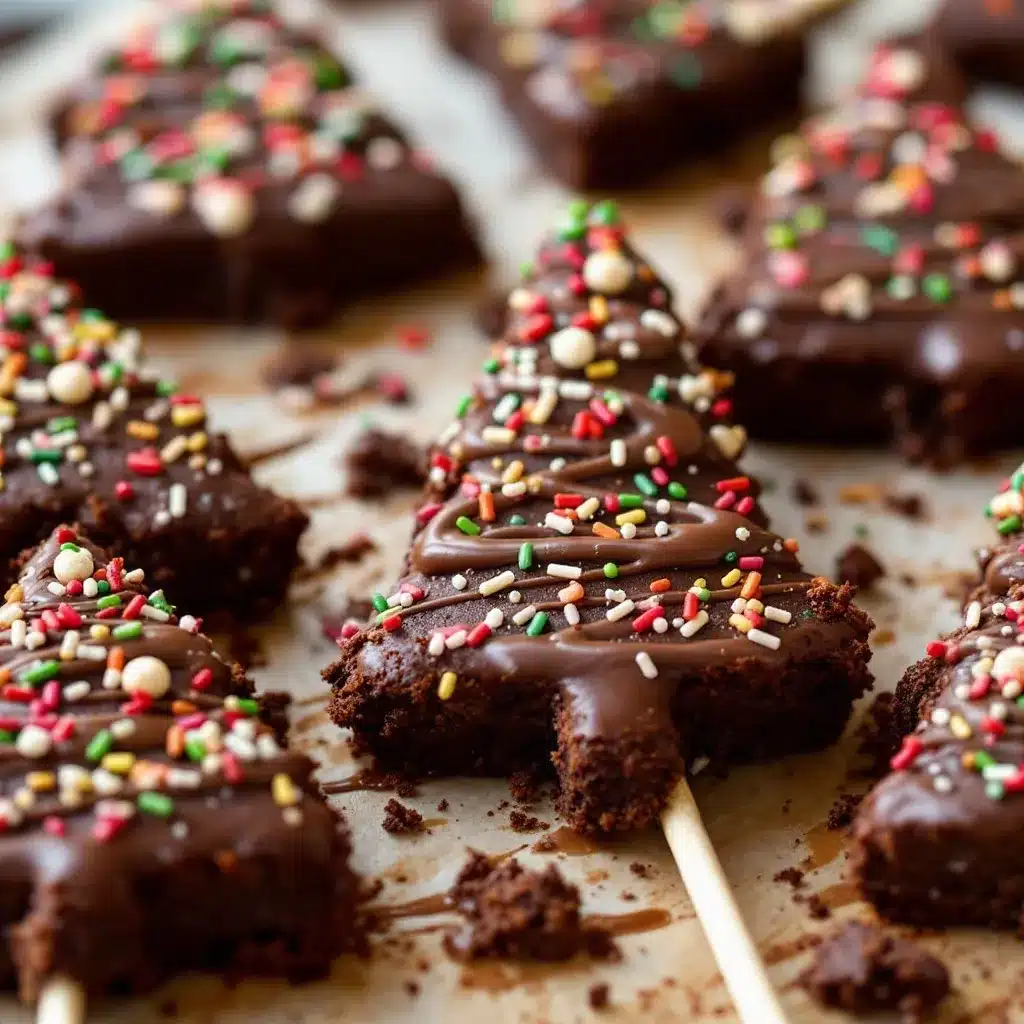
Making these festive Christmas tree brownie pops with sprinkles is straightforward, but precision matters. Follow these steps closely for the best texture.
- Prep the Pan (5 mins): Preheat your oven to 350°F (175°C). Line an 8×8 inch baking pan with parchment paper, leaving an overhang on the sides. This overhang is your handle for lifting out the brownie later. Lightly grease the parchment with butter or cooking spray.
- Melt the Butter (2 mins): In a medium microwave-safe bowl, melt the unsalted butter. You can do this in the microwave in 30-second bursts, stirring in between, or in a saucepan over low heat. Let it cool slightly so it doesn’t cook the eggs.
- Mix Wet Ingredients (3 mins): Add the granulated sugar to the melted butter. Whisk vigorously for about a minute. This step is crucial for creating that shiny, crackly top. Add the eggs and vanilla extract, whisking until smooth and combined.
- Add Dry Ingredients (2 mins): Sift in the flour, cocoa powder, baking powder, and salt. Gently fold them into the wet mixture using a spatula. Stop as soon as the flour disappears. Overmixing leads to tough brownies. The batter should be thick and glossy.
- Bake (20-25 mins): Spread the batter evenly into the prepared pan. Bake for 20-25 minutes. You want a toothpick inserted in the center to come out with a few moist crumbs, not wet batter. If it’s clean, they might be too dry. Pull them out when they look just set.
- Cool Completely (1 hour): This is the hardest part. Let the brownies cool in the pan on a wire rack for at least an hour. They must be completely cool to the touch. If they are warm, they will crumble when you cut them. Pro tip: Put them in the fridge for 20 minutes to speed this up.
- Cut into Strips: Lift the brownie out using the parchment overhang. Place it on a cutting board. Cut the brownie into long, thin strips, about 1 inch wide and 8 inches long. You want them long enough to roll into a cone.
- Roll the Trees: Take a strip and roll it tightly from one corner to form a cone shape. Secure the end with a tiny dot of melted chocolate or a toothpick. The toothpick will act as the handle.
- Melt Chocolate: Melt your milk chocolate chips in the microwave in 30-second intervals, stirring in between, until smooth. If it’s too thick, add a teaspoon of coconut oil or shortening to thin it out.
- Dip and Decorate: Dip the bottom third of the brownie cone into the chocolate. Shake off excess. Immediately roll it in sprinkles while the chocolate is wet. Let it set on a piece of parchment paper.
- Add Snow: Melt white chocolate (add green gel if you want a light green snow, or keep it white). Pipe a small amount to the tip of the cone to represent snow. Add a few more sprinkles if you like.
Cooking Tips & Techniques
I’ve made my fair share of baking mistakes, and some of them were painful. Here’s how to avoid them with these festive Christmas tree brownie pops with sprinkles.
Don’t skip the cooling step. I once tried to cut warm brownies, and they turned into a mushy mess. It took twenty minutes to clean up the counter. Let them cool fully. If you’re in a rush, the fridge is your friend, but the freezer can make them brittle, so use caution.
When melting chocolate, low and slow is the rule. If you burn chocolate, it seizes and becomes grainy. You can’t fix it. If your chocolate gets too thick, add a little oil. This makes dipping easier and ensures a smooth coating.
Use gel food coloring instead of liquid. Liquid coloring can change the consistency of the chocolate, making it sticky or hard to set. Gel colors are more potent and don’t affect the texture. A tiny dot is all you need for a vibrant green.
Keep your sprinkles handy. Once you dip the brownie, you have about 10 seconds before the chocolate starts to set. Have your bowl of sprinkles next to your dipping station. It’s a dance, but you’ll get the rhythm.
If your brownies are too thick to roll easily, trim the edges to make them thinner. You want a uniform cone shape. If one end is too thick, it won’t roll up tight. Trim it down. Consistency is key for a professional look.
Variations & Adaptations
These festive Christmas tree brownie pops with sprinkles are versatile. Here are a few ways to switch things up.
Peanut Butter Twist: Dip the brownie cones in melted peanut butter chips instead of chocolate. Drizzle with white chocolate and sprinkle with crushed peanuts. It’s a salty-sweet dream.
Matcha Green: Add a teaspoon of matcha powder to the brownie batter for a subtle tea flavor. Dip in white chocolate and use green and white sprinkles. It looks elegant and tastes sophisticated.
Gluten-Free Option: Swap the all-purpose flour for a 1:1 gluten-free flour blend. Most blends work perfectly in brownies. Just ensure your baking powder is also gluten-free.
Vegan Version: Use vegan butter and chocolate chips. The texture will be slightly different but still delicious. You might need to chill the brownies longer to make them easier to roll.
Mini Trees: Cut the brownies into smaller strips for bite-sized versions. These are perfect for party platters where people grab multiple items. They are less messy and easier to handle.
Serving & Storage Suggestions
These festive Christmas tree brownie pops with sprinkles are best served at room temperature. The chocolate coating should be firm but not hard. If they get too cold, the chocolate can snap too easily.
Pair them with a hot cup of coffee or tea. The bitterness of the coffee balances the sweetness of the brownies. I also like serving them with a glass of cold milk, especially for kids. It’s a classic combo.
Storage: Store in an airtight container at room temperature for up to 3 days. Do not refrigerate, as the chocolate can bloom (turn white) in the fridge. If you must store them longer, freeze them. Place them in a single layer on a baking sheet, freeze until hard, then transfer to a freezer bag. They will last for up to a month.
Reheating: If frozen, let them thaw at room temperature for 15 minutes before eating. Do not microwave, as this will melt the chocolate coating. Just let them sit out.
The flavors develop over time. The brownie becomes slightly fudgier after a day, and the chocolate coating sets harder. They are best eaten on the second day, honestly.
Nutritional Information & Benefits
While these are definitely a treat, they offer some satisfaction that lighter desserts can’t match. A single festive Christmas tree brownie pops with sprinkles contains approximately 150-180 calories, depending on the size and chocolate thickness.
They provide a quick energy boost thanks to the sugar and fat content. The cocoa powder offers some antioxidants, which is a nice bonus. However, they are high in sugar and saturated fat, so enjoy them in moderation.
For dietary considerations, they contain gluten, dairy, and eggs. Use the substitutions mentioned in the variations section to accommodate allergies. Personally, I view these as a special occasion treat. They bring joy, and that emotional benefit is worth the calories. Just don’t eat them all in one sitting… unless you’re me.
Conclusion
Making these festive Christmas tree brownie pops with sprinkles is a wonderful way to add some holiday cheer to your baking routine. They are easy, fun, and delicious. I love how they bring people together, whether it’s kids excited about the tree shape or adults appreciating the fudgy texture.
Don’t be afraid to experiment with different sprinkles and chocolate colors. Make them your own. I hope you enjoy making them as much as I enjoyed sharing the recipe. If you try it, please leave a comment below and let me know how they turned out. I love hearing from my readers.
Happy baking, and merry Christmas! These pops are sure to become a new tradition in your home. Share them with friends and family, and spread the joy.
FAQs
Can I use box brownie mix?
Yes, you can use a box brownie mix for convenience. Follow the package instructions for baking time and temperature. The results will be slightly different but still tasty. Just ensure they are fully cooled before rolling.
How do I keep the chocolate from cracking?
Cracking usually happens if the chocolate is too thick or if the brownie is too dry. Ensure your brownies are moist and fudgy. Thin the chocolate with a little oil before dipping. Also, let the chocolate cool slightly before dipping to prevent thermal shock.
Can I make these ahead of time?
Yes, you can make the brownies a day ahead. Store them in an airtight container. Dip and decorate them the day you plan to serve them. This ensures the chocolate stays fresh and the sprinkles don’t absorb moisture.
What kind of sprinkles work best?
Jimmies or nonpareils work best because they stick well to the chocolate. Avoid large, chunky sprinkles as they might not adhere properly. Holiday-themed sprinkles in red, green, and white are perfect for this recipe.
Why did my brownies crumble when I rolled them?
This usually happens if the brownies weren’t cool enough or if they were overbaked. Ensure they are completely cool to the touch. Also, don’t overmix the batter or overbake them. They should be soft and fudgy, not cakey.
Pin This Recipe!
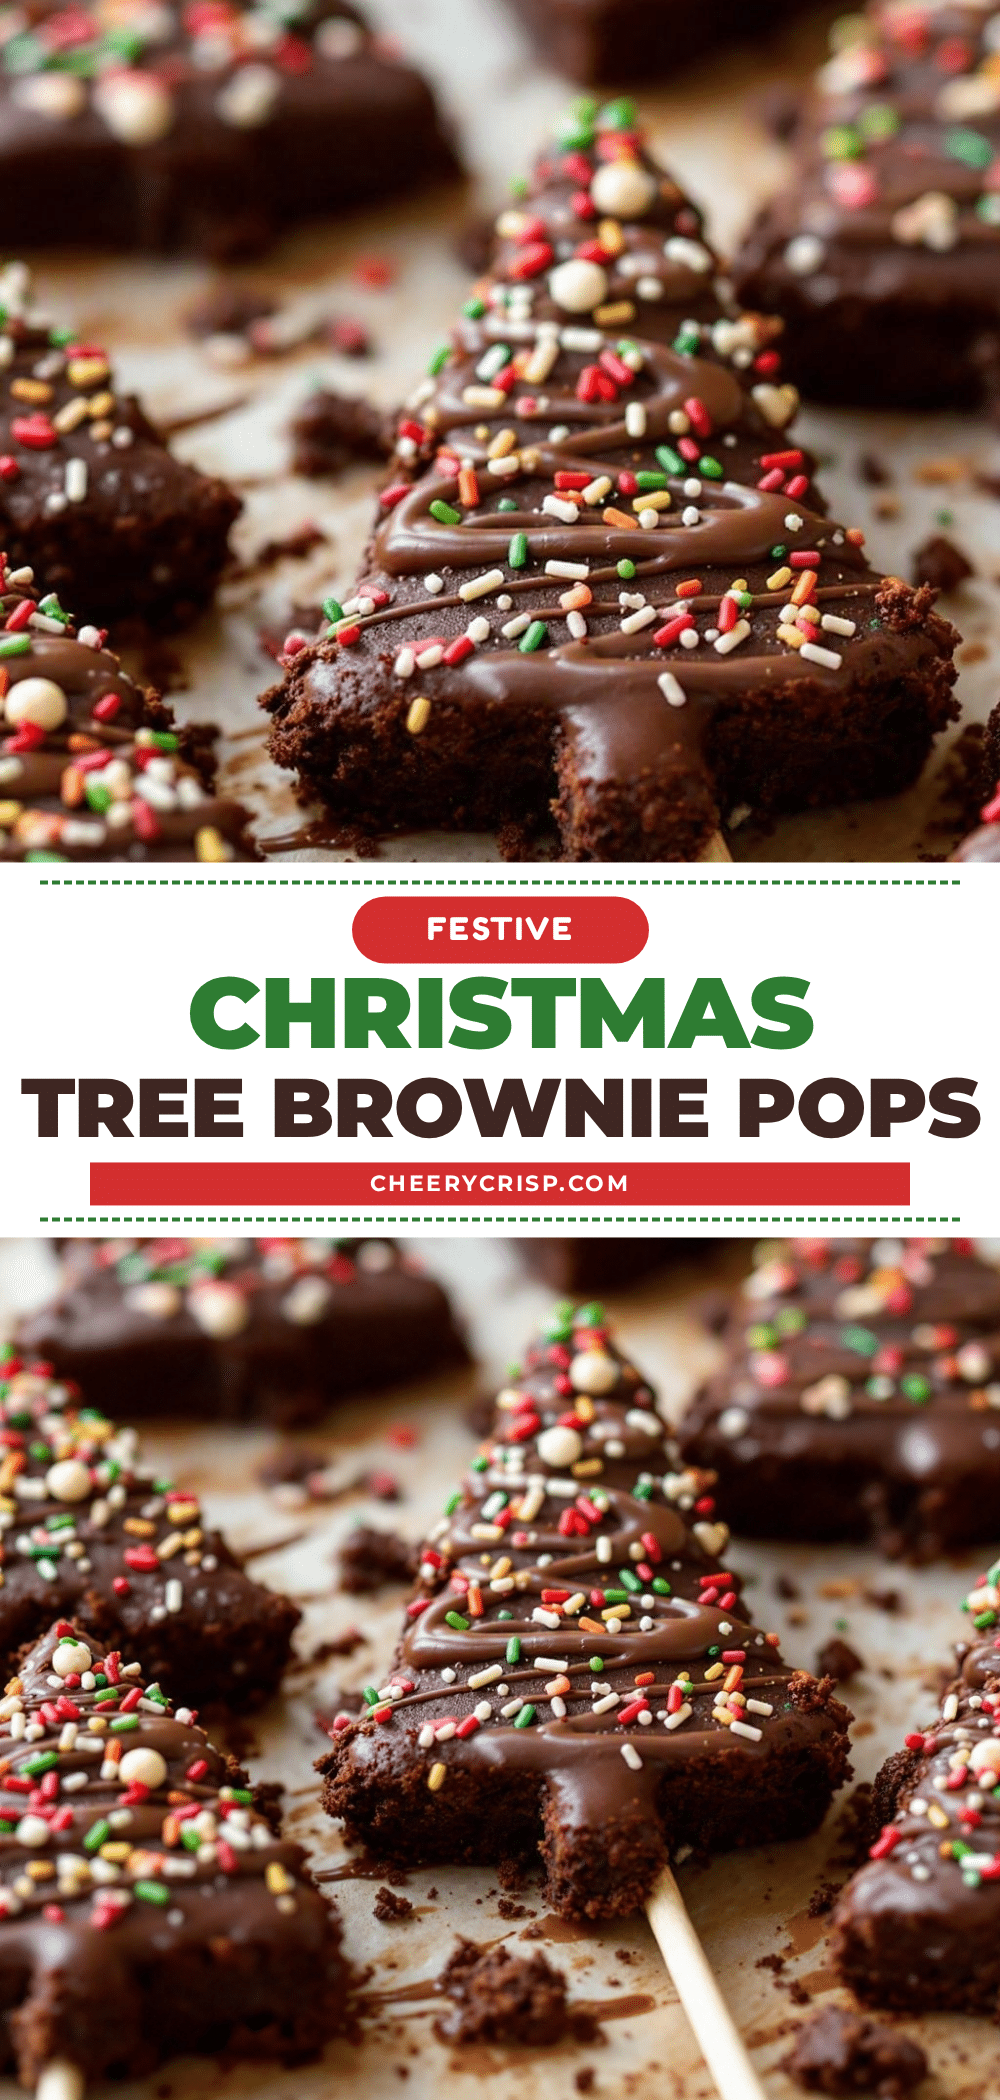
Festive Christmas Tree Brownie Pops: 10-Min Easy Holiday Treat

These festive Christmas tree brownie pops are a quick, stress-free holiday treat featuring fudgy brownies rolled into cone shapes, dipped in chocolate, and decorated with sprinkles.
- Prep Time: 15 minutes
- Cook Time: 25 minutes
- Total Time: 45 minutes
- Yield: Approximately 12-15 pops
- Category: Dessert
- Cuisine: American
Ingredients
- Unsalted butter, softened
- Granulated sugar
- Large eggs, room temperature
- Vanilla extract
- All-purpose flour
- Unsweetened cocoa powder (Dutch-processed recommended)
- Baking powder
- Salt
- Milk chocolate chips or semi-sweet chocolate chips
- White chocolate chips
- Green food coloring gel
- Festive sprinkles (jimmies or nonpareils)
Instructions
- Preheat oven to 350°F (175°C). Line an 8×8 inch baking pan with parchment paper, leaving an overhang on the sides, and lightly grease.
- Melt the unsalted butter in a microwave-safe bowl or saucepan over low heat. Let it cool slightly.
- Whisk granulated sugar into the melted butter vigorously for about a minute to create a crackly top. Add eggs and vanilla extract, whisking until smooth.
- Sift in flour, cocoa powder, baking powder, and salt. Gently fold into the wet mixture until just combined. Do not overmix.
- Spread batter evenly into the prepared pan. Bake for 20-25 minutes until a toothpick inserted in the center comes out with moist crumbs.
- Cool brownies completely in the pan on a wire rack for at least one hour (or chill in fridge for 20 minutes).
- Lift brownies out using parchment overhang. Cut into long, thin strips, about 1 inch wide and 8 inches long.
- Roll each strip tightly from one corner to form a cone shape. Secure the end with a dot of melted chocolate or a toothpick.
- Melt milk chocolate chips in 30-second intervals, stirring until smooth. Thin with coconut oil or shortening if necessary.
- Dip the bottom third of the brownie cone into the chocolate, shake off excess, and immediately roll in sprinkles.
- Let the chocolate set on parchment paper.
- Melt white chocolate chips. Pipe a small amount to the tip of the cone to represent snow. Add additional sprinkles if desired.
Notes
Ensure brownies are completely cool before cutting and rolling to prevent crumbling. Use gel food coloring instead of liquid to avoid seizing the chocolate. Store in an airtight container at room temperature for up to 3 days; do not refrigerate as chocolate may bloom.
Nutrition
- Serving Size: 1 brownie pop
- Calories: 165
- Sugar: 14
- Sodium: 50
- Fat: 10
- Saturated Fat: 6
- Carbohydrates: 18
- Fiber: 1
- Protein: 2
Keywords: Christmas treats, holiday baking, brownie pops, easy dessert, festive snacks, chocolate dipped brownies, kids baking



