Love this? Save it for later!
Share the inspiration with your friends
Third time in a month and I still can’t stop stacking them. Honestly, it started as a joke. My friend Sarah mentioned she was bringing “something savory” to the Friendsgiving potluck, and I knew exactly what she meant. She meant the big board. The sprawling, cheese-stained, cracker-crumbing masterpiece that takes up the entire dining table and requires a map to navigate. I looked at my tiny apartment kitchen, my limited counter space, and the fact that I was hosting twelve people in a studio apartment, and I thought: no. Not this year. So I grabbed a bag of mason jars, raided the deli counter, and started layering. By the second time I made them, I had figured out the ratio. By the third time, I was making them for the neighbors. Now, I’m making Easy Friendsgiving Charcuterie Cups because they are the only thing that saves me from having to buy three different types of cheese plates and looking like I tried too hard.
There is something deeply satisfying about the vertical assembly. You know that feeling when you pack a lunchbox for your kid and they look at it like you’re a genius? That’s what this is. It’s portable, it’s messy-free (mostly), and it looks like you spent hours curating a fancy spread when, in reality, you just opened three packages and arranged them pretty. I remember standing over my kitchen island at 11 PM the night before the party, sweating over whether to put the grapes on top or the bottom. The answer, it turns out, is top. Always top. It’s about the presentation. It’s about giving your friends a little individual box of joy that they can carry to the couch without worrying about dropping a cracker on their white pants. Let’s face it, nobody wants to be the person cleaning up cheese crumbs from the rug. These cups solve that. They are my secret weapon for looking like a hospitality pro while actually just being lazy and efficient.
The obsession really clicked when I realized how much control each person has over their own snack. No more fighting over the last piece of prosciutto. No more awkward silence while everyone waits for you to cut the brie. Everyone gets their own curated experience. And honestly, the visual appeal? It’s unbeatable. Layers of orange, green, red, and brown. It looks like fall exploded in a jar. I’ve made these for Thanksgiving, for game day, for random Tuesday night wine nights, and they always get asked about. “Where did you get those?” they ask. “Oh, just some jars and some stuff from the store,” I say, while internally celebrating that I didn’t have to wash six serving platters afterward.
It’s not just about convenience, though. It’s about the little moments. Watching my friends dig in with their little forks, picking out their favorite layer. Seeing the satisfaction when they get a perfect bite of cheese, meat, and crunch all at once. It’s small, but it’s meaningful. And it’s easy. Really, really easy. That’s the hook. You get the fancy vibe without the fancy effort. And once you try it, you’ll probably make them again. Just like I did. Third time in a month, and I’m already planning the fourth batch for December.
Why You’ll Love This Recipe
Let’s be real for a second. Hosting a Friendsgiving is stressful. You’re trying to coordinate schedules, manage dietary restrictions, and somehow make the house smell like pumpkin spice without burning the curtains. That’s where these Easy Friendsgiving Charcuterie Cups come in. I’ve tested this concept through trial and error—okay, mostly error, followed by a lot of eating the mistakes—and I can tell you this: it works. It’s not just another snack idea; it’s a lifesaver for anyone who wants to look like a culinary artist but actually just wants to enjoy their own party.
- Quick & Easy: You can assemble a whole batch of these in under 30 minutes. No cooking required, no oven heat, no stress. Perfect for busy weeknights or last-minute hosting emergencies when you realize you forgot to buy appetizers.
- Simple Ingredients: You don’t need a fancy grocery trip. Most of these items are shelf-stable or common deli finds. You likely already have some crackers and cheese in your fridge. It’s pantry-friendly and low-stress.
- Perfect for Friendsgiving: This is the ultimate crowd-pleaser for autumn gatherings. It fits the theme perfectly with its warm, savory, and slightly sweet profile. It’s great for brunch, potlucks, or cozy dinners where people want to graze.
- Crowd-Pleaser: Kids, adults, picky eaters, and foodies all love them. It’s hard to find something everyone agrees on, but a mix of salty, savory, and crunchy usually hits the spot for everyone.
- Unbelievably Delicious: The texture combo is next-level comfort food. You get the crunch of the cracker, the creaminess of the cheese, the chew of the meat, and the pop of the fruit. It’s a flavor explosion in every bite.
What makes this recipe different from the rest? It’s the portion control and the presentation. Most charcuterie boards are a mess of shared plates. These cups are individual, hygienic, and Instagram-worthy. It’s a creative twist on the traditional board that saves you from dishwashing hell. Whether you are a seasoned host or a first-time organizer, this is your best version of a stress-free party snack. It’s the kind of recipe that makes you close your eyes after the first bite because it just feels right. It’s comfort food reimagined—faster, cleaner, but with the same soul-soothing satisfaction. Perfect for impressing guests without the stress of maintaining a giant board all night long.
What Ingredients You Will Need
This recipe uses simple, wholesome ingredients to deliver bold flavor and satisfying texture without the fuss. The beauty of the charcuterie cup is that it relies on high-quality store-bought items, so you don’t need to be a chef to make it taste amazing. We’re talking pantry staples, deli counter finds, and a few seasonal touches that bring the autumn vibe. You can mix and match based on what’s on sale or what your friends like, but here is the core list that has worked for me every single time.
For the Base
- Crackers: Water crackers, wheat thins, or pretzel crisps. I recommend Pepperidge Farm Water Crackers for their sturdy structure that won’t get soggy. You need something that can hold the weight of the toppings.
- Spread (Optional): A thin layer of cream cheese, hummus, or mustard. This acts as the glue for the other ingredients. If you want a gluten-free option, use rice crackers.
For the Protein
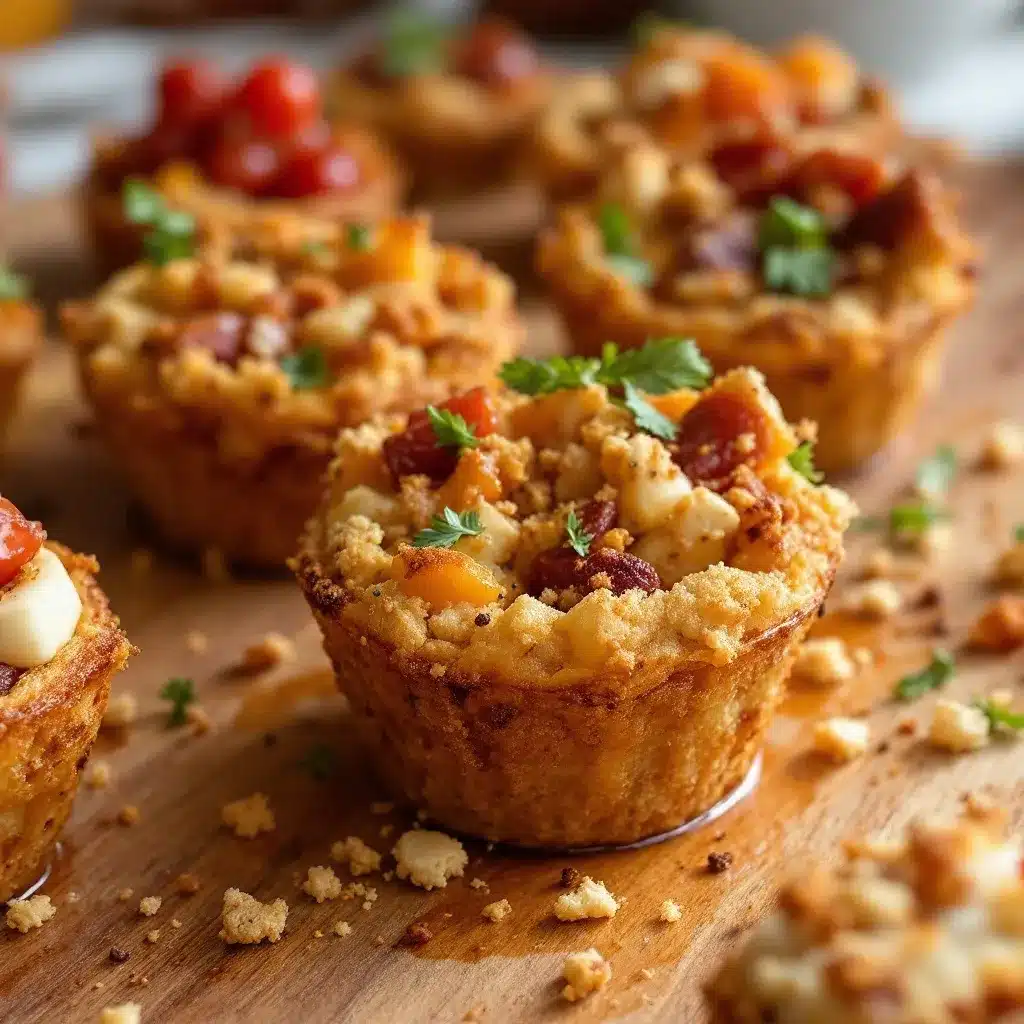
- Salami or Prosciutto: Folded or rolled. I like Boar’s Head Genoa Salami for its bold flavor. It adds a salty, savory punch that balances the sweet fruit.
- Bacon Bits (Optional): For an extra crunch and smokiness, add some crumbled cooked bacon. This is a personal favorite of mine, especially in the fall.
For the Cheese
- Cheddar or Gouda Cubes: Sharp cheddar or smoked gouda works best. Look for firm, small-curd cheese for best texture. It holds its shape better than soft cheeses.
- Brie or Camembert (Optional): If you want something creamy, add a small cube. Just be careful, it can be messy.
For the Fruit and Crunch
- Grapes or Berries: Red or green grapes, halved. In summer, swap in fresh berries instead of frozen. They add a juicy, sweet contrast.
- Walnuts or Pecans: Chopped. These add a necessary crunch and nutty flavor. Toasting them first enhances the taste significantly.
- Dried Cranberries or Apricots: For a chewy, sweet element. This ties into the Friendsgiving theme perfectly.
You can substitute ingredients based on dietary needs. Use almond flour crackers for a gluten-free option. Swap meat with vegan deli slices if needed. The key is to keep the balance of salty, sweet, and crunchy. It’s all about the layers.
Equipment Needed
You don’t need much to pull this off, which is kind of the point. Here is what you’ll need:
- Small Mason Jars or Clear Plastic Cups: 4-6 oz size is perfect. I prefer glass mason jars because they feel more rustic and festive, but plastic cups are great for parties where you don’t want to deal with breakage or returns. If you don’t have jars, small dessert glasses work too.
- Small Spoons or Tongs: For layering. A small teaspoon is ideal for getting the cheese and fruit into tight spots. Tongs help with the meat folds.
- Knife and Cutting Board: For chopping nuts and slicing fruit. Keep it simple; no fancy tools needed.
- Ziplock Bags: For storing extra crackers or nuts. Good for keeping things fresh if you make a big batch ahead of time.
I’ve tried using regular plastic cups, but they feel a bit cheap. The mason jars give it that homemade, artisanal vibe that people love. If you’re on a budget, check the dollar store for small glass jars. They work just as well. Just make sure they are clean and dry. Moisture is the enemy of crispy crackers, so dry jars are a must. Also, have plenty of napkins ready. Charcuterie is inherently messy, even in a cup.
Preparation Method
Getting these ready is straightforward, but there is a right way and a wrong way. The wrong way is throwing everything in randomly. The right way is layering with intention. Here is how I do it, step by step.
- Prep Your Ingredients: Start by washing and drying your fruit. Halve the grapes if they are large. Chop the nuts into small, bite-sized pieces. Cut the cheese into small cubes, about half an inch. If using deli meat, fold or roll it into small bundles. This should take about 15 minutes. Make sure everything is uniform in size so it layers nicely.
- Start with the Base: Take your jar or cup. If you are using a spread, add a teaspoon to the bottom. If not, skip this. Add a layer of crackers. You want enough to cover the bottom but not so much that it overflows. About 2-3 crackers per cup. Press them down gently.
- Add the Protein: Next, add a layer of folded salami or prosciutto. Aim for about 2-3 ounces per cup. Fold it into a small bundle to fit the space. If using bacon bits, sprinkle a tablespoon over the meat now.
- Add the Cheese: Toss in 3-4 cubes of cheddar or gouda. Distribute them evenly around the jar. This is the heart of the cup, so don’t skimp.
- Add the Fruit and Crunch: This is where the color comes in. Add a layer of grapes or berries. Then sprinkle a tablespoon of chopped nuts and a teaspoon of dried cranberries. The nuts should be scattered on top of the fruit.
- Top It Off: Add one more cracker on top if you want a lid effect, or just leave it open. If you have extra cheese or meat, add a small piece on the very top for visual appeal. It’s all about the look.
- Chill and Serve: Place the cups in the fridge for at least 30 minutes before serving. This helps the flavors meld and keeps the cheese firm. When you are ready to serve, add a small plastic fork to each cup. You can tie a ribbon around the rim for a festive touch.
Troubleshooting tip: If the crackers get soggy, it’s because of moisture from the fruit or cheese. To prevent this, keep the wet ingredients separate until the last minute, or use a barrier like a thin slice of cheese or meat. Also, don’t overfill the jars. Leave about half an inch of space at the top so people can dig in without making a mess.
Cooking Tips & Techniques
Even though there’s no cooking involved, there are techniques that make a huge difference. First, temperature matters. Cold cheese and cold fruit taste better and hold their shape. Keep everything chilled until you are ready to assemble. I usually prep my ingredients the night before and store them in airtight containers in the fridge.
Another tip is balance. You want every bite to have a mix of textures and flavors. If you only get cheese, it’s boring. If you only get crackers, it’s dry. Aim for a little bit of everything in each spoonful. This means layering carefully. Don’t just dump ingredients in; place them strategically.
Common mistake: Using soft, spreadable cheeses like brie without a barrier. Brie can ooze and make the crackers soggy. If you use brie, put it on top or use a small spoon to serve it separately. Stick to firm cheeses like cheddar, gouda, or manchego for the base layers.
Timing is key. Assemble the cups no more than 2 hours before serving. If you make them too early, the crackers will lose their crunch. If you are hosting a big party, make them in batches. Have a station set up with ingredients and jars, and invite friends to help assemble. It’s a fun activity and takes the pressure off you.
Consistency is achieved by using uniform ingredient sizes. If your cheese cubes are huge, they won’t fit nicely. If your grapes are whole, they might roll away. Keep everything bite-sized. This also makes it easier for guests to eat without making a mess. And finally, taste as you go. Adjust the salt and sweetness levels to your preference. Some people like it salty, some like it sweet. Have both options available.
Variations & Adaptations
One of the best things about these cups is how adaptable they are. You can customize them for different diets, seasons, or tastes. Here are a few variations I’ve tried:
- Vegan Version: Swap the meat for vegan deli slices or marinated tofu. Use vegan cheese or nut-based cheese spreads. Add roasted chickpeas for crunch instead of nuts. It’s surprisingly satisfying.
- Gluten-Free: Use rice crackers, gluten-free pretzels, or even cucumber slices as the base. Most meats and cheeses are naturally gluten-free, so this is easy to do. Just check labels for hidden gluten in processed meats.
- Spicy Kick: Add pepperoncini slices or jalapeño coins. Use spicy chorizo instead of salami. Add a drizzle of hot honey on top. This is great for friends who like a little heat.
- Sweet Tooth: Skip the meat and add more fruit. Use chocolate-covered almonds instead of nuts. Add a dollop of Nutella or peanut butter. It’s like a dessert cup, but still savory enough to be a snack.
- Seafood Twist: Add smoked salmon and cream cheese. Add capers and red onion. It’s a classic combination that works beautifully in a cup. This is my personal favorite variation for a more elegant touch.
You can also swap ingredients based on what is in season. In the fall, add pears and apples. In the winter, add pomegranate seeds. In the spring, add fresh strawberries. The possibilities are endless. Just keep the balance of salty, sweet, and crunchy. It’s the secret to making any variation work.
Serving & Storage Suggestions
These cups are best served cold or at room temperature. If you make them ahead, keep them in the fridge until you are ready to serve. When you take them out, let them sit for 10-15 minutes to take the chill off. This enhances the flavor of the cheese and meat.
For presentation, arrange the cups on a large platter or tray. Add some greenery like rosemary or eucalyptus around the edges for a festive look. You can also tie a ribbon or twine around the rim of each jar for a gift-ready appearance. It’s a nice touch for hostess gifts or party favors.
Leftovers? There probably won’t be any, but if there are, store them in the fridge in an airtight container. The crackers might get soft, so it’s best to eat them within 24 hours. Do not freeze them, as the texture will suffer. If you have extra ingredients, store them separately and assemble new cups as needed.
Complementary dishes: These cups go well with a light salad or soup. They are also great alongside a glass of wine or cider. I like to serve them with a crisp white wine or a light red. For non-alcoholic options, apple cider or sparkling water with lemon works well. It’s a complete snack experience.
Flavors develop over time, especially if you let them sit for a bit. The salt from the meat and cheese will season the crackers slightly, which some people love. Others prefer them fresh. It’s a matter of preference. Just be aware that they are best fresh.
Nutritional Information & Benefits
While these cups are indulgent, they can be part of a balanced diet. Here is a rough estimate per cup (approx. 6 oz):
- Calories: 250-350 kcal
- Protein: 10-15g
- Carbs: 15-20g
- Fat: 15-20g
The protein from the meat and cheese helps keep you full. The healthy fats from the nuts and cheese provide energy. The fruit adds fiber and vitamins. It’s a good snack option if you are watching your portions. However, it is calorie-dense, so keep an eye on how many cups you eat.
For dietary considerations, most ingredients are gluten-free if you choose the right crackers. It can be made dairy-free with vegan alternatives. It is nut-free if you omit the nuts and use seeds instead. Always check labels for allergens, especially with processed meats and cheeses.
From a wellness perspective, I love that these cups encourage mindful eating. You are more likely to savor each bite when it’s in a small, curated package. It prevents mindless snacking. Plus, it’s a fun way to introduce kids to new foods. They get to pick and choose what they like, which makes them more willing to try new things. It’s a win-win for family meals or parties.
Conclusion
Easy Friendsgiving Charcuterie Cups are more than just a snack; they are a solution to the hosting headache. They are beautiful, delicious, and incredibly easy to make. I hope you try them and find them as useful as I have. Don’t be afraid to customize them to your taste. Add your favorite fruits, your go-to crackers, or your secret spice blend. Make it your own.
I love this recipe because it brings people together without the stress. It’s a conversation starter, a party favor, and a delicious treat all in one. So next time you have a gathering, skip the giant board and go for the cups. Your guests will thank you, and your back will thank you too.
If you make these, I’d love to see them! Share your photos on social media and tag me. Or leave a comment below with your favorite variation. Have you tried adding anything unique? Let me know. Happy hosting!
FAQs
Can I make these ahead of time?
Yes, you can assemble them up to 2 hours before serving. Keep them refrigerated until ready to serve. This helps maintain the crispness of the crackers.
What type of crackers work best?
Water crackers, wheat thins, or pretzel crisps are best. Avoid soft crackers that might break. Look for sturdy, flat crackers that can hold the weight of the toppings.
Can I use soft cheese like brie?
You can, but it might be messy. It’s better to put brie on top or serve it separately. Firm cheeses like cheddar or gouda are easier to layer and less likely to make a mess.
How do I keep the crackers from getting soggy?
Keep wet ingredients like grapes and cheese separate until the last minute. You can also use a barrier like a slice of meat or cheese between the crackers and wet items.
Can I make these for a large party?
Absolutely. Just scale up the ingredients and set up an assembly station. You can even invite guests to help build their own cups. It’s a fun activity for large groups.
Pin This Recipe!
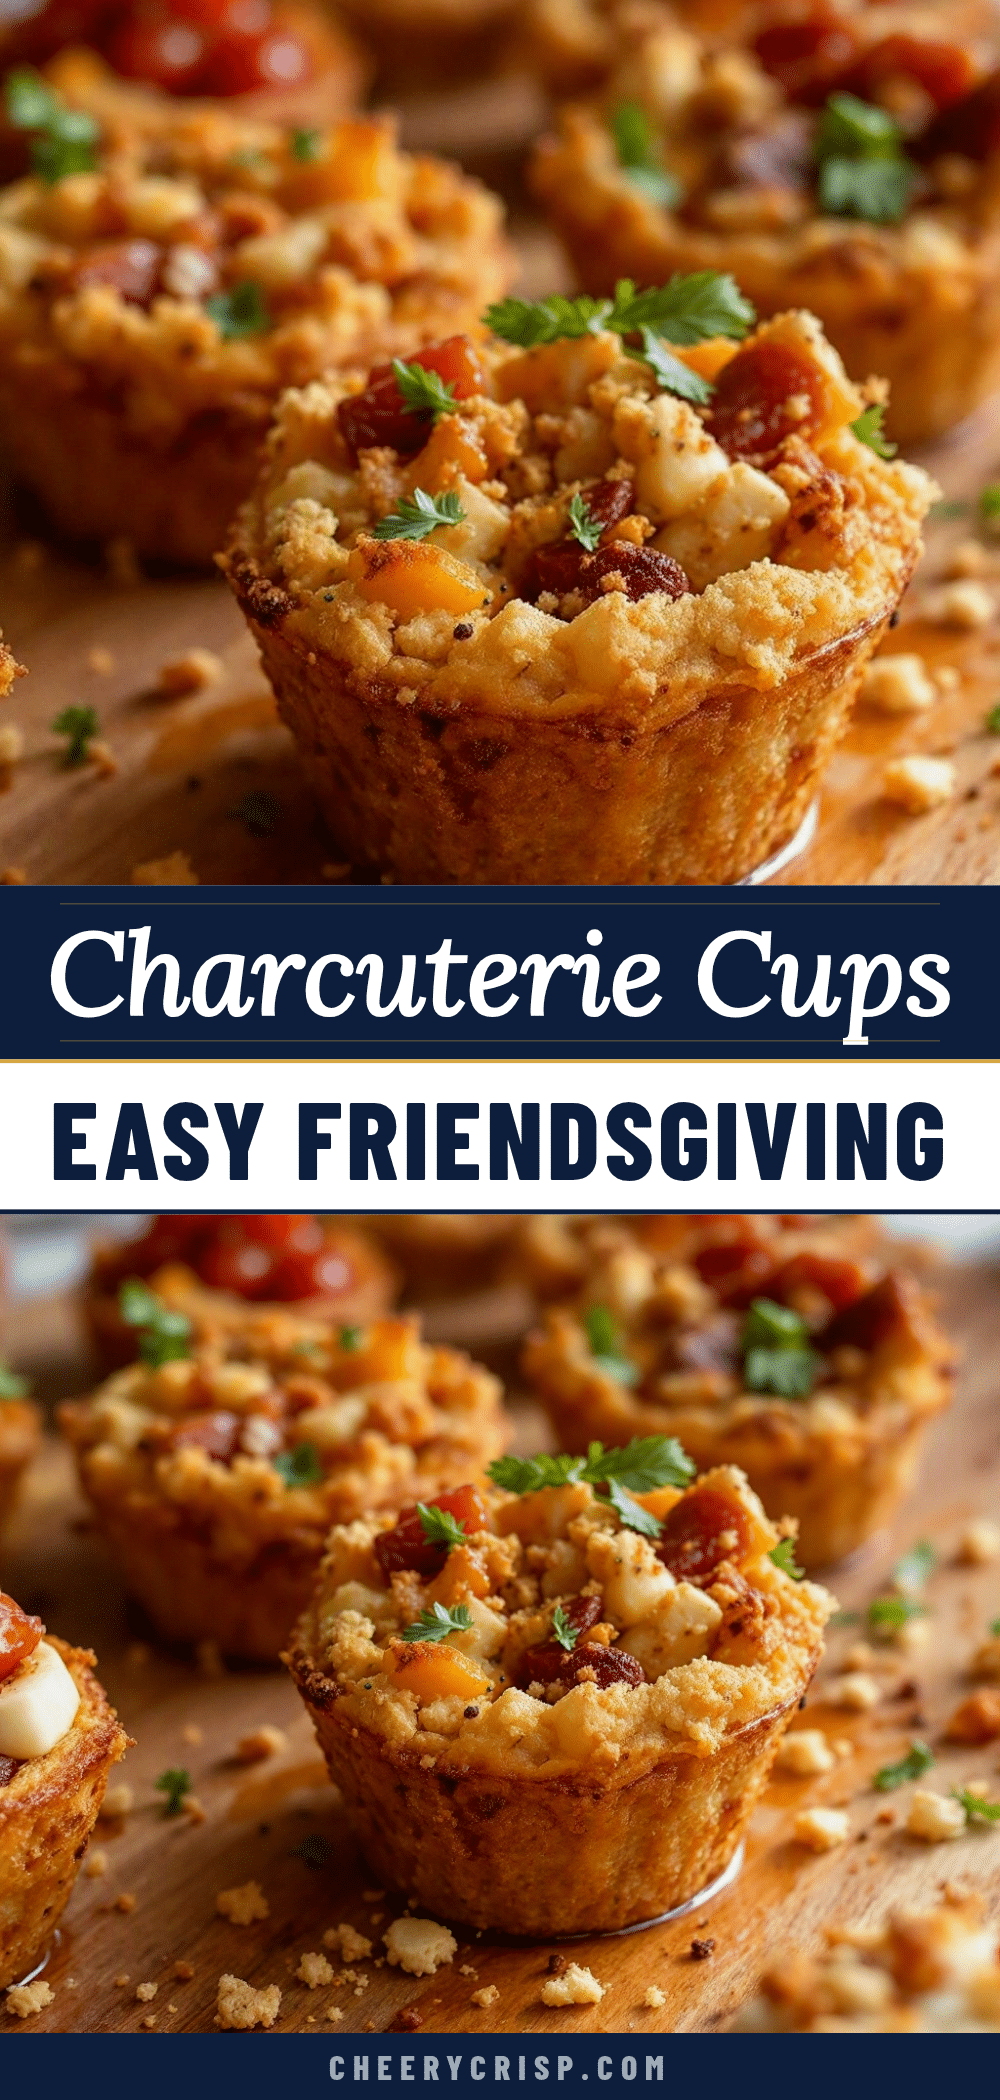
Easy Friendsgiving Charcuterie Cups

Individual, layered charcuterie cups served in mason jars or clear cups, offering a stress-free, portable, and visually appealing alternative to traditional cheese boards for parties and gatherings.
- Prep Time: 15 minutes
- Cook Time: 0 minutes
- Total Time: 45 minutes
- Yield: 4 servings
- Category: Appetizer
- Cuisine: American
Ingredients
- Water crackers, wheat thins, or pretzel crisps (e.g., Pepperidge Farm Water Crackers)
- Cream cheese, hummus, or mustard (optional spread)
- Salami or prosciutto (e.g., Boar’s Head Genoa Salami), folded or rolled
- Bacon bits, crumbled and cooked (optional)
- Cheddar or smoked gouda cubes, firm small-curd
- Brie or Camembert cubes (optional)
- Red or green grapes, halved
- Walnuts or pecans, chopped
- Dried cranberries or apricots
Instructions
- Wash and dry fruit; halve large grapes. Chop nuts into bite-sized pieces. Cut cheese into 1/2-inch cubes. Fold or roll deli meat into small bundles.
- Add a teaspoon of optional spread (cream cheese, hummus, or mustard) to the bottom of the jar.
- Add a base layer of 2-3 crackers, pressing them down gently.
- Add a layer of folded salami or prosciutto (approx. 2-3 oz) and sprinkle with bacon bits if using.
- Toss in 3-4 cubes of cheddar or gouda, distributing them evenly.
- Add a layer of grapes or berries, then sprinkle with chopped nuts and dried cranberries.
- Optionally add one more cracker on top or place extra cheese/meat on top for visual appeal.
- Chill in the refrigerator for at least 30 minutes before serving.
- Serve with small plastic forks; tie a ribbon around the rim for presentation if desired.
Notes
Keep wet ingredients separate from crackers until serving to prevent sogginess. Use firm cheeses for better layering. Assemble no more than 2 hours before serving to maintain cracker crispness. Store leftovers in the fridge for up to 24 hours; do not freeze.
Nutrition
- Serving Size: 1 cup (approx. 6 oz)
- Calories: 300
- Sugar: 8
- Sodium: 450
- Fat: 17.5
- Saturated Fat: 6
- Carbohydrates: 17.5
- Fiber: 2
- Protein: 12.5
Keywords: Friendsgiving, charcuterie cups, mason jar snacks, party appetizers, easy hosting, no-cook recipes, fall snacks, individual charcuterie



