Love this? Save it for later!
Share the inspiration with your friends
I had been looking for a pumpkin dessert that actually tasted like autumn, not just sugar and canned squash. For a while, I just accepted that grocery store pumpkin bars were going to taste like dense, over-spiced cake. They were sweet, sure, but they lacked that warm, nutty depth that makes you want to sit by a window with a hot tea. You know the kind? The ones that feel more like a cookie bar than a traditional slice of cake.
It wasn’t until last October that I stopped settling for dry textures and artificial flavors. I needed something moist. I needed a frosting that wasn’t just sweet cream cheese but had some actual savory weight to it. That’s when the idea for brown butter hit me. It sounded risky at first, like I was overcomplicating a simple dessert. But honestly, the gap in my pantry—and my heart—was too big to ignore.
I started experimenting with the base, trying to get that perfect balance of spice and moisture. I wanted it to pair well with other fall favorites, maybe even complement a batch of chewy pumpkin snickerdoodle cookies if I were making a party platter. The goal wasn’t to reinvent the wheel, but to fix what was broken: the lack of complexity in standard pumpkin bars.
When I finally pulled the first batch out of the oven, the smell filled the kitchen. It wasn’t just pumpkin. It was toasted nuts and caramelized butter. The bars set up perfectly, firm enough to cut but soft enough to bite into without crumbling. That quiet realization was enough. I didn’t need to shout about it. I just needed to write it down so I wouldn’t forget how to make that specific, comforting balance again. It stuck because it solved the problem of boring fall desserts.
Why You’ll Love This Recipe
Let’s be real for a second. Most pumpkin bars are fine. They are decent. But they are also predictable. This recipe is different because it leans into the nutty, toasted flavor profile of brown butter, which transforms a simple spice cake into something sophisticated yet incredibly easy. I’ve tested this version more times than I care to admit, tweaking the spice ratios until it felt just right. The result is a bar that is moist, tender, and deeply flavorful without being cloyingly sweet.
Here is why this recipe earns its spot in your weekly rotation:
- Quick & Easy: You can have these from start to finish in under an hour. It’s perfect for busy weeknights or when you need a last-minute treat for a neighbor.
- Simple Ingredients: No fancy grocery trips needed. You likely already have brown butter (well, you make it), pumpkin puree, and spices in your kitchen. It uses pantry staples that you trust.
- Perfect for Fall Gatherings: Great for potlucks, office parties, or cozy dinners. They travel well and hold up better than delicate cupcakes.
- Crowd-Pleaser: Always gets rave reviews. Kids love the sweetness, and adults appreciate the sophisticated brown butter note. It bridges that gap perfectly.
- Unbelievably Delicious: The texture is next-level. It’s not dry like a cake; it’s dense and chewy like a bar, with a frosting that melts on your tongue.
What makes this recipe stand out from the rest is the frosting. Most people just slap on a cream cheese layer. But brown butter changes the game. It adds a toasty, almost caramel-like depth that cuts through the sweetness of the pumpkin. It’s the kind of detail that makes people ask for the recipe immediately.
This recipe isn’t just good—it’s the kind that makes you close your eyes after the first bite. It’s comfort food reimagined. It’s faster than baking a full loaf of best brown butter pumpkin bread, but it delivers that same soul-soothing satisfaction. Perfect for impressing guests without stress, or turning a simple Tuesday evening into something memorable.
What Ingredients You Will Need
This recipe uses simple, wholesome ingredients to deliver bold flavor and satisfying texture without the fuss. The key here is quality over quantity. Since there are fewer ingredients, each one plays a critical role. I recommend using real pumpkin puree, not pumpkin pie filling, which is loaded with sugar and spices. You want that clean, earthy pumpkin flavor to shine through.
Here is what you need to gather before you start:
- For the Bars:
- Unsalted butter, softened (1/2 cup or 113g). This provides the fat and moisture.
- Packed brown sugar (1 cup or 200g). Adds chewiness and a hint of molasses.
- Granulated white sugar (1/2 cup or 100g). Balances the sweetness and helps with texture.
- Large egg, room temperature (1). Binds the ingredients together.
- Pure pumpkin puree (1 cup or 245g). Make sure it’s 100% pumpkin, no additives.
- All-purpose flour (1 1/2 cups or 190g). The structure of the bar.
- Baking powder (1 teaspoon). For a little lift.
- Baking soda (1/2 teaspoon). Helps the bars spread and brown.
- Salt (1/2 teaspoon). Enhances all the other flavors.
- Pumpkin pie spice (1 1/2 teaspoons). Or a mix of cinnamon, ginger, nutmeg, and cloves.
- For the Brown Butter Frosting:
- Unsalted butter (1/2 cup or 113g). You will brown this until it’s nutty and golden.
- Powdered sugar (2 cups or 240g). Sifted to avoid lumps in the frosting.
- Heavy cream (2-3 tablespoons). Adjusts consistency.
- Vanilla extract (1 teaspoon). Adds warmth.
- Salt (1/4 teaspoon). Cuts the sweetness of the powdered sugar.
I prefer using perfect pumpkin muffins techniques here, which means sifting your dry ingredients. It sounds like extra work, but it ensures no flour pockets in your bars. For the butter, don’t skimp on quality. Good butter makes good brown butter. If you can’t find pumpkin pie spice, you can make your own by mixing cinnamon, ginger, allspice, and nutmeg. It’s worth the five minutes.
Equipment Needed
You don’t need a lot of fancy gadgets for this recipe. A few basic tools will get you there.
- 9×9 Inch Baking Pan: This is the standard size for bars. Line it with parchment paper, leaving an overhang on the sides. This is crucial for lifting the bars out later. It saves you from cutting them in the pan, which can get messy.
- Mixing Bowls: One large bowl for the wet ingredients and one medium for the dry. If you don’t have nested bowls, just clean the large one in between.
- Hand Mixer or Stand Mixer: While you can do this by hand, a mixer makes creaming the butter and sugars much easier. It takes the arm fatigue out of the process.
- Spatula: A silicone spatula is best for scraping the bowl and folding in the flour gently. Overmixing is the enemy of tender bars.
- Saucepan: A light-colored saucepan is helpful for browning the butter. You can see the color changes clearly. A stainless steel or light aluminum pan works well. Avoid dark non-stick pans as they can hide the browning process.
- Whisk: For mixing the dry ingredients and the frosting.
If you don’t have a 9×9 pan, you can use a 9×13 pan, but the bars will be thinner and bake faster. Keep an eye on them. The parchment paper trick is a budget-friendly way to ensure easy cleanup and perfect slices. It’s a small investment in aluminum foil and parchment that pays off in time saved later.
Preparation Method
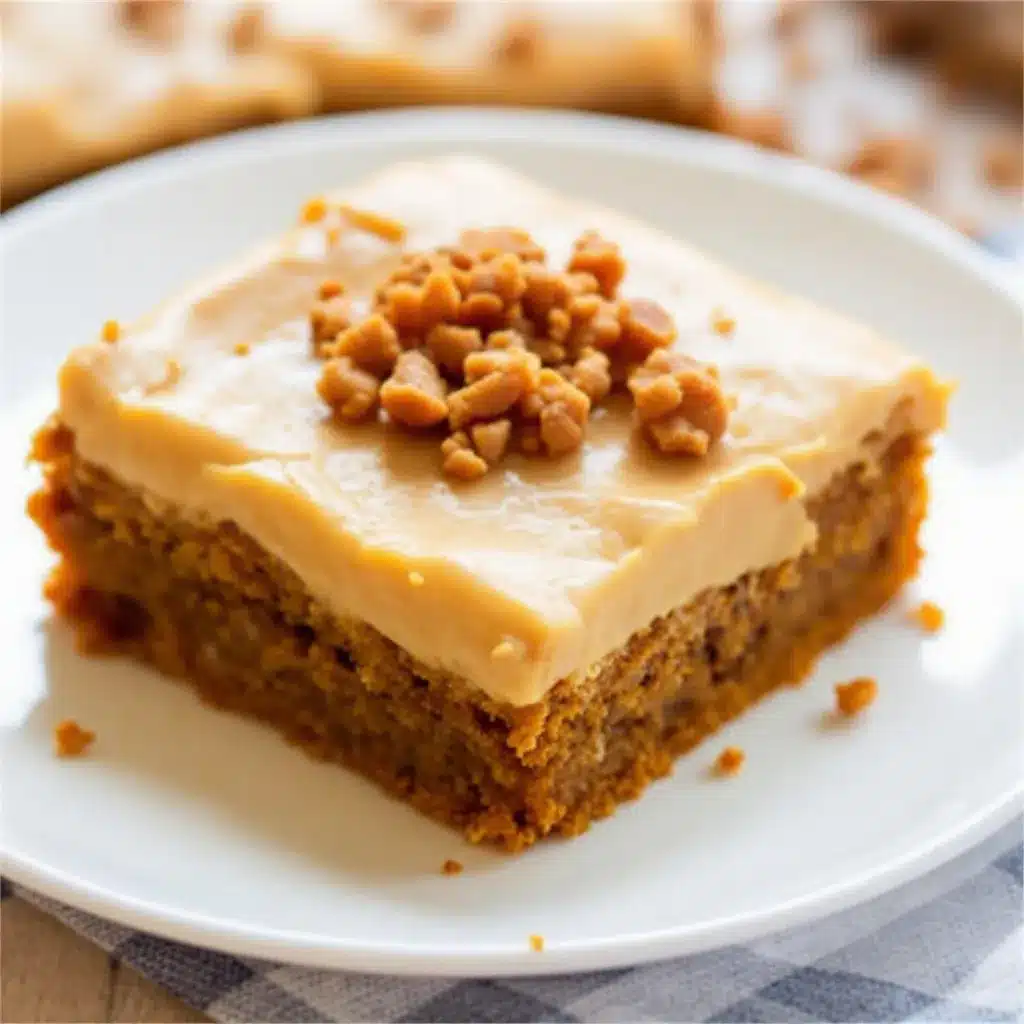
Follow these steps carefully to get the best results. Precision matters, especially with the brown butter.
- Prep the Pan and Oven: Preheat your oven to 350°F (175°C). Grease your 9×9 inch baking pan lightly, then line it with parchment paper. Leave a little overhang on the long sides to create “handles” for lifting the bars out later. This is non-negotiable for clean cuts.
- Brown the Butter: This is the most important step. Melt the 1/2 cup of butter in a saucepan over medium heat. Stir constantly. It will foam up, then subside. You will see brown bits form at the bottom and smell a nutty, toasted aroma. This takes about 5-7 minutes. Remove from heat immediately and pour into a heat-proof bowl. Let it cool slightly but not solidify. Warning: If you wait too long, it will burn. If it’s too hot, it will melt the sugar in the frosting.
- Mix Wet Ingredients: In a large bowl, beat the softened 1/2 cup butter with the brown sugar and granulated sugar until light and fluffy. This takes about 2-3 minutes. Add the egg and the cooled brown butter. Mix until combined. Stir in the pumpkin puree and vanilla extract. The mixture should be smooth and orange.
- Combine Dry Ingredients: In a separate medium bowl, whisk together the flour, baking powder, baking soda, salt, and pumpkin pie spice. Sifting is recommended here to avoid lumps.
- Combine Wet and Dry: Add the dry ingredients to the wet ingredients. Mix on low speed or use a spatula just until the flour disappears. Do not overmix. The batter will be thick and dense. Tip: If the batter seems too dry, add a teaspoon of milk. If too wet, add a tablespoon of flour.
- Bake: Spread the batter evenly into the prepared pan. Bake for 20-25 minutes. The bars are done when a toothpick inserted into the center comes out clean or with just a few moist crumbs. Do not overbake, or they will be dry.
- Cool Completely: Let the bars cool in the pan on a wire rack. They need to be completely cool before frosting, otherwise, the frosting will melt and slide off. This can take at least 45 minutes.
- Make the Frosting: While the bars cool, make the brown butter frosting. Whisk the cooled brown butter (from step 2) with the powdered sugar, heavy cream, vanilla, and salt. Start with 2 tablespoons of cream and add more if needed. Beat until smooth and spreadable. If it’s too thick, add more cream. If too thin, add more sugar.
- Frost and Serve: Spread the frosting evenly over the cooled bars. Use a spatula to get to the corners. Slice into squares using a sharp knife. Clean the knife between cuts for neat edges.
Cooking Tips & Techniques
Brown butter can be tricky if you’ve never made it before. The key is to stay close to the stove. Butter goes from perfect to burnt very quickly. Listen for the sizzling sound to slow down. That’s when the milk solids are browning.
One common mistake is using butter that is too hot for the frosting. After browning, let the butter sit for 10-15 minutes. It should be liquid but not hot to the touch. If it’s too warm, it will make the frosting greasy. If it cools too much and solidifies, you can gently warm it in the microwave for 5-second intervals.
Another tip is to room temperature your egg. Cold eggs can cause the batter to seize up slightly. Take your egg out of the fridge 30 minutes before you start. Also, don’t skip the salt in the frosting. It balances the sweetness and highlights the nutty flavor.
Multitasking is your friend here. Start browning the butter first, then while it cools, mix the bar batter. This saves time. If you are short on time, you can use store-bought brown butter, but homemade tastes significantly better. The aroma alone is worth the effort.
Variations & Adaptations
This recipe is flexible. Here are a few ways to change it up:
- Gluten-Free: Swap the all-purpose flour for a 1:1 gluten-free baking flour. Most brands work well, but check the label for xanthan gum. If it doesn’t have it, add 1/2 teaspoon.
- Dairy-Free: Use dairy-free butter sticks (like Miyoko’s or Earth Balance) for both the bars and the frosting. Use coconut cream instead of heavy cream in the frosting.
- Spice It Up: Add 1/2 teaspoon of cardamom or allspice to the bar batter for a deeper flavor profile. Or add 1/4 cup of chopped pecans or walnuts to the batter for crunch.
- Mini Version: You can bake these in a muffin tin for 15-18 minutes. Frost them individually. These are perfect for Halloween treat bags or portion control.
- Less Sweet: Reduce the granulated sugar in the bars by 2 tablespoons. The brown butter and pumpkin provide enough natural sweetness.
I tried adding a swirl of cream cheese to the frosting once, and it was delicious but complicated. Stick to the brown butter for a cleaner, more elegant taste. It lets the pumpkin shine without competing flavors.
Serving & Storage Suggestions
Serve these bars at room temperature. They are best the day they are made, but they keep well. Store them in an airtight container at room temperature for up to 3 days. If your kitchen is very hot, store them in the refrigerator. Let them come to room temperature before serving for the best texture.
For longer storage, freeze the unfrosted bars. Wrap them tightly in plastic wrap and foil. They will keep for up to 3 months. Thaw overnight in the fridge, then frost when ready to serve.
You can also freeze the frosted bars. Place them in a single layer in the freezer until solid, then wrap them. Thaw in the fridge overnight. The texture might be slightly softer, but the flavor remains excellent.
These bars pair beautifully with a cup of hot coffee or a glass of cold milk. They also go well with a slice of sharp cheddar cheese if you are serving them for a fall brunch.
Nutritional Information & Benefits
These bars are a treat, but they do have some nutritional benefits. Pumpkin is rich in Vitamin A, which is good for eye health and immune function. It also provides fiber, which aids digestion. Brown butter contains conjugated linoleic acid (CLA), which some studies suggest may have health benefits, though it’s still a fat to enjoy in moderation.
Each bar (assuming 16 squares) has approximately 250-300 calories, depending on the size. It contains around 15g of fat, 35g of carbohydrates, and 3g of protein. It is not gluten-free unless you use GF flour. It contains dairy and eggs.
I view these as a mindful treat. Enjoy a square or two with your morning coffee. They satisfy the sweet tooth without requiring a huge portion. Balance is key.
Conclusion
These easy pumpkin bars with brown butter frosting are a game-changer. They are moist, flavorful, and incredibly easy to make. The brown butter adds a sophisticated touch that elevates them above standard pumpkin bars. I love them because they are reliable. They never fail to impress, and they bring a sense of warmth to the kitchen.
I encourage you to try this recipe. Customize it with nuts or different spices if you like. Share them with friends and family. I’d love to hear how they turn out for you. Leave a comment below with your thoughts or any variations you tried.
Thanks for reading. Happy baking!
Frequently Asked Questions
Can I use pumpkin pie filling instead of pure pumpkin?
No. Pumpkin pie filling has added sugar and spices, which will throw off the balance of the recipe. Use 100% pure pumpkin puree for the best results.
Why did my brown butter burn?
Brown butter burns easily. Make sure to use a light-colored pan so you can see the color. Stir constantly and remove from heat as soon as it smells nutty and turns golden brown.
Can I freeze the frosted bars?
Yes. Freeze them in a single layer until solid, then wrap tightly. They will keep for up to 3 months. Thaw in the fridge overnight.
How do I get clean cuts?
Use a sharp knife. Wipe the blade clean between each cut. This prevents the frosting from smearing and keeps the squares neat.
Can I make these in a 9×13 pan?
Yes, but they will be thinner. Reduce the baking time to 15-18 minutes. Keep a close eye on them to avoid overbaking.
Pin This Recipe!
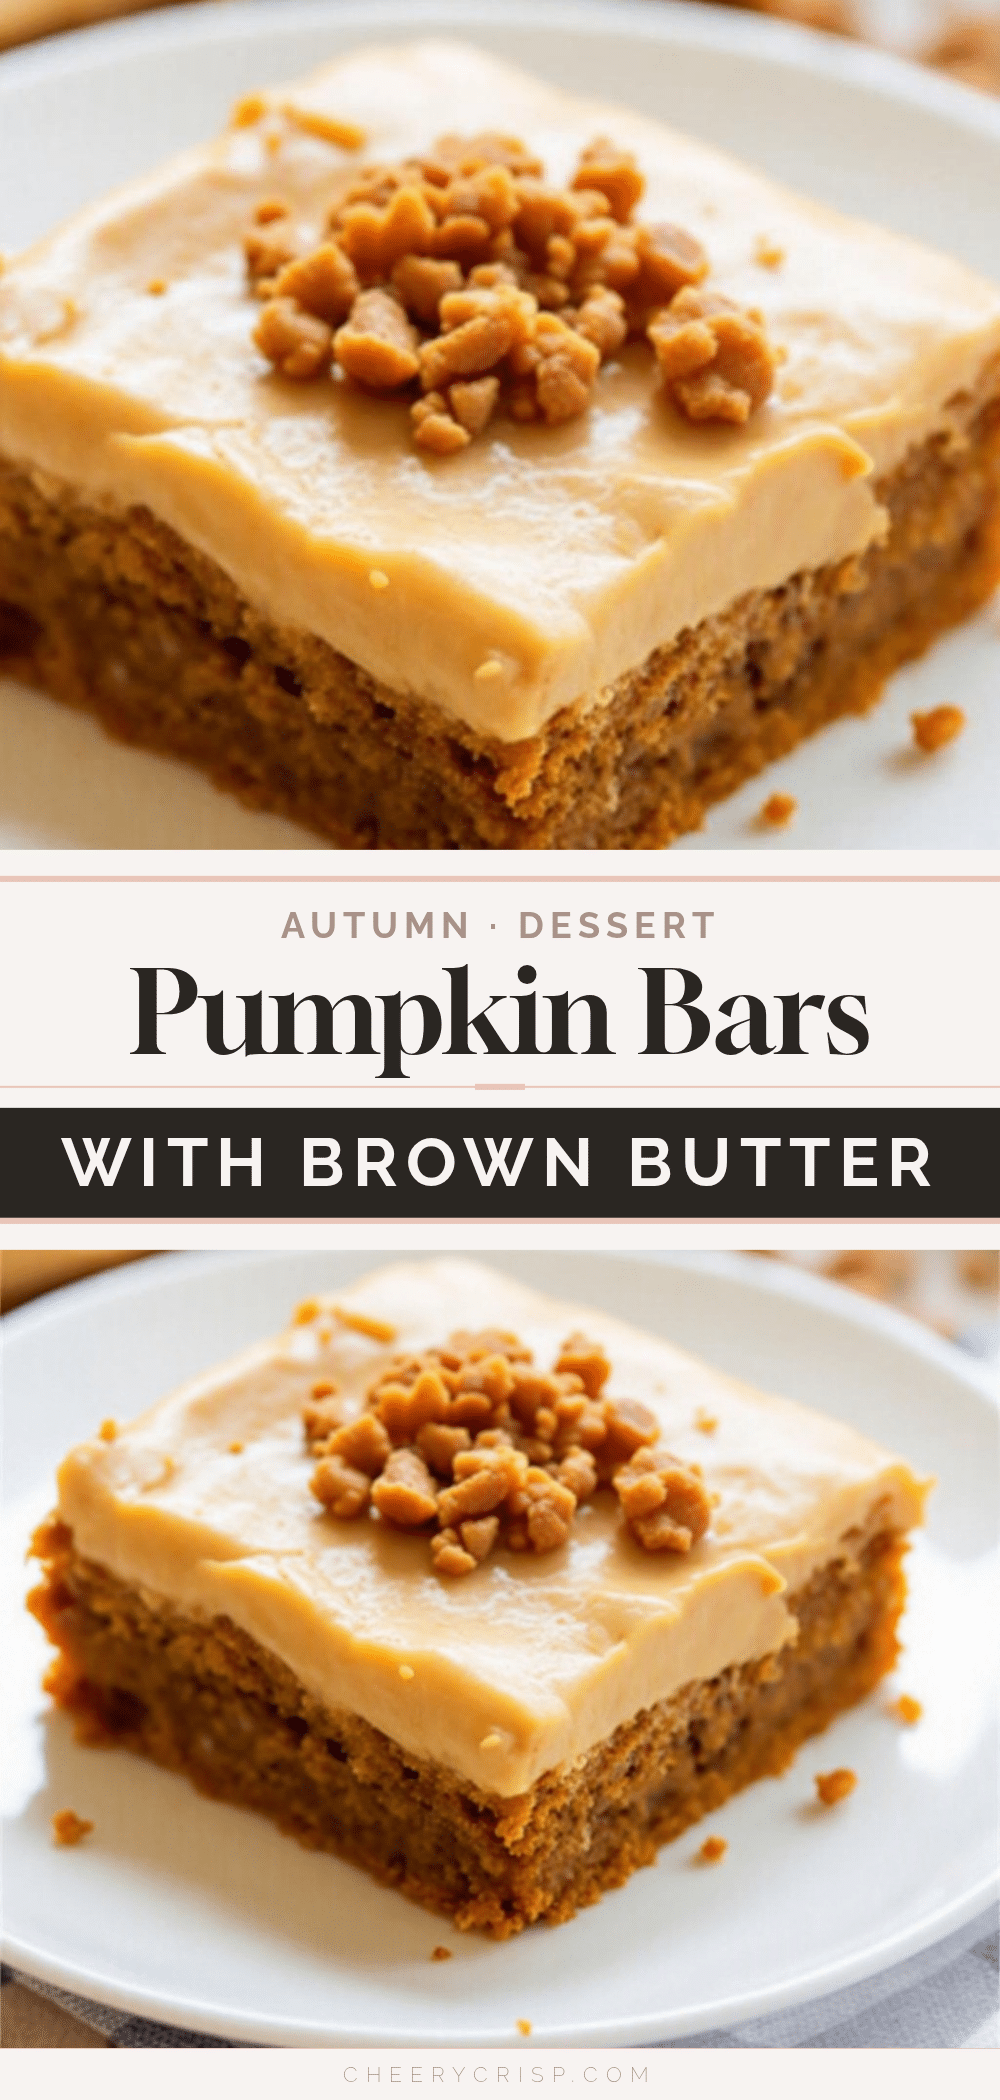
Easy Pumpkin Bars with Brown Butter Frosting
Moist, tender pumpkin bars with a sophisticated brown butter frosting that offers a nutty, caramel-like depth. These bars are easy to make, perfect for fall gatherings, and deliver a comforting autumn flavor.
- Prep Time: 15 minutes
- Cook Time: 25 minutes
- Total Time: 40 minutes
- Yield: 16 servings 1x
- Category: Dessert
- Cuisine: American
Ingredients
- 1/2 cup unsalted butter, softened (for bars)
- 1 cup packed brown sugar
- 1/2 cup granulated white sugar
- 1 large egg, room temperature
- 1 cup pure pumpkin puree
- 1 1/2 cups all-purpose flour
- 1 teaspoon baking powder
- 1/2 teaspoon baking soda
- 1/2 teaspoon salt
- 1 1/2 teaspoons pumpkin pie spice
- 1/2 cup unsalted butter (for frosting, to be browned)
- 2 cups powdered sugar, sifted
- 2–3 tablespoons heavy cream
- 1 teaspoon vanilla extract
- 1/4 teaspoon salt (for frosting)
Instructions
- Preheat oven to 350°F (175°C). Grease a 9×9 inch baking pan and line with parchment paper, leaving an overhang on the sides.
- Brown the 1/2 cup butter for the frosting in a saucepan over medium heat, stirring constantly until nutty and golden (5-7 minutes). Pour into a heat-proof bowl and let cool slightly but remain liquid.
- In a large bowl, beat the softened 1/2 cup butter with brown sugar and granulated sugar until light and fluffy. Add the egg, cooled brown butter, pumpkin puree, and vanilla; mix until combined.
- In a separate medium bowl, whisk together flour, baking powder, baking soda, salt, and pumpkin pie spice.
- Add dry ingredients to wet ingredients and mix just until combined. Do not overmix.
- Spread batter evenly into the prepared pan and bake for 20-25 minutes, or until a toothpick inserted in the center comes out clean.
- Let bars cool completely in the pan on a wire rack (at least 45 minutes).
- While bars cool, whisk the cooled brown butter with powdered sugar, heavy cream, vanilla, and salt until smooth and spreadable.
- Spread frosting over cooled bars and slice into squares.
Notes
Use 100% pure pumpkin puree, not pumpkin pie filling. Ensure the brown butter for the frosting is cooled but still liquid before mixing with sugar to prevent greasy frosting. For clean cuts, use a sharp knife and wipe the blade between cuts. Bars can be frozen unfrosted for up to 3 months.
Nutrition
- Serving Size: 1 bar (approx. 16 sq
- Calories: 275
- Sugar: 24
- Sodium: 200
- Fat: 15
- Saturated Fat: 9
- Carbohydrates: 35
- Fiber: 1
- Protein: 3
Keywords: pumpkin bars, brown butter frosting, fall dessert, easy pumpkin recipe, autumn baking, pumpkin bars with brown butter



