Love this? Save it for later!
Share the inspiration with your friends
I burned the first batch of graham cracker crumbs so badly my smoke detector went off and the dog hid under the bed.
It was two days before Halloween, and I had promised my niece we would make something special for her class party. The kitchen smelled like a campfire gone wrong, and I was staring at a bag of chocolate pudding mix wondering if I should just scrap the whole idea and buy cupcakes from the grocery store. But something about the promise of a pumpkin patch in a cup kept me going.
These Easy Pumpkin Patch Pudding Cups for Halloween started as a desperate attempt to salvage a ruined afternoon. I had seen those cute little dirt-and-worm cups all over Pinterest and thought—why not make a pumpkin patch version? Turns out, the idea was better than the execution at first. The pudding was too runny, the crushed Oreos looked like mud instead of soil, and the little pumpkin candies kept sinking into the abyss.
But I kept tweaking. Made the pudding thicker by letting it set longer. Used a specific brand of crushed cookies that held their texture. And finally—finally—I figured out the trick to making those little pumpkins sit right on top without disappearing into the chocolate abyss.
Now these Easy Pumpkin Patch Pudding Cups for Halloween are my go-to for every fall gathering. They take maybe fifteen minutes of actual work, and the rest is just waiting for the pudding to set. The kids go absolutely wild for them, and honestly? The adults do too. There is something about a dessert that looks like a tiny garden that makes everyone smile.
So if you have ever burned graham crackers or ended up with pudding soup, trust me—I have been there. These cups are forgiving, flexible, and genuinely fun to make. Let me show you how to get it right the first time.
Why You Will Love This Recipe
Let me tell you why these Easy Pumpkin Patch Pudding Cups for Halloween have become my most-requested fall dessert. I have tested this recipe at least a dozen times across different gatherings—class parties, family dinners, even a grown-up Halloween potluck—and every single time, people ask for the recipe.
- No baking required. Seriously. If you can stir pudding and crush cookies, you can make these. No oven, no mixer, no complicated techniques.
- Ready in under 30 minutes. The active prep time is maybe fifteen minutes. The rest is just fridge time while the pudding sets. Perfect for busy weeknights or last-minute Halloween parties.
- Kid-friendly from start to finish. My niece helps me crush the cookies and arrange the pumpkins. It is the kind of recipe where the mess is part of the fun.
- Customizable for any dietary need. I have made these with dairy-free pudding, gluten-free cookies, and vegan whipped topping. They still taste amazing and look just as cute.
- Perfect for Halloween but works all fall. Switch out the Halloween-themed pumpkins for regular candy pumpkins and you have a Thanksgiving dessert too.
What makes these different from every other pudding cup recipe out there? It is the texture. Most versions end up with soggy Oreo crumbs that dissolve into the pudding within an hour. I figured out that toasting the cookie crumbs slightly (yes, even for a no-bake recipe) keeps them crunchy and gives that realistic “soil” texture that lasts. Plus, the little trick of freezing the pudding cups for ten minutes before adding the toppings keeps everything layered perfectly.
Honestly, this is the kind of dessert that makes you feel like a kitchen wizard even though you barely did any work. And on Halloween, when you are already juggling costumes and candy and chaos, that is exactly what you need.
What Ingredients You Will Need
This recipe uses mostly pantry staples and a few fun seasonal ingredients. The beauty of these Easy Pumpkin Patch Pudding Cups for Halloween is that you probably already have most of what you need sitting in your kitchen right now.
For the Pudding Base
- 2 boxes (3.4 ounces each) instant chocolate pudding mix — I prefer Jell-O brand for the smoothest texture, but any instant pudding mix works. Do not use cook-and-serve pudding; it will not set properly for this recipe.
- 3 cups cold whole milk — Whole milk gives the richest, creamiest pudding. You can use 2% in a pinch, but avoid skim milk. For a dairy-free version, use full-fat oat milk or coconut milk from a carton (not a can).
- 1 teaspoon vanilla extract — This is optional but adds a layer of warmth that complements the chocolate and pumpkin flavors beautifully.
For the “Dirt” Layer
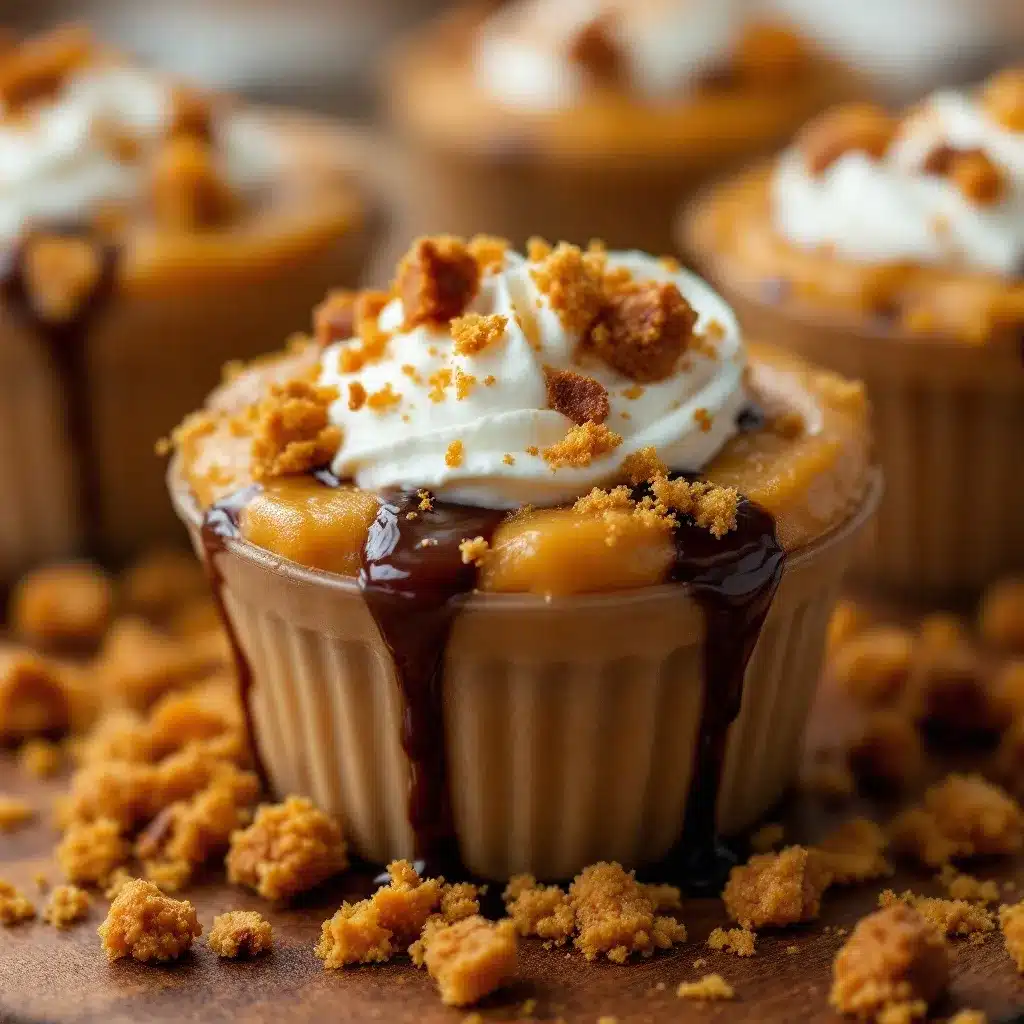
- 20 Oreo cookies (about 2 cups crushed) — You can use regular Oreos, Double Stuf, or even gluten-free chocolate sandwich cookies. The cream filling helps the crumbs stick together slightly, which is actually perfect for this recipe.
- 1 tablespoon melted butter — This helps the crumbs toast up nicely and adds richness. Use salted or unsalted—both work fine.
For the Pumpkin Patch Decoration
- 1 cup canned pumpkin puree — Not pumpkin pie filling. Just plain pumpkin puree. Libby’s is my go-to brand because it is consistently thick and not watery.
- 2 tablespoons powdered sugar — This sweetens the pumpkin slightly without making it grainy. You can also use maple syrup, but it will make the pumpkin layer a bit looser.
- 1/2 teaspoon pumpkin pie spice — Store-bought is fine, but I have a recipe for homemade spiced pumpkin Halloween coffee syrup that uses the same spice blend if you want to make your own.
- 1 cup whipped topping — Cool Whip works perfectly, or you can make your own stabilized whipped cream. For a dairy-free option, CocoWhip is excellent.
- 12 small candy pumpkins or candy corn — I use the Brach’s Mellowcreme Pumpkins because they are widely available and have that classic Halloween look. Candy corn works too if you cannot find the pumpkins.
- Green decorating gel or green licorice strings — For the pumpkin vines and stems. You can also use small pretzel sticks cut in half for a salty-sweet twist.
Optional Garnishes
- Chocolate shavings — For extra texture on top.
- Mini marshmallows — To look like little pumpkin patch rocks or clouds.
- Caramel drizzle — Because caramel and pumpkin are a match made in heaven.
Equipment Needed
You do not need anything fancy for these Easy Pumpkin Patch Pudding Cups for Halloween. Here is what you will need:
- 6 small clear cups or mason jars — I use 8-ounce clear plastic cups from the party supply store because you can see the layers. Mason jars work beautifully too and make them portable for school parties.
- Medium mixing bowl — For the pudding. Any bowl works.
- Whisk — A balloon whisk is best for getting lumps out of the pudding, but a fork works in a pinch.
- Food processor or zip-top bag — For crushing the Oreos. I prefer the zip-top bag method because it is less cleanup, and honestly, it is more satisfying. You just smash the cookies with a rolling pin and let out some aggression.
- Small skillet — For toasting the Oreo crumbs. A non-stick skillet works best.
- Measuring cups and spoons — Standard kitchen equipment.
- Spatula — For spreading the pumpkin layer evenly.
- Piping bag or small zip-top bag — For piping the whipped topping neatly. You can also just spoon it on, but piping looks cleaner.
I have made these with just a whisk, a bowl, and a zip-top bag when I was traveling for a family gathering. They still turned out perfect. The only non-negotiable is the clear cups—you need to see those layers to get the full pumpkin patch effect.
Preparation Method
Follow these steps carefully, and you will have the cutest Easy Pumpkin Patch Pudding Cups for Halloween on the block. I have included all the little tricks I learned the hard way so you do not have to learn them yourself.
- Make the chocolate pudding. In a medium mixing bowl, whisk together both boxes of instant chocolate pudding mix and the 3 cups of cold whole milk. Whisk vigorously for about 2 minutes until the mixture thickens. It will look thin at first—do not panic. Keep whisking. Add the vanilla extract and whisk once more. Let the pudding sit for 5 minutes to set slightly. (Pro tip: If your milk is not cold enough, the pudding will not set properly. Stick it in the freezer for 10 minutes before using if you forgot to chill it.)
- Prepare the Oreo “dirt.” Place 20 Oreo cookies in a zip-top bag and seal it tightly. Use a rolling pin or the bottom of a heavy pan to crush them into fine crumbs. You want a mix of fine crumbs and slightly larger pieces—that gives the most realistic soil texture. Do not pulverize them into dust. (I learned this the hard way when my first batch looked more like moon dust than garden dirt.)
- Toast the crumbs. Melt 1 tablespoon of butter in a small skillet over medium heat. Add the crushed Oreo crumbs and stir constantly for 3-4 minutes until they smell deeply chocolatey and look slightly darker. This step is optional but absolutely worth it. Toasting the crumbs keeps them crunchy even after they sit on top of the pudding. Let them cool completely on a plate while you assemble the cups.
- Prepare the pumpkin layer. In a small bowl, mix together 1 cup of pumpkin puree, 2 tablespoons of powdered sugar, and 1/2 teaspoon of pumpkin pie spice. Stir until smooth. Taste it and adjust the sweetness if needed. Some pumpkins are more watery than others—if yours looks runny, stir in a tablespoon of powdered sugar to thicken it.
- Layer the cups. Spoon about 1/4 cup of the chocolate pudding into the bottom of each clear cup. Tap the cup gently on the counter to level the pudding. Then add a layer of the sweetened pumpkin mixture—about 2 tablespoons per cup. Spread it gently with the back of a spoon so it covers the pudding evenly. (I messed this up the first time and ended up with pudding bleeding into the pumpkin layer. Gentle is the key word here.)
- Add the whipped topping. Spoon or pipe a layer of whipped topping over the pumpkin. You want about 2 tablespoons per cup. Use a piping bag or a zip-top bag with the corner snipped off for a clean look. Spread it gently to the edges of the cup.
- Top with “dirt.” Sprinkle the cooled Oreo crumbs generously over the whipped topping. Use about 2 tablespoons per cup. You want a thick layer that completely covers the white whipped topping. Press down slightly so the crumbs stick.
- Create the pumpkin patch. Place one or two candy pumpkins on top of the Oreo “dirt” in each cup. Use the green decorating gel to draw little vines and stems coming from the pumpkins. If you are using licorice strings, cut them into 2-inch pieces and gently press one end into the dirt next to each pumpkin. (This is where the kids really shine. Let them go wild with the decorating.)
- Chill before serving. Place the cups in the refrigerator for at least 2 hours, or up to overnight. This allows the pudding to fully set and the flavors to meld together. For best results, chill for 4 hours. The cups will keep in the fridge for up to 3 days, but the Oreo crumbs will start to soften after 24 hours.
Cooking Tips & Techniques
After making these Easy Pumpkin Patch Pudding Cups for Halloween more times than I care to count, I have collected a few tricks that make the process smoother and the results more impressive.
The pudding thickness trick. If you want an extra-thick pudding layer, use 1/4 cup less milk than the box directions call for. The pudding will be almost mousse-like and will hold its shape beautifully. I do this when I am making the cups for a party where they will sit out for a while.
The frozen cup shortcut. Here is the biggest game-changer I discovered: after you add the pudding layer, pop the cups in the freezer for exactly 10 minutes. This firms up the pudding just enough that the pumpkin layer sits on top without sinking in. Do not skip this step if you are layering while the pudding is still warm or freshly made.
Keep those Oreo crumbs crunchy. The toasting step is non-negotiable if you want crunchy “dirt” that stays crunchy. I learned this after making a batch for a Halloween party where the crumbs turned into sludge within an hour. Toasting them removes excess moisture and creates a barrier that keeps them crisp. Let them cool completely before adding to the cups—warm crumbs will melt the whipped topping.
Make-ahead strategy. These cups actually taste better after sitting overnight. The flavors meld together, and the pumpkin layer absorbs some of the chocolate pudding’s richness. I always make them the day before I need them. Just wait to add the Oreo crumbs and decorations until right before serving if you want them extra crunchy.
Temperature matters. Serve these cups cold—straight from the fridge. If they sit out at room temperature for more than 30 minutes, the whipped topping will start to deflate and the crumbs will soften. For outdoor Halloween parties, keep the cups in a cooler or serve them in batches.
Variations & Adaptations
One of the best things about these Easy Pumpkin Patch Pudding Cups for Halloween is how easy they are to adapt. Here are some of my favorite variations:
Dairy-Free Version
Use full-fat oat milk or coconut milk from a carton for the pudding. Swap the butter for coconut oil when toasting the crumbs. Use CocoWhip or a homemade coconut whipped cream for the topping. Everything else stays the same. I have made this version for a friend with a dairy allergy, and honestly, nobody could tell the difference.
Gluten-Free Option
Use gluten-free chocolate sandwich cookies for the dirt layer. Most major brands make a gluten-free version now. Check the pudding mix label—most instant pudding mixes are gluten-free, but always verify. Everything else in the recipe is naturally gluten-free.
Pumpkin Spice Pudding Version
Swap the chocolate pudding for vanilla or butterscotch instant pudding. Add 1 teaspoon of pumpkin pie spice to the pudding mix before whisking in the milk. This gives you a pumpkin-spiced base with the pumpkin layer on top—double pumpkin goodness. I tried this for a Thanksgiving gathering and it was a huge hit.
Adult Halloween Party Version
Add 2 tablespoons of bourbon or dark rum to the pudding mixture before whisking. The alcohol adds warmth and depth that pairs beautifully with the chocolate and pumpkin. Use caramel vodka instead for a sweeter twist. Just remember to label these clearly if kids are around.
Mini Cup Version
Use 2-ounce shot glasses or small plastic cups for bite-sized versions. These are perfect for classroom parties or adult gatherings where people want a small treat. Reduce the layering amounts accordingly—about 1 tablespoon of each layer per mini cup.
Serving & Storage Suggestions
These Easy Pumpkin Patch Pudding Cups for Halloween are best served cold, straight from the refrigerator. The contrast between the cold, creamy pudding and the crunchy Oreo dirt is what makes them so satisfying.
Serving temperature: Pull them out of the fridge about 5 minutes before serving. This takes the chill off slightly and lets the flavors open up. Do not let them sit out longer than 30 minutes total.
Presentation ideas: Arrange the cups on a platter with some fake autumn leaves scattered around. Add a few mini pumpkins or gourds between the cups for a cohesive look. For Halloween parties, I like to put them on a black tablecloth with orange napkins—the colors pop beautifully.
What to serve alongside: These cups pair wonderfully with warm drinks. I love serving them alongside a homemade pumpkin spice latte for an adult gathering or with warm apple cider for a kid-friendly party. For a full Halloween dessert spread, these cups go great with black velvet cupcakes for a spooky but delicious combination.
Storage instructions: Keep the cups covered in the refrigerator for up to 3 days. If you have plastic lids for your cups, use those. Otherwise, cover the cups tightly with plastic wrap. The Oreo crumbs will soften after about 24 hours, so for best results, add the crumbs and decorations within a few hours of serving.
Freezing instructions: You can freeze the assembled cups (without the Oreo crumbs and decorations) for up to 1 month. Thaw them overnight in the refrigerator, then add the crumbs and decorations before serving. The texture of the pudding changes slightly after freezing—it becomes a bit more like a mousse—but it is still delicious.
How flavors develop: These cups actually taste better on day two. The pumpkin layer absorbs some of the chocolate flavor, and the spices meld together beautifully. If you are making them for a party, I highly recommend making them the day before.
Nutritional Information & Benefits
While these Easy Pumpkin Patch Pudding Cups for Halloween are definitely a treat, they do have some redeeming qualities thanks to the pumpkin puree. Here is the estimated nutritional breakdown for one serving (based on 6 servings):
| Nutrient | Amount Per Serving |
|---|---|
| Calories | 285 |
| Total Fat | 11g |
| Saturated Fat | 5g |
| Cholesterol | 18mg |
| Sodium | 410mg |
| Total Carbohydrates | 42g |
| Dietary Fiber | 3g |
| Sugars | 28g |
| Protein | 5g |
| Vitamin A | 190% DV |
| Calcium | 15% DV |
| Iron | 10% DV |
The pumpkin puree is the real hero here. It is packed with vitamin A (over 190% of your daily needs per serving), which is fantastic for eye health and immune function. Pumpkin also contains fiber, which helps balance out the sugar from the pudding and cookies. Plus, it adds moisture and richness without needing extra fat.
Dietary considerations: This recipe contains dairy and gluten. It can be made dairy-free and gluten-free with the substitutions listed above. It is nut-free as written. The sugar content is moderate for a dessert, but you can reduce it by using sugar-free pudding mix and reducing the powdered sugar in the pumpkin layer.
I am not a nutritionist, but I do believe in balance. These cups are a fun Halloween treat that happens to have a vegetable hiding in the middle. That is a win in my book.
Conclusion
These Easy Pumpkin Patch Pudding Cups for Halloween have become more than just a recipe in my kitchen. They are the thing I make when I want to bring a little joy to a gathering without spending hours in the kitchen. They are the dessert that makes kids light up and adults ask for the recipe.
The best part? You can make them your own. Add more pumpkin spice if you love that flavor. Use different candy decorations for different holidays. Make them dairy-free for a friend. The base recipe is forgiving and flexible, and every version I have tried has been delicious.
I hope these little pumpkin patch cups bring as much joy to your Halloween as they have brought to mine. There is something genuinely magical about watching someone’s face light up when they see a tiny garden growing in a pudding cup.
If you make these, I would love to hear about it. Drop a comment below and tell me how they turned out, or share a photo of your pumpkin patch creations. Did your kids help decorate? Did you try a fun variation? Let me know—I read every single comment and I love seeing your versions.
Now go make some pumpkin patches. Your Halloween table is waiting.
Frequently Asked Questions
Can I make these pumpkin patch pudding cups ahead of time?
Absolutely. You can assemble the cups completely up to 24 hours in advance. The flavors actually meld together beautifully overnight. Just wait to add the Oreo crumbs and decorations until within a few hours of serving to keep everything crunchy and fresh.
What if I cannot find candy pumpkins?
No problem at all. You can use candy corn, orange M&Ms, or even small orange jelly beans. For a non-candy option, use small slices of dried apricot or orange-colored fondant cut into pumpkin shapes. The decorations are flexible—use whatever you have on hand.
Can I use homemade pudding instead of instant?
You can, but the texture will be different. Homemade pudding is thinner and takes longer to set. If you want to use homemade pudding, make it a day ahead and let it chill completely before layering. You might also need to add a bit more cornstarch to thicken it enough to hold the layers.
How do I keep the Oreo crumbs from getting soggy?
The toasting step is key. Toasting the crumbs in butter removes excess moisture and creates a barrier that keeps them crunchy. Also, make sure the whipped topping layer is fully set before adding the crumbs. If the whipped topping is too soft, the crumbs will absorb moisture and turn mushy.
Can I make these in a large dish instead of individual cups?
Yes, you can make this as a trifle in a large glass bowl. Layer everything the same way—pudding, pumpkin, whipped topping, Oreo crumbs—and decorate the top with pumpkins and vines. It will serve 8-10 people and looks stunning on a dessert table. Just keep it refrigerated and scoop into bowls when serving.
Pin This Recipe!
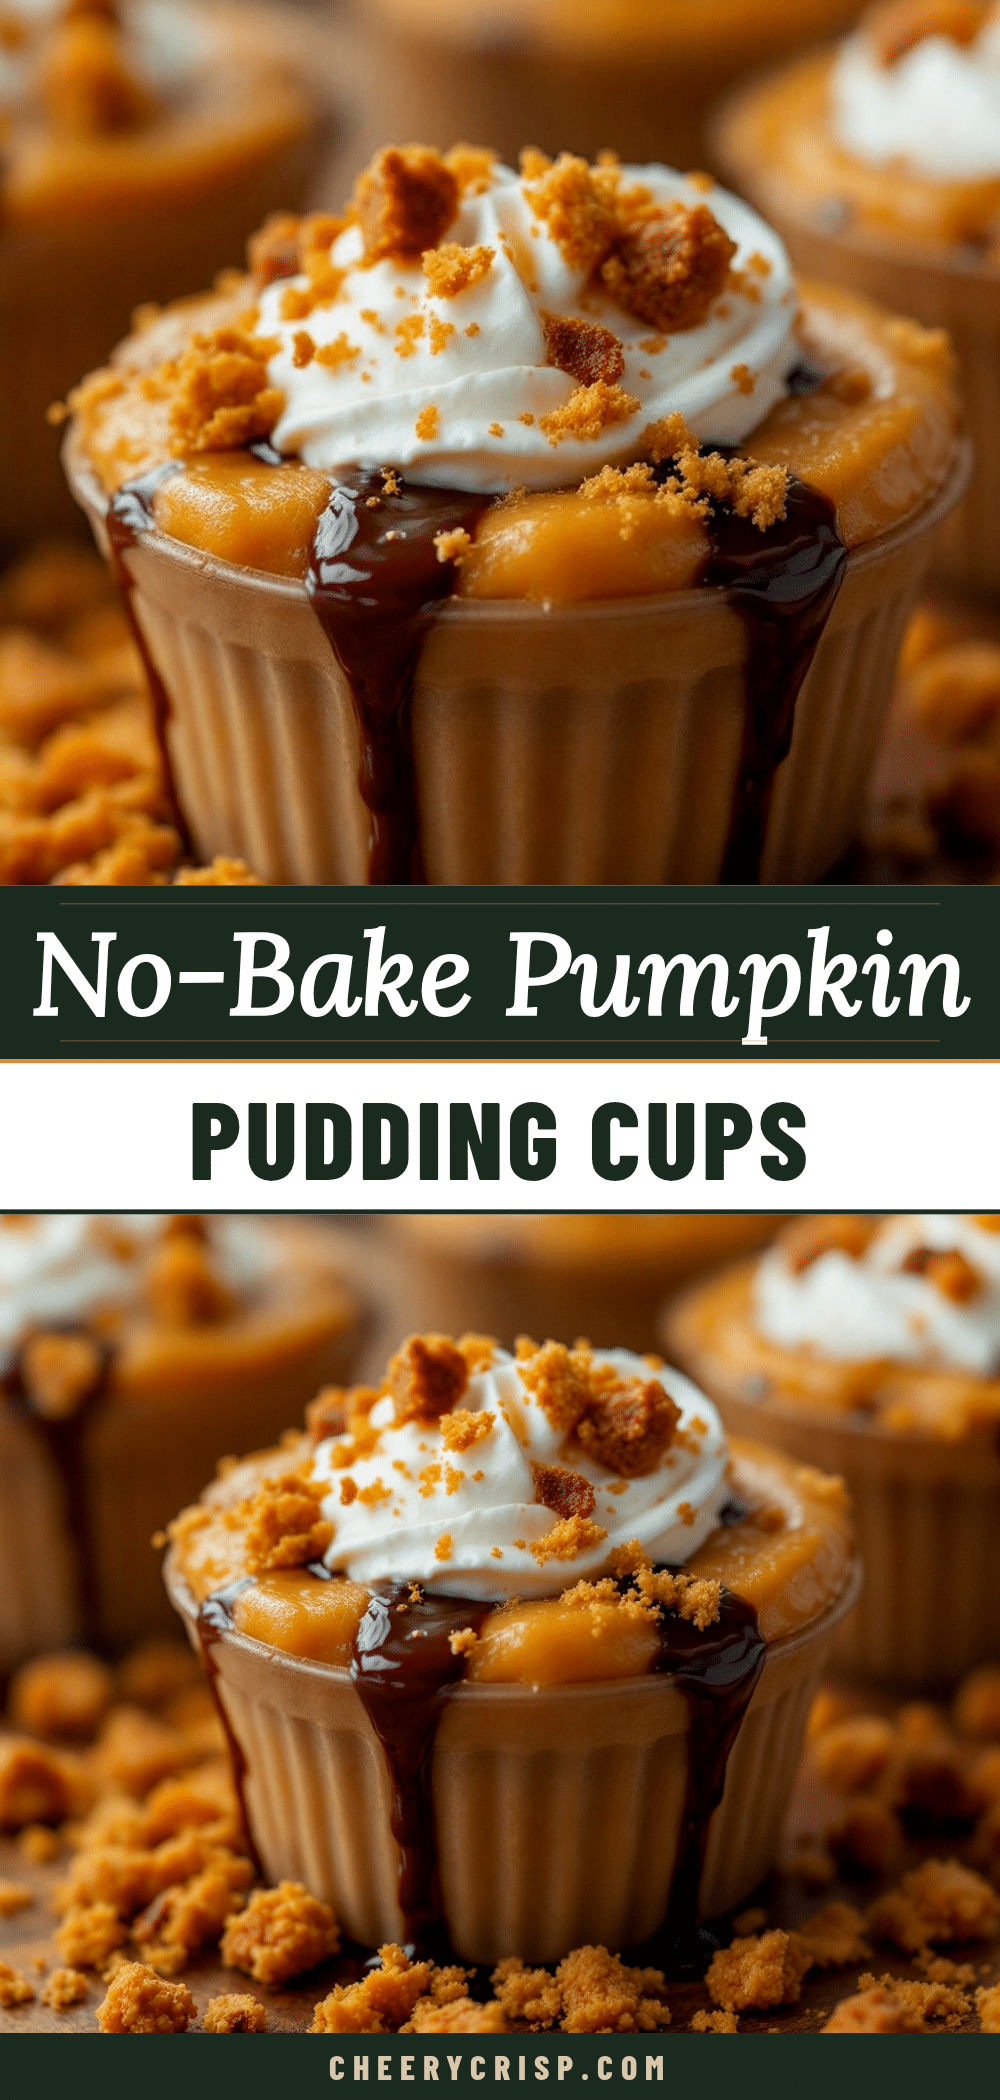
Easy Pumpkin Patch Pudding Cups: Perfect Halloween Treat

These no-bake pumpkin patch pudding cups are a fun and easy Halloween treat. Layers of chocolate pudding, sweetened pumpkin, and crunchy Oreo ‘dirt’ are topped with candy pumpkins for a dessert that looks like a tiny garden.
- Prep Time: 15 minutes
- Cook Time: 5 minutes
- Total Time: 2 hours 20 minutes (includes chilling time)
- Yield: 6 servings 1x
- Category: Dessert
- Cuisine: American
Ingredients
- 2 boxes (3.4 ounces each) instant chocolate pudding mix
- 3 cups cold whole milk
- 1 teaspoon vanilla extract
- 20 Oreo cookies (about 2 cups crushed)
- 1 tablespoon melted butter
- 1 cup canned pumpkin puree
- 2 tablespoons powdered sugar
- 1/2 teaspoon pumpkin pie spice
- 1 cup whipped topping
- 12 small candy pumpkins or candy corn
- Green decorating gel or green licorice strings
- Chocolate shavings (optional)
- Mini marshmallows (optional)
- Caramel drizzle (optional)
Instructions
- Make the chocolate pudding: In a medium mixing bowl, whisk together both boxes of instant chocolate pudding mix and 3 cups of cold whole milk. Whisk vigorously for about 2 minutes until the mixture thickens. Add the vanilla extract and whisk once more. Let the pudding sit for 5 minutes to set slightly.
- Prepare the Oreo ‘dirt’: Place 20 Oreo cookies in a zip-top bag and seal tightly. Use a rolling pin or the bottom of a heavy pan to crush them into fine crumbs with some slightly larger pieces.
- Toast the crumbs: Melt 1 tablespoon of butter in a small skillet over medium heat. Add the crushed Oreo crumbs and stir constantly for 3-4 minutes until they smell deeply chocolatey and look slightly darker. Let them cool completely on a plate.
- Prepare the pumpkin layer: In a small bowl, mix together 1 cup of pumpkin puree, 2 tablespoons of powdered sugar, and 1/2 teaspoon of pumpkin pie spice. Stir until smooth. Adjust sweetness if needed.
- Layer the cups: Spoon about 1/4 cup of the chocolate pudding into the bottom of each clear cup. Tap the cup gently on the counter to level the pudding. Then add a layer of the sweetened pumpkin mixture—about 2 tablespoons per cup. Spread gently with the back of a spoon.
- Add the whipped topping: Spoon or pipe a layer of whipped topping over the pumpkin. Use about 2 tablespoons per cup. Spread gently to the edges of the cup.
- Top with ‘dirt’: Sprinkle the cooled Oreo crumbs generously over the whipped topping. Use about 2 tablespoons per cup. Press down slightly so the crumbs stick.
- Create the pumpkin patch: Place one or two candy pumpkins on top of the Oreo ‘dirt’ in each cup. Use the green decorating gel to draw little vines and stems coming from the pumpkins. If using licorice strings, cut them into 2-inch pieces and gently press one end into the dirt next to each pumpkin.
- Chill before serving: Place the cups in the refrigerator for at least 2 hours, or up to overnight. This allows the pudding to fully set and the flavors to meld together.
Notes
For extra-thick pudding, use 1/4 cup less milk than the box directions call for. After adding the pudding layer, pop the cups in the freezer for exactly 10 minutes to prevent the pumpkin layer from sinking. Toasting the Oreo crumbs is key for keeping them crunchy. These cups taste even better the next day. For best results, add Oreo crumbs and decorations within a few hours of serving.
Nutrition
- Serving Size: 1 cup
- Calories: 285
- Sugar: 28
- Sodium: 410
- Fat: 11
- Saturated Fat: 5
- Carbohydrates: 42
- Fiber: 3
- Protein: 5
Keywords: Halloween dessert, pumpkin pudding cups, no-bake dessert, easy Halloween treat, pumpkin patch dessert, kid-friendly Halloween recipe



