Love this? Save it for later!
Share the inspiration with your friends
The way the cheese settles into the carved-out eye sockets of the dough, pooling just a little deeper than the rest—that’s what got me. I wasn’t trying to be artistic. I was just tired of the same weeknight pizza routine, and my kid had drawn a face on a napkin with ketchup. So I grabbed a knife and cut the same face into some store-bought dough. It looked ridiculous. It also looked exactly like what I needed dinner to be that night: fun, fast, and completely unserious.
These Easy Jack-O-Lantern Face Personal Pizzas started as a joke that accidentally worked. You shape the dough into small rounds, cut out a classic pumpkin face (triangle eyes, jagged smile, the works), and then pile on the sauce and cheese. The face stays visible after baking, which honestly feels a little bit like magic the first time you pull the tray out of the oven. The cheese melts into the cutouts, the edges get brown and bubbly, and the whole thing looks like a tiny, edible Halloween decoration.
I’ve made them three times since that first ketchup-napkin moment. Each time, the kids did the face-carving themselves—and each time, they ate the whole thing without a single complaint. That’s the kind of recipe that sticks around. Not because it’s fancy, but because it made a Tuesday in October feel like a party.
Why You’ll Love This Recipe
Let me tell you why these personal pizzas have become my go-to for Halloween week. I’ve tested them with picky eaters, with a group of sugar-crazed kids after a costume parade, and even on a quiet night when I just wanted something that felt festive without the effort of a full Halloween spread.
- Quick & Easy : From fridge to table in about 25 minutes. No complicated doughs, no special pans, no stress. Perfect for those nights when the kids are already bouncing off the walls in costume.
- Simple Ingredients : You need pizza dough, sauce, cheese, and maybe some pepperoni. That’s it. No fancy grocery runs required.
- Perfect for Halloween Dinner : This is the kind of meal that makes the holiday feel special without derailing your evening. It’s festive, it’s hands-on, and it keeps the sugar rush at bay for a little while longer.
- Crowd-Pleaser : I’ve yet to meet a kid (or adult) who can resist a pizza that looks back at them. The face element turns dinner into an activity, and everyone eats better when they helped make it.
- Unbelievably Delicious : The exposed edges of the cheese get a little extra brown and crispy around the cutouts. That texture contrast—soft dough, bubbly cheese, crispy edge—is honestly better than a plain pizza.
What makes this recipe different from the rest is the carving technique. Most Halloween pizzas just use toppings to make a face on top of the cheese. Here, you cut the face directly into the dough before baking. The cheese sinks into the cutouts, creating a clean, defined jack-o-lantern face that doesn’t get lost under a pile of pepperoni. It’s a small change, but it makes a huge visual difference.
This recipe isn’t just good—it’s the kind that makes you close your eyes after the first bite. It’s comfort food reimagined for the spooky season: faster, funnier, and with the same soul-soothing satisfaction as a classic pizza night.
What Ingredients You Will Need
This recipe uses simple, everyday ingredients to deliver bold flavor and a festive look without the fuss. Most of these are probably already in your kitchen, which is exactly the point.
- Pizza dough: 1 pound (about 450g) store-bought or homemade. I use store-bought on busy nights—it saves time and works perfectly. Look for a dough that’s soft but not overly sticky. If you’re using refrigerated dough, let it sit at room temperature for about 20 minutes before rolling. It stretches much easier that way.
- Pizza sauce: ½ cup (120ml) of your favorite jarred sauce. I like a simple marinara with no added sugar for these. You don’t want the sauce to be too watery, or it’ll make the cutouts soggy. If your sauce is thin, simmer it for 5 minutes to thicken it up.
- Shredded mozzarella cheese: 2 cups (about 200g). Low-moisture, part-skim mozzarella works best here. It melts evenly and doesn’t release too much water. Fresh mozzarella is too wet and will blur the face cutouts. Trust me on this one—I learned the hard way.
- Pepperoni slices: Optional, about 20-24 slices. Use mini pepperoni or cut regular slices into smaller pieces. I like to place a few slices around the face to look like “warts” or “scars” on the pumpkin. My kids think this is hilarious.
- Olive oil: 1 tablespoon (15ml) for brushing the crust. This helps the edges turn golden and adds a little flavor. You can skip it if you’re watching calories, but the crust won’t be as shiny.
- Garlic powder: ½ teaspoon (optional). I sprinkle this on the crust before baking. It adds a subtle savory note that pairs well with the tomato sauce.
- Dried oregano or Italian seasoning: 1 teaspoon (optional) for sprinkling on top after baking. It makes the kitchen smell amazing and adds a pop of color.
Ingredient Selection Tips: For the best texture, choose a pizza dough that’s labeled “fresh” rather than “pre-baked.” I’ve had great results with the refrigerated dough from Trader Joe’s and Whole Foods. If you’re using frozen dough, thaw it overnight in the fridge and let it come to room temperature before shaping.
Substitution Guidance: Use gluten-free pizza dough if needed—just check the package for rolling instructions. For a dairy-free version, swap the mozzarella with a plant-based shred that melts well. Miyoko’s and Violife are my go-to brands for this. You can also use shredded cheddar or provolone for a different flavor profile, though the face won’t look as classic.
Equipment Needed
You don’t need much for this recipe, which is part of its charm. Here’s what I use every time:
- Baking sheet or pizza pan: A standard half-sheet pan works great. If you have a pizza stone, even better—it gives the bottom a nice crisp. I’ve also used a cast-iron skillet in a pinch, and it worked fine.
- Parchment paper: This is non-negotiable for me. It prevents sticking and makes cleanup almost nonexistent. Plus, you can prep the pizzas right on the paper and transfer the whole thing to the baking sheet.
- Sharp paring knife or small cookie cutters: A paring knife gives you more control for carving faces. If you have small Halloween-shaped cutters (like triangles or circles), you can use those for perfect shapes every time. Just press them into the dough and lift.
- Rolling pin: For flattening the dough evenly. A wine bottle works in a pinch—I’ve done it.
- Pastry brush: For brushing olive oil on the crust. A silicone brush is easiest to clean.
- Pizza cutter or sharp knife: For cutting the finished pizzas into slices. Though honestly, most kids just pick up the whole thing and eat it like a cookie.
Budget-Friendly Options: Skip the pizza stone and use a regular baking sheet. Skip the pastry brush and use a paper towel dipped in oil. The recipe is forgiving, and the results are still fantastic.
Preparation Method
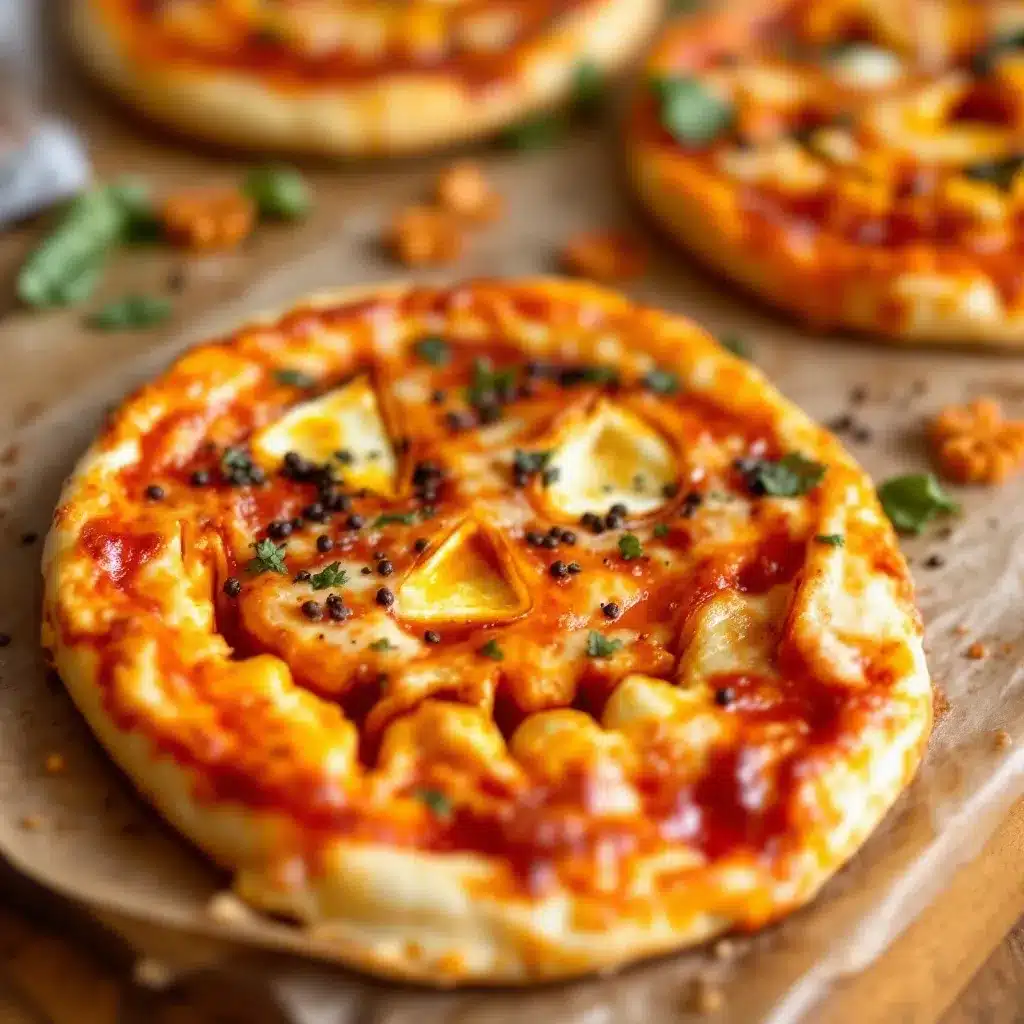
Here’s how I make these, step by step. I’ve included the little details that make the difference between a good pizza and a great one.
- Preheat your oven to 450°F (230°C). If you have a pizza stone, place it in the oven while it preheats. If using a baking sheet, just leave it out for now. The high heat is key for getting the crust crispy without drying out the cheese.
- Prepare your work surface. Lightly flour a clean counter or large cutting board. Take your 1 pound of pizza dough and divide it into 4 equal pieces. Each piece should be about 4 ounces (115g). If the dough is cold, let it rest at room temperature for 15-20 minutes first—it’ll be much easier to roll.
- Shape the dough rounds. Using your hands or a rolling pin, flatten each piece into a circle about 6 inches (15cm) in diameter. Don’t stress about perfect circles—pumpkins aren’t perfectly round anyway. Aim for an even thickness of about ¼ inch (6mm). If the dough keeps springing back, let it rest for 5 minutes and try again.
- Carve the jack-o-lantern faces. This is the fun part. Using a sharp paring knife, carefully cut a classic pumpkin face into each dough round. I do two triangle eyes and a jagged smile with a few teeth. Cut all the way through the dough. Gently lift out the cut pieces and set them aside. You can bake these little dough scraps separately as “pizza chips” or discard them. I always bake them—they’re my secret snack while the pizzas cook.
- Transfer to the baking sheet. Line your baking sheet with parchment paper. Carefully place each carved dough round on the paper, spacing them about 2 inches apart. If the faces stretched or closed up during transfer, use your fingers to gently reopen the cutouts.
- Add the sauce. Spoon about 2 tablespoons (30ml) of pizza sauce onto each dough round. Spread it evenly with the back of the spoon, but be careful not to cover the cutouts. You want the face shapes to remain visible. A little sauce inside the cutouts is fine—it’ll bake in.
- Add the cheese. Sprinkle about ½ cup (50g) of shredded mozzarella over each pizza. Again, try to keep the cheese mostly on the solid parts of the dough, not piled into the cutouts. Some cheese will naturally fall into the eyes and mouth, and that’s perfect—it’ll melt and create a glowing effect.
- Add pepperoni (optional). Arrange 5-6 pepperoni slices on each pizza. I place them around the face to look like warts or scars. My kids insist on this step, and honestly, it does make the faces look more characterful.
- Brush the crust. Using a pastry brush, lightly brush the outer edge of each pizza with olive oil. Sprinkle a pinch of garlic powder over the oiled crust if you’re using it. This step gives you that golden, bakery-style crust.
- Bake for 12-15 minutes. Place the baking sheet in the preheated oven. Bake until the crust is golden brown and the cheese is bubbly and starting to brown in spots. The exact time depends on your oven and dough thickness. At 12 minutes, check the pizzas. The cheese should be fully melted and the edges should look set.
- Cool and serve. Remove the baking sheet from the oven and let the pizzas cool on the pan for 2-3 minutes. This allows the cheese to set slightly so it doesn’t slide off when you pick up a slice. Sprinkle with dried oregano if desired. Serve warm.
Sensory Cues: At the 10-minute mark, your kitchen should smell like a pizzeria mixed with a fall festival. The crust should look puffed and golden around the edges. The cheese should be bubbling in the center, with some brown spots forming. The cutouts should still be visible—the cheese inside them will look slightly darker and more caramelized.
Troubleshooting Tip: If your dough cutouts close up during baking, you probably didn’t cut all the way through, or the dough was too cold. Next time, make sure your knife goes clean through, and let the dough warm up fully before carving. Even if the faces shrink a little, they’ll still look great—imperfect jack-o-lanterns are part of the charm.
Cooking Tips & Techniques
I’ve made these pizzas about a dozen times now, and I’ve picked up a few tricks along the way. Here’s what I wish I’d known from the start.
Don’t overwork the dough. The first time I made these, I rolled the dough too thin trying to get perfect circles. The faces tore, and the pizzas came out floppy. Keep the dough at about ¼ inch thick—thick enough to hold the cutouts, thin enough to bake through in 12 minutes. If the dough feels tough or keeps shrinking, let it rest for 10 minutes. Gluten needs a break sometimes.
Use a sharp knife. A dull knife will drag the dough instead of cutting it cleanly. I use a small paring knife and cut in one smooth motion per line. For the eyes, I cut two diagonal lines to make a triangle. For the mouth, I cut a curved line with small zigzags. If you’re nervous about cutting freehand, use small cookie cutters. Press them into the dough and lift—perfect shapes every time.
Bake on the bottom rack. For the crispiest crust, place the baking sheet on the bottom rack of the oven for the first 8 minutes, then move it to the middle rack for the last 4-7 minutes. This gives the bottom heat to crisp up while the top heat melts the cheese. I learned this trick from a pizzeria owner, and it’s a game-changer.
Don’t overload the toppings. I know it’s tempting to pile on the cheese and sauce, but too much will hide the face. Use a light hand. The face is the star here—everything else is supporting cast. If you want extra flavor, add a sprinkle of red pepper flakes or a drizzle of balsamic glaze after baking.
My biggest failure: The time I used fresh mozzarella balls sliced into rounds. The cheese released so much water that the faces blurred into pale, soggy blobs. It looked like the pumpkin was crying. Stick with low-moisture shredded mozzarella. It melts beautifully and holds its shape.
Variations & Adaptations
One of the best things about this recipe is how easy it is to adapt. Here are some variations I’ve tried and loved.
Gluten-Free Version: Use a gluten-free pizza dough. Most store-bought gluten-free doughs work well, but they can be stickier. Roll them between two sheets of parchment paper to prevent sticking. The baking time may be slightly shorter—check at 10 minutes.
Vegan Version: Swap the mozzarella for a plant-based shred that melts well. I like Miyoko’s or Violife. Use a vegan pizza dough (most are accidentally vegan). Brush the crust with olive oil and skip the garlic powder if you want, or use a garlic-infused oil. The face cutouts work exactly the same way.
Different Face Shapes: Who says it has to be a jack-o-lantern? Try cutting ghost shapes (round with wavy edges), cat faces (pointed ears and whiskers), or even a simple skull. My daughter once made a “happy pumpkin” with a big smile and round eyes. It was adorable and tasted just as good.
Sweet Version: For a dessert twist, use a sweet dough (like brioche or cinnamon roll dough), spread with Nutella or cookie butter, and top with mini marshmallows. Cut a face into the dough before adding the spread. The marshmallows will toast and puff up in the cutouts. My kids lose their minds over this version.
Spicy Version: Add sliced jalapeños or a drizzle of hot honey to the finished pizza. The heat pairs surprisingly well with the sweetness of the tomato sauce. I like to add a few thin slices of red onion under the cheese for extra flavor.
Personal Variation I’ve Tried: I once made a batch with half whole-wheat dough and half regular. The whole-wheat version was a little denser and the faces weren’t as defined, but the flavor was nuttier and more satisfying. If you want a slightly healthier option, use a 50/50 blend of whole-wheat and all-purpose flour in your dough.
Serving & Storage Suggestions
These pizzas are best served warm, straight from the oven. The cheese is at its stretchiest, the crust is at its crispiest, and the faces are at their most defined. I serve them on a large wooden board or a sheet of parchment paper for that casual, rustic look. A side of easy slow cooker pumpkin butter for dipping is a surprisingly good pairing—the sweetness balances the savory pizza perfectly.
For a full Halloween dinner, I pair these pizzas with a simple green salad or some cozy slow cooker butternut squash soup with sage. The soup warms you up, and the pizza keeps things fun. For drinks, apple cider or a pumpkin spice latte works beautifully. If you’re serving adults, a light red wine like Pinot Noir or a crisp cider is great.
Storage Instructions: Leftover pizzas can be stored in an airtight container in the refrigerator for up to 3 days. The faces will soften slightly, but the flavor holds up well. To reheat, place the pizzas on a baking sheet in a 350°F (175°C) oven for 5-7 minutes, or until the cheese is bubbly again. The microwave works in a pinch, but the crust will be chewy, not crispy. I don’t recommend freezing these—the cutouts get soggy during thawing.
Flavor Development: Honestly, these pizzas are best the day they’re made. The texture is at its peak, and the faces look their best. If you have leftovers, try chopping them up and tossing them into a salad or using them as a topping for a easy crockpot ground turkey taco bowl for a fun fusion dinner.
Nutritional Information & Benefits
Here’s the approximate nutritional breakdown for one personal pizza (using standard ingredients, without pepperoni):
- Calories: 380-420
- Protein: 18g
- Carbohydrates: 42g
- Fat: 16g
- Fiber: 2g
- Sugar: 4g
- Sodium: 720mg
Health Benefits: The mozzarella provides a good amount of calcium and protein, which is great for growing kids and active adults. The tomato sauce is rich in lycopene, an antioxidant linked to heart health. If you use whole-wheat dough, you’ll get extra fiber and B vitamins. The olive oil on the crust adds healthy monounsaturated fats.
Dietary Considerations: This recipe can be made gluten-free and vegan with simple substitutions (see Variations section). It’s nut-free as written, but check your dough ingredients if you have nut allergies. The sodium content is moderate for a pizza, but you can reduce it by using low-sodium sauce and cheese.
Personal Wellness Perspective: I love that this recipe lets me serve a fun, festive dinner without resorting to processed Halloween candy. It’s a meal that feels like a treat but still has real nutritional value. Plus, the hands-on carving aspect gets kids engaged with their food in a creative way, which I think is a win for any parent.
Conclusion
These Easy Jack-O-Lantern Face Personal Pizzas are proof that Halloween dinner doesn’t have to be complicated or sugar-filled to be special. With just a few simple ingredients and a sharp knife, you can turn an ordinary pizza night into something the whole family will remember. The faces are forgiving, the flavor is classic, and the fun is built right into the process.
I love that this recipe lets you customize everything—the face shapes, the toppings, the level of spookiness. My kids have already started planning their faces for next year, and we haven’t even finished this Halloween season yet. That’s the kind of recipe that becomes a tradition.
If you make these, I’d love to hear about it. Leave a comment below with your favorite face design, or tag me in your photos on social media. And if you’re looking for more spooky season inspiration, check out my perfect black velvet cupcakes for a dessert that matches the mood. Happy Halloween, and happy eating!
Frequently Asked Questions
Can I use pre-made pizza crust instead of dough?
Yes, but the results will be different. Pre-made crusts are usually pre-baked and thinner, so the cutouts won’t be as deep or defined. If you use a pre-made crust, cut the faces after baking, then add sauce and cheese and bake again for 5-7 minutes. The faces will be more like outlines, but they’ll still look cute.
How do I keep the dough cutouts from closing up?
Make sure your dough is at room temperature before cutting. Cold dough is stiff and tends to spring back. Also, use a very sharp knife and cut all the way through the dough in one smooth motion. If the cutouts still close up slightly after transferring to the baking sheet, gently reopen them with your finger before adding the sauce.
Can I make these ahead of time?
You can prepare the dough rounds and cut the faces up to 2 hours ahead. Stack them between layers of parchment paper and keep them covered at room temperature. Add the sauce and cheese just before baking. I don’t recommend assembling them completely ahead of time—the sauce can make the dough soggy.
What if I don’t have pizza sauce?
No problem. Use plain tomato sauce mixed with a pinch of dried oregano, garlic powder, and salt. Or use pesto for a green “monster” face. Even a simple drizzle of olive oil and a sprinkle of salt works—it’s more like a flatbread, but the faces still show up beautifully.
Can I make these in an air fryer?
Yes, but you’ll need to work in batches. Preheat the air fryer to 375°F (190°C). Place one pizza in the basket and cook for 6-8 minutes, or until the cheese is bubbly and the crust is golden. The air fryer gives an exceptionally crispy bottom, which I love. Just make sure the pizza fits in your basket without touching the sides.
Pin This Recipe!
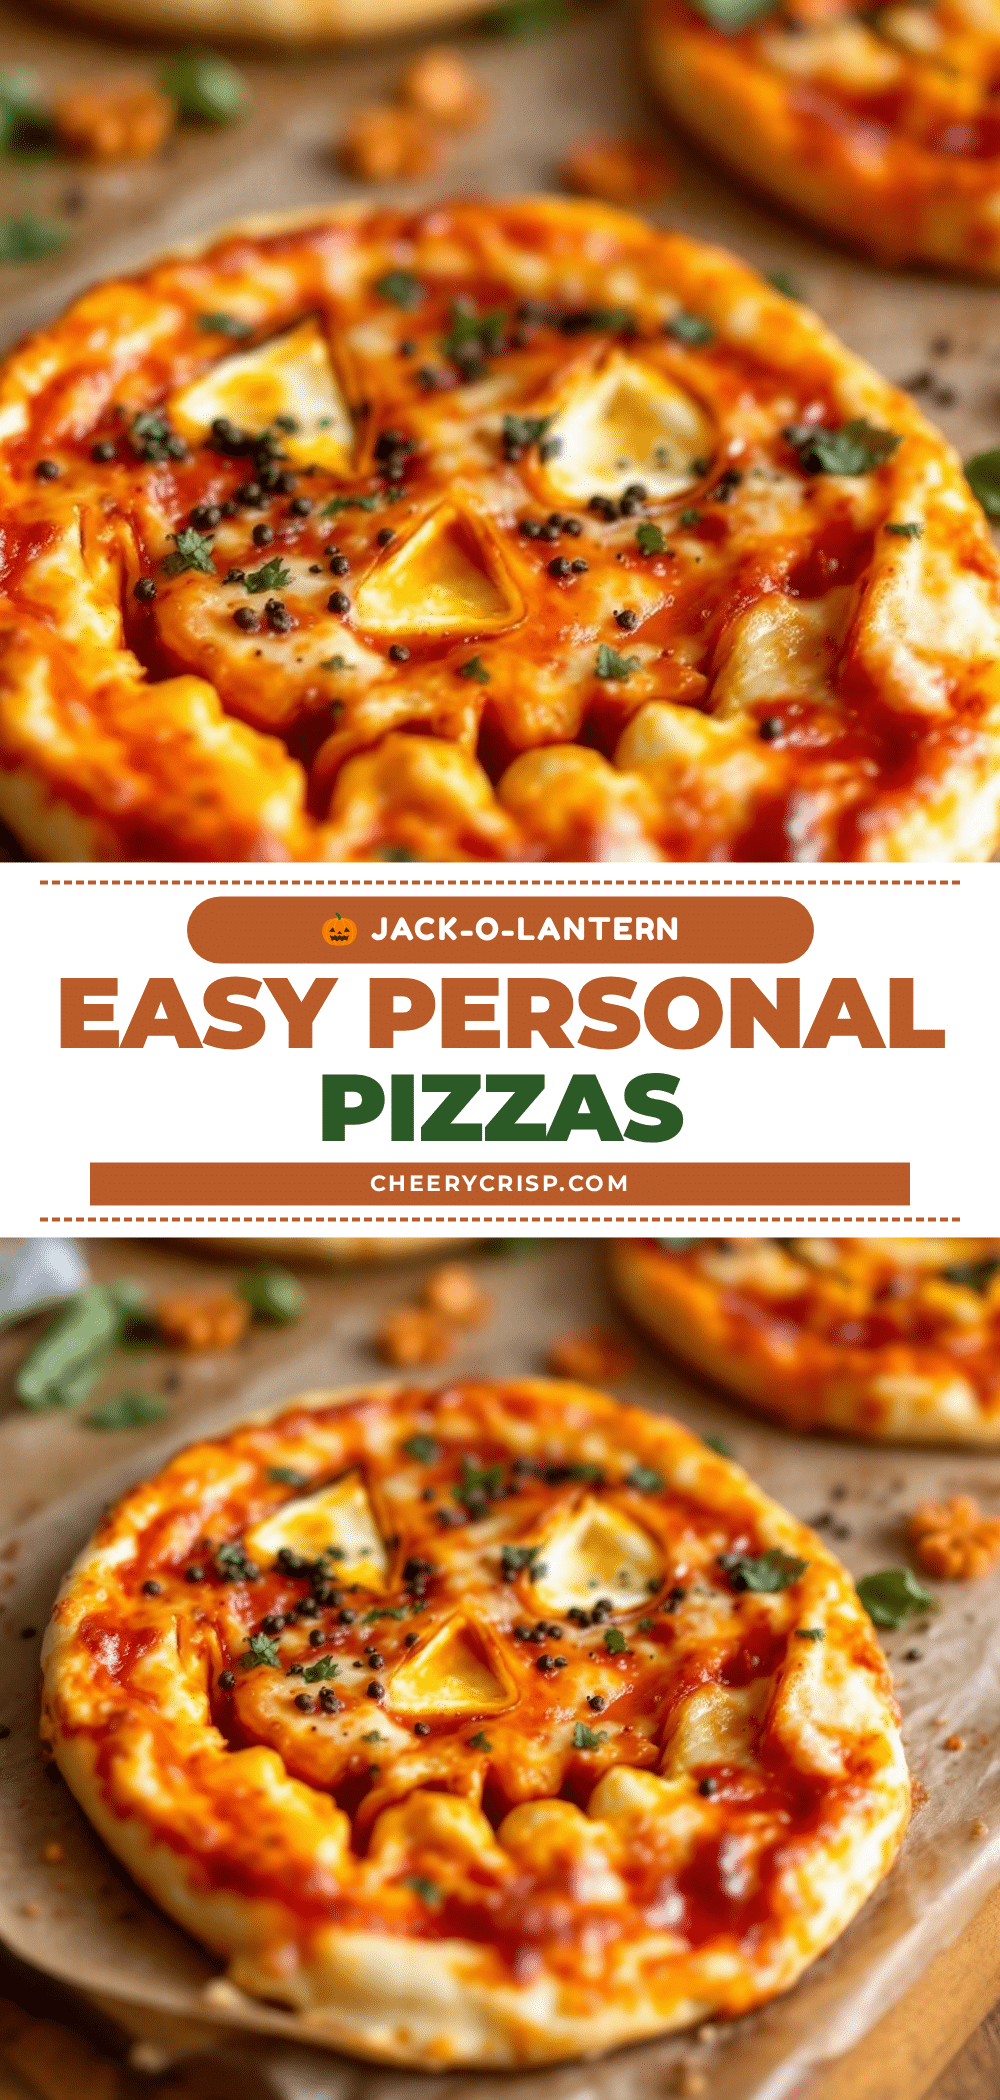
Easy Jack-O-Lantern Face Pizzas for a Spooky Halloween Dinner
These personal pizzas feature a jack-o-lantern face carved directly into the dough before baking, creating a fun and festive Halloween dinner that’s ready in about 25 minutes. The cheese melts into the cutouts, giving a glowing effect that delights kids and adults alike.
- Prep Time: 10 minutes
- Cook Time: 15 minutes
- Total Time: 25 minutes
- Yield: 4 servings 1x
- Category: Main Course
- Cuisine: American
Ingredients
- 1 pound (about 450g) pizza dough, store-bought or homemade
- ½ cup (120ml) pizza sauce
- 2 cups (about 200g) shredded low-moisture mozzarella cheese
- 20–24 slices pepperoni (optional)
- 1 tablespoon (15ml) olive oil
- ½ teaspoon garlic powder (optional)
- 1 teaspoon dried oregano or Italian seasoning (optional)
Instructions
- Preheat your oven to 450°F (230°C). If using a pizza stone, place it in the oven while preheating.
- Lightly flour a clean work surface. Divide the dough into 4 equal pieces (about 4 ounces or 115g each). Let rest at room temperature for 15-20 minutes if cold.
- Roll or press each piece into a 6-inch (15cm) circle, about ¼ inch (6mm) thick.
- Using a sharp paring knife, cut a classic jack-o-lantern face (two triangle eyes and a jagged smile) into each dough round, cutting all the way through. Remove the cut pieces (save to bake as ‘pizza chips’ if desired).
- Line a baking sheet with parchment paper. Place the carved dough rounds on the paper, spacing them about 2 inches apart. Gently reopen any cutouts that closed during transfer.
- Spoon about 2 tablespoons (30ml) of pizza sauce onto each round, spreading evenly but avoiding the cutouts.
- Sprinkle about ½ cup (50g) of shredded mozzarella over each pizza, keeping cheese mostly on the solid parts. Some cheese will fall into the cutouts—that’s perfect.
- If using, arrange 5-6 pepperoni slices on each pizza around the face to look like warts or scars.
- Brush the outer edge of each pizza with olive oil. Sprinkle garlic powder on the oiled crust if desired.
- Bake for 12-15 minutes, until the crust is golden brown and the cheese is bubbly and starting to brown in spots.
- Let cool on the pan for 2-3 minutes. Sprinkle with dried oregano if desired. Serve warm.
Notes
For best results, use low-moisture shredded mozzarella (not fresh). Let dough come to room temperature before carving to prevent cutouts from closing. Bake on the bottom rack for the first 8 minutes for a crispier crust. Leftovers can be stored in the refrigerator for up to 3 days and reheated in a 350°F oven for 5-7 minutes.
Nutrition
- Serving Size: 1 personal pizza
- Calories: 400
- Sugar: 4
- Sodium: 720
- Fat: 16
- Saturated Fat: 7
- Carbohydrates: 42
- Fiber: 2
- Protein: 18
Keywords: Halloween pizza, jack-o-lantern pizza, personal pizza, easy Halloween dinner, kid-friendly pizza, spooky pizza



