Love this? Save it for later!
Share the inspiration with your friends
The little plastic cups were empty before the opening credits of Hocus Pocus even rolled. I blinked, and the crushed Oreo crumbs were just… gone. My niece looked up at me with chocolate smeared across her cheek and asked, “Can I have another one?” That was the moment I knew these Easy Halloween Dirt Cups with Gummy Worms were going to be a yearly tradition. Honestly, I wasn’t even mad. I’d made enough for an army of tiny ghouls, so there were plenty more where that came from. It’s funny how the simplest things can steal the show at a party.
I’d spent the whole afternoon fussing over a batch of pumpkin-shaped cookies that looked more like sad, orange blobs. But these little cups of chocolate pudding, crushed cookies, and wiggly gummy worms? They were the unsung heroes of the night. People didn’t just eat them; they hunted them down. I had one mom text me the next day asking for the recipe, swearing her kids wouldn’t stop talking about the “dirt” that tasted like a dream. That’s when it clicked—sometimes the best recipes aren’t the ones that take hours. They’re the ones that make people smile without any fuss at all.
There’s a specific kind of joy in watching a kid (or, let’s be real, an adult) dig their spoon into a cup of “dirt” and pull out a gummy worm. It’s pure, unadulterated delight. This recipe is that feeling in a cup. It’s the dessert that looks like you spent way more time on it than you actually did, and it brings a little bit of that Halloween magic to the table without any stress. I’ve made these for class parties, office potlucks, and spooky movie nights, and they never fail to get that exact reaction. It’s the kind of treat that makes you feel like a kitchen genius, even if you just crushed some cookies and stirred some pudding.
Why You’ll Love This Recipe
Look, I’ve tested a lot of “easy” Halloween desserts over the years. Some are a pain to assemble, others taste like cardboard, and a few just look… sad. These dirt cups are none of those things. They are the Goldilocks of Halloween treats—just right in every way. Here’s why they’ve become my go-to.
- So Easy, a Kid Can Make Them: This is a no-bake recipe that comes together in about 15 minutes of active time. Seriously, if you can stir pudding and crush cookies, you can make these. My 7-year-old nephew makes them all by himself now (with a little help opening the pudding packets).
- Simple Ingredients, Maximum Impact: You don’t need to hunt down any weird, specialty ingredients. Everything on the list is a standard grocery store staple. Chances are, you already have half of it in your pantry.
- The Ultimate Crowd-Pleaser: I’ve brought these to a game day party disguised as a “spooky snack,” and they were gone before the buffalo chicken dip bites. Kids, adults, teenagers—everyone loves the playful presentation and the creamy, crunchy, chewy texture combo.
- Perfectly Portable: They’re already portioned out in individual cups! This makes them insanely easy for parties, potlucks, or classroom celebrations. No slicing, no serving dishes, no mess.
- Unbelievably Customizable: We’re doing the classic chocolate and gummy worm version today, but the possibilities are endless. Different pudding flavors, different cookies, different gummy creatures—you can make these your own every single time.
What really sets this recipe apart is the texture. It’s not just a sloppy pudding mess. We’re layering a creamy, rich chocolate pudding with a crunchy, buttery Oreo “dirt.” The gummy worms add that fun, chewy pop that makes every bite an adventure. And the secret? A little bit of cream cheese in the pudding layer. It sounds weird, I know, but it adds a subtle tang and a much thicker, more decadent texture. It’s the difference between a kids’ snack and a dessert that adults will sneak back to the fridge for.
This isn’t just another recipe. It’s the kind of dessert that creates a moment. It’s the laugh you share when a worm is “escaping” from the cup. It’s the quiet satisfaction of watching someone take their first bite and smile. It’s a little bit of Halloween fun that doesn’t require a single drop of stress. And honestly, in the chaos of the holiday season, isn’t that exactly what we all need?
What Ingredients You Will Need
This recipe uses simple, wholesome-ish ingredients to deliver maximum fun and flavor without any fuss. The magic is in the combination, not the complexity. Here’s everything you’ll need to make these spooky little cups of joy.
- For the Chocolate “Dirt” Pudding Layer:
- 1 (3.9 oz) package instant chocolate pudding mix: I’m a loyalist to Jell-O brand for its consistent, velvety texture. Don’t use the cook-and-serve kind—it won’t set up the same way in this quick recipe.
- 2 cups cold whole milk: Whole milk gives the pudding a richer, creamier body. You can use 2% in a pinch, but the texture won’t be quite as luxurious. For a dairy-free version, use a barista-style oat milk or full-fat canned coconut milk.
- 4 oz cream cheese, softened to room temperature: This is my not-so-secret weapon. It makes the pudding layer thick, almost like a mousse, and cuts the sweetness with a lovely tang. Make sure it’s truly softened, or you’ll end up with lumpy pudding.
- 1/4 cup powdered sugar: This helps sweeten the cream cheese without the grittiness of granulated sugar.
- 1 teaspoon vanilla extract: A good quality vanilla rounds out the chocolate flavor and adds a little warmth.
- For the “Dirt” Topping:
- 1 (14.3 oz) package Oreo cookies (about 36 cookies): Regular Oreos work best. The dark cookie crumb looks exactly like rich, dark soil. Don’t bother removing the cream filling—it adds to the buttery, crumbly texture of the “dirt.”
- 2 tablespoons unsalted butter, melted: This is optional, but it helps the cookie crumbs clump together slightly, giving them a more realistic “dirt” texture instead of just a fine powder.
- For the “Worms” and Decoration:
- 1 (4 oz) bag gummy worms: The sour kind are my favorite for that extra tangy pop, but any gummy worms will work. I like to buy the big bag and pick out the most “wormy” looking ones.
- Optional: Green or orange sprinkles, or a few candy pumpkins: For a little extra pizzazz. I sometimes add a few candy pumpkins on top for a “harvest” feel.
- Optional: Fresh mint leaves or small rosemary sprigs: To use as “weeds” or “grass” poking out of the dirt. It’s a silly little detail that gets a huge laugh.
Ingredient Selection Tip: For the best results, use full-fat cream cheese. The low-fat or fat-free versions have a higher water content and can make the pudding layer runny. Also, make sure your milk is very cold. Cold milk helps the instant pudding powder hydrate and thicken properly. If your milk is room temperature, the pudding will be thin and take forever to set.
Substitution Guidance: If you’re gluten-free, use gluten-free chocolate sandwich cookies (like Glutino or Kinnikinnick) and a gluten-free instant pudding mix. The rest of the ingredients are naturally gluten-free. For a nut-free version, just double-check your pudding mix label, as some are processed in facilities that handle tree nuts.
Equipment Needed
One of the best things about this recipe is that it doesn’t require any fancy kitchen gadgets. You probably have everything you need already sitting in your cabinets. Here’s the list:
- Two medium mixing bowls: One for the cream cheese mixture and one for the pudding. I use glass or stainless steel bowls.
- A hand mixer or a sturdy whisk: A hand mixer makes the cream cheese mixture silky smooth in seconds. If you don’t have one, a strong arm and a whisk will do the job—just make sure your cream cheese is very soft.
- A spatula: For scraping down the bowls and folding everything together.
- A rolling pin or a food processor: To crush the Oreos. A rolling pin and a zip-top bag is the classic, cathartic method. A food processor makes it a 10-second job. Both work perfectly.
- 6 to 8 small cups or glasses: I use 8-ounce clear plastic party cups for that classic “dirt cup” look, but small mason jars, juice glasses, or even ramekins work beautifully. Clear cups let you see the layers, which is half the fun.
- A measuring cup and spoons: For precise measurements.
Personal Note: I’ve made these in everything from fancy little Weck jars to Dixie cups. The plastic party cups are my favorite for a party because they’re disposable and you don’t have to worry about broken glass. But for a more “grown-up” Halloween dinner, serving them in small, clear glass tumblers looks incredibly chic. Also, a tip from experience: don’t skip the rolling pin method at least once. It’s a great way to let out any pre-party stress!
Preparation Method
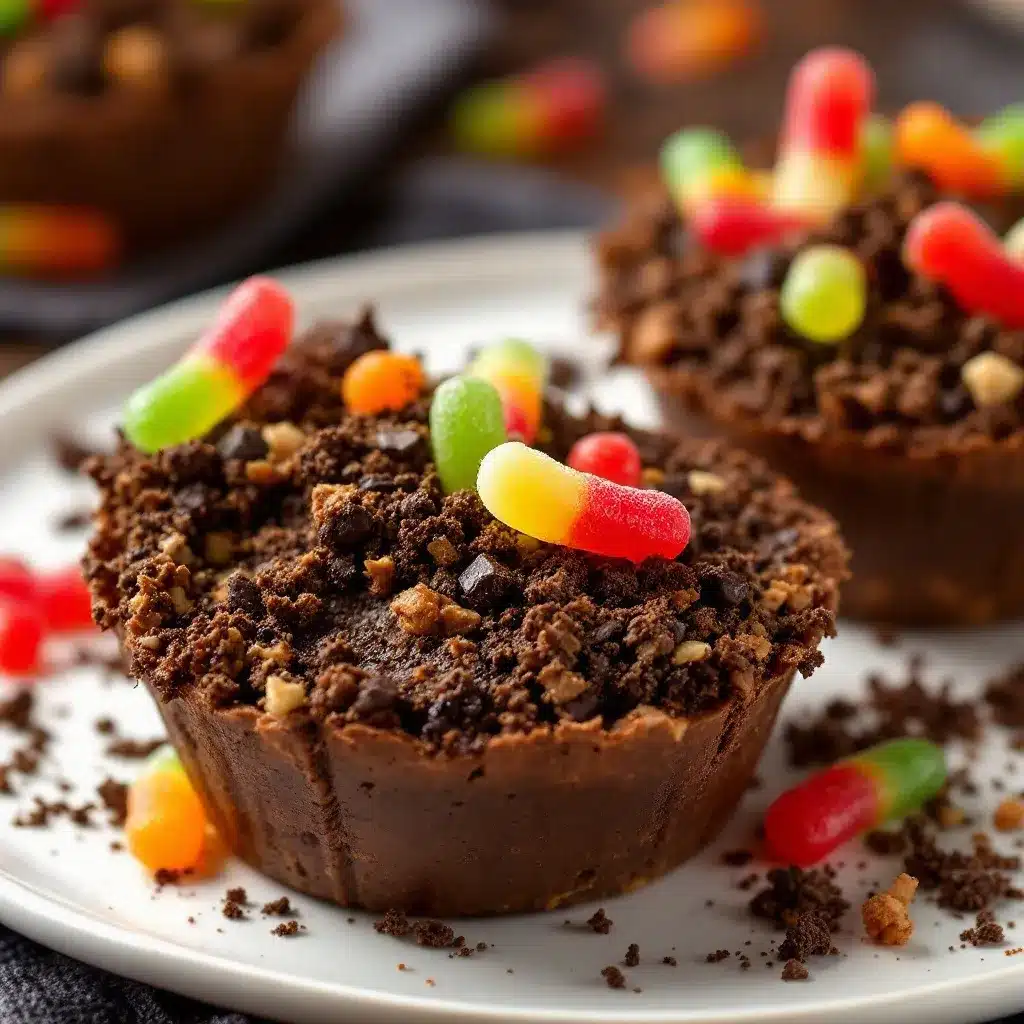
Alright, let’s make some dirt. This is the fun part. Follow these steps, and you’ll have a batch of the best Halloween dirt cups ready in no time. I’ve included all my little tricks and warnings so you can skip the learning curve.
- Make the Cream Cheese Base: In a medium mixing bowl, beat the softened cream cheese with the powdered sugar and vanilla extract using a hand mixer on medium speed. Beat for about 2 minutes, until it’s completely smooth, light, and fluffy. There should be absolutely no lumps. Scrape down the sides of the bowl with a spatula halfway through. This step is crucial—lumpy cream cheese means a lumpy final texture.
- Prepare the Pudding: In a separate, larger mixing bowl, whisk together the instant chocolate pudding mix and the 2 cups of cold milk. Whisk vigorously for about 2 minutes, until the powder is completely dissolved and the mixture starts to thicken. It will be fairly thin at first, but don’t worry—it will set up nicely in the fridge. Let it sit for 2 minutes to start setting.
- Combine the Layers: Now, take your hand mixer (or a whisk) and beat the cream cheese mixture into the pudding mixture. Start on low speed to avoid splashing, then increase to medium. Mix until it’s completely combined and the color is a uniform, gorgeous dark chocolate. The mixture will be thick and silky. Taste it here—it should be rich, creamy, and perfectly sweet.
- Crush the Oreos (The “Dirt”): While the pudding sets up for a few minutes, make the dirt. Place the Oreos (cream filling and all) in a large zip-top bag. Seal the bag, squeezing out all the air. Use a rolling pin to crush the cookies into fine crumbs. You want a mix of fine “soil” and a few slightly larger pebbles for texture. Alternatively, pulse them in a food processor until you reach the desired consistency. Transfer the crumbs to a bowl and stir in the melted butter with a fork until the crumbs are evenly moistened and have a slightly clumpy texture.
- Assemble the Cups: Now for the fun part. Arrange your cups on a baking sheet (this makes it easy to move them to the fridge). Start with a layer of the “dirt.” Spoon about 2 tablespoons of the Oreo crumbs into the bottom of each cup. This creates a solid foundation. Then, gently spoon or pipe the chocolate pudding mixture over the dirt. Fill each cup about 2/3 to 3/4 of the way full. If you want perfectly clean layers, you can use a piping bag, but a spoon works just fine.
- Top with More Dirt: Sprinkle a generous layer of the remaining Oreo crumbs over the top of each cup. You want to completely cover the pudding so it looks like a little pot of soil. Press the crumbs down gently with the back of a spoon so they stick to the pudding.
- Add the Worms (and Decorations): Here’s the moment you’ve been waiting for. Take your gummy worms and poke them into the “dirt.” I like to arrange them so it looks like they are crawling out. Some can be fully buried, some halfway out, and maybe one or two wiggling over the rim of the cup. It’s all about the illusion! If you’re using the mint or rosemary “weeds,” poke a couple of small sprigs into the dirt as well.
- Chill and Set: This is the most important step. Place the baking sheet with the assembled cups in the refrigerator for at least 2 hours, but 4 hours is even better. This allows the pudding to fully set and the flavors to meld together. The Oreo crumbs will also soften slightly, making the texture even more “dirt-like.” Do not skip this step—warm dirt cups are just a sad bowl of pudding.
Sensory Cue: When you pull the cups out of the fridge, the top should feel firm but still give a little when you press it. The Oreo crumbs should be slightly moist and clump together. When you take a bite, you should get that initial crunch from the top crumb, followed by the cold, creamy, silky pudding, and then the chewy, fruity pop of the gummy worm. It’s a symphony of textures.
Cooking Tips & Techniques
Over the years, I’ve made a few mistakes so you don’t have to. Here are my best tips for perfect dirt cups every single time.
- The Cream Cheese is Non-Negotiable (for the best texture): I know it seems like an extra step, but trust me on this. If you skip the cream cheese, the pudding layer will be much thinner and more like a standard Jell-O pudding. The cream cheese gives it that thick, decadent, almost mousse-like body that makes these feel like a real treat. I once made a batch without it because I was out, and they were just… fine. Not great. Not memorable.
- Don’t Overmix the Pudding: Once the instant pudding powder is dissolved, stop mixing. Overmixing can break down the starches and prevent the pudding from setting up properly. A gentle, steady whisk for about 2 minutes is all you need.
- Chill Time is Crucial: I cannot stress this enough. The 2-hour minimum chill time isn’t a suggestion—it’s a requirement. The pudding needs that time to fully firm up. If you serve them too soon, you’ll get a soupy mess. I once tried to rush this step for a class party, and the “dirt” just sank right into the liquid pudding. It looked like a muddy swamp. Not cute.
- Multitasking Strategy: While the pudding is setting up for its initial 2 minutes, crush your Oreos. While you’re crushing the Oreos, you can be thinking about your decorations. This recipe is so simple that you can honestly make the entire filling and crush the cookies in under 15 minutes. The only real “work” is the waiting.
- Make Ahead for Less Stress: These are the ultimate make-ahead dessert. You can assemble them a full day in advance. Just keep them covered with plastic wrap in the fridge. Add the gummy worms right before serving, though, or they will get a little too soft and soggy from the moisture in the fridge. Plus, the worms look way more dramatic when they’re fresh and wiggly.
Variations & Adaptations
This recipe is a fantastic canvas for your own creativity. Here are a few of my favorite twists on the classic.
- Spooky Spider Dirt Cups: Instead of gummy worms, use plastic spider rings (thoroughly washed!) and place them on top of the dirt. You can also use black licorice strings to make spider legs sticking out of the “dirt.” It’s a creepy-crawly twist that kids absolutely love.
- Pumpkin Patch Dirt Cups: Swap the chocolate pudding for a vanilla or butterscotch pudding. Tint it with orange food coloring to make it look like pumpkin puree. Use crushed vanilla wafers or shortbread cookies for the “sand.” Top with a candy pumpkin and a little mint leaf for the stem.
- Peanut Butter Cup Dirt: This is my personal favorite. Add 1/2 cup of creamy peanut butter to the cream cheese mixture in Step 1. Beat it in until smooth. The peanut butter and chocolate combination is legendary. Top with crushed Reese’s Peanut Butter Cups along with the Oreo crumbs for an extra decadent treat. Just be sure to check for peanut allergies if you’re serving a crowd.
- Gluten-Free & Vegan Version: Use gluten-free chocolate sandwich cookies and a gluten-free instant pudding mix. For the vegan version, use a plant-based cream cheese (like Kite Hill or Violife), a plant-based milk (like oat or soy), and a vegan butter substitute. It works surprisingly well! I’ve made this for a friend with celiac disease, and she couldn’t tell the difference.
- Mummy Dirt Cups: For a different Halloween look, skip the worms. Instead, after the dirt layer is on top, wrap a gummy fruit roll-up or a strip of white fondant around the cup like a mummy’s bandage. Add two candy eyes on top of the “dirt” for a cute, non-scary mummy face.
Serving & Storage Suggestions
These little cups are incredibly versatile and easy to manage, which is half the reason I love them for parties.
Serving: Serve them straight from the fridge. The cold temperature is part of the experience—it makes the pudding feel even more creamy and the “dirt” more refreshing. I like to arrange them on a large platter or a wooden board, maybe with a few fake spiderwebs or plastic spiders scattered around for a spooky tablescape. They pair perfectly with a warm drink like my Easy Homemade Pumpkin Spice Latte for a cozy Halloween treat, or alongside a batch of these Mummy-Wrapped Sausages for a sweet and savory party spread.
Storage: Store any leftover cups in the refrigerator, covered with plastic wrap or in an airtight container. They will keep beautifully for up to 3 days. The Oreo crumbs will soften over time, which actually makes them taste even more like real dirt. The texture changes from crunchy to a soft, cake-like crumb, which is honestly delicious in its own right.
Reheating (Don’t Do It!): Do not reheat these. They are meant to be served cold. If you take them out of the fridge and they’ve been sitting out for more than an hour, the pudding will start to soften and the cream cheese can become unstable. Just keep them chilled until you’re ready to serve.
Make-Ahead Tip: As I mentioned, you can assemble the cups (without the gummy worms) up to 24 hours in advance. The flavors actually meld together beautifully overnight. Just add the worms and any other fresh decorations right before serving for the best visual impact.
Nutritional Information & Benefits
Let’s be real—these are a treat, not a health food. But that doesn’t mean they can’t have a few redeeming qualities! Here’s a rough estimate for one serving (based on 8 servings per batch, made with whole milk and full-fat cream cheese).
| Nutrient | Amount Per Serving |
|---|---|
| Calories | ~380-420 |
| Total Fat | 18-22g |
| Saturated Fat | 10-12g |
| Cholesterol | 35-45mg |
| Sodium | 350-400mg |
| Total Carbohydrates | 50-55g |
| Dietary Fiber | 2-3g |
| Sugars | 35-40g |
| Protein | 6-8g |
Dietary Considerations: This recipe can be adapted to be gluten-free and vegetarian. It is not vegan, nut-free, or dairy-free in its standard form, but all of those are achievable with the substitutions mentioned above. The main allergens are dairy (milk, cream cheese) and gluten (Oreos).
Health Benefits (the fun kind): The milk and cream cheese provide a decent amount of calcium and protein, which is more than you can say for most candy bars! And honestly, the biggest benefit is the joy it brings. There’s something to be said for a dessert that sparks creativity and makes people laugh. That counts for something in my book.
Conclusion
These Easy Halloween Dirt Cups with Gummy Worms are more than just a dessert. They are a little bit of edible theater. They are the laugh you share when a worm is “escaping” from the cup. They are the quiet satisfaction of watching someone take their first bite and smile. They are the perfect, stress-free way to bring a little Halloween magic to your table, whether you’re hosting a spooky party or just enjoying a quiet movie night at home.
I love this recipe because it’s a reminder that you don’t need to be a pastry chef to create something memorable. You just need a little bit of chocolate, a few crushed cookies, and a sense of fun. So go ahead—get a little messy, have a laugh, and make some dirt. I promise you won’t regret it.
I’d love to see your creepy creations! Leave a comment below telling me how you decorated your dirt cups, or if you tried any fun variations. Don’t forget to share a photo on Pinterest and tag me—I love seeing your spooky masterpieces. Happy Halloween, and happy eating!
Frequently Asked Questions
Can I use sugar-free pudding mix?
Yes, you can! Sugar-free instant chocolate pudding mix works perfectly in this recipe. The texture will be slightly less rich, but it’s a great option if you’re watching your sugar intake. Just follow the package directions for the amount of milk needed.
How far in advance can I make these?
You can assemble the cups (without the gummy worms) up to 24 hours in advance. Keep them covered in the refrigerator. Add the gummy worms just before serving to keep them from getting too soft and soggy.
My pudding isn’t setting up. What went wrong?
This usually happens for one of two reasons: your milk wasn’t cold enough, or you didn’t chill the cups long enough. Make sure your milk is very cold straight from the fridge. If you’re in a hurry, you can pop the assembled cups in the freezer for 30 minutes, but don’t forget about them! The full 2-4 hour chill in the fridge is the most reliable method.
Can I use a different type of cookie for the dirt?
Absolutely! Chocolate wafer cookies, crushed chocolate graham crackers, or even crushed brownies work wonderfully. If you want a lighter “sand” look, use crushed vanilla wafers or shortbread cookies. The flavor will change, but the texture will be just as good.
Can I make these in a large dish instead of individual cups?
Yes, you can! Layer the ingredients in a 9×13-inch baking dish or a large trifle bowl. Just be sure to double the recipe if you’re using a large dish. The layering and chilling instructions remain the same. It makes for a fun, shareable “dirt patch” dessert that’s perfect for a big party.
Pin This Recipe!
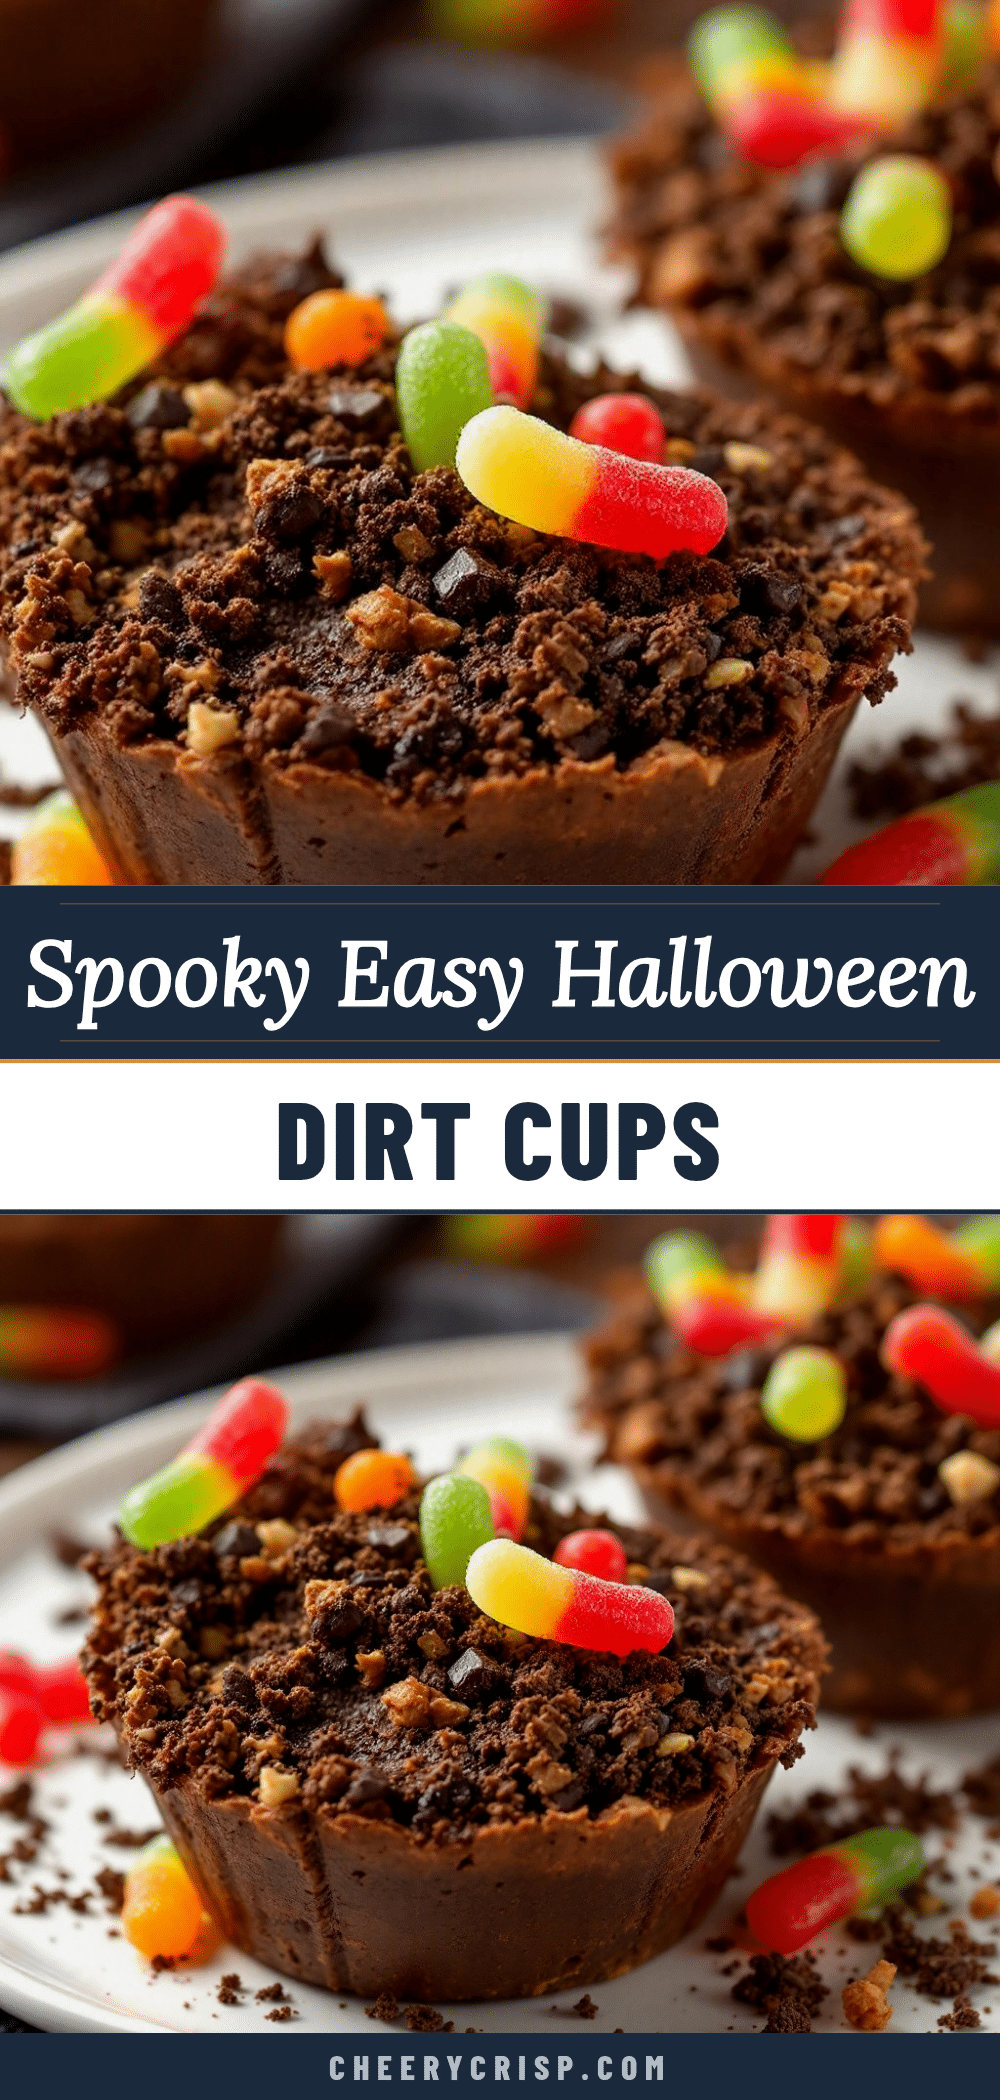
Best Easy Halloween Dirt Cups with Gummy Worms

These no-bake Halloween dirt cups feature layers of creamy chocolate pudding, crushed Oreo ‘dirt,’ and gummy worms for a fun, spooky treat that kids and adults love.
- Prep Time: 15 minutes
- Cook Time: 0 minutes
- Total Time: 2 hours 15 minutes (includes chilling)
- Yield: 6-8 servings 1x
- Category: Dessert
- Cuisine: American
Ingredients
- 1 (3.9 oz) package instant chocolate pudding mix
- 2 cups cold whole milk
- 4 oz cream cheese, softened to room temperature
- 1/4 cup powdered sugar
- 1 teaspoon vanilla extract
- 1 (14.3 oz) package Oreo cookies (about 36 cookies)
- 2 tablespoons unsalted butter, melted
- 1 (4 oz) bag gummy worms
- Optional: green or orange sprinkles, candy pumpkins, fresh mint leaves or small rosemary sprigs
Instructions
- Make the Cream Cheese Base: In a medium mixing bowl, beat the softened cream cheese with the powdered sugar and vanilla extract using a hand mixer on medium speed until smooth, light, and fluffy, about 2 minutes. Scrape down the sides of the bowl halfway through.
- Prepare the Pudding: In a separate larger mixing bowl, whisk together the instant chocolate pudding mix and cold milk for about 2 minutes until the powder is completely dissolved and the mixture starts to thicken. Let it sit for 2 minutes to start setting.
- Combine the Layers: Beat the cream cheese mixture into the pudding mixture using a hand mixer on low speed, then increase to medium until completely combined and uniform in color.
- Crush the Oreos: Place the Oreos in a large zip-top bag, seal, and crush with a rolling pin into fine crumbs with some slightly larger pieces. Alternatively, pulse in a food processor. Transfer to a bowl and stir in the melted butter with a fork until evenly moistened and slightly clumpy.
- Assemble the Cups: Arrange cups on a baking sheet. Spoon about 2 tablespoons of Oreo crumbs into the bottom of each cup. Then gently spoon or pipe the chocolate pudding mixture over the dirt, filling each cup about 2/3 to 3/4 full.
- Top with More Dirt: Sprinkle a generous layer of remaining Oreo crumbs over the top of each cup, covering the pudding completely. Press down gently with the back of a spoon.
- Add the Worms: Poke gummy worms into the ‘dirt’ so they appear to be crawling out. Add optional decorations like mint or rosemary ‘weeds.’
- Chill and Set: Refrigerate for at least 2 hours, preferably 4 hours, to allow the pudding to fully set and flavors to meld.
Notes
For best texture, use full-fat cream cheese and cold whole milk. Do not skip the chilling time—it’s essential for the pudding to set. Assemble cups (without gummy worms) up to 24 hours in advance; add worms just before serving. For a gluten-free version, use gluten-free chocolate sandwich cookies and gluten-free instant pudding mix.
Nutrition
- Serving Size: 1 cup
- Calories: 380420
- Sugar: 3540
- Sodium: 350400
- Fat: 1822
- Saturated Fat: 1012
- Carbohydrates: 5055
- Fiber: 23
- Protein: 68
Keywords: Halloween dirt cups, gummy worms, no-bake dessert, chocolate pudding, Oreo dirt, spooky treat, easy Halloween dessert



