Love this? Save it for later!
Share the inspiration with your friends
My husband looked at the grocery bags and said, “You bought how many apples?” He wasn’t being mean—he just genuinely didn’t understand why I needed four different varieties for one board. I didn’t have a good answer yet. I just had a feeling that a fall charcuterie board needed more than cheese and crackers. It needed something that felt like October. Something sweet, sticky, and a little ridiculous. So I grabbed a bag of caramel candies, some Granny Smiths, and decided to figure it out as I went.
That first board was a mess, honestly. The caramel was too runny, the apples slid around, and I’d arranged everything so tight you couldn’t grab a slice of brie without knocking over a pile of pecans. But that one bite—where the cold apple met the soft caramel and hit a sliver of sharp cheddar—made me forget the chaos. I knew I was onto something. This Ultimate Fall Harvest Charcuterie Board with Caramel Apples has been through maybe six versions since then. I’ve learned which cheeses hold their own against sweet caramel, which nuts don’t get lost in the shuffle, and exactly how thick to slice the apples so they don’t turn brown before your guests arrive.
It’s not the prettiest board I’ve ever made. But it’s the one people actually eat. And that matters more.
Why You’ll Love This Recipe
I’ve tested this board for football Sundays, Thanksgiving appetizers, and random Tuesday nights when I wanted to feel fancy. Every time, the caramel apples disappear first. Here’s why this board works so well.
- No Cooking Required (Almost) : The only heat you need is for melting the caramel. Everything else is just slicing and arranging. You can throw this together in 20 minutes flat.
- Perfect for Entertaining : This board feeds a crowd without you standing over a stove. Set it out before guests arrive and let them graze while you finish the main course.
- Seasonal and Showstopping : The colors alone—deep red apples, golden cheese, green rosemary sprigs—make this board look like a magazine spread. It screams fall without trying too hard.
- Customizable for Any Diet : Swap cheeses, skip the meat, or add extra fruit. This board bends to whatever your guests need.
- Sweet and Savory Perfection : The caramel apples tie everything together. They’re the bridge between sharp cheddar and salty prosciutto, and honestly, they make the whole thing unforgettable.
I’ve made a lot of charcuterie boards in my time. But this fall version, with those messy, gorgeous caramel apples right in the center, is the one that gets requested every single year. It’s not complicated. It just works.
What Ingredients You Will Need
This recipe uses simple, seasonal ingredients that build layers of flavor and texture. Nothing here is hard to find, but each element plays a specific role. Let’s break it down.
For the Caramel Apples
- 4 medium apples (I use a mix of Granny Smith, Honeycrisp, and Fuji—the tart ones balance the sweet caramel best)
- 1 bag (11 oz) soft caramel candies (Kraft or Brach’s work great; unwrap them first—this is the tedious part)
- 2 tablespoons heavy cream (makes the caramel silky and easier to dip)
- 1 teaspoon vanilla extract (adds warmth and depth)
- Flaky sea salt (for sprinkling on top—don’t skip this)
- Wooden skewers or popsicle sticks (for dipping and serving)
For the Charcuterie Board
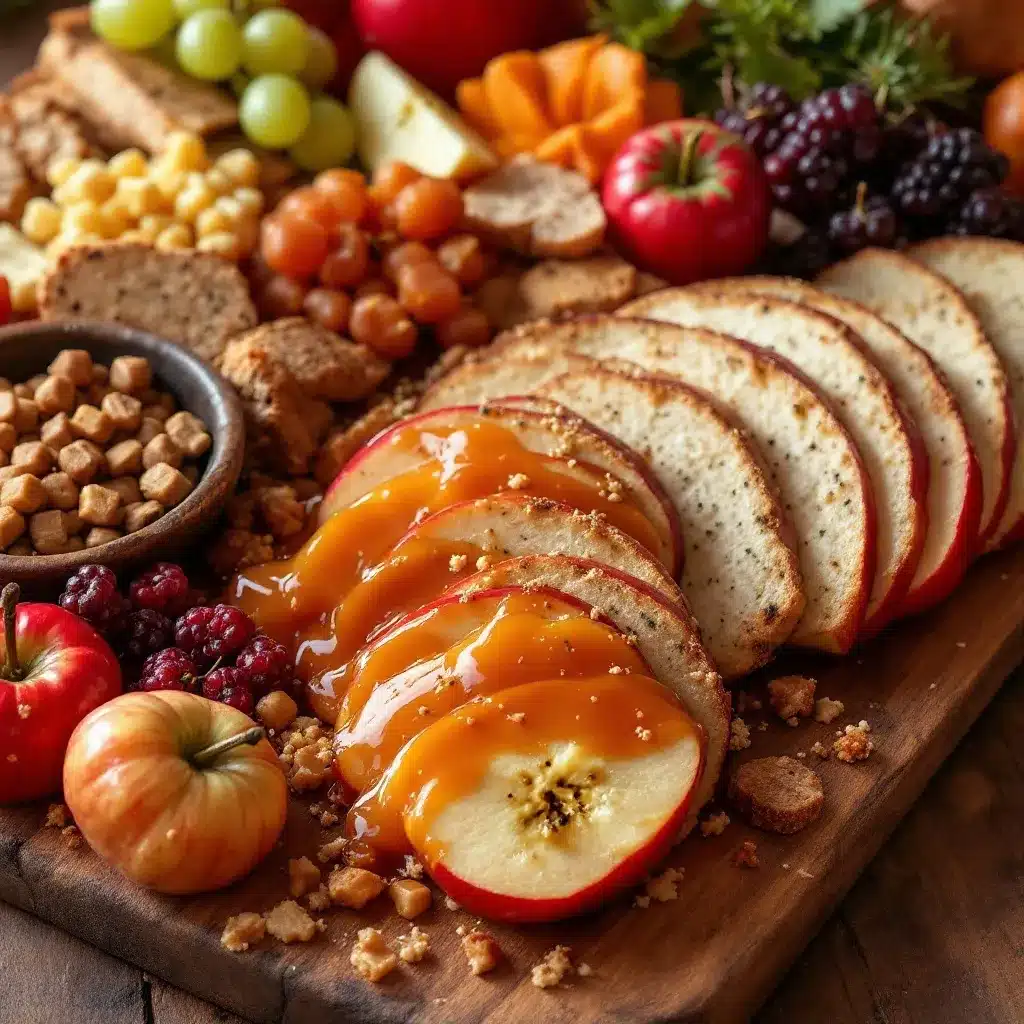
- 3-4 types of cheese (I go with aged cheddar, brie, manchego, and a blue cheese like gorgonzola—variety is key)
- 2 types of cured meat (prosciutto, soppressata, or salami—something mild and something spicy)
- 1 cup mixed nuts (toasted pecans, candied walnuts, or marcona almonds)
- 1 cup dried fruit (dried figs, apricots, or dates—they add chewiness)
- Fresh fruit (red grapes, pomegranate seeds, or sliced pears)
- Crackers and bread (water crackers, baguette slices, and seeded crisps)
- Spreadables (fig jam, honey, or whole-grain mustard—something sweet and something tangy)
- Fresh herbs for garnish (rosemary sprigs, thyme, or sage—they make the board look alive)
Ingredient Tips
I recommend using a sharp, aged cheddar here—it cuts through the sweetness of the caramel apples better than mild cheddar. For the nuts, toast them yourself if you have time. It takes five minutes and makes a huge difference in flavor. If you’re feeding someone with dietary restrictions, skip the meat and add extra cheese and roasted vegetables. The board will still feel abundant.
Equipment Needed
You don’t need fancy tools for this board. Here’s what I use every time.
- Large wooden cutting board or serving platter (at least 12×18 inches—you need room to spread out)
- Small saucepan (for melting the caramel)
- Wooden skewers or popsicle sticks (for the caramel apples)
- Parchment paper (to set the dipped apples on—trust me, they stick to everything else)
- Small bowls or ramekins (for jam, honey, or mustard)
- Cheese knives (one for soft cheese, one for hard cheese—keeps things clean)
- Sharp knife and cutting board (for slicing apples and cheese)
If you don’t have a large wooden board, a baking sheet lined with parchment works perfectly. I’ve done it plenty of times. Just make sure it’s clean and presentable. For the caramel, you can microwave the candies in a bowl with cream instead of using the stovetop. It’s faster and fewer dishes. I do that when I’m in a rush.
Preparation Method
This comes together in layers. Start with the caramel apples, then build the board around them. Here’s exactly how I do it.
- Make the caramel apples. Unwrap all the caramel candies and place them in a small saucepan with the heavy cream. Warm over low heat, stirring constantly, until completely smooth. This takes about 8-10 minutes. Don’t rush it—high heat will burn the caramel. Once melted, stir in the vanilla extract and a pinch of flaky sea salt. Remove from heat.
- Prep the apples. Wash and dry the apples thoroughly. Any moisture on the skin will make the caramel slide off. Insert a wooden skewer or popsicle stick into the top of each apple, pushing about halfway through. Line a baking sheet with parchment paper.
- Dip the apples. Working one at a time, hold the apple by the stick and dip it into the warm caramel. Tilt the saucepan to get full coverage, letting the excess drip off. Use a spoon to help coat any bare spots. Place the dipped apple on the parchment-lined sheet. Sprinkle immediately with flaky sea salt while the caramel is still wet. Repeat with remaining apples.
- Let the caramel set. Place the baking sheet in the refrigerator for at least 20 minutes. The caramel needs to firm up before you slice the apples. If you try to cut them too soon, the caramel will slide right off. I learned this the hard way.
- While the caramel sets, prep the board. Arrange your small bowls on the board first—this creates anchor points for the rest of the ingredients. Fill them with fig jam, honey, and whole-grain mustard. Place them where they won’t get knocked over.
- Add the cheeses. Slice the hard cheeses (cheddar, manchego) into thin wedges or cubes. Leave the brie whole or cut it into a few large slices. Place the cheeses around the board, spacing them out so guests can reach from different angles. I like to put the brie near the jam—they’re best friends.
- Layer the meats. Fold or roll the prosciutto and salami into loose ribbons. Tuck them next to the cheeses, creating little clusters. Don’t lay them flat—folded meat is easier to grab and looks more intentional.
- Fill the gaps with nuts, dried fruit, and fresh fruit. Sprinkle pecans and almonds in empty spaces. Add piles of dried figs and apricots. Scatter red grapes and pomegranate seeds for pops of color. This is where the board starts looking full and abundant.
- Add the crackers and bread. Fan them out in groups around the board. Don’t scatter them randomly—grouping makes it easier for guests to grab a handful without knocking things over. I usually place water crackers near the brie and seeded crisps near the cheddar.
- Slice and arrange the caramel apples. Once the caramel is set (it should feel firm but not hard), remove the apples from the fridge. Slice each apple into wedges, cutting around the core. The caramel will crack slightly as you cut—that’s perfect. Arrange the slices in a fan pattern right in the center of the board. Drizzle any leftover caramel from the saucepan over the top.
- Garnish and serve. Tuck fresh rosemary sprigs and thyme around the board. They add color and make everything smell like fall. Serve immediately, or keep the board at room temperature for up to an hour before serving. The caramel apples are best eaten within a few hours.
Cooking Tips & Techniques
I’ve made this board enough times to know where things go wrong. Here are the lessons I learned the hard way.
- Dry your apples completely. This is non-negotiable. Even a drop of water on the apple skin will make the caramel slide off in one sad sheet. I pat mine dry with a paper towel and then let them sit on the counter for 10 minutes before dipping.
- Don’t overheat the caramel. Low and slow is the way. If the caramel gets too hot, it becomes runny and won’t coat the apples properly. If it starts to separate, whisk in a splash of heavy cream to bring it back together.
- Slice the apples just before serving. Caramel apples look gorgeous whole, but they’re impossible to eat at a party. Slice them into wedges right before you put the board out. If you slice them too early, the apples will brown and the caramel will get sticky.
- Use a mix of textures. A good charcuterie board has crunchy, creamy, chewy, and crispy elements. That’s why I include nuts, soft brie, dried figs, and crispy crackers. Don’t skip any of them.
- Let cheese come to room temperature. Take the cheese out of the fridge 30 minutes before serving. Cold cheese doesn’t have much flavor. Room-temperature cheese tastes like itself.
One time I forgot to refrigerate the caramel apples before slicing. The caramel was still soft, and every slice turned into a sticky mess. I ended up serving the apples whole with a knife on the side. It worked, but it wasn’t pretty. Learn from my mistakes—give those apples time to set.
Variations & Adaptations
This board is endlessly flexible. Here are a few ways I’ve changed it up depending on the occasion.
- Dairy-Free Version : Use dairy-free caramel candies (they exist!) and skip the brie. Load up on aged cheeses like manchego and gouda, which are naturally lower in lactose. Or skip cheese entirely and double up on nuts, dried fruit, and roasted vegetables.
- Gluten-Free Version : Swap the crackers for gluten-free seeded crisps or rice crackers. Skip the baguette slices and add extra fresh fruit and vegetables instead.
- Savory Twist : Add roasted butternut squash cubes, pickled red onions, and a dollop of whole-grain mustard. The acidity cuts through the sweetness of the caramel apples beautifully.
- Spiced Caramel Apples : Add 1/2 teaspoon of pumpkin pie spice or cinnamon to the caramel while it melts. It gives the apples a warm, cozy flavor that’s perfect for fall.
- Mini Board for Two : Halve all the ingredients and use a small cheese board or even a dinner plate. It’s perfect for a cozy date night in.
My favorite variation is the one with roasted butternut squash and pickled onions. The sweetness of the squash matches the caramel apples, and the pickled onions add a punch of acidity that wakes everything up. I served it at a Friendsgiving last year and people went nuts.
Serving & Storage Suggestions
This board is best served at room temperature, so take everything out of the fridge about 30 minutes before you plan to eat. Arrange the board as described, and let guests graze at their own pace. The caramel apples are the star, so keep them front and center.
For drinks, I love pairing this board with a crisp hard cider or a dry riesling. The acidity cuts through the richness of the cheese and caramel. If you’re serving non-alcoholic options, a sparkling apple cider or a homemade pumpkin spice latte works beautifully. For a cozy fall gathering, I also love offering a slow cooker butternut squash soup on the side—it’s the perfect warm companion to this cold board.
Storage is tricky because of the caramel apples. They’re best eaten the same day. If you have leftovers, store the caramel apple slices in an airtight container in the fridge for up to 24 hours. They’ll soften slightly, but they’re still delicious. The rest of the board ingredients can be stored separately: cheese in wax paper, meat in a sealed bag, and crackers in an airtight container. Assemble fresh next time for the best experience.
The flavors actually develop nicely over a few hours. If you’re making this for a party, assemble the board (minus the caramel apples) up to 2 hours ahead. Add the caramel apples and garnish just before serving. This way everything stays fresh and the caramel doesn’t get too sticky.
Nutritional Information & Benefits
This board is indulgent, but it also has some surprising nutritional perks. Here’s a rough estimate per serving (about 1/8 of the board):
- Calories: 450-550
- Protein: 15-20g
- Fat: 30-35g
- Carbohydrates: 40-50g
- Fiber: 5-7g
- Sugar: 25-30g (mostly from the caramel and dried fruit)
Apples are packed with fiber and vitamin C, and the nuts provide healthy fats and protein. Cheese offers calcium, and the cured meat adds iron. It’s not a health food, but it’s a balanced treat that satisfies both sweet and savory cravings. If you’re watching your sugar intake, use fewer dried fruits and skip the honey drizzle. The caramel apples are non-negotiable in my book, but you can always make a smaller batch.
This board is also naturally gluten-free if you choose the right crackers. Just check labels on the cured meat and caramel candies to be sure. If you’re serving someone with nut allergies, swap the almonds and pecans for seeds like pumpkin or sunflower seeds.
Conclusion
This Ultimate Fall Harvest Charcuterie Board with Caramel Apples is the kind of recipe that makes you look like you tried way harder than you did. It’s impressive, delicious, and honestly, it’s fun to put together. The caramel apples are the unexpected twist that turns a standard cheese board into something people talk about.
I’ve made this board for Halloween parties, Thanksgiving appetizers, and lazy Sunday afternoons. Every time, someone asks for the recipe. Every time, the caramel apples disappear first. That’s the kind of recipe you want in your back pocket for fall.
So go ahead and buy those extra apples. Trust the process. And don’t forget the flaky salt—it makes everything better. If you make this board, I’d love to hear how it turned out. Drop a comment below or tag me in your photos. Happy fall, friends!
Frequently Asked Questions
Can I make the caramel apples ahead of time?
Yes, you can make them up to 24 hours in advance. Store them in the refrigerator on a parchment-lined baking sheet. Slice them just before serving to prevent browning.
What if my caramel is too thick?
If the caramel seizes up or gets too thick, stir in a tablespoon of heavy cream and warm it gently over low heat. It should loosen right up.
Can I use store-bought caramel sauce instead of melting candies?
You can, but it won’t coat the apples as well. Store-bought caramel sauce is thinner and tends to run off. Melted caramel candies give you that thick, chewy coating that holds up on the board.
How do I keep the apples from turning brown?
Brush the cut sides of the apples with a little lemon juice or apple cider vinegar before dipping. The caramel also acts as a barrier, so once they’re coated, they won’t brown as quickly.
What’s the best way to arrange the board for a party?
Start with the bowls, then add the cheeses and meats. Fill gaps with nuts, fruit, and crackers. Place the caramel apples in the center as the focal point. Garnish with fresh herbs right before serving.
Pin This Recipe!
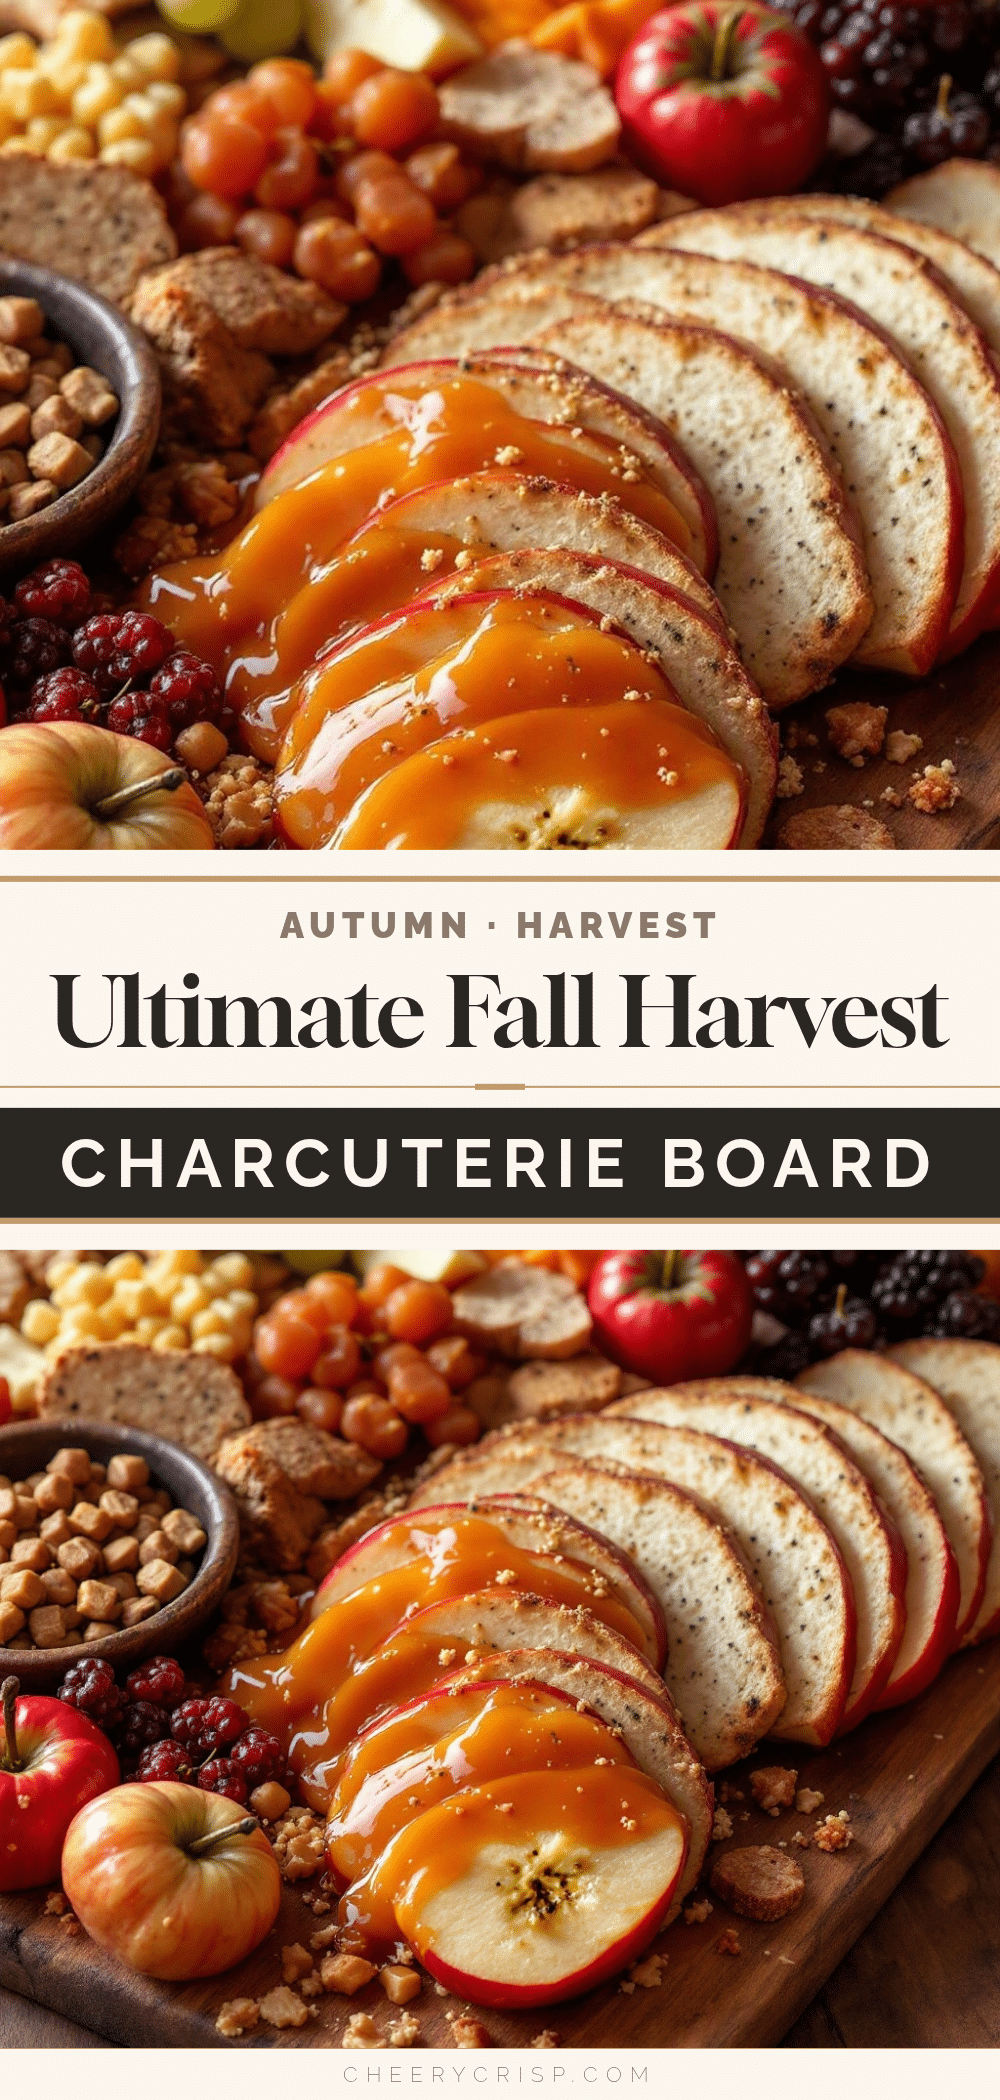
Ultimate Fall Harvest Charcuterie Board with Caramel Apples
A stunning fall charcuterie board featuring homemade caramel apples as the centerpiece, surrounded by an array of cheeses, cured meats, nuts, dried fruits, and crackers. Perfect for entertaining, this board balances sweet and savory flavors with seasonal ingredients.
- Prep Time: 20 minutes
- Cook Time: 10 minutes
- Total Time: 50 minutes (includes 20 minutes chilling)
- Yield: 8 servings 1x
- Category: Appetizer
- Cuisine: American
Ingredients
- 4 medium apples (Granny Smith, Honeycrisp, and Fuji)
- 1 bag (11 oz) soft caramel candies (Kraft or Brach’s)
- 2 tablespoons heavy cream
- 1 teaspoon vanilla extract
- Flaky sea salt (for sprinkling)
- Wooden skewers or popsicle sticks
- 3–4 types of cheese (aged cheddar, brie, manchego, gorgonzola)
- 2 types of cured meat (prosciutto, soppressata, or salami)
- 1 cup mixed nuts (toasted pecans, candied walnuts, or marcona almonds)
- 1 cup dried fruit (dried figs, apricots, or dates)
- Fresh fruit (red grapes, pomegranate seeds, or sliced pears)
- Crackers and bread (water crackers, baguette slices, seeded crisps)
- Spreadables (fig jam, honey, or whole-grain mustard)
- Fresh herbs for garnish (rosemary sprigs, thyme, or sage)
Instructions
- Make the caramel apples: Unwrap caramel candies and place in a small saucepan with heavy cream. Warm over low heat, stirring constantly, until smooth (8-10 minutes). Stir in vanilla extract and a pinch of flaky sea salt. Remove from heat.
- Prep the apples: Wash and dry apples thoroughly. Insert a wooden skewer or popsicle stick into the top of each apple. Line a baking sheet with parchment paper.
- Dip the apples: Working one at a time, dip each apple into warm caramel, tilting the saucepan for full coverage. Let excess drip off. Place on parchment-lined sheet and sprinkle immediately with flaky sea salt.
- Let caramel set: Refrigerate the baking sheet for at least 20 minutes until caramel is firm.
- While caramel sets, prep the board: Arrange small bowls on the board for fig jam, honey, and whole-grain mustard.
- Add cheeses: Slice hard cheeses into thin wedges or cubes. Leave brie whole or cut into large slices. Place cheeses around the board, spacing them out.
- Layer the meats: Fold or roll prosciutto and salami into loose ribbons. Tuck them next to cheeses in clusters.
- Fill gaps with nuts, dried fruit, and fresh fruit: Sprinkle pecans and almonds in empty spaces. Add piles of dried figs and apricots. Scatter red grapes and pomegranate seeds.
- Add crackers and bread: Fan them out in groups around the board.
- Slice and arrange caramel apples: Once caramel is set, remove apples from fridge. Slice each into wedges, cutting around the core. Arrange slices in a fan pattern in the center of the board. Drizzle leftover caramel over the top.
- Garnish and serve: Tuck fresh rosemary sprigs and thyme around the board. Serve immediately or keep at room temperature for up to an hour.
Notes
Dry apples completely before dipping to prevent caramel from sliding off. Use low heat for caramel to avoid burning. Slice apples just before serving to prevent browning. Let cheese come to room temperature for best flavor. Caramel apples are best eaten within a few hours.
Nutrition
- Serving Size: 1/8 of board
- Calories: 450550
- Sugar: 2530
- Sodium: 600800
- Fat: 3035
- Saturated Fat: 1518
- Carbohydrates: 4050
- Fiber: 57
- Protein: 1520
Keywords: fall charcuterie board, caramel apples, harvest board, cheese board, fall appetizer, entertaining, party food



