Love this? Save it for later!
Share the inspiration with your friends
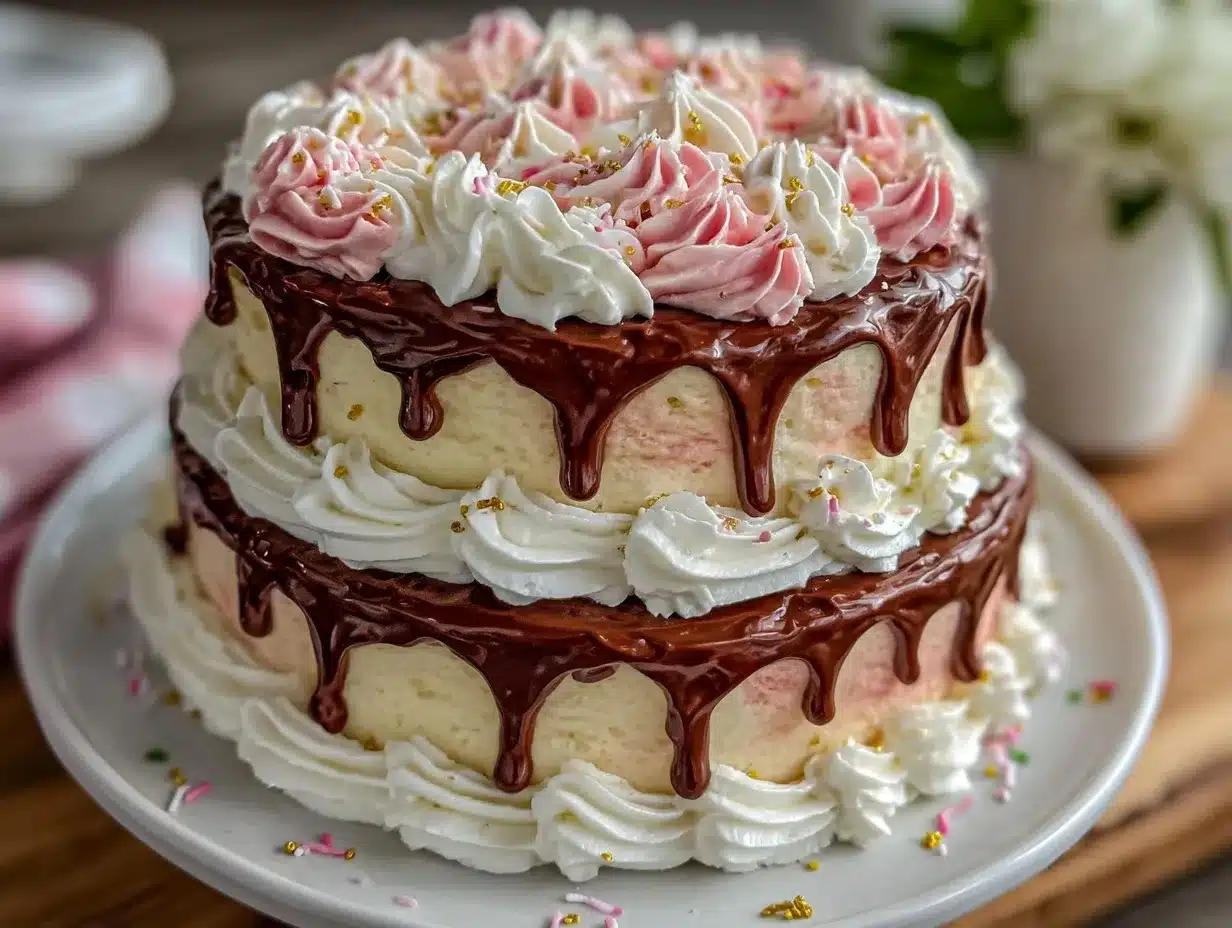
“I never thought a last-minute bake could turn out this stunning,” I admitted to my friend as we stood in my tiny kitchen, surrounded by sprinkles of powdered sugar and a suspicious smear of golden drip on the counter. It was graduation day, and honestly, I hadn’t planned on making a cake at all. But when my neighbor, Mrs. Delgado, popped by with tales of her granddaughter’s ceremony, I found myself scribbling down a quick sketch of what would become the Perfect Two-Tier Ombre Buttercream Graduation Cake with Gold Drip.
It all started with a plain vanilla cake mix that was meant to be my simple backup plan. Somehow, the idea of an ombre effect on the buttercream frosting with a shiny gold drip just wouldn’t leave my mind. I was fiddling with the colors late into the night, mixing in just the right amount of pink and peach to get that smooth gradient look. The gold drip? That was a last-minute experiment with edible luster dust and white chocolate that could’ve gone sideways. But—luckily—it didn’t.
Maybe you’ve been there: the clock’s ticking, the pressure’s on, and you’re halfway through a project you weren’t even sure you’d finish. What made this cake stick with me, though, wasn’t just how it looked (though, let me tell you, the shimmer of the gold drip catching the light was mesmerizing). It was the way it felt to see my neighbor’s face light up when I handed her that cake. You know that feeling when a simple gesture turns into something memorable? That’s exactly why I keep making this recipe.
Why You’ll Love This Recipe
Making the Perfect Two-Tier Ombre Buttercream Graduation Cake with Gold Drip is honestly one of those moments where art meets comfort food. I’ve tested this recipe through several graduations, birthday parties, and even a surprise baby shower, and here’s why it’s become a staple:
- Quick & Easy: You can assemble and decorate this cake in under 3 hours, perfect for those busy celebration days when you’re juggling a million things.
- Simple Ingredients: No need for fancy bakery-only items; everything comes from your local grocery store or pantry staples.
- Perfect for Celebrations: Whether it’s graduation, anniversaries, or milestone birthdays, this cake’s elegant design fits every occasion.
- Crowd-Pleaser: The classic vanilla base with silky buttercream frosting wins over kids and adults alike every time.
- Unbelievably Delicious: That ombre buttercream texture combined with the subtle crunch of gold drip is a flavor and texture dream.
This isn’t just another layered cake. The secret to its charm lies in the gentle gradient of the buttercream, which you’ll create by carefully blending shades from light to darker tones. Plus, the gold drip adds a touch of glam that’s surprisingly easy to master if you follow my step-by-step. Honestly, it’s the kind of recipe that makes you close your eyes after the first bite — pure satisfaction wrapped in a pretty package.
What Ingredients You Will Need
This recipe uses simple, wholesome ingredients that come together to create a beautiful and delicious cake without any fuss. Most are pantry staples, and you can easily swap a few to suit dietary needs or availability.
- For the Cake Layers:
- All-purpose flour, 3 cups (360 g) – I recommend King Arthur for consistent results
- Baking powder, 1 tablespoon
- Salt, ½ teaspoon
- Unsalted butter, 1 cup (227 g), softened – room temperature is key
- Granulated sugar, 2 cups (400 g)
- Large eggs, 4, room temperature
- Vanilla extract, 2 teaspoons – use pure vanilla for best flavor
- Whole milk, 1 cup (240 ml) – can substitute with almond or oat milk for dairy-free
- For the Ombre Buttercream:
- Unsalted butter, 2 cups (454 g), softened
- Powdered sugar, 6 cups (720 g), sifted
- Vanilla extract, 2 teaspoons
- Heavy cream or milk, 3-4 tablespoons (45-60 ml), adjust for consistency
- Gel food coloring in shades of pink or your preferred colors – gel works best for vibrant hues without thinning the frosting
- For the Gold Drip:
- White chocolate chips, ½ cup (90 g)
- Heavy cream, ¼ cup (60 ml)
- Edible gold luster dust, 1 teaspoon
- Clear vanilla extract or light corn syrup, 1 teaspoon (helps keep the drip shiny)
If you want a gluten-free option, swapping the flour with a 1:1 gluten-free baking blend works well, though the texture will be slightly different. For the buttercream, I’ve tried both salted and unsalted butter, but unsalted gives you more control over the overall flavor.
Equipment Needed
- Two 8-inch and 6-inch round cake pans – springform pans also work well for easy removal
- Electric mixer (stand mixer preferred, but a handheld one works too)
- Offset spatula and bench scraper for smooth buttercream application
- Mixing bowls – at least two medium size
- Measuring cups and spoons – accurate measurement is key here
- Cooling racks to let your cake layers cool evenly
- Small saucepan for melting white chocolate for the drip
- Piping bags or squeeze bottles for applying the gold drip – but a spoon can do the trick in a pinch
- Turntable (optional but makes frosting easier and more fun!)
I personally started with a basic handheld mixer and found the process a bit slow, so investing in a stand mixer was a game-changer. For the gold drip, patience matters — too hot and it runs off; too cool and it won’t drip nicely. I’ve also found that a silicone spatula makes scraping the buttercream into smooth layers much easier.
Preparation Method
- Preheat your oven to 350°F (175°C) and grease your cake pans with butter and a dusting of flour or use parchment paper to line the bottoms. This step prevents sticking and makes removal a breeze. (Prep time: 10 minutes)
- Mix dry ingredients: In a large bowl, whisk together the flour, baking powder, and salt. This ensures even distribution of the leavening agents. (2 minutes)
- Cream the butter and sugar: Using your mixer, beat the softened butter with granulated sugar on medium speed until light and fluffy, about 3-4 minutes. This step incorporates air, which helps the cake rise nicely. (4 minutes)
- Add eggs one at a time: Beat in each egg fully before adding the next, then stir in vanilla extract. This prevents the batter from curdling and ensures smooth texture. (3 minutes)
- Alternate adding dry ingredients and milk: With the mixer on low, add one-third of the dry ingredients, then half the milk, repeating until all are incorporated. Scrape down the sides as needed. Don’t overmix or the cake may turn dense. (5 minutes)
- Divide batter evenly: Pour batter into prepared pans, smoothing tops with a spatula. For even layers, weigh the pans or eyeball carefully. (5 minutes)
- Bake: Place pans in the oven and bake for 25-30 minutes or until a toothpick inserted comes out clean. Rotate pans halfway for even baking. (30 minutes)
- Cool completely: Remove from oven and cool in pans for 10 minutes before transferring to wire racks. Cooling fully prevents buttercream from melting when applied. (1 hour)
- Prepare the buttercream: Beat butter on medium speed until creamy (about 2 minutes). Gradually add powdered sugar, alternating with heavy cream and vanilla, until smooth and spreadable. (10 minutes)
- Create the ombre effect: Divide buttercream into four bowls. Tint each with increasing amounts of gel food coloring to get gradient shades. Start with the lightest color on the top tier and darkest on the bottom for a beautiful fade. (15 minutes)
- Assemble and frost: Place the bottom cake tier on your serving plate or turntable. Apply a thick layer of buttercream, then stack the next layer on top. Repeat for the smaller tier. Apply crumb coat with the lightest buttercream, chill 30 minutes, then apply final smooth coat blending the ombre colors vertically. Use an offset spatula and bench scraper for smooth edges. (45-60 minutes)
- Make the gold drip: In a small saucepan, gently heat cream until simmering. Pour over white chocolate chips in a bowl; let sit for 2 minutes, then stir until smooth. Mix in edible gold luster dust and vanilla extract. Let cool slightly before dripping over cake edges with a spoon or squeeze bottle. Chill cake to set drip. (20 minutes)
Pro tip: If your buttercream feels too soft, pop it in the fridge for 10 minutes before frosting. Also, don’t rush the gold drip — practice on parchment paper first if you want to get the hang of the flow!
Cooking Tips & Techniques
Achieving that perfect ombre buttercream and gold drip takes a little practice, but here are some tips I learned the hard way:
- Buttercream consistency is everything: Too stiff, and it’s hard to spread; too soft, and it won’t hold shape. Beat butter until creamy, then add powdered sugar gradually, adjusting with cream. If it gets too soft, chill briefly.
- Use gel colors, not liquid: Liquid food coloring thins out buttercream, making it harder to work with. Gel colors give vibrant hues without compromising texture.
- Crumb coat is your best friend: A thin layer of frosting seals crumbs in place and makes the final coat smooth. Chill after crumb coating for less mess.
- Temperature matters for the drip: If the chocolate drip is too hot, it’ll run off the cake; too cool, and it won’t drip at all. Aim for a warm, pourable consistency.
- Steady hands for the drip: Use a small spoon or squeeze bottle to control the amount and length of drips. Practice helps!
- Don’t rush cooling: Let each cake layer cool completely before frosting to avoid melting buttercream.
One time, I accidentally left the buttercream out too long, and it got almost soupy. I threw it in the fridge, then re-whipped it, and it was good as new — so don’t panic if your buttercream gets too soft!
Variations & Adaptations
This cake is versatile, and I love how easy it is to adapt for different tastes and occasions:
- Flavor swaps: Swap vanilla cake layers for chocolate or lemon for a different twist. I’ve had great results with lemon zest in the batter for a fresh springtime vibe.
- Color themes: Use different ombre colors to match party themes — blues for a baby shower, purples for a sweet sixteen, or classic black and white for a chic event.
- Dairy-free option: Use dairy-free butter and coconut milk in the cake and buttercream and substitute white chocolate drip with a ganache made from dairy-free chocolate.
- Single-tier version: For smaller gatherings, a single 9-inch cake with ombre buttercream and gold drip looks just as impressive.
- Personal touch: I once added edible flower petals between the cake layers for a spring wedding cake — it got rave reviews and looked stunning!
Serving & Storage Suggestions
Serve this beautiful cake at room temperature to let the buttercream shine in flavor and texture. The gold drip adds a touch of elegance, so consider pairing with simple side dishes like fresh berries or a light sparkling beverage.
Store leftover cake covered loosely with a cake dome or plastic wrap in the refrigerator for up to 4 days. Before serving again, let it sit out for 30-45 minutes to soften the buttercream.
You can freeze the cake layers separately wrapped tightly in plastic wrap and foil for up to 2 months. Thaw overnight in the fridge before assembling and frosting.
Pro tip: The flavors in this cake mellow and blend beautifully after a day, so if you can make it ahead, you’ll be rewarded with even tastier results!
Nutritional Information & Benefits
While this cake is undeniably a treat, it features some simple ingredients you might feel good about:
- Made with real butter and whole milk for rich flavor and texture
- Eggs provide protein and essential nutrients
- Vanilla extract adds flavor without extra sugar
Keep in mind this recipe contains gluten, dairy, and eggs, so it’s not suitable for all allergies. For gluten-free or vegan needs, consider the substitutions mentioned earlier. Moderation is key, but making this cake from scratch means you control the ingredients — no preservatives or additives sneaking in.
Conclusion
The Perfect Two-Tier Ombre Buttercream Graduation Cake with Gold Drip is more than just a dessert — it’s a celebration centerpiece that brings a little magic to any milestone. Whether you’re a seasoned baker or just trying your hand at decorating, this recipe balances simplicity with impressive results.
Make it your own by playing with colors, flavors, or presentation. Honestly, nothing beats the smile when you present a cake that looks as good as it tastes. I love this recipe because it turns ordinary ingredients into a showstopper with that golden touch.
Give it a try, and feel free to share your twists or questions below — I’m always excited to hear how your cake turned out and what you added to make it yours!
Frequently Asked Questions
How do I get a smooth ombre effect on the buttercream?
Divide your buttercream into several bowls and tint each with gradually darker shades. When frosting, apply the lightest color on top and the darkest at the bottom, blending gently with a bench scraper or spatula to create a smooth gradient.
Can I make the cake layers ahead of time?
Yes! Bake your cake layers up to 2 days in advance and store them wrapped tightly in plastic wrap at room temperature or refrigerated. Let them come to room temperature before frosting.
What if I don’t have edible gold luster dust?
You can skip the gold drip or use gold-colored candy melts as an alternative. Another option is a simple white chocolate drip without color — it still looks lovely!
How do I prevent the buttercream from melting while frosting?
Make sure your cake layers are completely cool before applying buttercream. Work in a cool environment and chill the cake between crumb coat and final frosting to keep things stable.
Can I make this cake gluten-free or vegan?
Absolutely! Use gluten-free flour blends for the cake and substitute dairy and eggs with plant-based alternatives like flax eggs and dairy-free butter/milk. The buttercream can also be made vegan using vegan butter and coconut cream.
For a fun twist on celebration cakes, I’ve had great success with the crispy garlic chicken for a savory party menu or the lemon blueberry muffins as sweet companions at brunch events. Both recipes bring extra joy to any gathering!
Pin This Recipe!
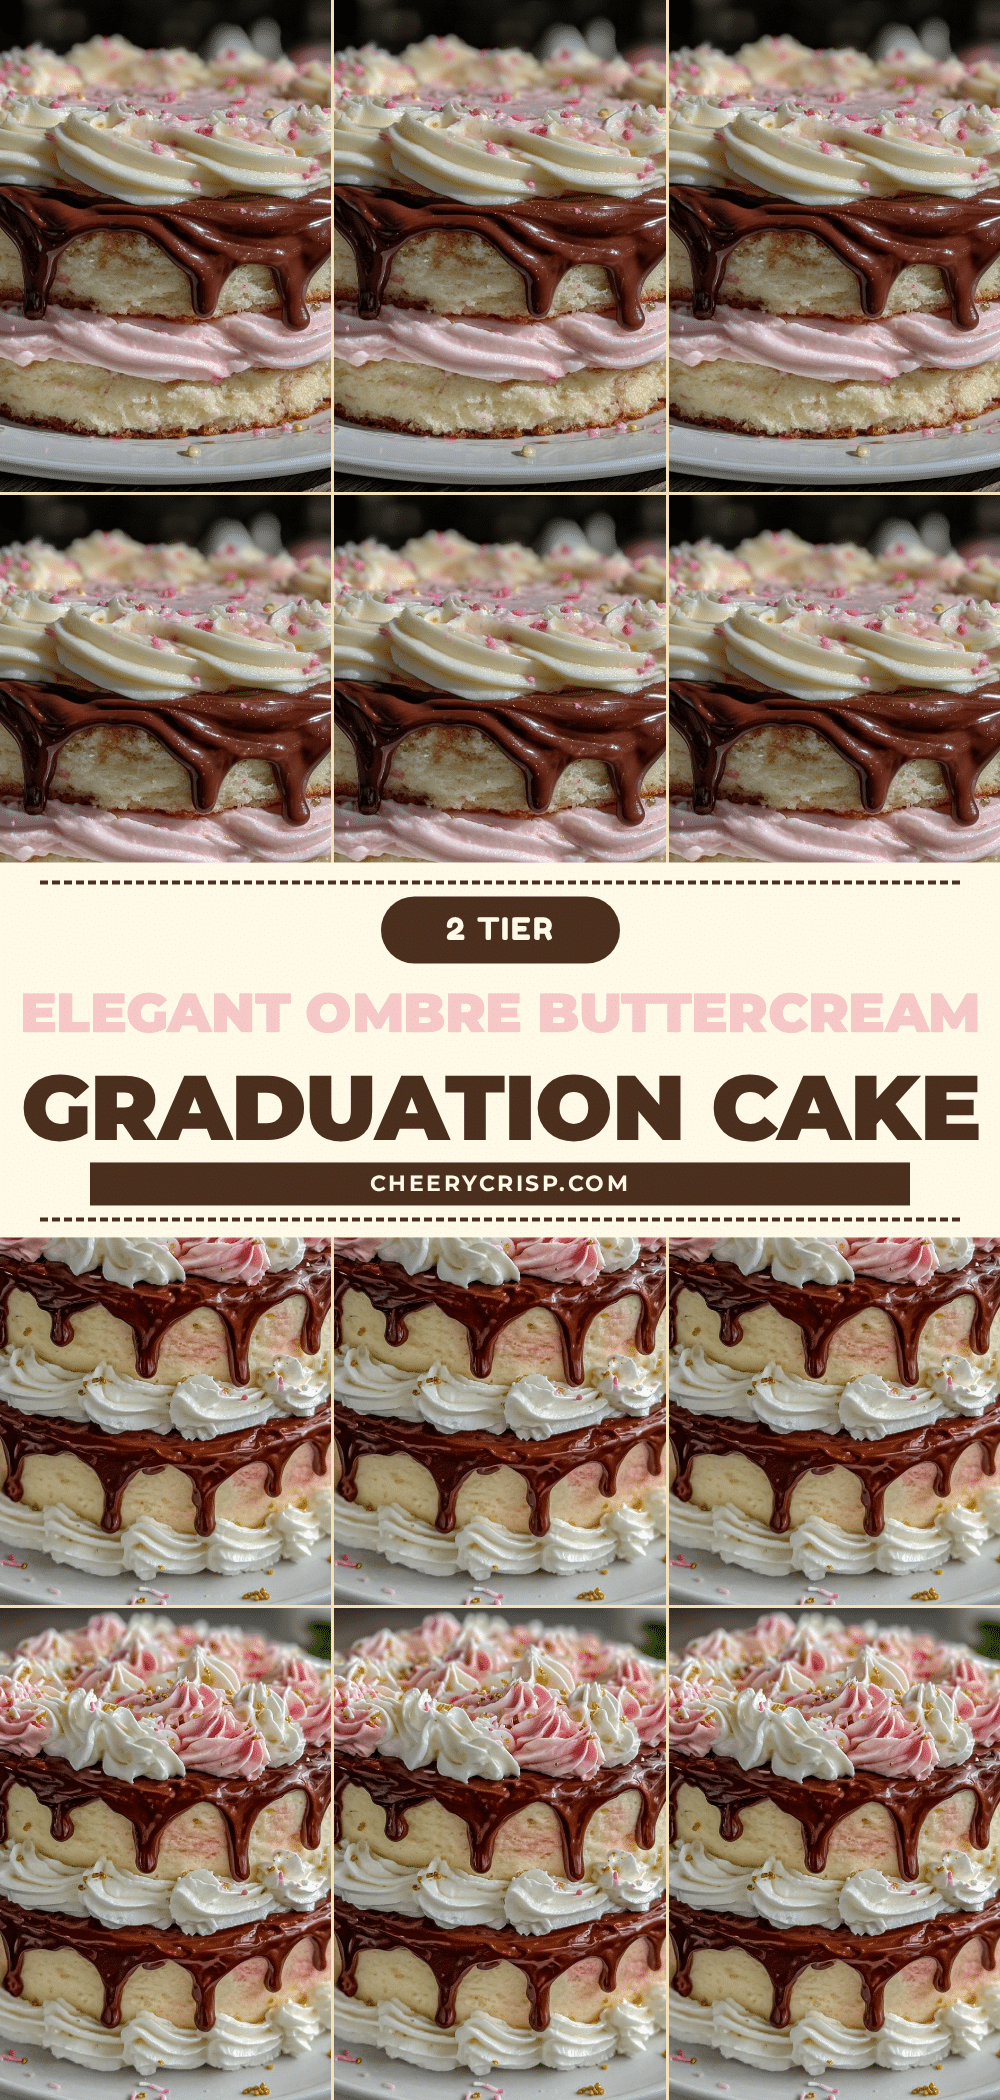
Perfect Two-Tier Ombre Buttercream Graduation Cake with Gold Drip
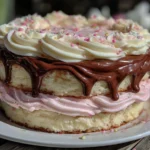
A stunning two-tier vanilla cake featuring a smooth ombre buttercream frosting and a shiny edible gold drip, perfect for graduations and celebrations.
- Prep Time: 1 hour 10 minutes
- Cook Time: 30 minutes
- Total Time: 2 hours 40 minutes
- Yield: 12-16 servings 1x
- Category: Dessert
- Cuisine: American
Ingredients
- 3 cups (360 g) all-purpose flour
- 1 tablespoon baking powder
- ½ teaspoon salt
- 1 cup (227 g) unsalted butter, softened
- 2 cups (400 g) granulated sugar
- 4 large eggs, room temperature
- 2 teaspoons vanilla extract
- 1 cup (240 ml) whole milk (can substitute almond or oat milk for dairy-free)
- 2 cups (454 g) unsalted butter, softened (for buttercream)
- 6 cups (720 g) powdered sugar, sifted
- 2 teaspoons vanilla extract (for buttercream)
- 3–4 tablespoons (45–60 ml) heavy cream or milk (for buttercream)
- Gel food coloring in shades of pink or preferred colors
- ½ cup (90 g) white chocolate chips (for gold drip)
- ¼ cup (60 ml) heavy cream (for gold drip)
- 1 teaspoon edible gold luster dust
- 1 teaspoon clear vanilla extract or light corn syrup (for gold drip)
Instructions
- Preheat oven to 350°F (175°C) and grease cake pans with butter and flour or line with parchment paper.
- In a large bowl, whisk together flour, baking powder, and salt.
- Using a mixer, beat softened butter and granulated sugar on medium speed until light and fluffy, about 3-4 minutes.
- Add eggs one at a time, beating fully after each addition, then stir in vanilla extract.
- With mixer on low, alternate adding dry ingredients and milk in thirds and halves respectively, scraping sides as needed. Do not overmix.
- Divide batter evenly into prepared pans and smooth tops.
- Bake for 25-30 minutes or until a toothpick inserted comes out clean. Rotate pans halfway through baking.
- Cool cakes in pans for 10 minutes, then transfer to wire racks to cool completely (about 1 hour).
- For buttercream, beat butter on medium speed until creamy (about 2 minutes). Gradually add powdered sugar alternating with heavy cream and vanilla until smooth and spreadable.
- Divide buttercream into four bowls and tint each with increasing amounts of gel food coloring to create ombre shades.
- Assemble cake by placing bottom tier on serving plate or turntable, apply thick buttercream layer, stack next layer, repeat for smaller tier.
- Apply crumb coat with lightest buttercream and chill for 30 minutes.
- Apply final smooth coat blending ombre colors vertically using offset spatula and bench scraper.
- For gold drip, gently heat heavy cream until simmering, pour over white chocolate chips and let sit 2 minutes, then stir until smooth.
- Mix in edible gold luster dust and vanilla extract, let cool slightly.
- Drip gold mixture over cake edges using spoon or squeeze bottle, then chill cake to set drip.
Notes
Use gel food coloring for vibrant hues without thinning buttercream. Chill buttercream if too soft before frosting. Practice gold drip on parchment paper to control flow. Let cake layers cool completely before frosting to prevent melting. For gluten-free, substitute flour with gluten-free blend. For dairy-free, use dairy-free butter and milk alternatives and substitute gold drip with dairy-free ganache.
Nutrition
- Serving Size: 1 slice (approximate
- Calories: 520
- Sugar: 40
- Sodium: 220
- Fat: 32
- Saturated Fat: 19
- Carbohydrates: 55
- Fiber: 1
- Protein: 5
Keywords: two-tier cake, ombre buttercream, gold drip, graduation cake, vanilla cake, celebration cake, easy cake recipe