Love this? Save it for later!
Share the inspiration with your friends
“You think you can just slap a cookie on a stick and call it a party treat?” my old college roommate joked one afternoon when I first mentioned making these graduation cap dark chocolate dipped Oreo cookie pops. It was May, graduation season was in full swing, and honestly, I was scrambling to find a fun, easy dessert that felt special enough for the occasion. I’d been to too many graduations where the snacks were either too fancy or totally forgettable. So, I started experimenting in my tiny apartment kitchen, with a cracked mixing bowl I picked up at a thrift store and a half-melted bar of dark chocolate I’d been nursing for weeks.
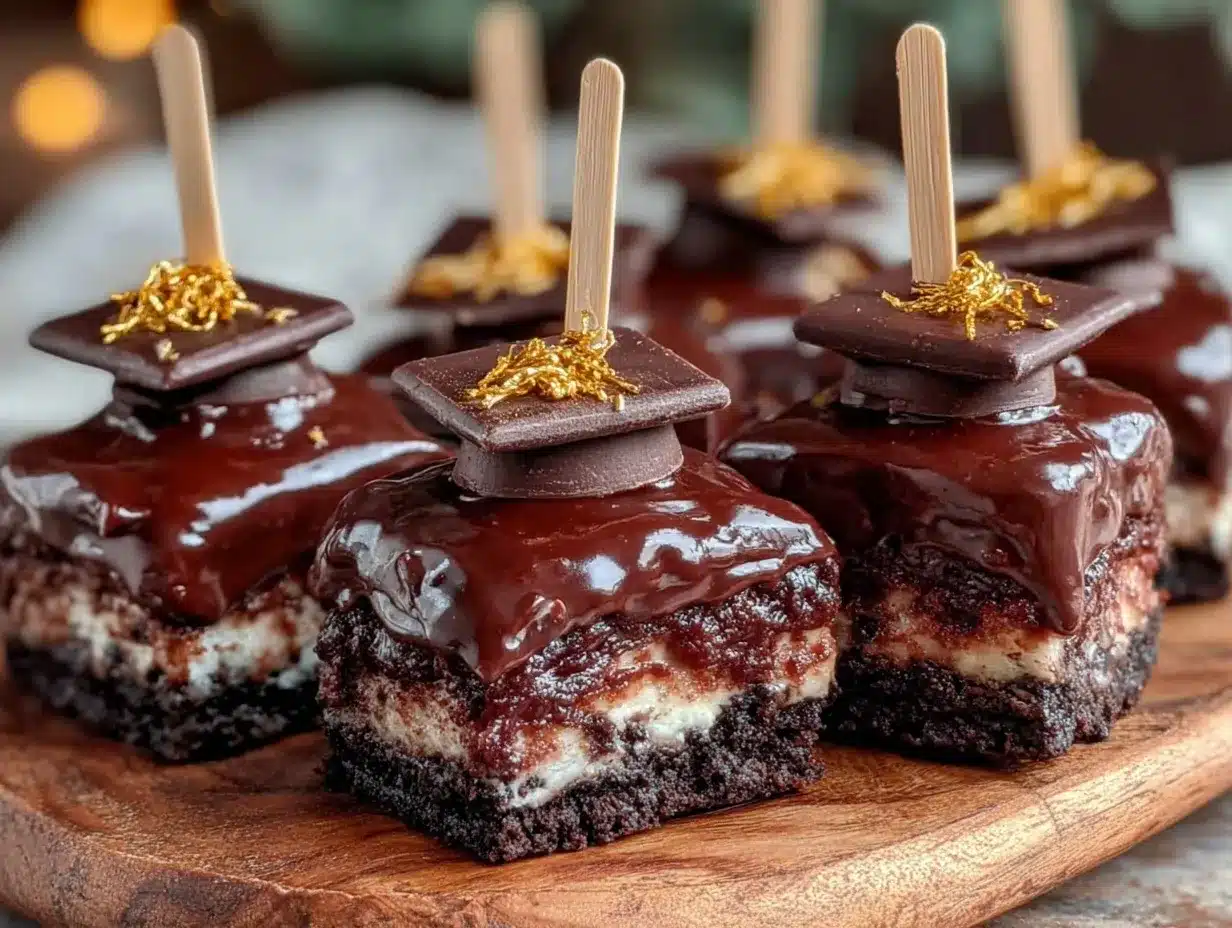
The idea came from the sight of those classic black mortarboard caps we all wore, and the thought struck me: why not Oreo cookies dipped in dark chocolate, shaped like little graduation caps? It was a bit of a mess at first — I spilled chocolate on the counter, and my dog, Max, happily licked it up while I tried attaching the edible tassels. But that first batch? It was a hit. My neighbor, who I barely see beyond the front hallway, popped her head in, grabbed one, and said, “These are genius.” That moment stuck with me, and ever since, these Oreo pops have been my go-to for graduation parties, potlucks, or whenever I want a sweet reminder that a little creativity goes a long way.
Maybe you’ve been there—rushing to create something festive but simple. Let me tell you, these Perfect Graduation Cap Dark Chocolate Dipped Oreo Cookie Pops are exactly that: easy to make, crowd-pleasing, and totally Instagram-worthy. And yes, they’ll make you look like you planned way ahead, even if you didn’t.
Why You’ll Love This Recipe
- Quick & Easy: These Oreo cookie pops come together in under 30 minutes, perfect for last-minute graduation celebrations or a spontaneous treat.
- Simple Ingredients: You only need a handful of pantry staples and a few fun extras. No complicated baking, just dipping and decorating.
- Perfect for Graduation Parties: The little mortarboard design makes them a festive hit, whether you’re hosting a backyard BBQ or a virtual celebration.
- Crowd-Pleaser: Both kids and adults love these pops—the dark chocolate adds a touch of sophistication while keeping it playful.
- Unbelievably Delicious: The crunchy Oreo base combined with the smooth, rich dark chocolate creates a flavor and texture combo that’s hard to beat.
What sets this recipe apart is the attention to detail in the decoration. Instead of just dipping Oreos in chocolate, I show you how to transform them into mini graduation caps with edible tassels made from piped royal icing or candy melts. It’s a creative twist that feels fancy but is surprisingly simple to pull off. Whether you’re a seasoned baker or just someone who likes to have fun in the kitchen, these cookie pops will bring a smile to your face and your guests’ too.
Honestly, every time I make these, I get a little nostalgic thinking back to that chaotic afternoon in my apartment kitchen, and how a little idea and a lot of spilled chocolate turned into something special. I’m confident they’ll have that same charm for you.
What Ingredients You Will Need
This recipe uses simple, wholesome ingredients to create a bold presentation and satisfying texture without too much fuss. Most of these are pantry staples, with just a few extras to make the graduation cap design pop.
- Oreo Cookies: Classic sandwich cookies—choose regular or double-stuffed based on your preference. I prefer Nabisco Oreos for consistent size and crunch.
- Dark Chocolate: About 12 ounces (340g) of high-quality dark chocolate (60-70% cocoa). I recommend Lindt Excellence 70% for that perfect balance of smoothness and bittersweet flavor.
- Black Candy Melts or Colored Royal Icing: For decorating the mortarboard top and tassels. You can find these at craft stores or online.
- Mini Marshmallows or Edible Pearls: Optional, for the button on top of the cap (adds a cute, finished look).
- Lollipop Sticks or Wooden Skewers: To hold the cookie pops. Bamboo skewers work well for a budget-friendly option.
- Edible Gold or Yellow Food Coloring Gel: For the tassel detail (if using royal icing).
- Powdered Sugar: If making your own royal icing for decoration.
- Egg Whites or Meringue Powder: For royal icing base if you want to make your own instead of using candy melts.
If you want to switch things up, you can use white chocolate for a milder flavor or vegan dark chocolate to keep it dairy-free. In summer, adding a pinch of sea salt over the dipped cookies before the chocolate sets can add a nice contrast.
Equipment Needed
- Microwave-Safe Bowl or Double Boiler: For melting the dark chocolate gently without burning. I’ve tried both—microwave is quicker, but a double boiler gives more control.
- Baking Sheet: Lined with parchment paper or silicone mats for placing the dipped Oreos while they set.
- Cooling Rack: Optional but helpful if you want to let excess chocolate drip off the pops.
- Piping Bags with Small Round Tips: For adding tassel details and mortarboard accents. If you don’t have piping bags, small zip-top bags with a tiny cut corner work just fine.
- Spatula or Spoon: For stirring melted chocolate.
- Toothpicks or Small Brushes: For fine decorating touches.
If you don’t have candy melts, a steady hand with royal icing works perfectly too. For budget-friendly decorating, you can use simple plastic straws as skewers if you don’t have lollipop sticks. Keeping your tools clean and dry is key to smooth chocolate dipping and crisp decorations.
Preparation Method
- Prepare Your Workspace: Line a baking sheet with parchment paper and have your lollipop sticks ready. Set out all your decorating supplies nearby for quick access.
- Melt the Dark Chocolate: Chop 12 oz (340g) of dark chocolate into small pieces. Use a microwave-safe bowl and heat in 30-second intervals, stirring between each, until smooth. Alternatively, melt over a double boiler on low heat. (Tip: Avoid water contact with chocolate to prevent seizing.)
- Insert Lollipop Sticks: Carefully twist each Oreo gently to slightly separate the cookie halves without breaking. Insert a lollipop stick halfway into the cream filling, then press the halves back together firmly. This helps the stick stay put and prevents the cookie from falling apart.
- Dip the Oreo Pops: Holding the stick, dip each Oreo into the melted chocolate until fully coated. Let excess chocolate drip off—try tapping gently on the bowl’s edge. Place the dipped Oreo on the lined baking sheet to set.
- Create the Graduation Cap Tops: While the chocolate is still wet, place a small square of black candy melt or a piece of cookie on top to resemble the flat top of the cap. Alternatively, pipe a square shape with black royal icing and let it dry.
- Add Tassels: Using a piping bag with yellow royal icing or melted yellow candy melts, pipe a small tassel coming from one corner of the cap. For a finishing touch, add a mini marshmallow or edible pearl to the center of the cap’s top.
- Let the Pops Set: Allow the cookie pops to set completely at room temperature or speed up the process by placing them in the fridge for 15-20 minutes until the chocolate hardens.
- Final Touches: Once set, carefully remove the pops from the baking sheet and arrange them on a serving tray. If you want, tie small ribbons around the sticks for added charm.
Pro Tip: If your chocolate thickens too much while dipping, gently reheat it in short bursts. Also, work quickly when attaching the tassels; the chocolate should still be tacky to hold everything in place. If it sets too fast, a dab of melted chocolate acts like glue.
Cooking Tips & Techniques
One of the trickiest parts is getting the chocolate coating smooth and even. I learned the hard way that melting the chocolate slowly and stirring well makes all the difference. If it’s too thick, thin it with a teaspoon of coconut oil or vegetable shortening for a shinier finish.
Separating the Oreos gently before inserting the sticks helps prevent breakage. Don’t rush this step! Also, pressing the halves back firmly ensures the stick won’t wobble later.
For decorating, steady hands help, but if you’re nervous about piping tassels, practice on parchment paper first. It’s amazing how a little practice can boost confidence.
Timing is key: work in batches so the chocolate doesn’t harden mid-dip. You can keep the melted chocolate warm by placing the bowl over a pot of warm water (double boiler style) while dipping.
Lastly, I once forgot to line my tray with parchment and my first batch stuck like crazy—learn from me and line that tray!
Variations & Adaptations
- White Chocolate Version: Swap dark chocolate for white chocolate and use colored candy melts to create vibrant caps in school colors.
- Gluten-Free Option: Use gluten-free sandwich cookies like Glutino or Enjoy Life brand Oreos.
- Nut-Free Alternative: Replace lollipop sticks with sturdy paper straws or edible pretzel sticks (for a salty crunch!) if allergies are a concern.
- Flavor Twist: Add a pinch of cinnamon or espresso powder to the melted chocolate for a subtle flavor boost.
- Seasonal Adaptation: For a spring graduation, decorate with pastel-colored icing tassels or edible flower accents.
Personally, I once made a batch with a hint of chili powder in the chocolate for a spicy kick—it was a surprising but fun twist that impressed my foodie friends!
Serving & Storage Suggestions
Serve these Oreo cookie pops at room temperature on a decorative platter or in a festive container filled with colored sugar or shredded paper grass for a graduation party centerpiece. They pair wonderfully with iced tea, sparkling lemonade, or even a rich cup of coffee.
Store leftover pops in an airtight container at room temperature for up to 3 days. If your home is warm, refrigeration helps keep the chocolate firm but may cause slight condensation when brought back to room temperature.
To reheat slightly, let the pops sit at room temperature for 10-15 minutes before serving again—this brings out the chocolate’s smooth texture without melting the decorations.
Over time, the chocolate flavor may mellow, making them even more enjoyable the next day—if they last that long!
Nutritional Information & Benefits
Each Oreo cookie pop contains roughly 150-180 calories, depending on the size and amount of chocolate used. Dark chocolate offers antioxidants and can be a better alternative to milk chocolate when consumed in moderation.
This recipe is naturally nut-free and can be made gluten-free with the right cookie choice. It’s a fun indulgence that’s portion-controlled thanks to the single-cookie size.
From a wellness perspective, I love that these pops allow a little celebration treat without overdoing it—balanced, festive, and satisfying. Plus, the joy of making and sharing them adds to their value far beyond calories.
Conclusion
These Perfect Graduation Cap Dark Chocolate Dipped Oreo Cookie Pops are more than just a cute idea—they’re a simple, fun way to mark a big milestone with style and flavor. Whether you’re throwing a party, sending a gift, or just craving something sweet with a special twist, these pops deliver on all fronts.
Feel free to customize the colors, decorations, and flavors to suit your graduate’s personality or your own creative flair. Honestly, these treats have become a tradition in my circle, and I’m excited for you to make them your own.
If you try this recipe, please drop a comment or share how yours turned out—I love hearing about your kitchen adventures! And if you want more fun, no-fuss desserts, you might enjoy my crispy garlic chicken or my vanilla bean cheesecake recipes that always get rave reviews.
Happy celebrating, and here’s to sweet success!
FAQs
- Can I use other cookies instead of Oreos? Yes, sandwich cookies with a firm filling work best. Just ensure they’re sturdy enough to hold the stick.
- How do I prevent the chocolate from melting in warm weather? Keep the pops refrigerated until serving and avoid direct sunlight. Use a thicker chocolate coating if needed.
- Can I prepare these in advance? Absolutely! Make them up to 2 days ahead and store in an airtight container in a cool place.
- What if I don’t have piping bags for the tassels? Small zip-top bags with a tiny corner cut off work well as a DIY piping bag.
- Are these suitable for vegans? You can make them vegan by choosing dairy-free dark chocolate and vegan sandwich cookies.
Pin This Recipe!
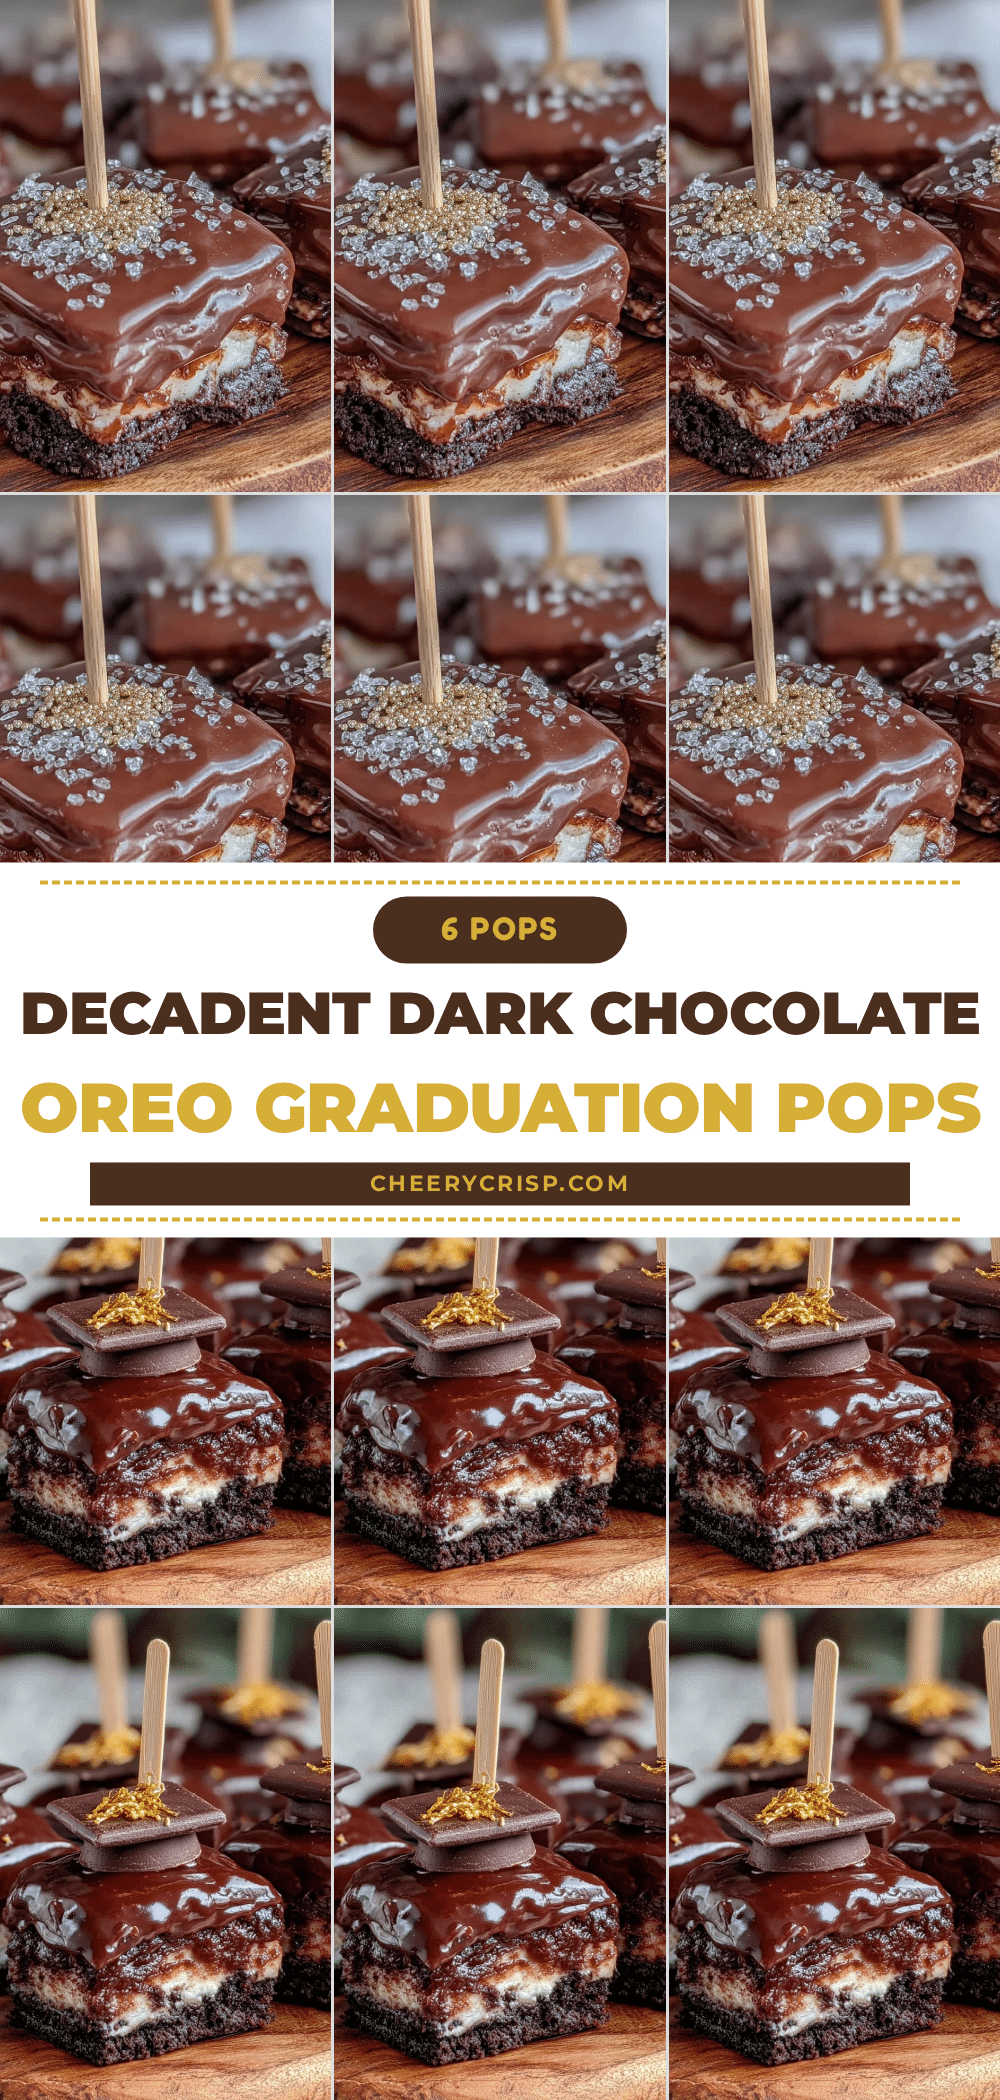
Perfect Graduation Cap Oreo Cookie Pops Easy Homemade Dark Chocolate Recipe
These Oreo cookie pops are dipped in rich dark chocolate and decorated to look like graduation caps, making them a fun and festive treat perfect for graduation parties or celebrations.
- Prep Time: 10 minutes
- Cook Time: 15 minutes
- Total Time: 25 minutes
- Yield: 12 pops 1x
- Category: Dessert
- Cuisine: American
Ingredients
- Oreo Cookies (regular or double-stuffed, about 12 cookies)
- 12 ounces (340g) high-quality dark chocolate (60-70% cocoa), e.g., Lindt Excellence 70%
- Black candy melts or colored royal icing for decorating
- Mini marshmallows or edible pearls (optional, for the button on top)
- Lollipop sticks or wooden skewers
- Edible gold or yellow food coloring gel (if using royal icing)
- Powdered sugar (if making royal icing)
- Egg whites or meringue powder (for royal icing base if making your own)
Instructions
- Prepare your workspace by lining a baking sheet with parchment paper and having your lollipop sticks ready. Set out all decorating supplies nearby.
- Chop the dark chocolate into small pieces. Melt it gently in a microwave-safe bowl in 30-second intervals, stirring between each, or melt over a double boiler on low heat. Avoid water contact to prevent seizing.
- Carefully twist each Oreo slightly to separate the halves without breaking. Insert a lollipop stick halfway into the cream filling, then press the halves back together firmly.
- Hold the stick and dip each Oreo into the melted chocolate until fully coated. Let excess chocolate drip off by tapping gently on the bowl’s edge. Place the dipped Oreo on the lined baking sheet to set.
- While the chocolate is still wet, place a small square of black candy melt or pipe a square shape with black royal icing on top to resemble the flat mortarboard cap.
- Using a piping bag with yellow royal icing or melted yellow candy melts, pipe a small tassel from one corner of the cap. Add a mini marshmallow or edible pearl to the center of the cap’s top for a finishing touch.
- Allow the cookie pops to set completely at room temperature or place them in the fridge for 15-20 minutes until the chocolate hardens.
- Once set, carefully remove the pops from the baking sheet and arrange them on a serving tray. Optionally, tie small ribbons around the sticks for added charm.
Notes
If chocolate thickens while dipping, gently reheat in short bursts. Work quickly when attaching tassels while chocolate is tacky. Use a teaspoon of coconut oil or vegetable shortening to thin chocolate for a shinier finish. Line baking sheet with parchment to prevent sticking. Store pops in airtight container at room temperature up to 3 days or refrigerate in warm climates.
Nutrition
- Serving Size: 1 Oreo cookie pop
- Calories: 150180
- Sugar: 15
- Sodium: 120
- Fat: 10
- Saturated Fat: 6
- Carbohydrates: 20
- Fiber: 2
- Protein: 2
Keywords: Oreo cookie pops, graduation treats, dark chocolate dessert, easy party snacks, homemade chocolate pops, festive desserts