Love this? Save it for later!
Share the inspiration with your friends
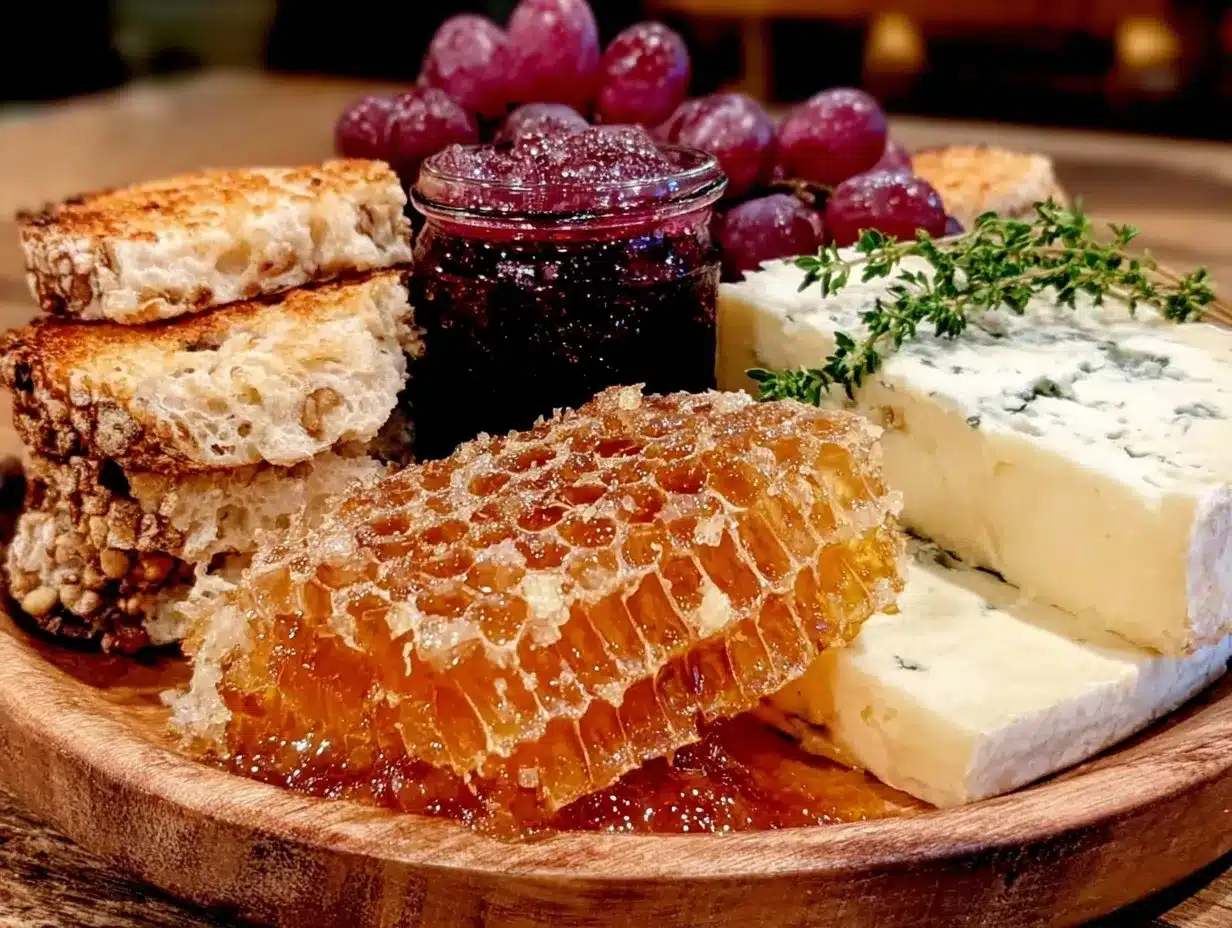
“You’ve got to try this,” my friend Luca said, holding up a rustic wooden board laden with cheeses that looked like they belonged in a gallery rather than a kitchen. It was a chilly Saturday afternoon, and I had just dropped by his apartment unannounced. The aroma of honey and aged cheese filled the air, making me forget about the cold outside. Luca, who is more of a pasta guy, had somehow mastered the art of the fromager-style cheese board, complete with a golden slab of honeycomb that glistened under the soft kitchen light. Honestly, I wasn’t expecting much from a casual snack, but that first bite of creamy Brie paired with sticky honeycomb was like a tiny celebration in my mouth.
That afternoon, I learned that creating a perfect artisan fromager-style cheese board isn’t about fancy tools or rare ingredients—it’s about balance, textures, and a little love for pairing things that just click. Maybe you’ve been there, staring at a fridge full of cheeses and wondering how to make them sing together. Let me tell you, this recipe stayed with me because it’s both approachable and a total showstopper, whether you’re hosting friends or just treating yourself. Plus, the honeycomb? That sweet, natural element brings everything together like magic.
So, let’s talk about how you can build your own perfect artisan fromager-style cheese board with honeycomb and pairings that impress without stress. I promise, there’s a little something here for everyone, from the curious first-timer to the seasoned cheese lover.
Why You’ll Love This Recipe
After many tastings and late-night nibbling sessions, I can confidently say this cheese board recipe is a keeper. Here’s why it’s totally worth your time:
- Quick & Easy: You can assemble this stunning board in under 20 minutes—ideal for last-minute guests or cozy evenings.
- Simple Ingredients: Most items are pantry staples or can be found easily at your local market, no exotic hunting necessary.
- Perfect for Entertaining: Great for everything from casual wine nights to holiday celebrations.
- Crowd-Pleaser: Even non-cheese fans tend to get hooked, thanks to the sweet honeycomb and crunchy nuts balancing the flavors.
- Unbelievably Delicious: The contrast between creamy, crumbly, and nutty cheeses paired with fresh fruit and honeycomb creates a flavor party you won’t forget.
This cheese board isn’t just another collection of cheeses thrown together. The magic lies in choosing the right textures and flavors to complement each other—the soft, buttery Camembert alongside a tangy goat cheese, for instance, with honeycomb acting as the perfect natural sweetener. Honestly, I’ve tried other boards before, but this one hits that sweet spot every time, making it my go-to for impressing guests without fuss.
What Ingredients You Will Need
This artisan fromager-style cheese board uses straightforward, wholesome ingredients that blend beautifully for a balanced taste experience. Most are easy to find, and you can swap or skip a few depending on your pantry or season.
- Cheeses:
- Camembert or Brie (soft and creamy; look for a ripe one with a thin edible rind)
- Manchego (firm, nutty sheep’s milk cheese)
- Goat cheese (fresh and tangy; I prefer small-curd varieties for texture)
- Aged Cheddar (sharp and crumbly; choose one aged 12 months or more)
- Honeycomb: Fresh honeycomb, ideally local or raw for best flavor and texture
- Accompaniments:
- Mixed nuts (toasted walnuts and Marcona almonds add crunch and richness)
- Fresh fruit (grapes, sliced pears, or figs work wonderfully—seasonal picks are great)
- Dried fruit (apricots or cherries for a chewy contrast)
- Artisan bread or crackers (thin, crisp crackers or a crusty baguette sliced thinly)
- Olives (a mix of green and black for a salty bite)
- Fresh herbs like rosemary or thyme (optional, for garnish and aroma)
- Extras:
- Fig jam or quince paste (optional, but adds a lovely sweet-savory note)
- Olive oil (a drizzle over bread or to dip nuts)
If you want to tweak this for dietary needs, swap the bread for gluten-free crackers or use dairy-free cheese alternatives. I like using Miyoko’s Creamery for plant-based cheese options that still deliver on flavor. And when it comes to honeycomb, don’t settle for the jarred stuff—fresh, chunky honeycomb really makes a difference.
Equipment Needed
To pull off this artisan cheese board, you won’t need anything fancy. Here’s what I usually rely on:
- Wooden or slate cheese board (a rustic one adds charm, but any flat tray works fine)
- Cheese knives (a set with different blades helps: a soft cheese knife, a hard cheese knife, and a cheese fork)
- Small bowls or ramekins (for honeycomb, olives, and nuts)
- Serving utensils (small spoons for jams and honey, tongs for nuts)
- Cutting board and sharp knife (for slicing fruit and bread)
If you don’t have a dedicated cheese board, I’ve used a large wooden cutting board or even a clean marble slab, which keeps cheeses cool longer. And honestly, sometimes I skip the fancy knives and just use a regular paring knife when I’m in a hurry. The key is presentation, not perfection.
Preparation Method
- Prepare the cheeses: Remove cheeses from the fridge about 30 minutes before serving to bring them to room temperature. This step is crucial for full flavor release. Slice the Manchego and aged Cheddar into bite-sized pieces or thin wedges. Leave the soft cheeses like Brie and goat cheese whole or in large chunks with a knife nearby for spreading or cutting. (Time: 5 minutes)
- Arrange accompaniments: Rinse fresh fruit and pat dry. Slice pears thinly, halve grapes, or quarter figs. Toast nuts lightly in a dry skillet over medium heat for 3-4 minutes until fragrant—this step brings out their oils and crunch. Place dried fruits in small piles for easy picking. (Time: 10 minutes)
- Set the honeycomb: Cut a generous chunk of honeycomb to place in a small bowl or directly on the board. Use a small spoon or knife for guests to drizzle or spread honeycomb on cheeses or bread. Beware: honeycomb can be sticky, so keep napkins handy! (Time: 2 minutes)
- Build the board: Start by placing cheeses spaced evenly on the board. Fill gaps with fruits, nuts, olives, and crackers or bread slices. Drizzle a little olive oil over nuts or bread if desired. Garnish with fresh herbs for a pop of color and aroma. (Time: 5-7 minutes)
- Final touches and serving: Add any jams or spreads to ramekins and tuck them in. Make sure knives and spoons are accessible. Serve with your favorite wine or beverage. (Time: 2 minutes)
If you notice cheeses getting too soft or melting, pop the board briefly into the fridge and bring it back out just before guests arrive. Also, if you’re transporting the board somewhere, pack soft cheeses separately and assemble on-site for the best presentation.
Cooking Tips & Techniques
Crafting the perfect fromager-style cheese board is more about art than cooking, but here are some tips I’ve picked up:
- Room temperature is key: Serving cheeses at room temp unlocks their full flavor and creamy texture. Cold cheese tastes flat and firm, which nobody wants.
- Balance textures and flavors: Mix creamy, crumbly, sharp, and nutty cheeses with sweet, salty, and crunchy accompaniments. This contrast keeps every bite interesting.
- Don’t overcrowd: Leave some space on the board so each item shines. It’s tempting to pile high, but clarity wins every time.
- Toast nuts lightly: Raw nuts are fine, but toasting brings out oils and adds crunch, making a huge difference.
- Use quality bread and crackers: Thin, crisp crackers or a fresh baguette are best—too thick and they overpower the cheese.
- Honeycomb handling: Honeycomb can be sticky and a little messy, so have small spoons and napkins handy to keep things tidy.
- Multitasking tip: While your cheese is coming to room temp, prep fruit and toast nuts simultaneously to save time.
- Personal lesson: Once, I forgot to thaw my soft cheeses and ended up with a very firm Brie. It was edible, but honestly, it wasn’t the same. Don’t make that mistake!
Variations & Adaptations
This cheese board is flexible and friendly for all kinds of tweaks:
- Seasonal twists: Swap fresh fruit for whatever’s in season—summer berries, autumn apples, or winter citrus all work beautifully.
- Dietary adaptations: Use gluten-free crackers or bread for gluten intolerance. For vegan options, try nut-based cheeses and pair with fruit and nuts.
- Flavor variations: Add spicy elements like pickled peppers or a sprinkle of smoked paprika on soft cheeses for an unexpected kick.
- Cooking method adjustments: For a warm cheese board, briefly bake the Brie wrapped in puff pastry or top with nuts and honey before serving.
- Personal favorite: I once added a drizzle of balsamic reduction over the entire board for a tangy-sweet surprise—it was a hit!
Serving & Storage Suggestions
Serve your artisan cheese board at room temperature for the best flavor and texture. Arrange it on a large wooden or slate board to showcase the colors and shapes. Fresh herbs not only look pretty but add aroma that heightens the experience.
This board pairs wonderfully with a light red wine like Pinot Noir or a crisp white such as Sauvignon Blanc. For non-alcoholic options, sparkling water with a twist of lemon or apple cider works well.
Leftovers? Wrap each cheese separately in wax paper or parchment, then store in an airtight container in the fridge. Nuts and dried fruits keep well at room temp. Honeycomb can be stored in a sealed container but tends to dry out, so best eaten fresh.
When reheating (if you baked any cheeses), do so gently in a low oven or microwave for just a few seconds to avoid melting too much. Flavors develop over time, so don’t be afraid to assemble the board a little ahead and let the cheeses settle.
Nutritional Information & Benefits
This artisan cheese board offers a moderate balance of protein, healthy fats, and natural sugars from fruit and honeycomb. Cheese provides calcium and essential fatty acids, while nuts add fiber and antioxidants.
Choosing raw or unpasteurized cheeses can offer probiotics, but check labels if you have dietary restrictions. This board can be tailored for gluten-free or vegetarian diets easily.
From a wellness standpoint, this recipe encourages mindful eating—small portions of rich, quality ingredients that satisfy cravings without overindulgence. Plus, the honeycomb adds a natural sweetness that’s far less processed than typical sugary treats.
Conclusion
Building the perfect artisan fromager-style cheese board with honeycomb and thoughtful pairings is surprisingly simple and endlessly satisfying. It’s a recipe that invites creativity, balances flavors, and brings people together around good food and conversation. I love this board because it’s both a comforting solo snack and a stunning centerpiece for entertaining.
Give it a try, adjust it to your taste, and don’t be afraid to experiment. I’d love to hear how your board turns out or what unique twists you add. So go ahead—grab your favorite cheeses, honeycomb, and those little extras that make your heart happy, and create something delicious today!
FAQs
What types of honeycomb work best on a cheese board?
Fresh, raw honeycomb is best for texture and flavor. Look for local or organic options if possible, as they tend to have a more complex taste than commercial varieties.
Can I prepare the cheese board in advance?
Yes, you can prep most components except soft cheeses and honeycomb. Assemble the board about 30 minutes before serving to allow cheeses to reach room temperature.
What if I don’t have a wooden cheese board?
You can use a large cutting board, slate tray, or even a clean marble slab. The key is having a flat surface that allows for a nice arrangement.
How do I store leftover honeycomb?
Store honeycomb in an airtight container at room temperature. It can dry out if refrigerated, so keep it sealed and away from moisture.
What drinks pair well with this artisan cheese board?
Light reds like Pinot Noir, crisp whites like Sauvignon Blanc, sparkling wine, or non-alcoholic options like sparkling water with citrus all complement the flavors nicely.
If you enjoyed these ideas, my rustic charcuterie board ideas might also inspire your next gathering, or check out my homemade crackers recipe to make your board truly special.
Pin This Recipe!
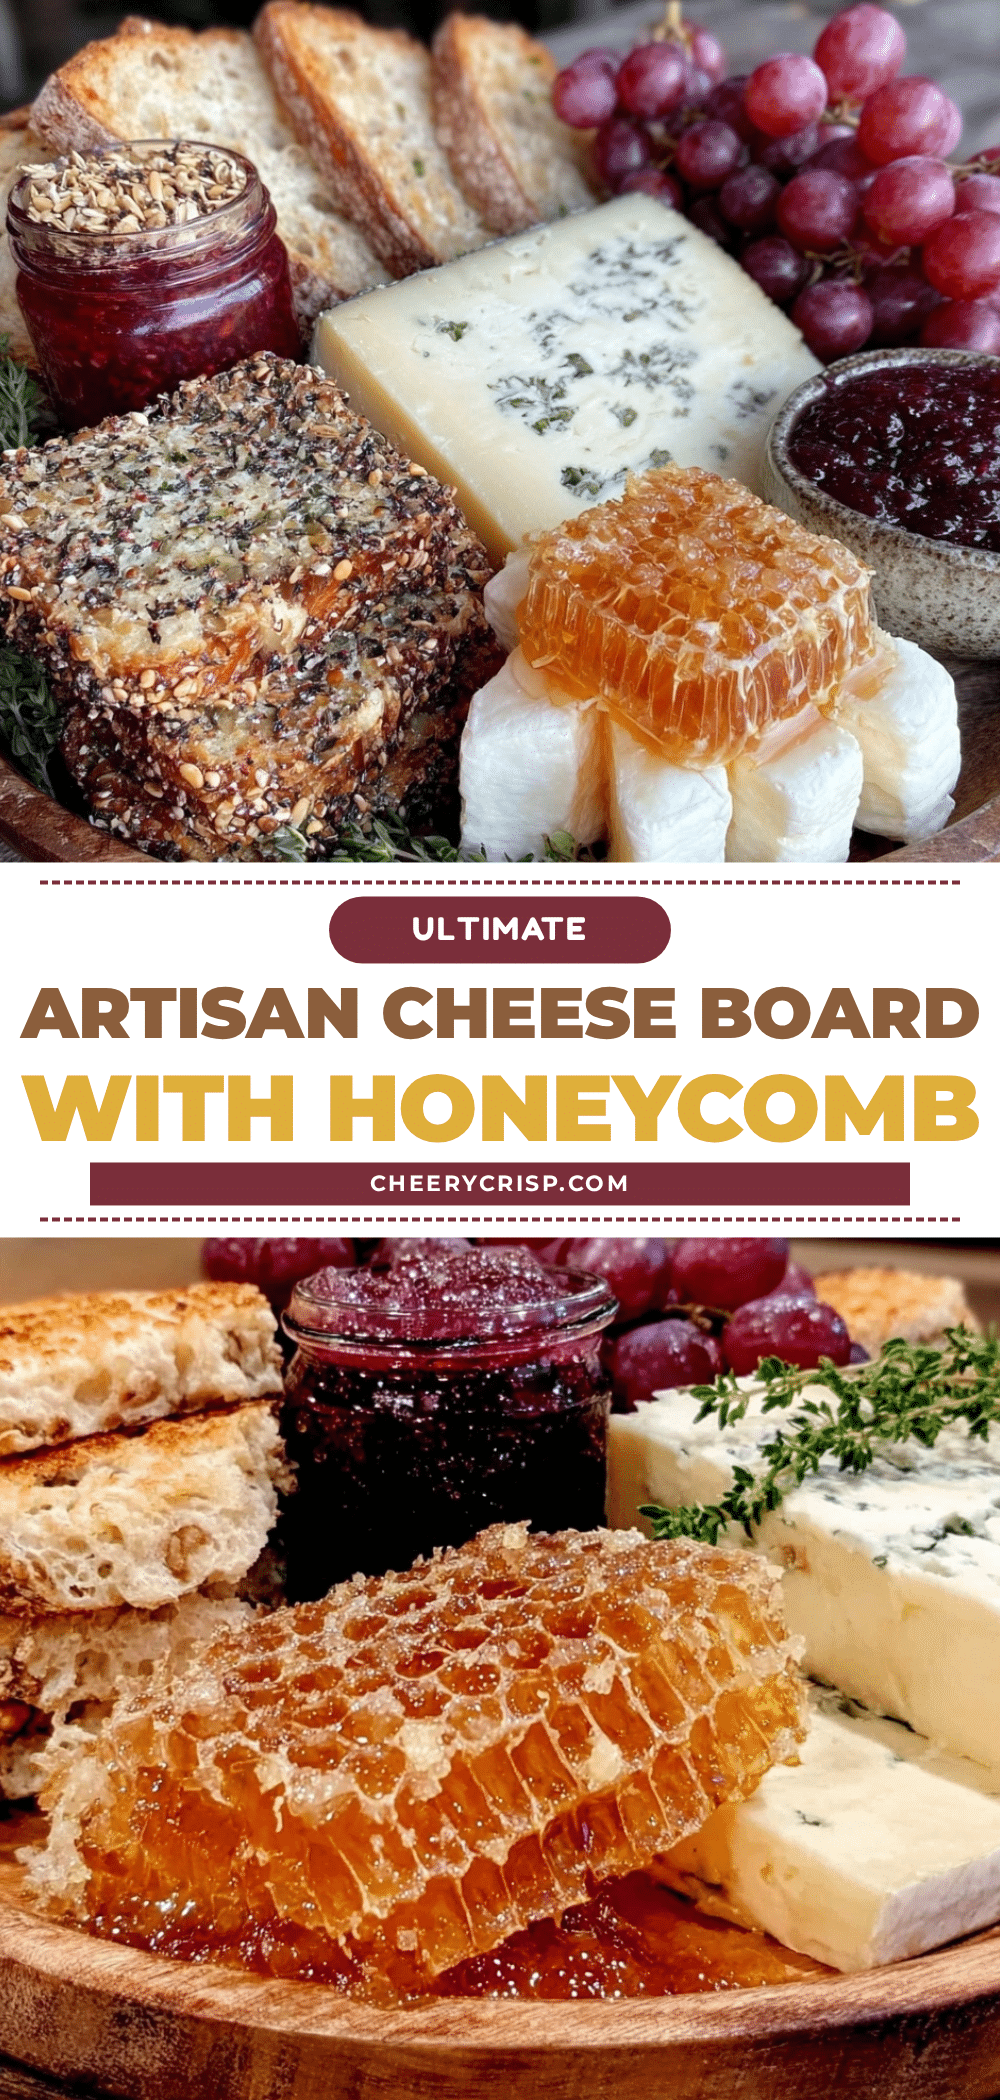
Perfect Artisan Fromager-Style Cheese Board Ideas with Honeycomb Pairings

Create a stunning artisan cheese board featuring a balanced selection of cheeses, fresh honeycomb, nuts, fruits, and accompaniments. Perfect for entertaining or a cozy snack, this board combines textures and flavors for an unforgettable tasting experience.
- Prep Time: 15 minutes
- Cook Time: 5 minutes
- Total Time: 20 minutes
- Yield: 4 servings
- Category: Appetizer
- Cuisine: French-inspired
Ingredients
- Camembert or Brie (soft and creamy; ripe with thin edible rind)
- Manchego (firm, nutty sheep’s milk cheese)
- Goat cheese (fresh and tangy; small-curd varieties preferred)
- Aged Cheddar (sharp and crumbly; aged 12 months or more)
- Fresh honeycomb (local or raw preferred)
- Mixed nuts (toasted walnuts and Marcona almonds)
- Fresh fruit (grapes, sliced pears, or figs; seasonal picks)
- Dried fruit (apricots or cherries)
- Artisan bread or crackers (thin, crisp crackers or crusty baguette sliced thinly)
- Olives (mix of green and black)
- Fresh herbs like rosemary or thyme (optional, for garnish and aroma)
- Fig jam or quince paste (optional)
- Olive oil (for drizzling over bread or nuts)
Instructions
- Remove cheeses from the fridge about 30 minutes before serving to bring them to room temperature.
- Slice Manchego and aged Cheddar into bite-sized pieces or thin wedges. Leave soft cheeses like Brie and goat cheese whole or in large chunks with a knife nearby for spreading or cutting.
- Rinse fresh fruit and pat dry. Slice pears thinly, halve grapes, or quarter figs.
- Toast nuts lightly in a dry skillet over medium heat for 3-4 minutes until fragrant.
- Place dried fruits in small piles for easy picking.
- Cut a generous chunk of honeycomb to place in a small bowl or directly on the board. Provide small spoons or knives for guests to drizzle or spread honeycomb.
- Arrange cheeses spaced evenly on the board. Fill gaps with fruits, nuts, olives, and crackers or bread slices.
- Drizzle a little olive oil over nuts or bread if desired. Garnish with fresh herbs for color and aroma.
- Add any jams or spreads to ramekins and tuck them in. Make sure knives and spoons are accessible.
- Serve with your favorite wine or beverage.
Notes
Serve cheeses at room temperature for best flavor. Toast nuts lightly to enhance crunch and aroma. Honeycomb can be sticky; provide small spoons and napkins. If transporting, pack soft cheeses separately and assemble on-site. For gluten-free or vegan adaptations, use appropriate crackers and dairy-free cheeses.
Nutrition
- Serving Size: Approximately 1/4 of
- Calories: 350
- Sugar: 8
- Sodium: 350
- Fat: 28
- Saturated Fat: 12
- Carbohydrates: 12
- Fiber: 2
- Protein: 12
Keywords: cheese board, artisan cheese, honeycomb, appetizer, entertaining, snack, fromager-style, cheese pairing, nuts, fruit