Love this? Save it for later!
Share the inspiration with your friends
This was supposed to be a fancy lunch. I had all these grand plans—sourdough I’d baked myself, a smear of fig jam, prosciutto that cost more than my coffee budget for the week. I was going to impress myself, honestly. But then Monday happened. The baby refused to nap, the dog ran through the mudroom with muddy paws, and I realized I’d forgotten to buy the fancy bread. I stood in my kitchen, staring at a stack of plain white sandwich bread, a block of cheddar, and some sad-looking deli ham. I was already running late for a playdate, and the pressure of that perfect lunch was crumbling around me.
In a moment of pure desperation, I grabbed the bread, slapped on some mayo and mustard, added the ham and cheese, and then—out of pure laziness—I smashed it all together with a cookie cutter I found in the drawer. You know that feeling when you’re too tired to even bother with a knife? That was me. I pressed down hard, twisted, and popped out a perfect little circle of a sandwich. No crusts. No mess. I ate it standing over the sink in about thirty seconds. And honestly? It was better than my fancy prosciutto dream. The bread was soft, the cheese was melty from the warmth of my hands, and the ratio of filling to bread was just… perfect.
I’ve made these ham and cheese uncrustables every week since that chaotic Monday. They’re not fancy. They’re not complicated. But they are the kind of practical genius that makes you wonder why you ever bothered with a knife and cutting board in the first place. Maybe you’ve been there—standing in your kitchen, hangry, out of time, and just needing something good to eat without the fuss. This one’s for you.
Why You’ll Love This Recipe
These homemade uncrustables aren’t just a copycat—they’re an upgrade. I’ve tested this method at least a dozen times, tweaking the bread type, the cheese thickness, and the seal technique. Here’s why this version wins every single time.
- Quick & Easy: From start to finish, you’re looking at about five minutes. No joke. Faster than a drive-thru and way cheaper.
- Simple Ingredients: You probably have everything in your fridge right now. Bread, deli ham, cheese, and a little spread. That’s it.
- Perfect for Lunchboxes: These hold up beautifully in a lunch bag. No soggy bread, no falling apart. Kids and adults both love them.
- Crowd-Pleaser: I’ve brought these to picnics, road trips, and even a casual book club meeting. They disappear fast.
- Unbelievably Delicious: The crustless edge gives you a perfect bite every time. The bread stays soft, the filling stays centered, and there’s no dry corner to deal with.
What makes this different from just making a regular sandwich? It’s the seal. By pressing the edges together with a cutter or a glass, you create a pocket that keeps everything contained. No leaking mustard, no ham sliding out. It’s a small technique that makes a huge difference, especially if you’re packing these for later.
This recipe is the kind that makes you close your eyes after the first bite. It’s comfort food reimagined—faster, simpler, but with the same soul-soothing satisfaction. Perfect for impressing your kids without stress, or turning a chaotic lunch into something memorable.
What Ingredients You Will Need
This recipe uses simple, wholesome ingredients to deliver that classic ham and cheese flavor without any fuss. Most of these are pantry staples or regular fridge items, so you can whip these up anytime.
- 8 slices of white bread (soft, fresh bread works best for sealing; I prefer Wonder Bread or Nature’s Own for that soft texture)
- 4 slices of deli ham (look for thinly sliced ham; honey ham or smoked ham both work great)
- 4 slices of American cheese (or cheddar, provolone, or Swiss; American melts the best and seals nicely)
- 2 tablespoons mayonnaise (optional but adds creaminess; use Duke’s or Hellmann’s for best flavor)
- 2 tablespoons yellow mustard (or Dijon for a tangier kick)
- Butter, softened (optional, for toasting the outside if you want a warm version)
Ingredient Selection Tips: For the best seal, use bread that’s fresh and slightly squishy. Stale bread will crack when you press the cutter down. I’ve tried this with whole wheat and sourdough, and while they work, the texture isn’t as soft. If you’re using a heartier bread, press a little harder and hold for a few extra seconds.
Substitution Guidance: Use dairy-free cheese and vegan mayo for a dairy-free option. Turkey or roast beef can replace the ham easily. For a gluten-free version, use your favorite gluten-free bread—just note that the seal might be a bit more delicate.
Personal Note: I’ve found that using Boar’s Head ham gives these a deli-quality taste that really elevates them. But honestly, store-brand ham works fine too. Don’t overthink it.
Equipment Needed
You don’t need much for this recipe, which is part of the beauty. Here’s what you’ll want on hand:
- Round cookie cutter (3 to 4 inches in diameter; a biscuit cutter or even a clean drinking glass works too)
- Cutting board (a flat surface for assembly)
- Butter knife (for spreading mayo and mustard)
- Rolling pin (optional, but helps flatten the bread for a better seal)
- Fork (for crimping the edges if you don’t have a cutter)
Personal Experience: I’ve used a wide-mouth mason jar ring as a cutter in a pinch, and it worked perfectly. If you’re on a budget, don’t buy anything special. Just grab a glass from your cabinet with a thin rim.
Maintenance Tip: If you use a metal cutter, wash it by hand to prevent rust. Plastic cutters are dishwasher safe but can warp over time.
Preparation Method
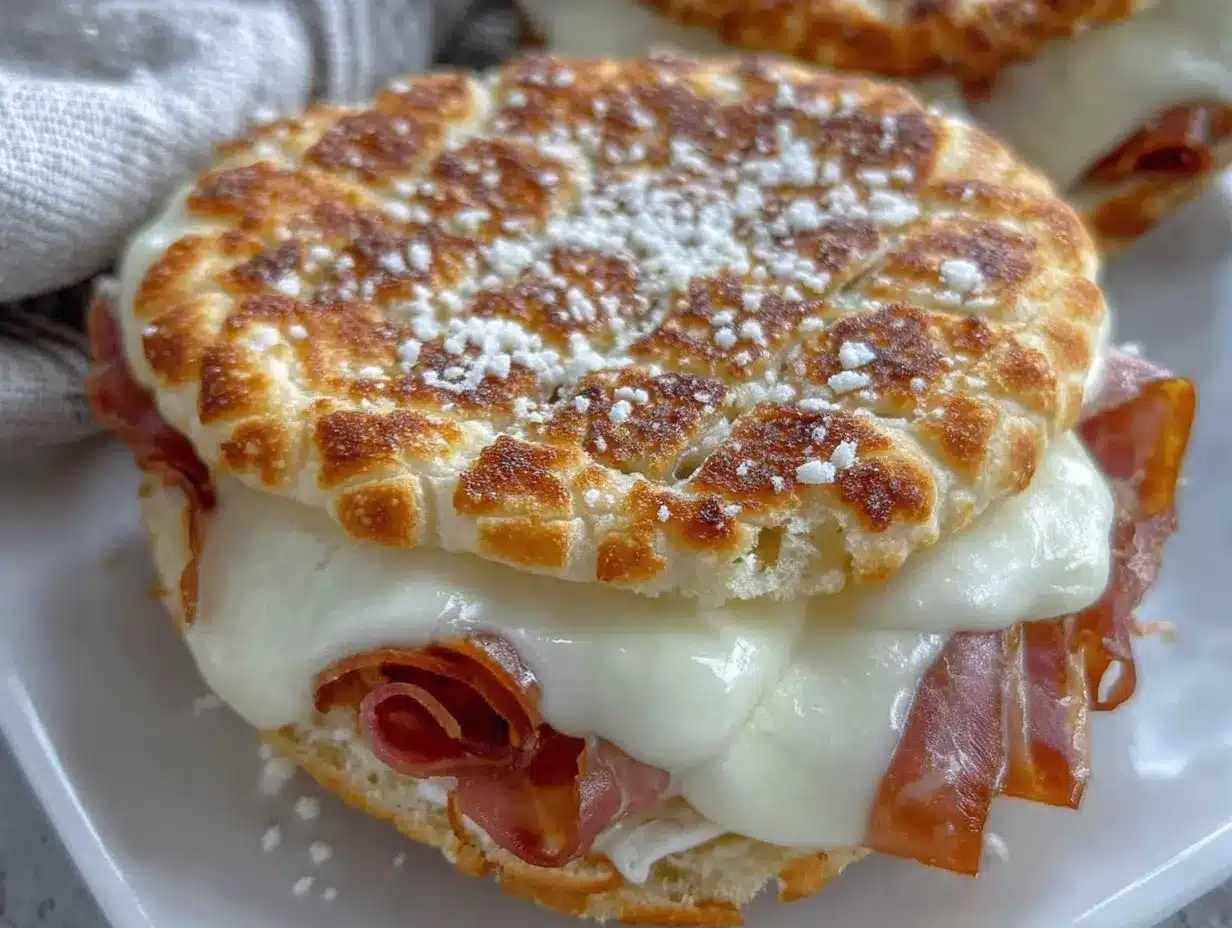
Follow these steps carefully, and you’ll have perfect ham and cheese uncrustables in under five minutes. I’ve added timing estimates and sensory cues so you know exactly what to look for.
- Lay out your bread slices. Take four slices of bread and place them on a cutting board. Using a rolling pin, gently flatten each slice until it’s about half its original thickness. This helps create a better seal. The bread should feel thin and pliable, not torn.
- Spread the condiments. On the flattened bread slices, spread about ½ teaspoon of mayonnaise and ½ teaspoon of mustard on each slice. Spread all the way to the edges—this helps the filling stick and adds flavor to every bite. You want a thin, even layer.
- Add the ham. Place one slice of ham on top of the condiment layer. Fold the ham if it’s larger than the bread, but try to keep it centered. The ham should cover most of the bread surface without hanging over the edges too much.
- Add the cheese. Place one slice of cheese on top of the ham. If you’re using a block cheese, slice it thinly. The cheese should be roughly the same size as the bread. American cheese slices are perfect for this.
- Top with remaining bread. Take the four remaining slices of bread (unflattened) and place them on top of the cheese, pressing down gently. You want the top bread to sit evenly on the filling.
- Press and seal. Take your round cookie cutter or glass and center it over the sandwich. Press down firmly and evenly. You should feel the cutter go through all layers of bread. Twist slightly to help release the edges. The seal should be tight with no gaps.
- Remove the crusts. Lift the cutter straight up. The crustless round sandwich should stay inside the cutter. Gently push it out with your fingers. The remaining crusts can be saved for breadcrumbs or composted.
- Repeat for remaining sandwiches. You’ll get four uncrustables from this batch. If you want a warm version, heat a skillet over medium heat, butter the outside of each uncrustable, and cook for 1-2 minutes per side until golden brown and the cheese is melted.
Troubleshooting Tip: If your seal isn’t holding, your bread might be too thick or too dry. Try flattening the bottom piece more, or use a slightly smaller cutter to create more pressure. I’ve had this happen with day-old bread, and a quick 10-second press with a heavy pan fixes it.
Cooking Tips & Techniques
Here are a few things I’ve learned from making these countless times—including a few failures that taught me important lessons.
- Don’t overfill. I once added two slices of ham and extra cheese, thinking more is better. The sandwich bulged, the seal broke, and I ended up with a messy blob. Stick to one slice of each.
- Use room temperature ingredients. Cold cheese straight from the fridge won’t soften as nicely. Let it sit out for 5 minutes before assembling. The cheese will melt better if you’re toasting them.
- Press firmly but not violently. You want a clean cut, not a squished mess. Use steady, even pressure. If you’re using a glass, push straight down, not at an angle.
- Toast for texture. While these are perfect cold, toasting them in a buttered skillet for 2 minutes per side transforms them into something incredible. The outside gets crispy, the inside stays soft, and the cheese gets all melty. It’s worth the extra two minutes.
- Batch prep is your friend. Make a dozen at once and freeze them. They thaw beautifully in a lunchbox by lunchtime. Just wrap each one tightly in plastic wrap before freezing.
Personal Failure: The first time I tried this, I used a dull cutter and ended up tearing the bread. It looked like a sad, ragged mess. I learned that a sharp cutter makes all the difference. If yours is dull, run it under hot water for a few seconds to soften the bread before cutting.
Variations & Adaptations
This basic recipe is a great starting point, but don’t be afraid to mix it up. Here are a few variations I’ve tried and loved.
- Turkey and Swiss: Swap the ham for turkey and the American cheese for Swiss. Add a smear of honey mustard for a sweet-savory twist. This is my go-to for a slightly healthier option.
- Vegetarian Option: Skip the meat and use sliced avocado or roasted red peppers with provolone. The creaminess of the avocado replaces the ham texture nicely.
- Spicy Version: Add a few slices of pickled jalapeños or a drizzle of sriracha before sealing. The heat cuts through the richness of the cheese beautifully.
- Breakfast Uncrustable: Use thinly sliced scrambled egg, a slice of ham, and cheddar cheese. Toast in butter for a breakfast sandwich that’s portable and delicious.
- Sweet and Savory: Spread a thin layer of fig jam or apple butter under the ham. The sweetness pairs surprisingly well with the salty ham and melty cheese.
Personal Favorite: I once made these with leftover roast beef and horseradish sauce for a party appetizer. They were a hit. The horseradish gave them a kick that everyone loved. Don’t be afraid to experiment with whatever you have in the fridge.
Serving & Storage Suggestions
These uncrustables are incredibly versatile when it comes to serving and storing. Here’s how to get the most out of them.
Serving Temperature: They’re delicious cold, straight from the fridge or lunchbox. But if you want them warm, toast them in a skillet over medium heat with a little butter for 2 minutes per side. The cheese will be perfectly melted, and the outside will be golden and crispy.
Complementary Dishes: Pair these with a cup of tomato soup for a classic combo. They also work great alongside a simple green salad, some fresh fruit, or a handful of chips. For a kid-friendly lunch, add some baby carrots and a yogurt tube.
Storage Instructions: Store uncrustables in an airtight container in the refrigerator for up to 3 days. For longer storage, wrap each one individually in plastic wrap, then place them in a freezer bag. They’ll keep in the freezer for up to 3 months. Thaw overnight in the fridge or directly in a lunchbox—they’ll be ready to eat by lunchtime.
Reheating Methods: To reheat, unwrap and microwave for 15-20 seconds for a soft warm version. For a crispy outside, reheat in a toaster oven at 350°F for 5 minutes. Avoid microwaving for too long, or the bread will become rubbery.
Flavor Development: Honestly, these taste even better after a few hours in the fridge. The flavors meld together, and the bread softens slightly. If you’re making them for a picnic or road trip, make them the night before.
Nutritional Information & Benefits
Here’s a rough estimate for one uncrustable made with white bread, American cheese, ham, mayo, and mustard.
- Calories: Approximately 280-320
- Protein: 14g
- Carbohydrates: 28g
- Fat: 14g
- Fiber: 1g
- Sodium: 850mg
Health Benefits: Ham provides a good source of protein, which helps keep you full and satisfied. Cheese adds calcium for bone health. If you use whole wheat bread, you’ll get a bit more fiber. For a lower-sodium option, look for low-sodium ham and cheese.
Dietary Considerations: This recipe is not gluten-free or dairy-free in its standard form, but substitutions are easy. Use gluten-free bread and dairy-free cheese for a version that fits those needs. It’s naturally nut-free, making it a safe option for school lunches.
Personal Perspective: I don’t pretend these are health food, but they’re a balanced option for a quick lunch. Pair them with some veggies or fruit, and you’ve got a meal that works for busy days without the guilt.
Conclusion
These easy 5-minute ham and cheese uncrustables are proof that you don’t need fancy ingredients or hours in the kitchen to make something genuinely good. They’re fast, they’re foolproof, and they taste way better than the store-bought version. Whether you’re packing lunches for the week, feeding a hungry toddler, or just need a quick snack for yourself, this recipe delivers every time.
I love that this recipe started as a happy accident and became a staple in my kitchen. It’s the kind of thing that makes you feel like a genius with almost zero effort. Don’t be afraid to customize them—swap the meats, change the cheese, add a spread you love. That’s the beauty of a simple recipe.
I’d love to hear how yours turn out! Drop a comment below and let me know what variations you tried. Did you go sweet and savory with fig jam? Or did you stick with classic ham and cheese? Share your creations and tag me on Pinterest—I can’t wait to see them. Happy cooking, friend!
Frequently Asked Questions
Can I use any type of bread for these uncrustables?
Yes, but soft white bread works best for sealing. Whole wheat, sourdough, or gluten-free bread can work, but you may need to press harder and hold the cutter in place for a few extra seconds to get a good seal.
How do I keep the uncrustables from getting soggy?
Spread the condiments evenly and avoid overfilling. If you’re packing them for later, let them sit uncovered for 5 minutes after cutting to allow any excess moisture to evaporate before wrapping.
Can I freeze these uncrustables?
Absolutely! Wrap each one tightly in plastic wrap, then place them in a freezer bag. They’ll keep for up to 3 months. Thaw in the fridge overnight or directly in a lunchbox.
What if I don’t have a round cutter?
No problem! Use a clean drinking glass with a thin rim, a mason jar ring, or even a sharp knife to cut around a small bowl. A fork can also be used to crimp the edges if you want a different shape.
Can I make these warm without a skillet?
Yes! Microwave them for 15-20 seconds for a soft warm version. For a crispy outside, use a toaster oven at 350°F for 5 minutes. Just avoid overcooking, or the bread will become tough.
Pin This Recipe!
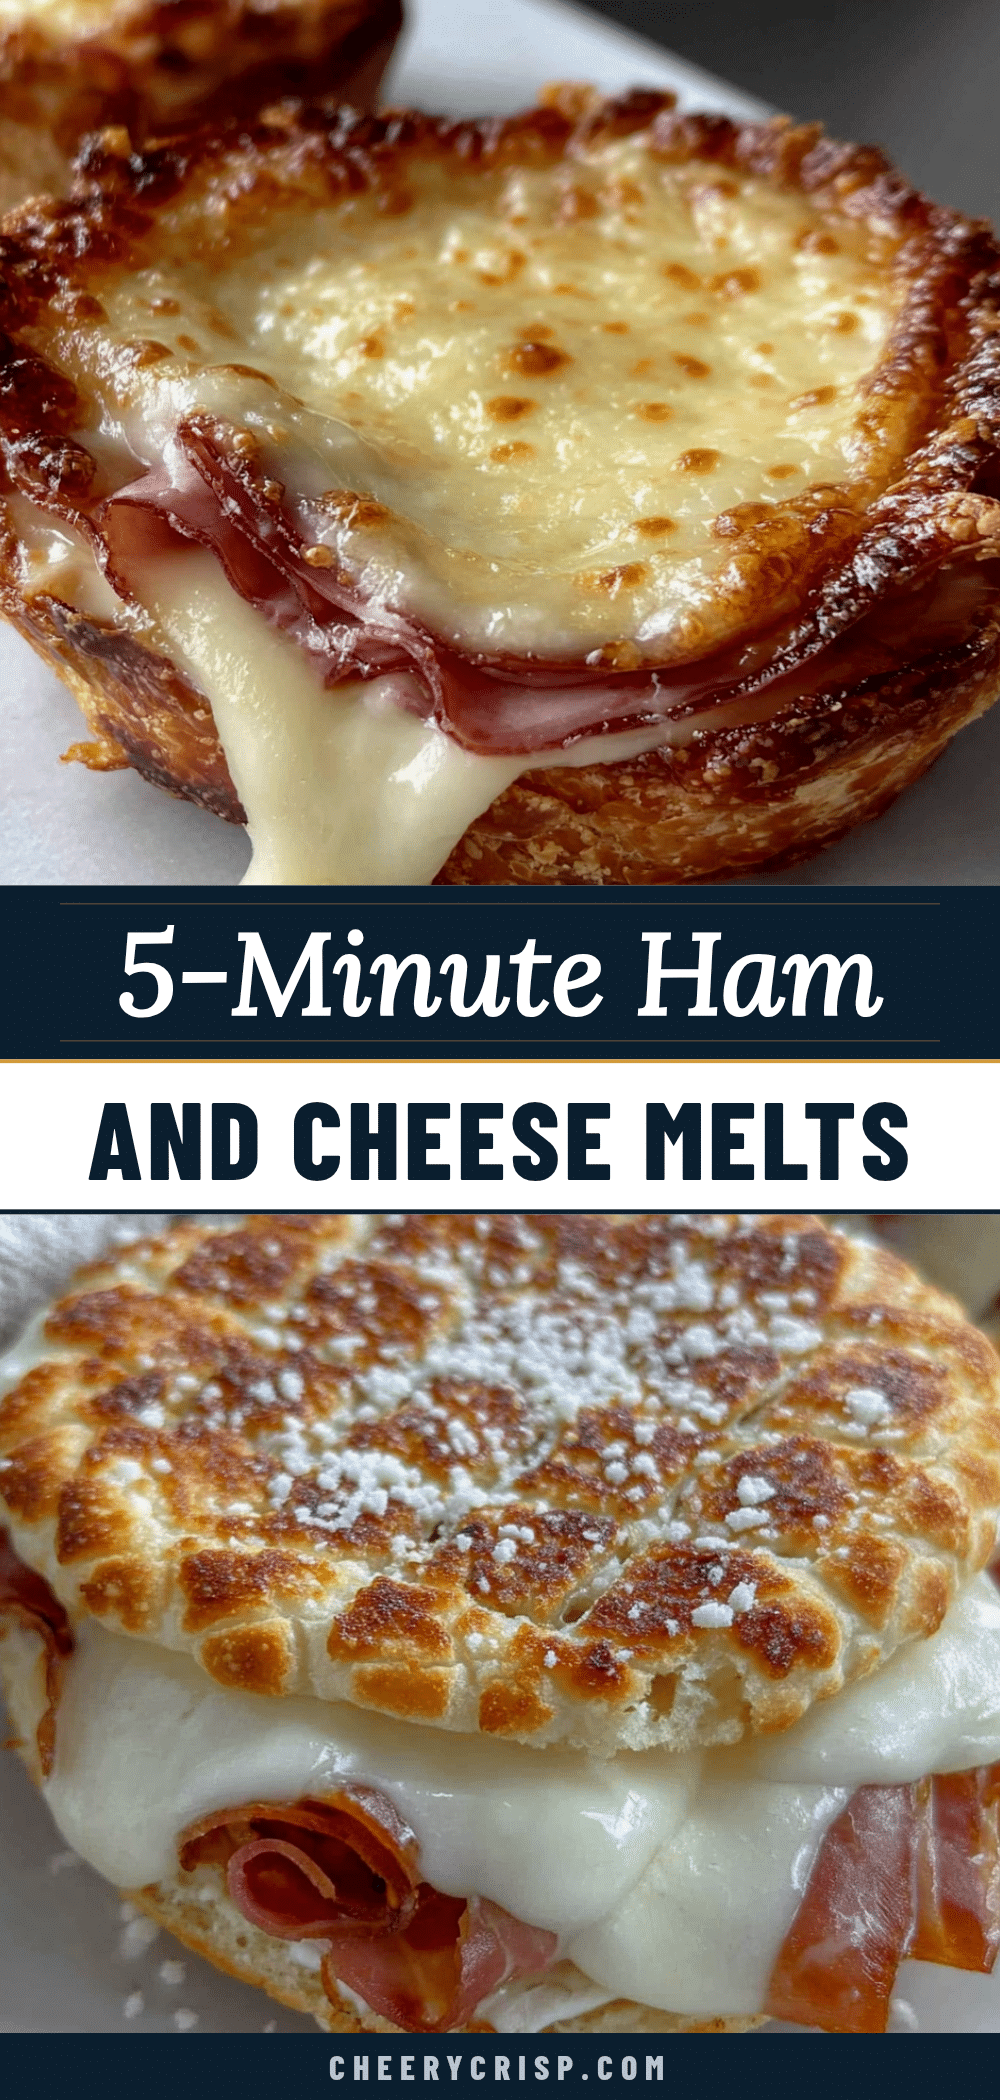
5-Minute Ham and Cheese Uncrustables: Best Easy Copycat

These homemade ham and cheese uncrustables are a quick and easy copycat recipe that comes together in just five minutes. Perfect for lunchboxes, picnics, or a fast snack, they feature a soft bread pocket filled with ham, cheese, and your favorite spreads.
- Prep Time: 5 minutes
- Cook Time: 0 minutes (optional: 4 minutes if toasting)
- Total Time: 5 minutes (9 minutes if toasting)
- Yield: 4 servings 1x
- Category: Lunch
- Cuisine: American
Ingredients
- 8 slices of white bread (soft, fresh bread works best for sealing)
- 4 slices of deli ham (thinly sliced; honey ham or smoked ham both work great)
- 4 slices of American cheese (or cheddar, provolone, or Swiss)
- 2 tablespoons mayonnaise (optional but adds creaminess)
- 2 tablespoons yellow mustard (or Dijon for a tangier kick)
- Butter, softened (optional, for toasting the outside if you want a warm version)
Instructions
- Lay out your bread slices. Take four slices of bread and place them on a cutting board. Using a rolling pin, gently flatten each slice until it’s about half its original thickness. This helps create a better seal. The bread should feel thin and pliable, not torn.
- Spread the condiments. On the flattened bread slices, spread about ½ teaspoon of mayonnaise and ½ teaspoon of mustard on each slice. Spread all the way to the edges—this helps the filling stick and adds flavor to every bite. You want a thin, even layer.
- Add the ham. Place one slice of ham on top of the condiment layer. Fold the ham if it’s larger than the bread, but try to keep it centered. The ham should cover most of the bread surface without hanging over the edges too much.
- Add the cheese. Place one slice of cheese on top of the ham. If you’re using a block cheese, slice it thinly. The cheese should be roughly the same size as the bread. American cheese slices are perfect for this.
- Top with remaining bread. Take the four remaining slices of bread (unflattened) and place them on top of the cheese, pressing down gently. You want the top bread to sit evenly on the filling.
- Press and seal. Take your round cookie cutter or glass and center it over the sandwich. Press down firmly and evenly. You should feel the cutter go through all layers of bread. Twist slightly to help release the edges. The seal should be tight with no gaps.
- Remove the crusts. Lift the cutter straight up. The crustless round sandwich should stay inside the cutter. Gently push it out with your fingers. The remaining crusts can be saved for breadcrumbs or composted.
- Repeat for remaining sandwiches. You’ll get four uncrustables from this batch. If you want a warm version, heat a skillet over medium heat, butter the outside of each uncrustable, and cook for 1-2 minutes per side until golden brown and the cheese is melted.
Notes
For the best seal, use fresh, soft bread. Stale bread may crack. If your seal isn’t holding, try flattening the bottom piece more or use a slightly smaller cutter. These uncrustables can be frozen for up to 3 months. Thaw in the fridge or directly in a lunchbox.
Nutrition
- Serving Size: 1 uncrustable
- Calories: 300
- Sugar: 3
- Sodium: 850
- Fat: 14
- Saturated Fat: 6
- Carbohydrates: 28
- Fiber: 1
- Protein: 14
Keywords: ham and cheese uncrustables, homemade uncrustables, easy lunch, copycat recipe, 5-minute recipe, lunchbox ideas, kid-friendly lunch



