Love this? Save it for later!
Share the inspiration with your friends
“Why can’t we just skip the fancy canning stuff and boil the jars like grandma used to?” my friend Jenna asked one humid Saturday afternoon as we stared at a mountain of cucumbers. I started to explain why that wouldn’t work — then stopped. Honestly, her idea of a simple water bath sounded too good to be true, but we gave it a shot anyway.
Turns out, it worked like a charm. The crisp snap of those dill pickles, perfectly balanced with the right amount of tang, was something I hadn’t expected from such an easy method. You know that feeling when you think you’re teaching someone but end up learning the most? That day, making these easy water bath crispy dill pickles for beginners flipped my expectations upside down. It was a little messy — I forgot the lids on the counter once — and the kitchen got a bit chaotic, but the results? Totally worth it.
Maybe you’ve been there, staring at cucumbers wondering if homemade pickling is just too complicated. Let me tell you, this recipe stuck with me because it’s proof that traditional methods don’t have to be intimidating. It’s straightforward, beginner-friendly, and the kind of pickle you’ll want to make again and again.
Why You’ll Love This Recipe
After making these easy water bath crispy dill pickles multiple times, I can say with confidence that this recipe hits the mark for both beginners and seasoned home cooks. Here’s why it’s a keeper:
- Quick & Easy: The process takes less than 2 hours from start to finish, making it perfect for weekend projects or last-minute pickle cravings.
- Simple Ingredients: No need to hunt down obscure spices; your pantry probably already has everything you need.
- Perfect for Beginners: The water bath method simplifies canning and reduces the fear factor associated with preserving food at home.
- Crowd-Pleaser: These pickles get rave reviews at picnics and family dinners alike — crunchy, tangy, and just right.
- Unbelievably Delicious: The crispness rivals deli-style pickles without the extra fuss or additives.
This recipe stands out because it doesn’t rely on complicated steps or hard-to-find ingredients. The water bath technique locks in flavor and crunch without the need for pressure canning or special equipment. Plus, by blending fresh garlic and dill with a perfectly seasoned brine, these pickles have that homemade authenticity that shops just can’t replicate.
Honestly, this isn’t just another dill pickle recipe — it’s a gateway into the world of home canning that feels approachable. Whether you’re looking to impress guests with something from scratch or just want to enjoy a satisfying snack, these pickles deliver every time.
What Ingredients You Will Need
This recipe uses simple, wholesome ingredients to deliver bold flavor and satisfying texture without the fuss. Most are pantry staples, with fresh produce playing the starring role.
- Cucumbers: 4 pounds (about 8 medium-sized) pickling cucumbers, firm and fresh (look for firm, small to medium cucumbers for best crunch)
- Fresh Dill: 4-5 sprigs per jar, including some dill flowers if available (adds authentic dill aroma and flavor)
- Garlic Cloves: 8 cloves, peeled and lightly crushed (fresh garlic is non-negotiable here for that punch)
- White Vinegar: 4 cups (950 ml), 5% acidity (I prefer Heinz for consistent results)
- Water: 4 cups (950 ml), filtered or boiled and cooled
- Pickling Salt: 3 tablespoons (do not substitute with table salt to avoid cloudiness)
- Black Peppercorns: 2 teaspoons (whole peppercorns add subtle spice)
- Mustard Seeds: 1 tablespoon (optional, for mild warmth and texture)
- Red Pepper Flakes: 1 teaspoon (optional, if you like a tiny kick)
You can swap regular cucumbers with English cucumbers if you prefer fewer seeds. For a gluten-free approach, all ingredients here are naturally gluten-free, just double-check your vinegar brand. If you want a lower sodium version, reduce the pickling salt slightly, but be aware it may affect preservation.
Equipment Needed
- Large Pot: For the water bath — ideally deep enough to submerge your jars completely.
- Quart-Sized Mason Jars: 4 or 5, with new lids and rings (I recommend Ball or Kerr jars for reliability).
- Jar Lifter: A must-have for safely handling hot jars during processing.
- Funnel: Useful for packing cucumbers and pouring brine without mess.
- Kitchen Tongs: To handle herbs or garlic safely when packing jars.
- Measuring Cups and Spoons: For precise brine mixture.
- Large Bowl: For soaking cucumbers if desired before pickling.
If you don’t have a jar lifter, sturdy silicone tongs can work in a pinch — just be extra careful. I’ve used a regular stockpot as my water bath, but there are budget-friendly canner pots available that make the process even simpler. Keeping your lids and rings in boiling water before use helps maintain a good seal.
Preparation Method
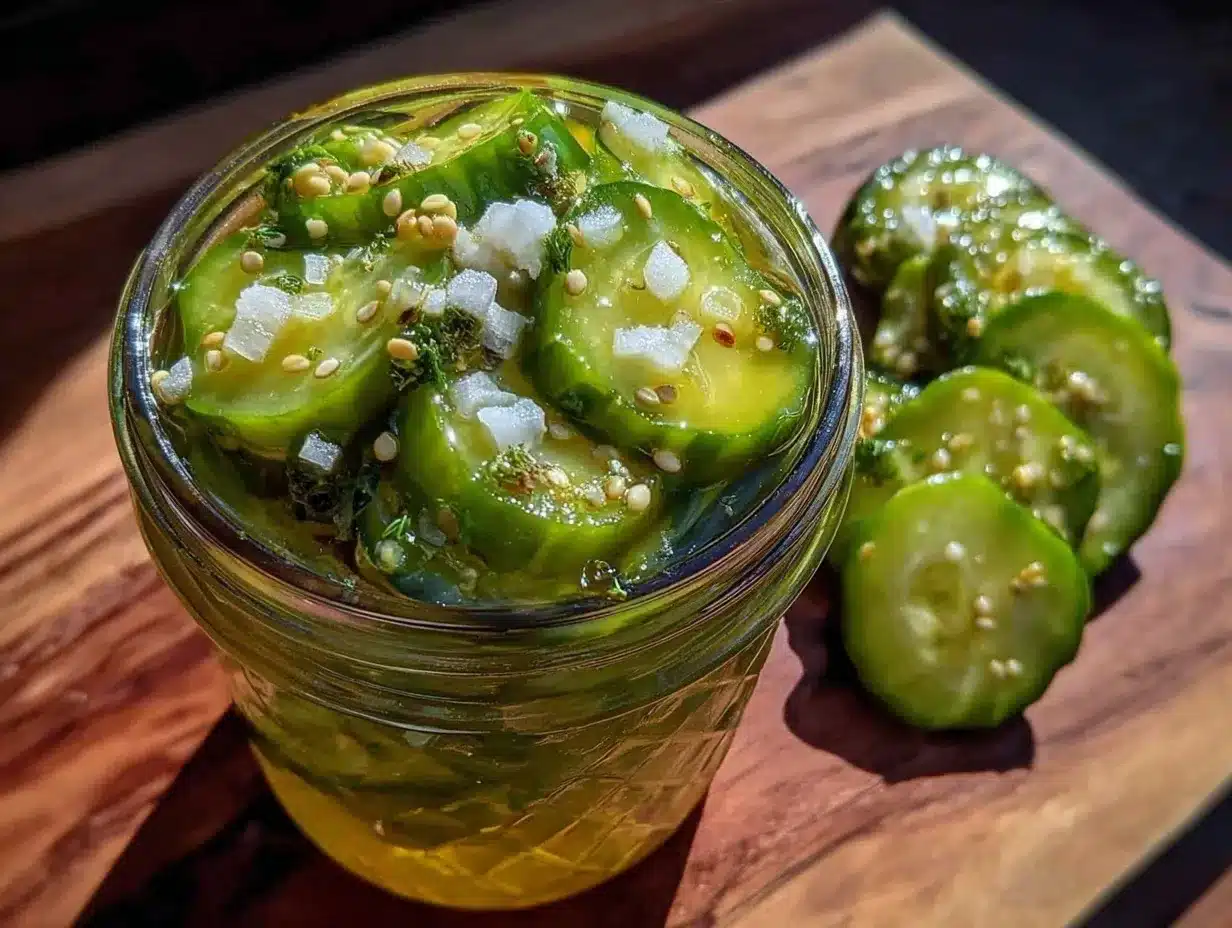
- Prepare Cucumbers: Wash cucumbers thoroughly and trim off the blossom ends (this helps keep pickles crisp). Optional: soak cucumbers in ice water for 1 hour to boost crunchiness. (Time: 10 minutes prep + optional soak)
- Sterilize Jars and Lids: Place jars in boiling water for 10 minutes to sterilize. Keep jars hot until ready to fill to prevent cracking. Simmer lids in a separate pot—do not boil—to preserve sealing compound. (Time: 15 minutes)
- Make the Brine: In a saucepan, combine vinegar, water, and pickling salt. Bring to a boil to dissolve salt completely, then remove from heat. (Time: 5 minutes)
- Pack Jars: Into each hot jar, place 4-5 garlic cloves, 4-5 dill sprigs, 1/2 teaspoon black peppercorns, and 1/4 teaspoon mustard seeds. Pack cucumbers tightly but without smashing. Leave about 1/2 inch (1.3 cm) headspace at the top. (Time: 15 minutes)
- Fill with Brine: Pour hot brine over cucumbers, covering completely. Remove air bubbles by running a non-metallic utensil around jar edges. Wipe rims clean and place lids and rings on snugly but not overly tight. (Time: 10 minutes)
- Process in Water Bath: Place jars in boiling water bath ensuring they’re submerged by at least 1 inch (2.5 cm). Boil for 10 minutes (adjust for altitude if necessary). Remove jars carefully and let cool undisturbed for 12-24 hours. You’ll hear the satisfying “pop” as jars seal. (Time: 20 minutes processing + cooling)
- Check Seals and Store: Once cooled, check lids by pressing the center — it should not flex. Store in a cool, dark place for at least 1 week before enjoying to develop flavor fully. (Time: 1 week resting)
Pro tip: If a jar doesn’t seal, refrigerate and consume within a few weeks. The smell of the brine boiling and the sound of popping lids always remind me why homemade pickles are worth the effort. Just last summer, I made a batch after a thunderstorm knocked out power — had to improvise with a camp stove — and the pickles still came out perfect. You might forget a step or two, but the key is to keep it simple and steady.
Cooking Tips & Techniques
Getting crispy pickles through a water bath method is all about controlling moisture and timing, and I’ve learned a few things the hard way.
- Trim the Blossom End: That little flower end of the cucumber contains enzymes that can soften pickles. Cutting it off helps keep that satisfying crunch.
- Use Pickling Salt: Regular table salt can cause cloudy brine and off-flavors. Pickling salt dissolves cleanly and preserves the texture.
- Don’t Overpack Jars: Crowding cucumbers too tightly can cause them to lose crunch. Leave a little breathing room for the brine to circulate.
- Keep Jars Hot: Filling jars while warm helps prevent breaks and ensures a better seal. Cold jars can crack under hot brine.
- Watch Processing Times: Too long in the water bath can soften pickles, too short risks spoilage. Stick to 10 minutes unless you’re adjusting for higher altitude.
Once, I accidentally sealed a jar with a smudge on the rim, and it leaked brine everywhere in the pot. Lesson learned: always wipe rims clean before sealing. Also, keeping a timer handy prevents overcooking — I actually use my phone timer and set reminders for each step.
Variations & Adaptations
This easy water bath crispy dill pickles recipe is quite flexible, letting you tweak it to suit your tastes or dietary needs.
- Spicy Kick: Add extra red pepper flakes or a sliced jalapeño to each jar for heat lovers.
- Garlic-Free: Skip the garlic cloves if you prefer a milder flavor and add extra dill or a few slices of onion instead.
- Low Sodium: Reduce pickling salt by half and increase vinegar slightly for a tangier, less salty pickle.
- Herb Infusions: Try adding fresh thyme or bay leaves for a unique herbal twist.
- Different Vinegars: Substitute half the white vinegar with apple cider vinegar for a fruitier note.
Personally, I once swapped out the mustard seeds for coriander seeds, which gave the pickles a lovely citrusy warmth. If you’re adapting for allergy concerns, this recipe is naturally gluten- and dairy-free, but always double-check spice blends for hidden allergens.
Serving & Storage Suggestions
Serve these crispy dill pickles chilled straight from the jar or sliced alongside sandwiches, burgers, or charcuterie boards. They bring a refreshing crunch to any meal.
- Best served cold for that crisp snap and bright flavor.
- Pairs beautifully with rich dishes like crispy garlic chicken or creamy pasta salads.
- Store sealed jars in a cool, dark pantry for up to 1 year.
- Once opened, refrigerate and consume within 1 month for best freshness.
- Reheat gently if using in cooked dishes, but pickles are usually best enjoyed cold.
Over time, the flavors deepen and meld, so don’t rush the resting period. I usually make a batch early in summer and keep some for holiday meals—it’s a simple, delicious way to bring homemade charm to any table.
Nutritional Information & Benefits
These easy water bath crispy dill pickles are low in calories and fat, making them a great snack or condiment option. Here’s a rough estimate per serving (about 2 spears):
| Calories | 10 |
|---|---|
| Carbohydrates | 2g |
| Fiber | 1g |
| Sodium | 400mg |
| Vitamin K | 8% DV |
Cucumbers provide hydration and small amounts of vitamins, while dill offers antioxidants. The vinegar is believed to aid digestion and blood sugar control. If you’re watching sodium intake, consider reducing the salt or rinsing pickles lightly before eating.
From a wellness perspective, these pickles are a flavorful way to enjoy probiotics if you opt for refrigerator pickling instead. Even with water bath canning, they’re a better alternative to many store-bought pickles loaded with preservatives and additives.
Conclusion
This easy water bath crispy dill pickles recipe is a reminder that sometimes the simplest ideas are the best—especially when you’re just starting out with home canning. The balance of crunchy texture, bright vinegar tang, and fresh dill flavor makes these pickles a satisfying treat every time.
Feel free to experiment with spices and herbs to make it your own, and don’t be afraid to mess up a little along the way. I love this recipe because it’s approachable, forgiving, and genuinely rewarding—making homemade pickles feel accessible rather than intimidating.
If you try this recipe, I’d love to hear how your pickling adventure went. Leave a comment, share your twists, or ask for tips—let’s keep the conversation going. Happy pickling!
FAQs
How long do these pickles last after canning?
Properly sealed and stored, they can last up to 1 year in a cool, dark place. Once opened, refrigerate and consume within 1 month.
Can I use regular vinegar instead of white vinegar?
White vinegar is preferred for its neutral flavor and acidity, but you can substitute with apple cider vinegar for a fruitier taste. Avoid malt vinegar as it can discolor the pickles.
Why are my pickles soft after canning?
Soft pickles often result from overprocessing or using cucumbers that aren’t fresh and firm. Trim the blossom ends and follow processing times closely to keep them crisp.
Is the water bath method safe for pickling cucumbers?
Yes, water bath canning is safe for high-acid pickles like these due to the vinegar content. Just follow processing times and jar sterilization carefully.
Can I make these pickles without canning (refrigerator pickles)?
Absolutely! Simply pack jars and refrigerate for at least 48 hours before eating. They won’t last as long but will keep for several weeks in the fridge.
Pin This Recipe!
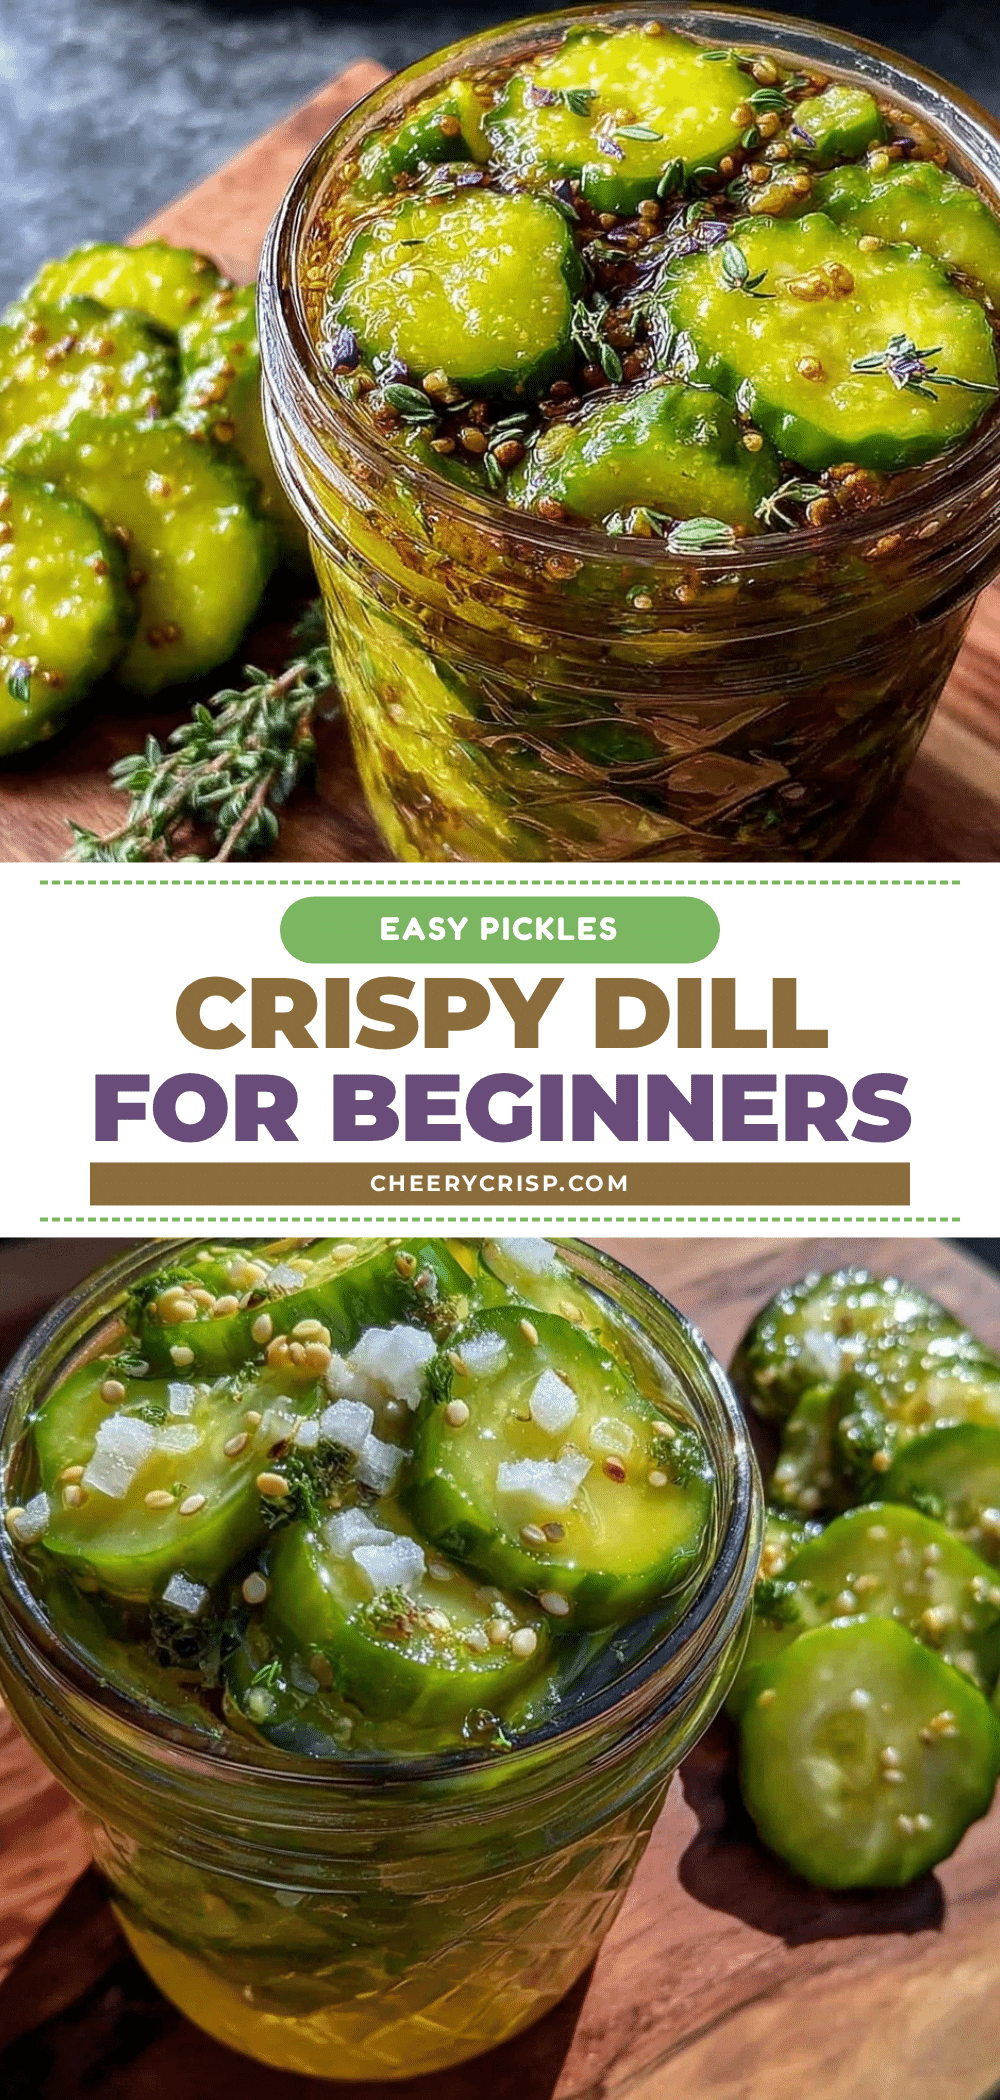
Easy Water Bath Crispy Dill Pickles Recipe Perfect for Beginners
A beginner-friendly recipe for making crispy dill pickles using a simple water bath canning method that locks in flavor and crunch without complicated steps or special equipment.
- Prep Time: 25 minutes
- Cook Time: 10 minutes
- Total Time: 1 week 35 minutes
- Yield: 4-5 quart jars 1x
- Category: Condiment
- Cuisine: American
Ingredients
- 4 pounds (about 8 medium-sized) pickling cucumbers, firm and fresh
- 4–5 sprigs fresh dill per jar, including some dill flowers if available
- 8 garlic cloves, peeled and lightly crushed
- 4 cups (950 ml) white vinegar, 5% acidity
- 4 cups (950 ml) water, filtered or boiled and cooled
- 3 tablespoons pickling salt (do not substitute with table salt)
- 2 teaspoons whole black peppercorns
- 1 tablespoon mustard seeds (optional)
- 1 teaspoon red pepper flakes (optional)
Instructions
- Prepare Cucumbers: Wash cucumbers thoroughly and trim off the blossom ends. Optional: soak cucumbers in ice water for 1 hour to boost crunchiness.
- Sterilize Jars and Lids: Place jars in boiling water for 10 minutes to sterilize. Keep jars hot until ready to fill. Simmer lids in a separate pot—do not boil.
- Make the Brine: In a saucepan, combine vinegar, water, and pickling salt. Bring to a boil to dissolve salt completely, then remove from heat.
- Pack Jars: Into each hot jar, place 4-5 garlic cloves, 4-5 dill sprigs, 1/2 teaspoon black peppercorns, and 1/4 teaspoon mustard seeds. Pack cucumbers tightly but without smashing. Leave about 1/2 inch headspace at the top.
- Fill with Brine: Pour hot brine over cucumbers, covering completely. Remove air bubbles by running a non-metallic utensil around jar edges. Wipe rims clean and place lids and rings on snugly but not overly tight.
- Process in Water Bath: Place jars in boiling water bath ensuring they’re submerged by at least 1 inch. Boil for 10 minutes (adjust for altitude if necessary). Remove jars carefully and let cool undisturbed for 12-24 hours until sealed.
- Check Seals and Store: Once cooled, check lids by pressing the center—it should not flex. Store in a cool, dark place for at least 1 week before enjoying to develop flavor fully.
Notes
Trim blossom ends to keep pickles crisp. Use pickling salt to avoid cloudy brine. Do not overpack jars to maintain crunch. Keep jars hot before filling to prevent cracking. Adjust water bath time for altitude. If a jar doesn’t seal, refrigerate and consume within a few weeks.
Nutrition
- Serving Size: About 2 pickle spear
- Calories: 10
- Sodium: 400
- Carbohydrates: 2
- Fiber: 1
Keywords: dill pickles, water bath canning, homemade pickles, crispy pickles, beginner pickling, easy pickles, canned pickles



