Love this? Save it for later!
Share the inspiration with your friends
My nephew had sworn off store-bought snacks for years. Three Septembers ago, right before the chaos of back-to-school season hit, I decided to make these quick brown butter M&M cookie bars “just for myself.” I caught him sneaking a second piece while pretending to be focused on his math homework. Honestly, I wasn’t trying to convert him — I just wanted a fast, no-fuss treat to stash in the pantry. But there he was, crusted fingertips clutching a warm, gooey square, eyes wide with surprise. You know that feeling when you think you’ve nailed the perfect snack that’s both easy and a little indulgent? This recipe stuck around because it’s that rare mix of simple prep and seriously comforting flavor, perfect for the busy back-to-school rush.
Let me tell you, the secret here is the brown butter. It gives this cookie bar a nutty, caramel-like depth that’s so unexpected it almost makes you forget you’re eating something that came together in under 30 minutes. Maybe you’ve been there — scrambling to throw together something quick for the kids or yourself, hoping it’ll hit the spot without turning the kitchen into a disaster zone. These bars do just that, and the M&Ms scatter bursts of color and chocolate, making it feel like a little celebration every time you take a bite. Plus, I once forgot to add the baking soda (don’t ask), but even then, the bars were devoured faster than I could blink. That’s when I realized this recipe wasn’t just a keeper — it was a staple waiting to happen.
Why You’ll Love This Recipe
These quick brown butter M&M cookie bars aren’t just a snack — they’re a little slice of back-to-school sanity wrapped in chocolatey, buttery goodness. I’ve tested and tweaked this recipe multiple times, and here’s why it keeps showing up in my kitchen:
- Quick & Easy: Ready in under 30 minutes, perfect when you’re juggling homework, after-school activities, and dinner prep.
- Simple Ingredients: No obscure pantry items here — just trusty staples you probably already have on hand.
- Perfect for Back to School: Ideal for lunchboxes, after-school snacks, or even a quick breakfast treat when time is tight.
- Crowd-Pleaser: Both kids and adults ask for these bars again and again — the M&Ms keep the fun alive while the brown butter adds a grown-up twist.
- Unbelievably Delicious: That nutty brown butter flavor layered with melty chocolate bits creates a comforting texture and taste combo you won’t find in your average cookie bar.
- What Makes This Recipe Different: The brown butter gives a toasty depth most cookie bars lack, and the quick assembly means you don’t have to sacrifice flavor for speed.
- Emotional Connection: This recipe isn’t just about taste; it’s that warm, satisfying feeling you get when you find a treat that hits all the right notes during hectic school mornings or busy afternoons.
Ingredients Needed
This recipe uses simple, wholesome ingredients to deliver bold flavor and satisfying texture without the fuss. The magic comes from a handful of pantry staples — nothing fancy, just good stuff that blends well together.
- Unsalted butter: 1 cup (2 sticks, 227 g), browned for that signature nutty flavor
- Brown sugar: 1 cup (200 g), packed, adds moistness and caramel notes
- Granulated sugar: 1/2 cup (100 g), balances sweetness and texture
- Large eggs: 2, room temperature for proper binding
- Vanilla extract: 2 teaspoons, enhances flavor depth (I like Nielsen-Massey for reliable quality)
- All-purpose flour: 2 1/4 cups (280 g), provides structure
- Baking soda: 1 teaspoon, helps with rise and texture
- Salt: 1/2 teaspoon, sharpens flavors
- M&M’s: 1 1/2 cups (about 270 g), for those colorful chocolate bursts — you can use plain or peanut if preferred
Substitution Notes: Use almond flour for a gluten-free twist, though the texture will be a bit different. Swap regular butter with vegan butter for dairy-free, and replace eggs with flax eggs if needed.
Equipment Needed
- Medium saucepan or skillet for browning butter — a light-colored pan helps you see when the butter has browned without burning.
- Mixing bowls — one large for combining ingredients, and one smaller for dry ingredients.
- Measuring cups and spoons — accurate measurements make all the difference.
- Rubber spatula — perfect for scraping browned butter and folding in ingredients gently.
- 9×13-inch (23×33 cm) baking pan — I recommend a glass or non-stick metal pan for even baking.
- Parchment paper — optional but highly recommended to prevent sticking and for easy cleanup.
- Electric mixer or whisk — handy but not mandatory; you can mix by hand if you’re up for it.
For budget-friendly baking, I often use a cast iron skillet to brown the butter directly and then transfer it to a bowl. It’s a bit of a two-step but worth it for the flavor. Also, keeping your baking pan well-seasoned or lined with parchment means less stress when it’s time to serve.
Preparation Method
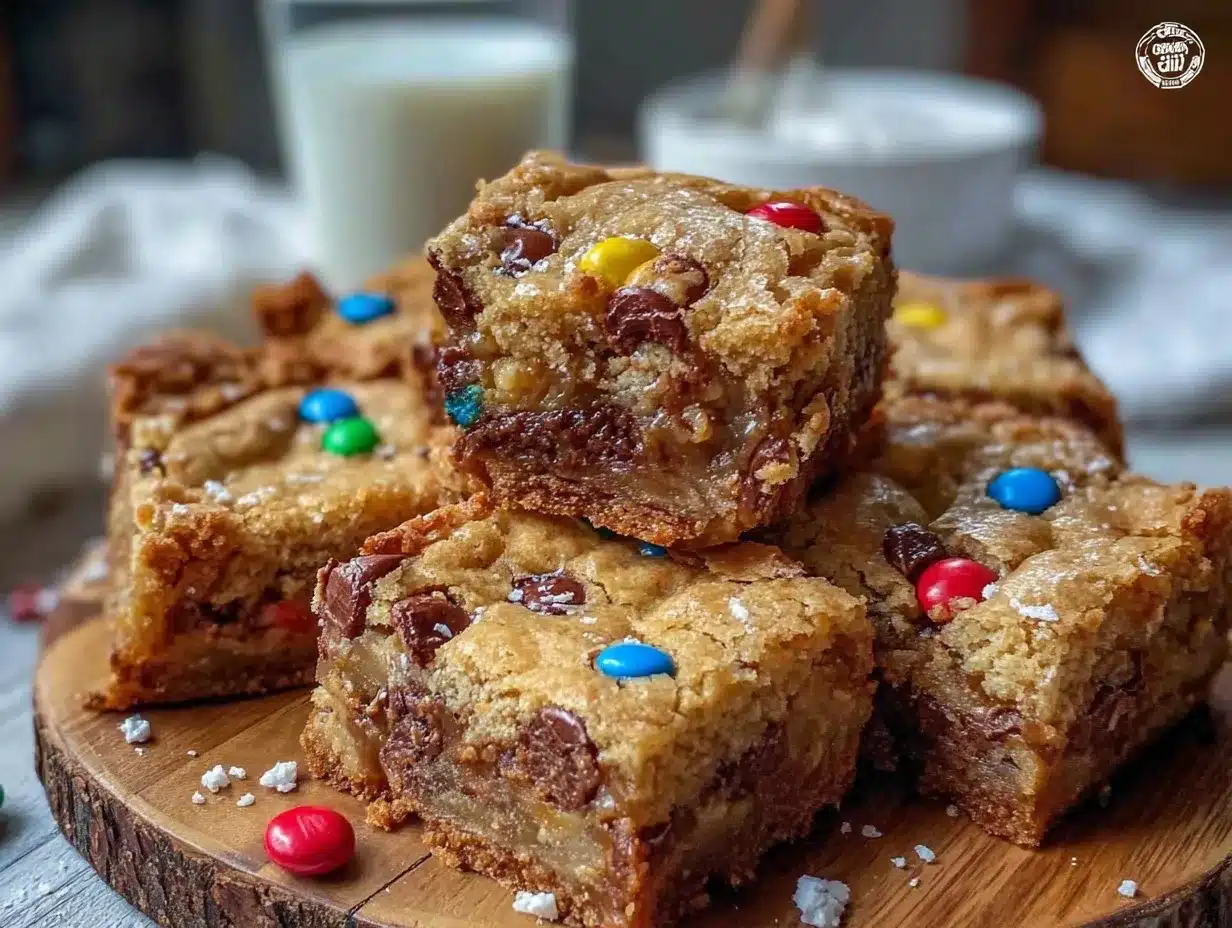
- Brown the butter: In a medium saucepan over medium heat, melt 1 cup (227 g) of unsalted butter. Stir frequently as it foams and then begins to brown — you’ll see tiny brown flecks and smell a toasty, nutty aroma. This should take about 5-7 minutes. Be careful not to burn it; once browned, immediately remove from heat and let it cool for 5 minutes.
- Mix sugars and butter: In a large bowl, combine the browned butter with 1 cup (200 g) packed brown sugar and 1/2 cup (100 g) granulated sugar. Use a rubber spatula or mixer to mix until smooth and well combined, about 2 minutes.
- Add eggs and vanilla: Crack in 2 large eggs (room temp) one at a time, mixing well after each addition. Stir in 2 teaspoons vanilla extract. The batter will be glossy and thick.
- Combine dry ingredients: In a separate bowl, whisk together 2 1/4 cups (280 g) all-purpose flour, 1 teaspoon baking soda, and 1/2 teaspoon salt.
- Incorporate dry into wet: Gradually add the dry ingredients to the wet mixture, folding gently to combine. Don’t overmix — stop when you no longer see dry streaks. The dough will be slightly thick and sticky.
- Fold in M&M’s: Add 1 1/2 cups (270 g) M&M’s, stirring gently to distribute evenly without crushing the candies.
- Prepare the baking pan: Line a 9×13-inch (23×33 cm) pan with parchment paper, letting some hang over the edges for easy removal, or grease the pan lightly.
- Spread the batter: Transfer the dough to the pan and spread evenly with a spatula or your hands (lightly greased), smoothing the top.
- Bake: Bake at 350°F (175°C) for 20-25 minutes. Start checking at 20 minutes — the edges should be golden and the center just set but still soft. A toothpick inserted should come out with moist crumbs, not wet batter.
- Cool and slice: Let the bars cool completely in the pan on a wire rack, about 30 minutes. Use the parchment edges to lift out the whole slab, then slice into bars.
Pro tip: If your kitchen gets busy, you can brown the butter and mix the dough ahead of time, then bake fresh bars when ready. Also, if you prefer a chewier bar, pull them out a minute or two earlier.
Cooking Tips & Techniques
Brown butter can be intimidating but trust me, it’s worth the attention. Stir constantly and watch for that rich amber color. If you smell burnt notes, quickly remove from heat — burnt butter will ruin the flavor.
Don’t skip cooling the butter before mixing; hot butter can cook the eggs and cause a scrambled texture.
Folding in M&M’s gently prevents them from bleeding color and keeps that pretty appearance. You want those colorful bursts, not a pink dough blob.
When baking, ovens vary, so start checking early. If bars look too soft but edges are browned, let them rest in the pan; they’ll firm up as they cool.
One time, I overbaked these and they came out dry — lesson learned: timing is everything here. Use an oven thermometer if your oven runs hot.
To speed things up, brown the butter while you measure your other ingredients. Multitasking in the kitchen is a game-changer on busy mornings!
Variations & Adaptations
- Dietary Swap: Use dairy-free butter and flax eggs for a vegan version. Gluten-free flour blends work, but texture may be a bit more crumbly.
- Seasonal Twist: Swap M&M’s for chopped seasonal fruit and white chocolate chips in summer for a fresher feel.
- Flavor Boost: Add 1 teaspoon cinnamon or a pinch of espresso powder to deepen the flavor complexity.
- Nutty Upgrade: Toss in 1/2 cup chopped walnuts or pecans for crunch — a personal favorite on chilly fall afternoons.
- Baking Method: Try baking in muffin tins for individual portions, reducing baking time to 15-18 minutes.
I once added a handful of mini peanut butter chips for a richer flavor profile — it was a hit, especially with the peanut butter lovers in my crew.
Serving & Storage Suggestions
Serve these cookie bars at room temperature or slightly warmed to bring out that melty chocolate goodness. They’re perfect alongside a cold glass of milk or a cup of coffee.
If you want to dress them up, a light dusting of powdered sugar or a drizzle of melted white chocolate adds a nice touch for parties or lunchbox surprises.
Store bars in an airtight container at room temperature for up to 4 days, or refrigerate for up to a week. For longer storage, freeze individual bars wrapped in plastic wrap and foil for up to 3 months.
To reheat, microwave for 10-15 seconds or warm in a 300°F (150°C) oven for 5 minutes. Flavors mellow and deepen after a day or two, making them even better the next day if you can wait that long.
Nutritional Information & Benefits
Each bar provides a balanced mix of carbs, fats, and protein — thanks to the butter and eggs — offering a quick energy boost perfect for busy school days.
Brown butter adds antioxidants and a richer flavor without extra sugar, while M&M’s bring just enough chocolate joy to satisfy cravings.
This recipe can be adapted to be gluten-free or vegan, accommodating various dietary needs.
While it’s a treat, it’s made with recognizable ingredients, so you can feel good about what’s going into your kids’ lunchboxes or your afternoon pick-me-up.
Conclusion
If you’re looking for a quick, fuss-free snack that manages to taste homemade and special, these quick brown butter M&M cookie bars are a winner. They fit perfectly into back-to-school routines — no elaborate prep, no last-minute runs to the store — just buttery, chocolatey goodness you’ll find yourself reaching for again and again.
Feel free to customize with your favorite mix-ins or add a sprinkle of sea salt on top for a sweet-salty twist. Honestly, these bars have become my go-to when I want something comforting yet speedy.
Try them out and let me know how your family reacts — I bet you’ll catch someone sneaking a second piece, just like my nephew did. Don’t forget to share your tweaks or favorite ways to enjoy these bars in the comments below — I love hearing your stories!
Here’s to easy, delicious snacks that make busy days a little sweeter.
FAQs
Can I use salted butter instead of unsalted?
Yes, but reduce or omit the added salt in the recipe to avoid an overly salty taste.
How long do these cookie bars keep fresh?
Stored in an airtight container at room temperature, they last about 4 days. Refrigeration can extend that to a week.
Can I freeze these bars?
Absolutely! Wrap individual bars tightly and freeze for up to 3 months. Thaw at room temperature before serving.
What’s the best way to brown butter without burning it?
Use a light-colored pan, stir constantly over medium heat, and watch closely for a nutty aroma and golden flecks. Remove immediately once browned.
Can I substitute M&M’s with other mix-ins?
Yes, try chocolate chips, nuts, raisins, or even pretzel bits depending on your preference. Just keep the total volume similar to maintain texture.
Pin This Recipe!
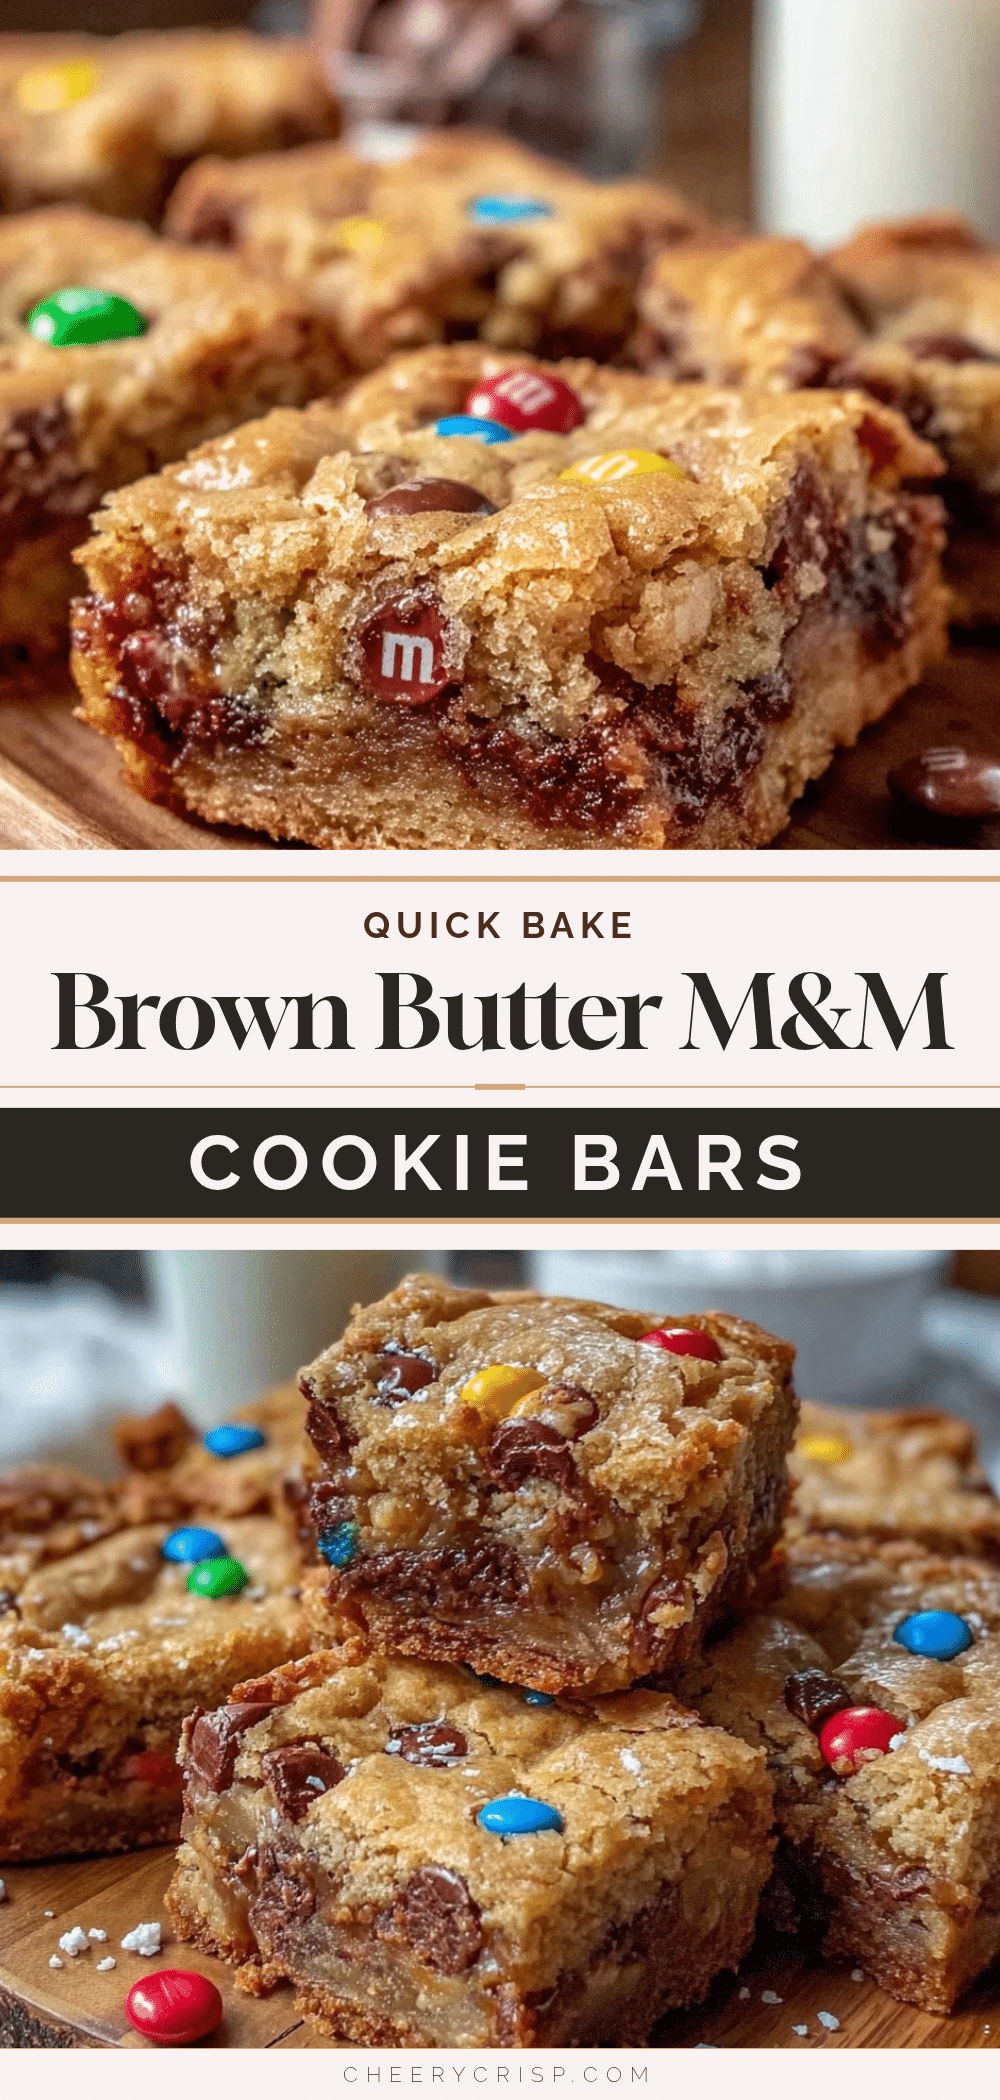
Quick Brown Butter M&M Cookie Bars
These quick brown butter M&M cookie bars are an easy, no-fuss snack perfect for back-to-school. They combine nutty brown butter flavor with colorful chocolate bursts for a comforting treat ready in under 30 minutes.
- Prep Time: 10 minutes
- Cook Time: 20-25 minutes
- Total Time: 35-40 minutes
- Yield: 12 servings 1x
- Category: Snack
- Cuisine: American
Ingredients
- 1 cup (2 sticks, 227 g) unsalted butter, browned
- 1 cup (200 g) packed brown sugar
- 1/2 cup (100 g) granulated sugar
- 2 large eggs, room temperature
- 2 teaspoons vanilla extract
- 2 1/4 cups (280 g) all-purpose flour
- 1 teaspoon baking soda
- 1/2 teaspoon salt
- 1 1/2 cups (about 270 g) M&M’s (plain or peanut)
Instructions
- Brown the butter: In a medium saucepan over medium heat, melt 1 cup (227 g) of unsalted butter. Stir frequently as it foams and then begins to brown — you’ll see tiny brown flecks and smell a toasty, nutty aroma. This should take about 5-7 minutes. Be careful not to burn it; once browned, immediately remove from heat and let it cool for 5 minutes.
- Mix sugars and butter: In a large bowl, combine the browned butter with 1 cup (200 g) packed brown sugar and 1/2 cup (100 g) granulated sugar. Use a rubber spatula or mixer to mix until smooth and well combined, about 2 minutes.
- Add eggs and vanilla: Crack in 2 large eggs (room temp) one at a time, mixing well after each addition. Stir in 2 teaspoons vanilla extract. The batter will be glossy and thick.
- Combine dry ingredients: In a separate bowl, whisk together 2 1/4 cups (280 g) all-purpose flour, 1 teaspoon baking soda, and 1/2 teaspoon salt.
- Incorporate dry into wet: Gradually add the dry ingredients to the wet mixture, folding gently to combine. Don’t overmix — stop when you no longer see dry streaks. The dough will be slightly thick and sticky.
- Fold in M&M’s: Add 1 1/2 cups (270 g) M&M’s, stirring gently to distribute evenly without crushing the candies.
- Prepare the baking pan: Line a 9×13-inch (23×33 cm) pan with parchment paper, letting some hang over the edges for easy removal, or grease the pan lightly.
- Spread the batter: Transfer the dough to the pan and spread evenly with a spatula or your hands (lightly greased), smoothing the top.
- Bake: Bake at 350°F (175°C) for 20-25 minutes. Start checking at 20 minutes — the edges should be golden and the center just set but still soft. A toothpick inserted should come out with moist crumbs, not wet batter.
- Cool and slice: Let the bars cool completely in the pan on a wire rack, about 30 minutes. Use the parchment edges to lift out the whole slab, then slice into bars.
Notes
Use a light-colored pan to brown butter to avoid burning. Cool butter before mixing to prevent cooking eggs. Fold M&M’s gently to avoid color bleeding. Check bars early as ovens vary; bars firm up as they cool. For chewier bars, bake slightly less. Can prepare dough ahead and bake fresh later.
Nutrition
- Serving Size: 1 bar (1/12th of rec
- Calories: 250
- Sugar: 22
- Sodium: 150
- Fat: 12
- Saturated Fat: 7
- Carbohydrates: 34
- Fiber: 1
- Protein: 3
Keywords: brown butter, M&M cookie bars, quick snack, back to school, easy cookie bars, chocolate snack, cookie bars recipe



