Love this? Save it for later!
Share the inspiration with your friends
The other day, I was standing in line at the corner bakery, just waiting for my turn, when suddenly the sweet, buttery aroma of freshly baked sugar cookies hit me — and just like that, I was nine years old again, crouched on the kitchen floor of Mrs. Jensen’s bakery, watching those glossy royal-iced cookies come out of the oven. Mrs. Jensen wasn’t just any baker; her hands moved with this quiet confidence, gently piping that shiny icing, and I swear, those cookies tasted like a little piece of magic. I remember the way the icing caught the light, shimmering like glass but soft enough to bite through. Honestly, I forgot my turn in line because I was so caught up trying to hold onto that memory.
It’s funny how a simple smell can do that — take you back to something you thought you’d lost. That day, I knew I had to recreate those perfect soft sugar cookies with glossy royal icing myself. I mean, maybe you’ve been there, chasing a recipe that’s more than just food, but a flicker of a moment you want to hold onto. This recipe isn’t just about cookies; it’s about capturing that exact texture, that perfect sweetness, and the smooth, shiny icing that made those moments so real. It’s my little tribute to Mrs. Jensen’s magic kitchen, and I keep making it whenever I need a taste of that old joy (and yes, sometimes I mess up the icing, or forget the vanilla, but that’s part of the fun).
So, if you’re craving soft, melt-in-your-mouth sugar cookies topped with that iconic glossy royal icing, stick with me. I’ve got a step-by-step guide that’s as close as you can get to that bakery magic — no special equipment or fancy ingredients needed, just some patience and a bit of love.
Why You’ll Love This Recipe
After testing many sugar cookie recipes and royal icing techniques, I can confidently say this is the best way to get that soft, tender cookie and smooth, glossy icing that doesn’t crack or dull. Here’s why this recipe stands out from the rest:
- Quick & Easy: These sugar cookies come together in under 30 minutes of active prep time, making them ideal for last-minute baking sessions or weekend treats.
- Simple Ingredients: You probably have everything in your pantry already — no exotic spices or hard-to-find extracts.
- Perfect for Festive Occasions: From holiday cookie swaps to birthday parties, these cookies fit the bill, looking beautiful with their glossy royal icing finish.
- Crowd-Pleaser: Kids and adults alike rave about the soft texture and the classic sweet flavor — it’s that nostalgic comfort food everyone loves.
- Unbelievably Delicious: The subtle vanilla in the cookie pairs perfectly with the delicate sweetness of the icing, giving you that mouthwatering balance.
This isn’t just another sugar cookie recipe. The secret is in the chilling step and the royal icing’s precise consistency — it’s what gives the icing that mirror-like shine without becoming too hard. Plus, I’ve adjusted the sugar and butter ratio to keep the cookies soft even days after baking. Honestly, it’s the kind of recipe that makes you close your eyes on the first bite and remember exactly why you love baking in the first place.
What Ingredients You Will Need
This recipe uses simple, wholesome ingredients to deliver bold flavor and satisfying softness without fuss. Most are pantry staples, but I’ll note a few tips for selecting the best versions.
- For the Sugar Cookies:
- 2 ¾ cups (345g) all-purpose flour – sifted for a tender crumb (King Arthur Flour works great)
- 1 teaspoon baking powder – for just enough lift
- ½ teaspoon salt – balances the sweetness
- 1 cup (227g) unsalted butter, softened – the quality matters here; I like Plugrá for its creaminess
- 1 ¼ cups (250g) granulated sugar – for sweetness and slight crisp on edges
- 1 large egg, room temperature – helps with moisture and binding
- 1 teaspoon pure vanilla extract – the star flavor (don’t skimp on this!)
- 2 tablespoons whole milk – adds tenderness (use dairy-free milk if needed)
- For the Glossy Royal Icing:
- 3 cups (360g) powdered sugar, sifted – ensures smooth icing without lumps
- 2 tablespoons meringue powder – for stability and shine (Wilton brand is reliable)
- 5-6 tablespoons warm water – adjust for consistency
- 1 teaspoon lemon juice – adds brightness and helps with drying
- Optional: gel food coloring – if you want to add color without changing texture
If you’re baking in summer, I sometimes swap whole milk for buttermilk to add a slight tang and extra softness. Also, for gluten-free friends, almond or oat flour can replace all-purpose flour with some texture differences but still delicious results.
Equipment Needed
To make these perfect soft sugar cookies with royal icing, you don’t need fancy gadgets, but a few basics will make your life easier:
- Mixing Bowls: At least two — one for the cookie dough, one for the icing.
- Electric Mixer: A stand mixer or hand mixer helps cream butter and sugar smoothly. I’ve tried both, and honestly, a hand mixer works just fine if you don’t have a stand one.
- Measuring Cups and Spoons: Precision matters here, especially for flour and sugar.
- Rolling Pin: For evenly rolling out the dough.
- Cookie Cutters: Your choice of shapes — I love classic circles or festive stars.
- Baking Sheets: Preferably heavy-duty with a silicone baking mat or parchment paper to prevent sticking.
- Cooling Rack: To cool cookies completely before icing.
- Piping Bags and Tips: For royal icing application. If you don’t have these, a zip-top bag with a small corner snipped works in a pinch.
If you don’t have meringue powder, you can use pasteurized egg whites, but be cautious about food safety, especially if serving to kids or elderly. For rolling pin alternatives, a smooth wine bottle also works just fine.
Preparation Method
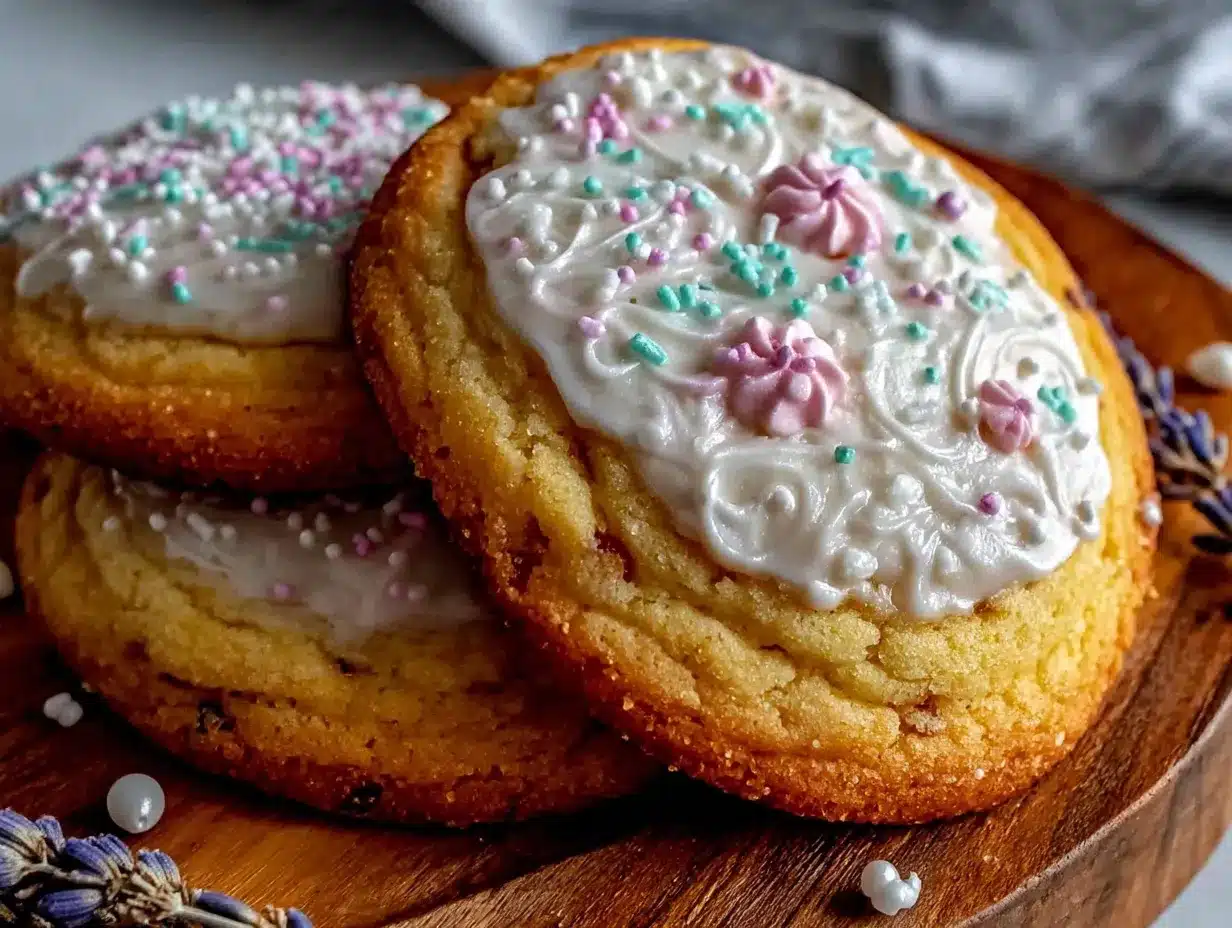
- Mix Dry Ingredients: In a medium bowl, whisk together 2 ¾ cups (345g) sifted all-purpose flour, 1 teaspoon baking powder, and ½ teaspoon salt. Set aside. This ensures even distribution and a tender cookie texture. (Approx. 5 minutes)
- Cream Butter and Sugar: In a large bowl, beat 1 cup (227g) softened unsalted butter with 1 ¼ cups (250g) granulated sugar until light and fluffy. This usually takes about 3-4 minutes on medium speed. You’ll notice the mixture lighten in color and become creamy. Don’t rush this step; it’s key for softness.
- Add Egg and Vanilla: Beat in 1 large room-temperature egg and 1 teaspoon pure vanilla extract until combined. The batter may look slightly curdled — that’s normal.
- Incorporate Dry Ingredients and Milk: Gradually add the flour mixture alternately with 2 tablespoons whole milk, starting and ending with flour. Mix just until combined; overmixing can make cookies tough. The dough should be soft but not sticky. If it’s too sticky, add a tablespoon more flour.
- Chill the Dough: Shape dough into a disk, wrap in plastic wrap, and refrigerate for at least 1 hour. I know chilling feels like a hassle, but it makes rolling easier and prevents spreading during baking.
- Preheat Oven and Prepare Baking Sheets: Preheat to 350°F (175°C). Line baking sheets with parchment paper or silicone mats.
- Roll and Cut: On a lightly floured surface, roll chilled dough to about ¼ inch (6mm) thickness. Use cookie cutters to cut shapes and place them about 1 inch (2.5cm) apart on prepared sheets. Re-roll scraps once or twice, but try not to overwork the dough.
- Bake: Bake for 8-10 minutes, until edges are just starting to turn golden but centers remain soft. Avoid overbaking — these cookies bake quickly and will firm up as they cool.
- Cool Completely: Transfer cookies to a cooling rack and cool fully before icing. Warm cookies will melt the royal icing and ruin that glossy finish.
- Prepare Royal Icing: In a clean bowl, combine 3 cups (360g) sifted powdered sugar, 2 tablespoons meringue powder, and 1 teaspoon lemon juice. Add 5 tablespoons warm water and beat on medium-high speed until glossy and thick, about 5 minutes. Adjust water to reach flood consistency — it should spread smoothly but hold shape.
- Ice the Cookies: Transfer icing to piping bags. Outline the cookies first if you want a clean edge, then flood the center with more icing. Tap the cookie gently on the table to settle the icing and remove air bubbles. Add decorations if desired before icing sets.
- Dry: Let the decorated cookies dry at room temperature for at least 4 hours, preferably overnight, to develop that perfect glossy shell.
If the icing thickens as you work, add a few drops of water to thin it out. Also, keep unused icing covered with a damp cloth to prevent it from drying out.
Cooking Tips & Techniques
When it comes to perfect soft sugar cookies with glossy royal icing, a few insider tips go a long way:
- Don’t Skip Chilling: Chilling the dough is crucial. It helps the dough relax, making it easier to roll and cut without cracking. Plus, it prevents excessive spreading during baking, keeping your cookies thick and soft.
- Watch Your Oven: Ovens vary, so keep a close eye between 8-10 minutes. The cookies should look set but not browned. Overbaked sugar cookies turn crisp, losing that soft, tender bite.
- Consistency is Key for Royal Icing: Too thick and the icing won’t spread smoothly; too thin and it’ll run off the cookie. I learned the hard way — a watery icing can ruin hours of work. Test by dragging a spoon through the icing; it should smooth out within 10 seconds.
- Use Meringue Powder: It’s the secret for glossy, stable royal icing that dries hard without cracks. Fresh egg whites are riskier and less reliable.
- Practice Piping: If you’re new to royal icing, practice piping on parchment paper before decorating cookies. It helps you gain control over pressure and flow.
- Storage Matters: Store iced cookies in an airtight container with parchment between layers to avoid sticking. Keep at room temperature to maintain softness.
One time, I forgot to chill the dough and ended up with flat, crispy cookies that day — lesson learned the hard way! So don’t rush that step. Also, multitasking by preparing icing while cookies bake saves time and keeps the workflow smooth.
Variations & Adaptations
Want to mix things up? Here are a few ways to customize these perfect soft sugar cookies with glossy royal icing:
- Flavor Twists: Add a teaspoon of almond or lemon extract in place of vanilla for a subtle flavor change. I once made a batch with a hint of orange zest in the dough — surprisingly delightful!
- Dietary Options: Use gluten-free flour blends to make these cookies gluten-free (Bob’s Red Mill 1-to-1 works well). For dairy-free, swap butter with vegan butter and milk with almond or oat milk.
- Colorful Icing: Mix gel food coloring into the royal icing for festive themes — perfect for holidays or themed parties.
- Different Shapes & Sizes: Mini cookies bake faster (about 6-7 minutes) and are great for bite-sized treats. Larger shapes need a slightly longer bake time.
- Alternative Icing: If royal icing isn’t your thing, try cream cheese frosting for a softer, tangier topping, though it won’t have the same glossy finish.
Personally, I enjoy making these cookies with a peppermint twist during winter holidays — just add crushed candy canes to the icing for a festive crunch and flavor.
Serving & Storage Suggestions
These soft sugar cookies are best served at room temperature to enjoy their tender texture and glossy icing shine. Arrange them on a pretty platter for guests or package them in decorative tins for gifting.
Pair these cookies with a warm cup of tea or a glass of cold milk for that classic combo. For an adult twist, they’re surprisingly good alongside a mild dessert wine or spiced coffee.
To store, layer cookies in an airtight container separated by parchment or wax paper to keep icing from sticking. They keep well at room temperature for up to 5 days.
If you want to keep them longer, freeze un-iced cookies in a sealed bag for up to 3 months. Thaw completely before icing.
When reheating iced cookies, avoid microwaving as it can soften the icing too much. Instead, let them come to room temperature naturally—the flavor and texture actually improve after a day as the flavors meld.
Nutritional Information & Benefits
Per cookie (based on 24 cookies from the recipe): approximately 140 calories, 7g fat, 20g carbohydrates, 1g protein.
The key ingredients like unsalted butter provide richness and moisture, while the egg adds protein and structure. Vanilla extract offers flavor without calories, and the powdered sugar in the icing is finely sifted for smoothness.
This recipe is naturally gluten-containing but can be adapted for gluten-free diets. It’s not low-carb due to sugar content, so it’s best enjoyed as an occasional treat.
While these sugar cookies aren’t a health food, making them from scratch lets you control the ingredients and avoid preservatives or artificial colors often found in store-bought cookies.
Conclusion
If you’ve been searching for the perfect soft sugar cookies with glossy royal icing that truly capture that bakery magic, I hope this recipe becomes your go-to. It’s simple enough for beginners, yet delivers that wow factor every time. Remember, the secret lies in patience — chilling the dough, careful baking, and mastering your royal icing consistency.
I love this recipe because it’s more than just cookies — it’s a little piece of joy, a connection to those warm, quiet moments in the kitchen. Don’t be afraid to make it your own, tweak flavors, or try different decorating styles.
Feel free to share your baking adventures or ask questions below — I’m always excited to hear from fellow cookie lovers. Now, go ahead and make your kitchen smell like that sweet, buttery memory again!
FAQs
- How do I keep sugar cookies soft for days? Chilling the dough before baking and not overbaking helps keep them soft. Store cookies in an airtight container at room temperature with parchment paper between layers.
- Can I use fresh egg whites instead of meringue powder for royal icing? Yes, but be cautious about food safety, especially if serving to children. Meringue powder is safer and gives more consistent results.
- Why is my royal icing not glossy? Usually, it’s due to the wrong consistency or not beating the icing long enough. Make sure to sift your powdered sugar and beat the icing until it’s shiny and holds peaks.
- Can I freeze these sugar cookies? Yes! Freeze un-iced cookies in an airtight bag for up to 3 months. Thaw fully before decorating with icing.
- What can I substitute for all-purpose flour in this recipe? For gluten-free options, use a 1-to-1 gluten-free flour blend. The texture might be slightly different but still tasty.
Pin This Recipe!
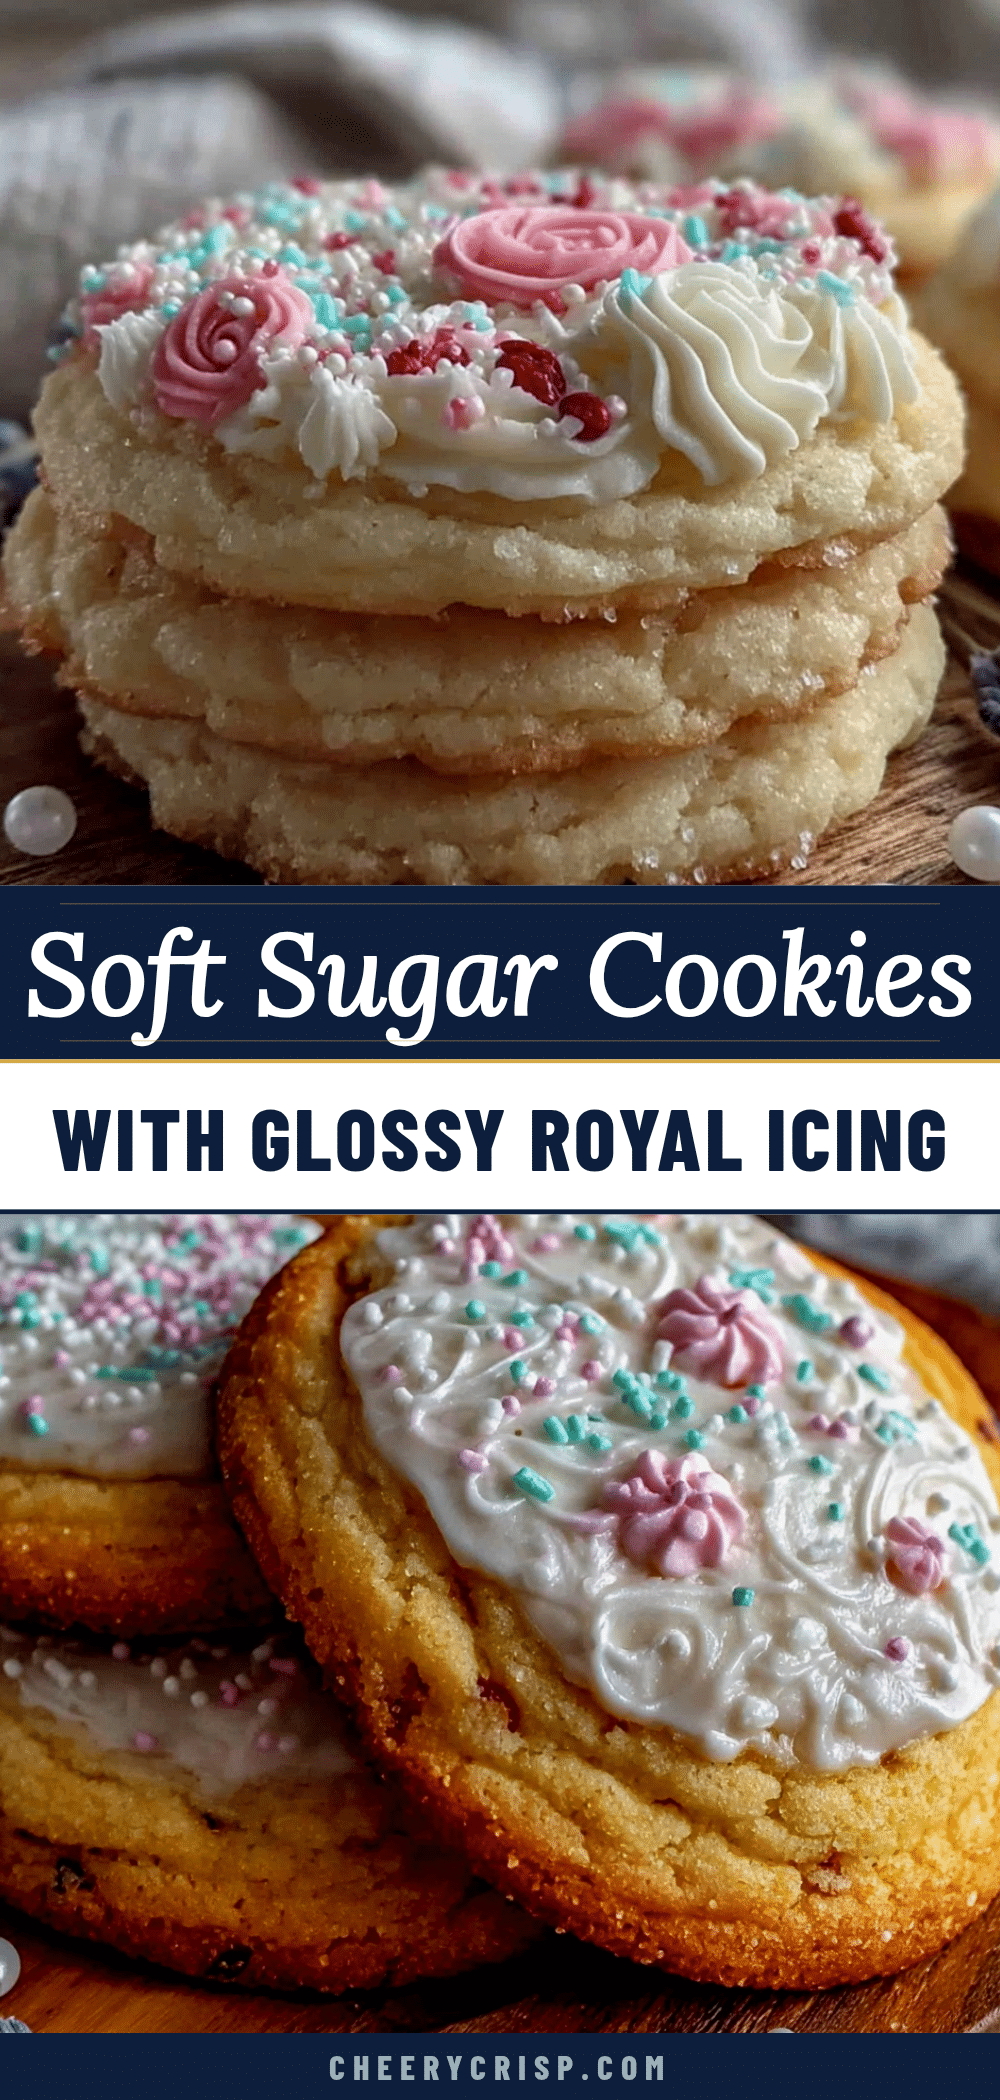
Perfect Soft Sugar Cookies Recipe with Glossy Royal Icing

A nostalgic recipe for soft, tender sugar cookies topped with smooth, glossy royal icing that captures the magic of bakery-style treats. Easy to make with simple ingredients and perfect for festive occasions.
- Prep Time: 25 minutes
- Cook Time: 10 minutes
- Total Time: 1 hour 35 minutes
- Yield: 24 cookies 1x
- Category: Dessert
- Cuisine: American
Ingredients
- 2 3/4 cups (345g) all-purpose flour, sifted
- 1 teaspoon baking powder
- 1/2 teaspoon salt
- 1 cup (227g) unsalted butter, softened
- 1 1/4 cups (250g) granulated sugar
- 1 large egg, room temperature
- 1 teaspoon pure vanilla extract
- 2 tablespoons whole milk
- 3 cups (360g) powdered sugar, sifted
- 2 tablespoons meringue powder
- 5–6 tablespoons warm water
- 1 teaspoon lemon juice
- Optional: gel food coloring
Instructions
- Mix dry ingredients: whisk together flour, baking powder, and salt in a medium bowl; set aside.
- Cream butter and sugar: beat softened butter with granulated sugar until light and fluffy, about 3-4 minutes.
- Add egg and vanilla: beat in egg and vanilla extract until combined.
- Incorporate dry ingredients and milk: gradually add flour mixture alternately with milk, mixing just until combined; dough should be soft but not sticky.
- Chill the dough: shape dough into a disk, wrap in plastic wrap, and refrigerate for at least 1 hour.
- Preheat oven to 350°F (175°C) and prepare baking sheets with parchment paper or silicone mats.
- Roll and cut: roll chilled dough to 1/4 inch thickness, cut shapes with cookie cutters, and place 1 inch apart on baking sheets.
- Bake for 8-10 minutes until edges start to turn golden but centers remain soft.
- Cool completely on a cooling rack before icing.
- Prepare royal icing: combine powdered sugar, meringue powder, and lemon juice; add warm water and beat until glossy and thick, adjusting water for flood consistency.
- Ice the cookies: outline cookies with icing, then flood centers; tap gently to remove air bubbles and add decorations if desired.
- Dry: let decorated cookies dry at room temperature for at least 4 hours or overnight.
Notes
Chilling the dough is essential to prevent spreading and ensure soft cookies. Watch baking time closely to avoid overbaking. Use meringue powder for stable, glossy royal icing. Practice piping on parchment paper if new to decorating. Store iced cookies in airtight containers with parchment between layers to maintain softness. Freeze un-iced cookies for up to 3 months.
Nutrition
- Serving Size: 1 cookie
- Calories: 140
- Fat: 7
- Carbohydrates: 20
- Protein: 1
Keywords: soft sugar cookies, royal icing, glossy icing, holiday cookies, easy sugar cookies, cookie decorating, baking



