Love this? Save it for later!
Share the inspiration with your friends
Introduction
It was 11:37 PM on a quiet Wednesday, and an odd craving for something tangy and crunchy hit me like a freight train. I didn’t have the usual jars of pickles stashed away, but I did have a basket of cucumbers sitting on the counter and a wild idea that maybe, just maybe, I could make crunchy dill pickles without breaking out the canner. The kitchen was dim, the hum of the fridge was the only soundtrack, and honestly, I was a bit half-asleep when I grabbed the garlic and dill from the spice rack. The thought of waiting days for perfectly briny pickles felt like a small rebellion against the usual slow food rituals.
As I chopped and mixed in that quiet kitchen, the sizzle of mustard seeds hitting the hot water was oddly satisfying. Maybe you’ve been there — that late-night impulse to turn what you have into something unexpectedly brilliant. The best part? This recipe skips the complicated canning step and still delivers that unmistakable crunch and bold dill flavor that makes pickles a joy to snack on. It’s a little messy (I may have dropped a garlic clove on the floor mid-prep), but it stuck with me because it’s straightforward, quick-ish, and honestly, a bit addictive.
So if you’re up late, staring at cucumbers and wondering if you could make your own easy crunchy refrigerator dill pickles, let me tell you — you can. And you’ll want to keep making them, just like I do.
Why You’ll Love This Recipe
After testing countless pickle recipes, this easy crunchy refrigerator dill pickles recipe stands out for a handful of reasons that I think you’ll appreciate:
- Quick & Easy: Ready in just a few days, no need for hours of boiling or specialized equipment.
- Simple Ingredients: Uses basic pantry staples and fresh cucumbers—no obscure spices or fancy jars required.
- Perfect for Snacks & Sandwiches: Adds a punch of flavor to any lunch, picnic, or casual gathering.
- Crowd-Pleaser: My family (including picky eaters) can’t get enough of the crisp texture and bright dill taste.
- Unbelievably Delicious: The balance of tangy brine and herbaceous dill is just right—not too sour, not too bland.
What makes this recipe different? Honestly, it’s the no-canning approach that feels like a secret weapon during busy weeks. The brine is perfectly seasoned, and the mustard seeds add a subtle zing that lifts the flavor profile. Plus, the texture stays crunchy thanks to a little trick I’ll share below. It’s like the pickles you wish you could grab at any deli, but homemade and way more satisfying. Whether you’re new to pickling or have been around the jar a few times, this is a recipe that feels both familiar and fresh.
What Ingredients You Will Need
This recipe uses simple, wholesome ingredients to deliver bold flavor and satisfying texture without the fuss. Most of these you probably have in your kitchen right now.
- Fresh cucumbers (about 4-5 medium-sized Kirby or Persian cucumbers; small and firm cucumbers work best for crunch)
- Fresh dill (a few sprigs, leaves and stems—this is the star herb!)
- Garlic cloves (3-4, peeled and lightly crushed for flavor release)
- White vinegar (1 cup / 240 ml; I like Heinz for consistent acidity)
- Water (1 cup / 240 ml; filtered or tap is fine)
- Pickling salt or kosher salt (1 tablespoon; avoid iodized salt which can cloud the brine)
- Mustard seeds (1 teaspoon; adds a subtle bite)
- Black peppercorns (1 teaspoon; whole is best for flavor)
- Red pepper flakes (optional, ¼ teaspoon for a mild kick)
- Bay leaf (1 small leaf for depth)
- Optional crispness booster: A small piece of horseradish leaf or a few grape leaves (these contain tannins that help keep pickles crunchy)
If you don’t have mustard seeds, crushed dill seeds can work in a pinch. And if you want to make these vegan or dairy-free friendly, no worries—this recipe is naturally plant-based. For a seasonal twist, you can swap fresh dill with fresh tarragon or add fresh thyme for a different herbaceous note. In summer, swapping for freshly picked cucumbers from a local farmer’s market totally ups the flavor game.
Equipment Needed
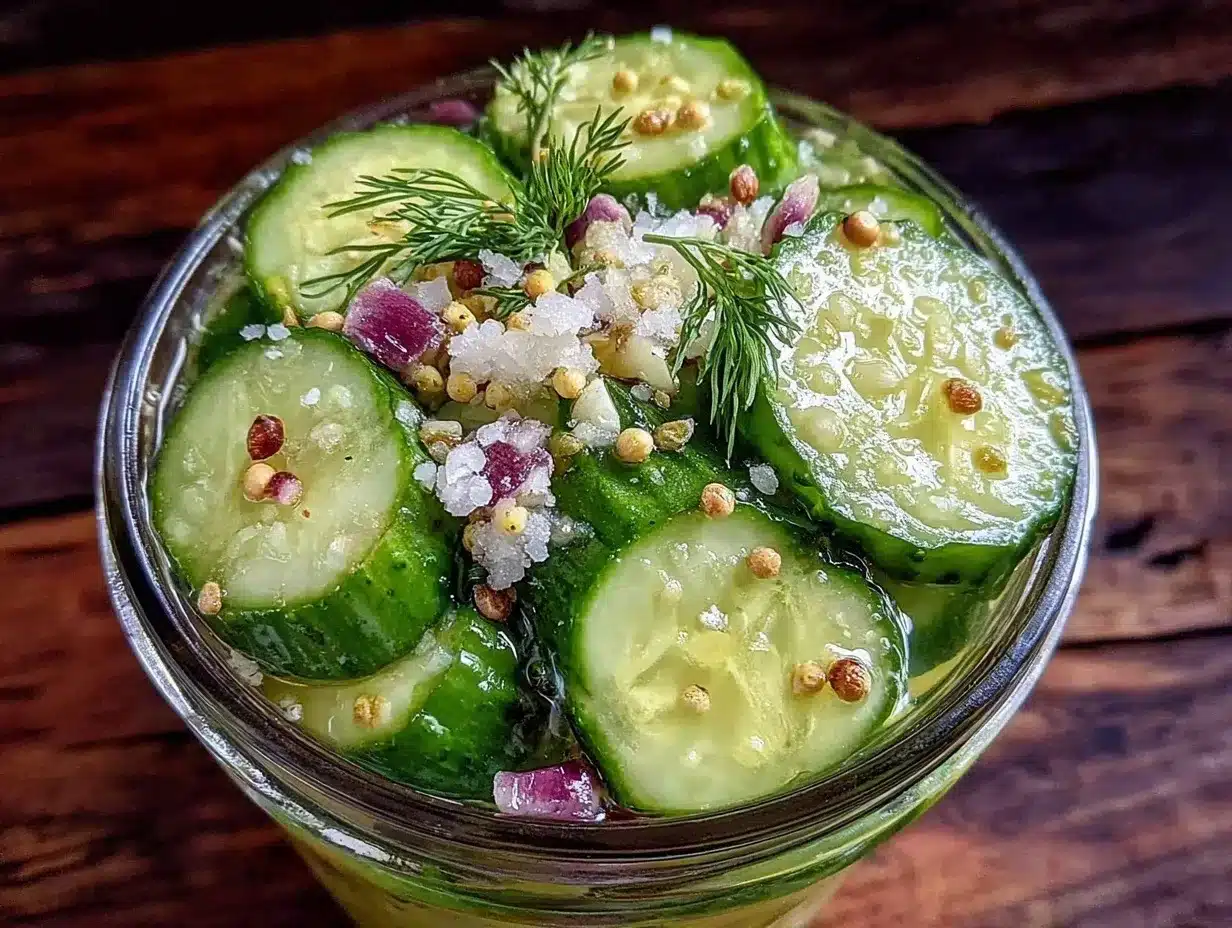
Making these easy crunchy refrigerator dill pickles requires minimal kitchen tools—no fancy canning setup necessary.
- Glass jars with lids: Quart-sized Mason jars or any clean glass container with a tight seal work perfectly. I prefer wide-mouth jars because they’re easier to pack and clean.
- Measuring cups and spoons: For accurate brine ratios.
- Mixing bowl or small saucepan: To heat and combine the brine ingredients.
- Sharp knife and cutting board: For slicing cucumbers (I sometimes leave mine whole for spears).
- Tongs or chopsticks: Helpful for packing cucumbers into jars without bruising.
If you don’t have Mason jars, any clean glass container with a lid will do, just make sure it seals well to keep the pickles fresh. Personally, I’ve tried plastic containers, but the glass just keeps the flavors pure and the texture crisp. Also, avoid metal lids that might corrode when in contact with vinegar. Budget-wise, buying a set of reusable jars is a smart move—they’re versatile for other recipes like slow cooker braised beef too!
Preparation Method
- Wash and slice cucumbers: Rinse your cucumbers thoroughly under cold water. Trim off the blossom end of each cucumber (this part can release enzymes that soften pickles). Slice into spears or rounds, about ¼ inch thick, depending on your preference. (Time: 10 minutes)
- Prepare the brine: In a small saucepan, combine 1 cup white vinegar, 1 cup water, 1 tablespoon pickling salt, mustard seeds, peppercorns, red pepper flakes (if using), and the bay leaf. Heat over medium heat just until the salt dissolves and the mixture is warm—not boiling. Turn off heat and let cool slightly. (Time: 5 minutes)
- Pack the jars: Place a few sprigs of fresh dill and garlic cloves at the bottom of each jar. Then, tightly pack the cucumber slices, leaving about ½ inch of headspace at the top. If using, add a horseradish or grape leaf on top for crispness. (Time: 5-7 minutes)
- Pour the brine: Carefully pour the warm brine over the cucumbers in the jars, covering them completely. Tap the jar gently on the counter to release air bubbles. Wipe the rim and seal with the lid. (Time: 3 minutes)
- Cool and refrigerate: Let the jars cool to room temperature, then place them in the refrigerator. Let the pickles marinate for at least 48 hours before tasting, but the flavor deepens after 4-5 days. (Time: 2 days minimum)
- Check for crunch: After a couple of days, test a pickle. If it’s not crunchy enough, leave it longer. The horseradish leaf trick usually keeps them crisp. If you want to speed things up, you can add ice cubes to the brine before refrigerating to keep a crisp bite.
Important tips: Don’t skip trimming the blossom ends! Also, avoid boiling the brine vigorously; gentle warming is all you need to dissolve the salt. And pack the cucumbers tightly—this keeps them submerged and evenly flavored. A cracked jar once spilled brine all over my counter, so double-check your seals before storage.
Cooking Tips & Techniques
Making crunchy pickles without canning can be tricky, but these tips have saved me more than once:
- Use fresh, firm cucumbers: Old or soft cucumbers will never get that satisfying crunch no matter what.
- Trim the blossom end: That little step is a game-changer for texture.
- Keep cucumbers submerged: Use a fermentation weight or small clean object if necessary to keep them under the brine.
- Don’t overheat the brine: Heating just enough to dissolve salt preserves the fresh flavor and prevents mushiness.
- Add tannin-rich leaves: Horseradish or grape leaves help maintain crunch naturally—trust me, it works.
- Store in the fridge: This recipe is not shelf-stable, so keep the pickles chilled and consume within 3-4 weeks for best taste.
One time, I left the brine boiling a little too long and ended up with pickles that tasted more like vinegar bombs than anything else. Lesson learned: low and slow wins the day. Also, multitasking is key—while the brine cools, I prep the cucumbers and garlic to keep things moving efficiently. And if you’re the type who likes to experiment, try smashing a few garlic cloves for a more intense bite.
Variations & Adaptations
This easy crunchy refrigerator dill pickles recipe is versatile and forgiving, letting you tweak it to your taste and needs.
- Spicy Pickles: Add sliced jalapeños or increase red pepper flakes for a fiery crunch.
- Garlic Lovers’ Pickles: Double the garlic cloves or roast them beforehand for a mellow, sweet twist.
- Herb Variations: Swap dill for fresh tarragon, basil, or thyme for a unique flavor profile.
- Vinegar Substitutions: Use apple cider vinegar for a slightly sweeter brine or white wine vinegar for a delicate tang.
- Low Sodium Option: Reduce salt by half and add a splash of lemon juice for brightness.
For a personal twist, once I added a splash of soy sauce to the brine, creating a savory umami edge that my husband couldn’t stop commenting on. If you want to try a roasted chicken thighs recipe alongside these pickles, the contrast of flavors is fantastic.
Serving & Storage Suggestions
These easy crunchy refrigerator dill pickles are best served chilled straight from the jar. They bring a refreshing crunch to sandwiches, burgers, or as a tangy side to grilled meats. I love pairing them with rich, creamy dishes like potato salad or alongside a sharp cheddar cheese plate.
Store the pickles in their brine in the refrigerator. They keep well for up to 4 weeks, but I recommend eating them within 2-3 weeks for peak crunch and flavor. When reheating isn’t needed, but if you want to serve warm pickled vegetables, try briefly warming the brine before adding fresh cucumbers (though that’s a different recipe adventure).
Flavor-wise, the pickles deepen over time, becoming more tangy and infused with dill and garlic. Sometimes, after a week, I swear the aroma in the fridge is almost like a little celebration. Just remember to keep the cucumbers submerged to avoid spoilage.
Nutritional Information & Benefits
This recipe is naturally low in calories, fat-free, and provides a good source of probiotics when fermented, although this particular refrigerator method is quick-pickled rather than fermented. Cucumbers add hydration and a touch of fiber, while garlic and dill contribute antioxidants and anti-inflammatory benefits. The vinegar supports digestion and blood sugar regulation.
These pickles are gluten-free, vegan, and keto-friendly, making them an excellent snack or condiment for various diets. However, they do contain sodium from the pickling salt, so consider that if you’re on a low-sodium diet. Personally, I find the health benefits and flavor combo make these pickles a guilt-free pleasure to snack on.
Conclusion
If you’ve been searching for a no-fuss, no-canning-needed pickle recipe that delivers crunch and flavor, this easy crunchy refrigerator dill pickles recipe is your new best friend. It’s approachable for beginners, flexible for experimenters, and reliably delicious every time. I love it because it turns simple ingredients into something unexpectedly satisfying, without tying me to the stove or breaking out the pressure cooker.
Feel free to customize the garlic, spice, and herb levels to make it truly your own. And hey, if you give it a try, I’d love to hear how your batch turned out or what twists you added! Go ahead and drop a comment below, share this recipe with your fellow pickle lovers, and get ready to impress yourself with how easy homemade pickles can be.
Remember, sometimes the best kitchen magic happens after hours, when you’re just you, the cucumbers, and a little bit of late-night inspiration.
FAQs
How long do refrigerator dill pickles last?
They keep well for about 3 to 4 weeks in the refrigerator. For best crunch and flavor, consume within 2 to 3 weeks.
Can I use regular cucumbers for this recipe?
Kirby or Persian cucumbers are best because they’re small and firm. Regular slicing cucumbers can work but might result in softer pickles.
Do I need to sterilize the jars?
Since these pickles are stored in the fridge and not canned, washing the jars thoroughly with hot soapy water is sufficient.
Can I make these pickles spicy?
Absolutely! Add sliced jalapeños or increase the amount of red pepper flakes to suit your heat preference.
What’s the purpose of trimming the blossom end?
Trimming the blossom end removes enzymes that can cause the pickles to become soft over time, helping them stay crunchy longer.
Pin This Recipe!
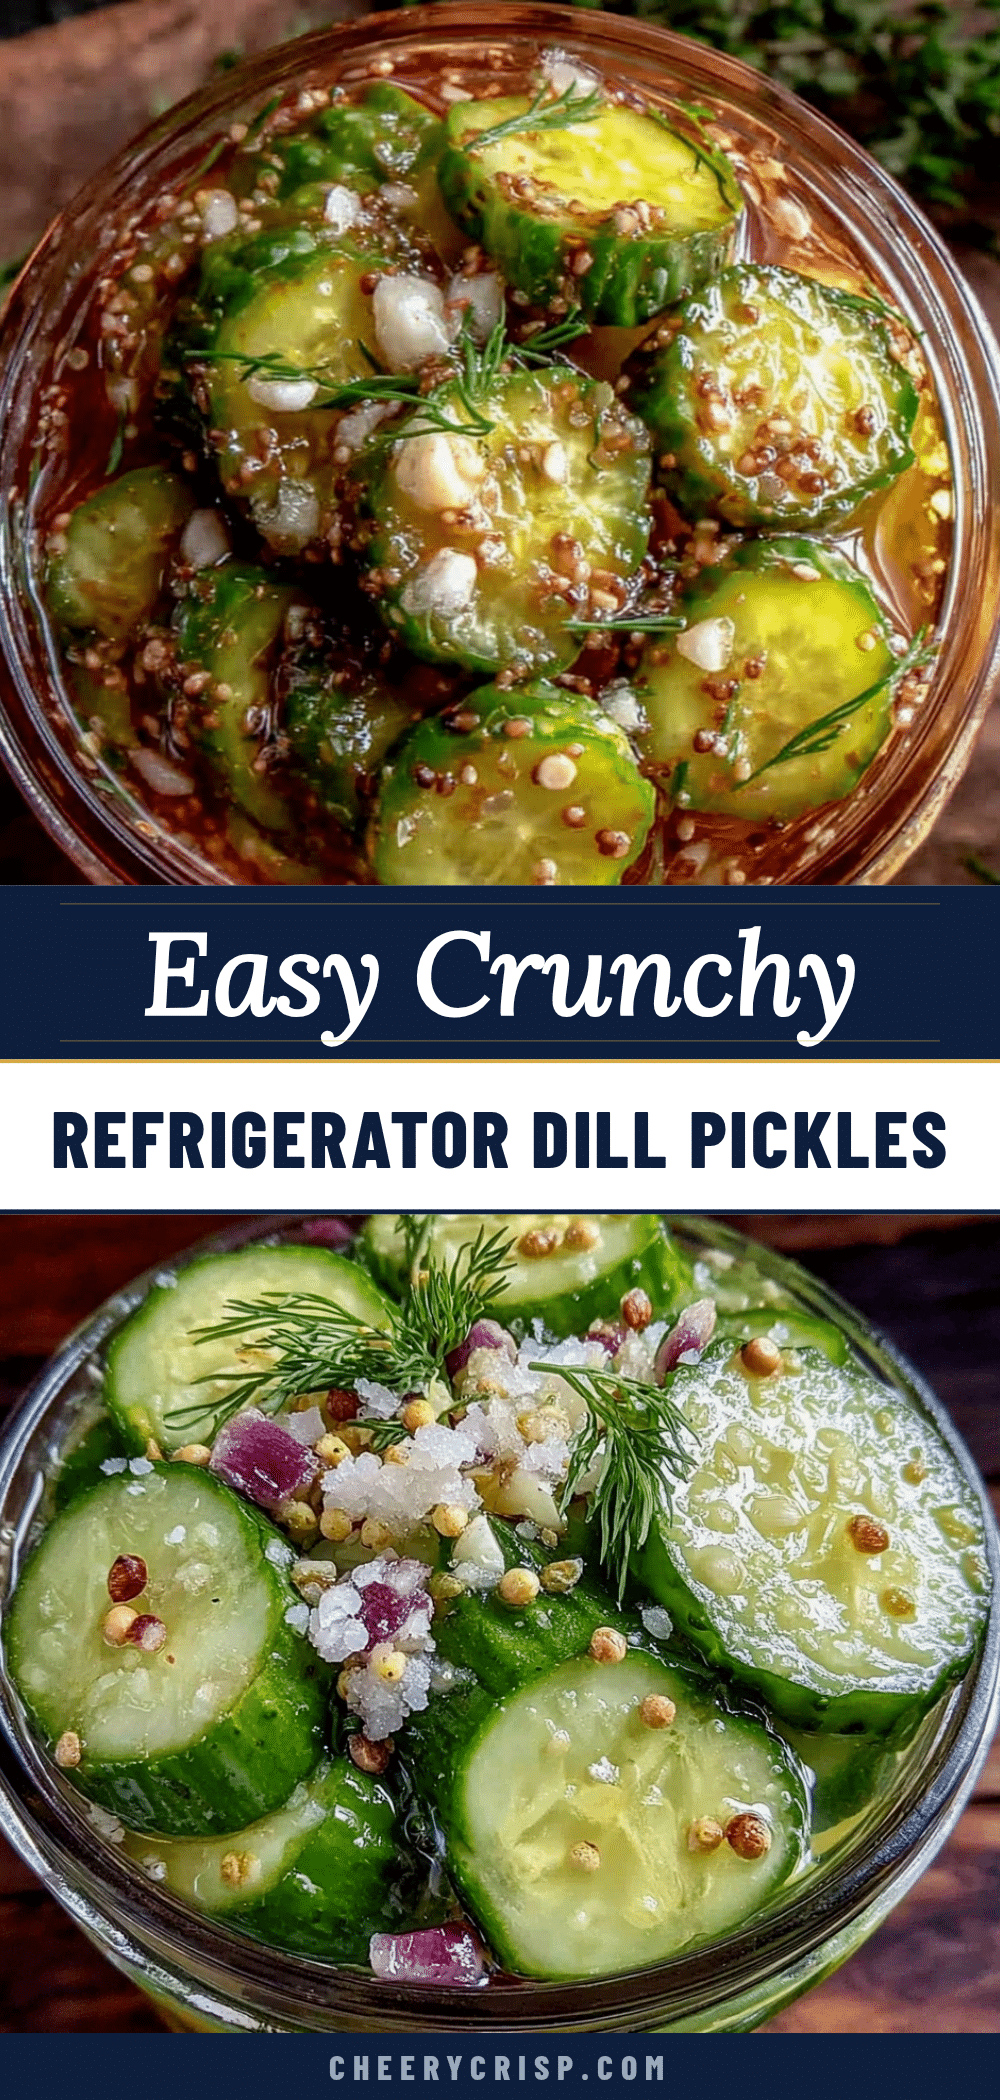
Easy Crunchy Refrigerator Dill Pickles Recipe No Canning Needed Guide
A quick and easy recipe for crunchy dill pickles that requires no canning, using simple ingredients and a refrigerator pickling method for bold flavor and satisfying texture.
- Prep Time: 15 minutes
- Cook Time: 5 minutes
- Total Time: 2 days minimum (for marinating)
- Yield: 4-5 servings 1x
- Category: Condiment
- Cuisine: American
Ingredients
- 4–5 medium-sized Kirby or Persian cucumbers (small and firm cucumbers work best for crunch)
- A few sprigs fresh dill (leaves and stems)
- 3–4 garlic cloves, peeled and lightly crushed
- 1 cup white vinegar (240 ml)
- 1 cup water (240 ml)
- 1 tablespoon pickling salt or kosher salt (avoid iodized salt)
- 1 teaspoon mustard seeds
- 1 teaspoon whole black peppercorns
- ¼ teaspoon red pepper flakes (optional)
- 1 small bay leaf
- Optional crispness booster: small piece of horseradish leaf or a few grape leaves
Instructions
- Wash and slice cucumbers: Rinse cucumbers thoroughly under cold water. Trim off the blossom end of each cucumber. Slice into spears or rounds about ¼ inch thick, depending on preference. (10 minutes)
- Prepare the brine: In a small saucepan, combine white vinegar, water, pickling salt, mustard seeds, peppercorns, red pepper flakes (if using), and bay leaf. Heat over medium heat just until salt dissolves and mixture is warm, not boiling. Turn off heat and let cool slightly. (5 minutes)
- Pack the jars: Place a few sprigs of fresh dill and garlic cloves at the bottom of each jar. Tightly pack cucumber slices, leaving about ½ inch headspace. Add horseradish or grape leaf on top for crispness if using. (5-7 minutes)
- Pour the brine: Carefully pour warm brine over cucumbers in jars, covering completely. Tap jars gently to release air bubbles. Wipe rims and seal with lids. (3 minutes)
- Cool and refrigerate: Let jars cool to room temperature, then refrigerate. Let pickles marinate at least 48 hours before tasting; flavor deepens after 4-5 days. (2 days minimum)
- Check for crunch: After a couple of days, test a pickle. If not crunchy enough, leave longer. Use horseradish leaf trick or add ice cubes to brine before refrigerating to keep crisp.
Notes
Trim the blossom end of cucumbers to prevent softening. Use fresh, firm cucumbers for best crunch. Keep cucumbers submerged in brine using a weight if needed. Heat brine gently to dissolve salt without boiling. Store pickles in refrigerator and consume within 3-4 weeks for best flavor and crunch. Adding horseradish or grape leaves helps maintain crispness. Avoid metal lids that can corrode with vinegar.
Nutrition
- Serving Size: About 1/2 cup pickle
- Calories: 10
- Sugar: 1
- Sodium: 500
- Carbohydrates: 2
- Fiber: 0.5
- Protein: 0.3
Keywords: dill pickles, refrigerator pickles, no canning pickles, crunchy pickles, easy pickles, quick pickles, homemade pickles, dill, garlic pickles



