Love this? Save it for later!
Share the inspiration with your friends
Introduction
“You know that feeling when someone swears they hate a dish, yet you catch them sneaking bites when they think no one’s watching?” That was my brother with beer can chicken. For years, he claimed it was all smoke and mirrors—too gimmicky, too messy. Then one humid Saturday afternoon, I whipped up this crispy beer can chicken on the grill with perfectly charred skin, just for myself. Only, I found him hovering by the grill, fork in hand, stealing pieces off the bone before the plating was even done. Honestly, it caught me off guard.
Now, I’m not saying this recipe is a magic trick, but it’s the kind of chicken that makes skeptics pause mid-complaint. The skin crackles just right, the meat stays juicy, and the smoky char adds a depth that’s hard to resist. Plus, the whole setup is a bit of a showstopper at backyard cookouts—though I’ll admit, it took a few tries (and a slightly singed apron) to get the timing down.
Maybe you’ve been there, watching someone turn their nose up, only to see them come back for seconds. This crispy beer can chicken recipe stuck with me because it changed the way we think about grilling poultry—no fuss, just bold flavor and that unbeatable char. So, if you’re ready to prove your own doubts wrong (or just impress a few guests), this one’s for you.
Why You’ll Love This Recipe
After testing more versions than I can count, this crispy beer can chicken recipe stands out for a bunch of reasons. Here’s why it’s become a go-to for busy weekends and casual gatherings alike:
- Quick & Easy: From prep to plating in under 90 minutes—it’s a win when the grill’s calling but time’s tight.
- Simple Ingredients: No need for exotic spices or hard-to-find tools. Most of this is stuff you probably already have on hand.
- Perfect for Backyard Gatherings: Whether it’s a lazy summer afternoon or a spontaneous cookout, this beer can chicken is always a hit.
- Crowd-Pleaser: Kids, adults, even the “I don’t do chicken” crowd usually come around once they taste this.
- Unbelievably Delicious: The skin crisps up with a smoky char that’s pure magic, while the meat stays juicy and tender inside.
What really sets this recipe apart is the balance—no one element overpowering the other. The seasoning is subtle but effective, and the grilling technique locks in moisture while delivering that signature crispy skin. I’ve even swapped in a few favorite spice blends to customize it, but the classic version never disappoints.
Honestly, this isn’t just another grilled chicken recipe. It’s the kind that makes you close your eyes and nod after the first bite, feeling like you’ve just scored a small win in the endless quest for perfect home cooking.
What Ingredients You Will Need
This recipe uses straightforward, pantry-friendly ingredients to achieve that golden, crispy skin and juicy interior without fuss. Here’s what you’ll want to have ready:
- Whole chicken (about 4-5 lbs / 1.8-2.3 kg): I prefer free-range for flavor, but any whole bird works fine.
- Beer (12 oz / 355 ml can): A standard lager or pale ale does the trick; avoid overly bitter or dark stouts.
- Olive oil (2-3 tbsp): For rubbing all over the chicken to help the skin crisp.
- Salt (1 tbsp kosher salt): Essential for seasoning and drawing out moisture for crispiness.
- Black pepper (1 tsp, freshly ground): Adds a subtle kick.
- Paprika (1 tbsp): For color and mild smokiness.
- Garlic powder (1 tsp): Boosts savory notes without overpowering.
- Onion powder (1 tsp): Adds depth to the rub.
- Dried thyme or rosemary (1 tsp): Optional but recommended for aromatic complexity.
Feel free to use kosher salt brands like Diamond Crystal for the best texture. If you’re aiming for a gluten-free meal, double-check your beer choice or substitute with a non-alcoholic sparkling beverage that can stand up to the heat.
For an extra touch, I sometimes add a squeeze of fresh lemon juice inside the bird before grilling to brighten the flavor. It’s a small step but makes a noticeable difference.
Equipment Needed
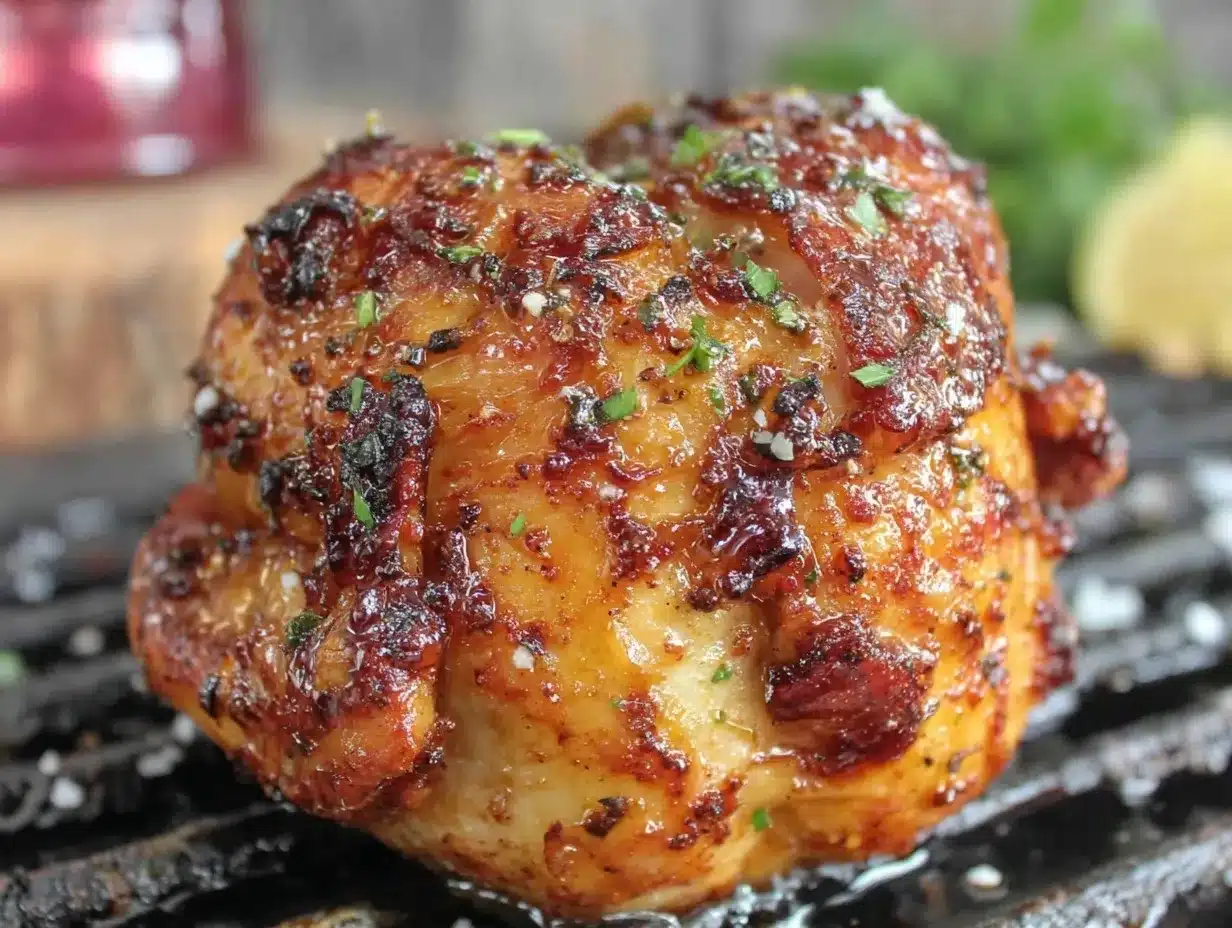
Here’s what you’ll need to get this crispy beer can chicken on the grill:
- Charcoal or gas grill: Both work well; gas offers easier temperature control, charcoal adds smokier notes.
- Beer can chicken holder or roasting stand: Not mandatory, but it keeps the chicken stable and upright on the grill.
- Meat thermometer: A must-have to check internal temperature for perfectly cooked chicken.
- Tongs and heat-resistant gloves: For safely handling the hot chicken and grill.
- Basting brush (optional): Handy if you want to add extra oil or marinade during grilling.
If you don’t have a dedicated beer can holder, you can improvise with a sturdy, clean can and a baking rack, but be cautious — the chicken can tip over. I learned this the hard way on my second attempt, when the bird slipped and nearly ruined the grill setup! For budget-friendly options, a simple metal rack and a sturdy beer can do just fine.
Preparation Method
- Preheat your grill: Set up for indirect medium heat, aiming for about 350°F (175°C). If using charcoal, bank the coals to one side.
- Prepare the chicken: Remove giblets, pat dry inside and out with paper towels. Dry skin is key to crispiness.
- Make the spice rub: In a small bowl, mix kosher salt, black pepper, paprika, garlic powder, onion powder, and dried thyme.
- Oil and season the chicken: Rub olive oil all over the bird, then generously apply the spice rub, including inside the cavity.
- Prep the beer can: Open the beer and pour out (or drink!) about a third, leaving roughly 8 oz (240 ml) in the can. You want enough liquid to steam but not overflow.
- Mount the chicken on the can: Carefully place the cavity over the beer can, making sure it stands upright. Use a holder or balance carefully on the grill.
- Place the chicken on the grill: Position over indirect heat, cover the grill, and cook for about 60-75 minutes.
- Check temperature: Insert a meat thermometer into the thickest part of the thigh without touching bone. When it reads 165°F (74°C), the chicken is done.
- Rest the chicken: Carefully remove the bird and let it rest upright for 10 minutes before carving. This helps juices redistribute.
- Carve and serve: Slice carefully to keep the skin intact, and serve with your favorite sides.
Pro tip: If the skin isn’t crisping up enough, move the chicken closer to the heat for the last 5-10 minutes, but watch closely to prevent burning. Also, don’t be tempted to poke or move the chicken too much during cooking—it takes patience, but the results are worth it.
Cooking Tips & Techniques
Grilling beer can chicken can feel a bit intimidating at first, but a few tricks go a long way:
- Pat the skin completely dry: Moisture is the enemy of crispiness. I usually let the chicken air-dry in the fridge for an hour if I have time.
- Use indirect heat: Direct flames will char the skin too fast, leaving the inside undercooked. Setting up a two-zone fire is essential.
- Don’t skip the rest: Resting lets the juices settle, so your chicken stays moist and doesn’t spill out when slicing.
- Watch internal temperature: Overcooked chicken is dry chicken. Invest in a good instant-read thermometer to nail this.
- Be patient: The grill might tempt you to peek and poke, but keeping the lid closed traps heat and smoke, perfect for flavor and texture.
I remember the first time I tried this recipe, I got impatient and opened the lid too often. The chicken took longer and ended up less juicy. Learning to trust the process was a game changer.
Variations & Adaptations
If you want to mix things up or accommodate different preferences, here are some ideas:
- Spice it up: Add cayenne pepper or smoked paprika to the rub for a kick of heat.
- Herb-forward: Stuff the cavity with fresh rosemary, thyme, or lemon halves for aromatic notes.
- Gluten-free option: Use a gluten-free beer or substitute with sparkling water or soda for the steaming effect.
- Oven version: If you don’t have a grill, bake the chicken upright at 375°F (190°C) for about 90 minutes, though you’ll miss some of the smoky char.
- Marinated chicken: Marinate the bird overnight in a mixture of olive oil, garlic, and herbs for deeper flavor.
One personal favorite variation is adding a honey-mustard glaze during the last 10 minutes on the grill — it caramelizes beautifully and adds a tangy-sweet layer.
Serving & Storage Suggestions
This crispy beer can chicken shines best served hot off the grill, skin crackling and meat juicy. I like to slice it carefully and serve with simple sides like grilled corn, coleslaw, or a fresh green salad.
Leftovers? No problem. Wrap tightly in foil and refrigerate for up to 3 days. Reheat gently in the oven at 300°F (150°C) to help keep the skin from getting rubbery. You can also shred the meat for sandwiches or salads.
Fun fact: the flavors often deepen after a day in the fridge, making the next-day chicken perfect for quick lunches or adding to crispy garlic chicken inspired rice bowls.
Nutritional Information & Benefits
A serving (about 1/4 bird) of this grilled beer can chicken provides approximately 350 calories, 25g protein, 25g fat, and minimal carbs, making it a solid choice for a balanced meal.
Chicken is a great lean protein source, supporting muscle health and satiety. Using olive oil adds heart-healthy fats, while the simple spice rub keeps sodium in check compared to pre-packaged options.
This recipe is naturally gluten-free if you choose the right beer or substitute. Just keep in mind potential allergens if you add glazes or sides.
Conclusion
So, why bother with beer can chicken? Because it turns a humble whole bird into something surprisingly special, with crispy skin and juicy meat you can’t help but savor. This recipe has become a favorite for good reason—simple ingredients, straightforward technique, and results that impress without stress.
Feel free to tweak the spices, try different beers, or add your own twist. Cooking should be as much about discovery as the finished dish, right? I love this recipe because it reminds me that sometimes the best meals come from patience, a little experimentation, and maybe a cold beer on the side.
If you give this crispy beer can chicken a try, I’d love to hear how it turned out—drop a comment or share your own spin. Happy grilling!
Frequently Asked Questions
- Can I use a different type of beer? Yes! Light lagers or pale ales work best for a mild flavor. Avoid overly bitter or dark beers that might overpower the chicken.
- What if I don’t have a beer can holder? You can balance the chicken on a clean, sturdy can carefully, or use an empty baking rack. Just be cautious to avoid tipping.
- How do I know when the chicken is done? Use a meat thermometer. The internal temperature should reach 165°F (74°C) in the thickest part of the thigh.
- Can I make this recipe in the oven? Yes! Bake upright at 375°F (190°C) for about 90 minutes, but the smoky grill flavor will be missing.
- Is it safe to cook a chicken on a beer can? Yes, as long as you use a clean, unopened can and handle it carefully. The beer steams the chicken from the inside, keeping it moist.
Pin This Recipe!
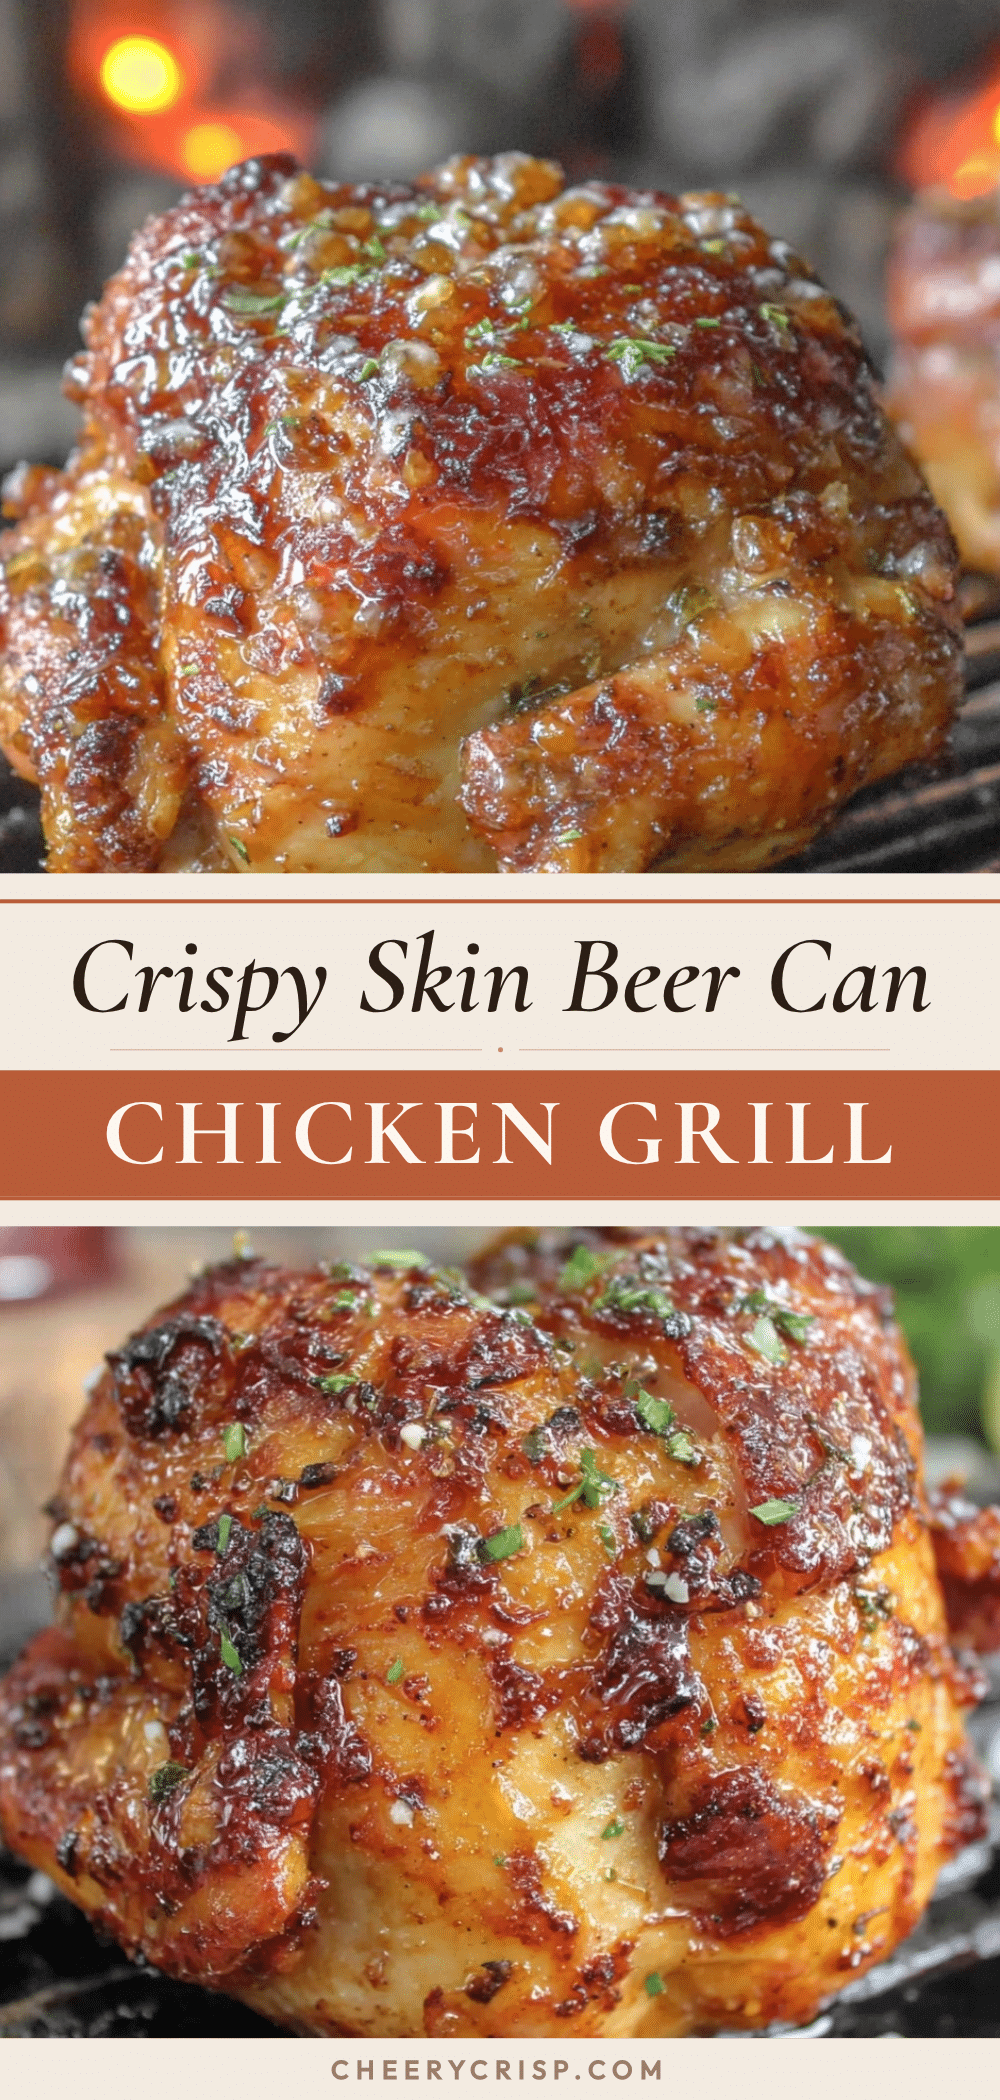
Crispy Beer Can Chicken Recipe Easy Grilled with Perfectly Charred Skin
This crispy beer can chicken recipe delivers perfectly charred skin and juicy meat with a simple spice rub and easy grilling technique, perfect for backyard gatherings and quick weekend meals.
- Prep Time: 15 minutes
- Cook Time: 60-75 minutes
- Total Time: 75-90 minutes
- Yield: 4 servings
- Category: Main Course
- Cuisine: American
Ingredients
- Whole chicken (about 4-5 lbs / 1.8-2.3 kg)
- Beer (12 oz / 355 ml can) – standard lager or pale ale
- Olive oil (2-3 tbsp)
- Salt (1 tbsp kosher salt)
- Black pepper (1 tsp, freshly ground)
- Paprika (1 tbsp)
- Garlic powder (1 tsp)
- Onion powder (1 tsp)
- Dried thyme or rosemary (1 tsp, optional)
- Fresh lemon juice (optional, for inside the bird)
Instructions
- Preheat your grill for indirect medium heat, aiming for about 350°F (175°C). If using charcoal, bank the coals to one side.
- Remove giblets from the chicken and pat dry inside and out with paper towels.
- In a small bowl, mix kosher salt, black pepper, paprika, garlic powder, onion powder, and dried thyme.
- Rub olive oil all over the bird, then generously apply the spice rub, including inside the cavity.
- Open the beer and pour out about a third, leaving roughly 8 oz (240 ml) in the can.
- Carefully place the cavity over the beer can, making sure it stands upright. Use a holder or balance carefully on the grill.
- Position the chicken over indirect heat, cover the grill, and cook for about 60-75 minutes.
- Insert a meat thermometer into the thickest part of the thigh without touching bone. When it reads 165°F (74°C), the chicken is done.
- Carefully remove the bird and let it rest upright for 10 minutes before carving.
- Slice carefully to keep the skin intact, and serve with your favorite sides.
Notes
Pat the chicken skin completely dry before seasoning for best crispiness. Use indirect heat to avoid burning the skin. Rest the chicken after cooking to keep it juicy. If skin isn’t crisping enough, move chicken closer to heat for last 5-10 minutes but watch carefully. Avoid poking or moving the chicken too much during cooking.
Nutrition
- Serving Size: About 1/4 of the who
- Calories: 350
- Fat: 25
- Protein: 25
Keywords: beer can chicken, grilled chicken, crispy chicken, backyard grilling, easy chicken recipe, smoky chicken, summer cookout



