Love this? Save it for later!
Share the inspiration with your friends
“The power went out halfway through the afternoon, and yet somehow, the kitchen was buzzing with the sound of a blender and laughter,” I remember thinking as I stepped into my neighbor’s backyard. She wasn’t making a big deal out of the red, white, and blue popsicles she was whipping up—just a casual summer afternoon project. The subtle scent of fresh berries mixed with something a bit boozy hit me before I even took a step closer to the counter. Honestly, it was the kind of thing that stops you short, makes you wonder how something so simple can smell so irresistible.
She cracked a smile when I asked what was in those layered beauties and shrugged it off like it was nothing. But trust me, these Perfect Boozy Red White Blue Layered Popsicles for Summer are anything but ordinary. The way the colors stacked perfectly, each layer just thick enough to hold its ground, told me she had clearly done this before, even if she pretended it was a spur of the moment whim. Maybe you’ve been there—caught off guard by a moment that feels effortless but you know took some quiet magic behind the scenes.
That afternoon, I forgot to bring my own cooler, got interrupted by a stray dog, and still managed to snag one of those popsicles before the sun dipped low. Since then, I’ve kept coming back to this recipe, because it’s the kind of summer treat that’s as fun to make as it is to eat. Let me tell you, if you want a cool, refreshing way to chill your guests without breaking a sweat, these popsicles are the ticket.
Why You’ll Love This Recipe
After testing these boozy layered popsicles through multiple summer weekends (and a few backyard barbecues), I can confidently say this recipe nails the balance between refreshing and fun. Here’s why it stands out:
- Quick & Easy: You can have these ready to freeze in about 15 minutes, which is perfect when the heat hits and you want something festive fast.
- Simple Ingredients: Nothing complicated here—fresh fruit, a splash of your favorite spirits, and some natural sweeteners. No need for fancy stores or hard-to-find items.
- Perfect for Summer Gatherings: Whether it’s the Fourth of July, pool parties, or casual weekend hangouts, these popsicles bring the seasonal vibes effortlessly.
- Crowd-Pleaser: Adults love them for that gentle boozy kick, and the layered colors make them as visually fun as they are tasty.
- Unbelievably Delicious: The tartness of the berries, the creaminess of the middle layer, and the cool crispness of the blue layer create a flavor combo that’s honestly next-level.
This isn’t just another popsicle recipe. The secret is in the layering technique and the subtle infusion of alcohol that doesn’t overpower but gives that perfect summer buzz. I’ve tried versions with different spirits, but this recipe’s balance is what keeps me coming back. You know that feeling when a simple treat reminds you of sunny afternoons and good company? Yep, that’s what this recipe delivers.
What Ingredients You Will Need
This recipe uses simple, wholesome ingredients to deliver bold flavor and that satisfying layered look without fuss. Most of these are pantry staples or easy to find fresh items, making it a breeze to pull together.
- For the Red Layer:
- 1 cup fresh or frozen strawberries, hulled and chopped (fresh adds brightness)
- 2 tablespoons granulated sugar or honey (adjust to taste)
- 2 tablespoons vodka or light rum (choose a clean-tasting brand like Tito’s or Bacardi)
- 1 tablespoon fresh lemon juice (adds a bright zing)
- For the White Layer:
- 1 cup plain Greek yogurt (full-fat for creaminess, or dairy-free coconut yogurt if needed)
- 2 tablespoons sweetened condensed milk (optional, for sweetness and smooth texture)
- 1 tablespoon vanilla extract (real vanilla makes a difference)
- 2 tablespoons coconut rum or white tequila (optional for boozy kick)
- For the Blue Layer:
- 1 cup fresh or frozen blueberries
- 2 tablespoons sugar or maple syrup
- 2 tablespoons vodka or blue curaçao (for color and flavor)
- 1 tablespoon water (to adjust consistency)
Feel free to swap the spirits with non-alcoholic alternatives like flavored soda or juice if you prefer a kid-friendly or alcohol-free version. For the fruit, in summer, fresh berries give the best flavor, but frozen works just fine and is more budget-friendly. I like using Stonyfield for yogurt because of the creamy texture, but any plain yogurt will do.
Equipment Needed
- Blender or Food Processor: Essential for pureeing the fruit layers smoothly. A high-speed blender speeds things up but a basic model works fine.
- Popsicle Molds: I recommend silicone molds—they make it easier to pop the finished treats out without breaking. If you don’t have molds, small paper cups and wooden sticks work as a budget-friendly option.
- Measuring Cups and Spoons: Precise measurements help keep the layers consistent and balanced.
- Mixing Bowls: For combining the yogurt layer and mixing sweeteners.
- Spatula or Spoon: For scraping down the sides of the blender and layering gently.
Personally, I’ve tried metal popsicle molds but found silicone much easier to handle, especially on hot days when you’re eager to get the popsicles out. If you invest in one tool, make it silicone molds—they’re worth it for the clean release and reusability.
Preparation Method
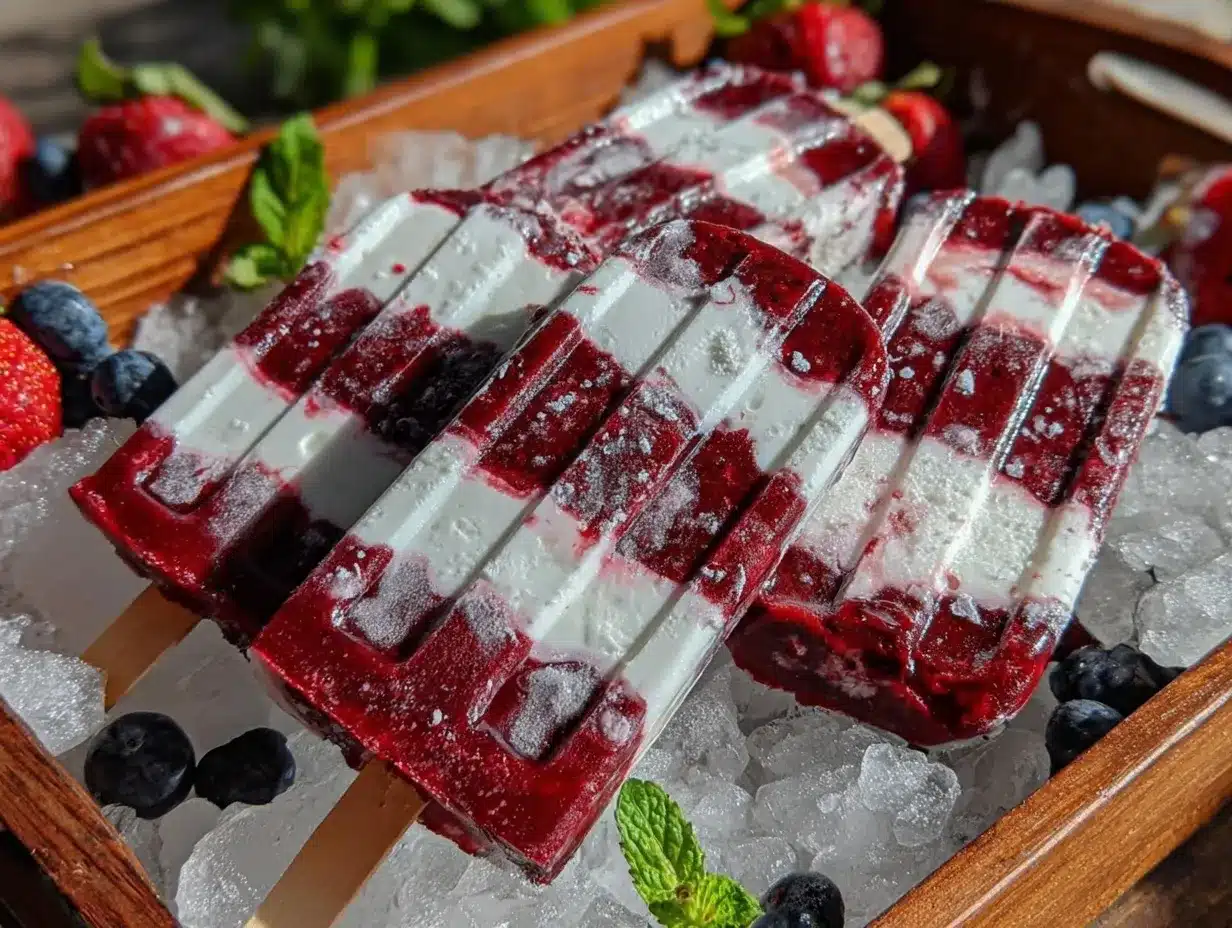
- Prepare the Red Layer: In your blender, combine the strawberries, sugar, vodka, and lemon juice. Blend until smooth, about 30 seconds. Taste and adjust sweetness if needed. Pour the mixture evenly into the popsicle molds, filling each about one-third full. Freeze for 45–60 minutes, or until firm enough to hold the next layer without mixing.
- Make the White Layer: While the red layer freezes, stir together the Greek yogurt, sweetened condensed milk, vanilla extract, and coconut rum in a bowl until well combined. This creates a creamy, slightly sweet middle layer. Remove the red layer from the freezer and gently spoon or pour the white layer on top, filling the molds another third of the way. Freeze again for 45–60 minutes or until set.
- Prepare the Blue Layer: Rinse out the blender, then blend the blueberries, sugar, vodka, and water until smooth. If the mixture is too thick, add a splash more water to loosen it just enough to pour easily. Once the white layer is firm, add the blue mixture on top, filling the rest of the molds. Insert the popsicle sticks now, making sure they stand upright. Freeze for at least 4 hours or overnight for best results.
- Unmold and Serve: To release, run warm water over the outside of the molds for 10-15 seconds. Gently pull the popsicles free. Serve immediately for that perfect summer chill.
Pro tip: Don’t rush the freezing between layers! If you pour the next layer too soon, colors will bleed, and you’ll lose that crisp patriotic look. Also, keep the alcohol amounts modest—too much and the popsicles won’t freeze properly. I learned this the hard way on a hot July afternoon!
Cooking Tips & Techniques
Layering popsicles can feel a bit tricky at first, but a few inside tips make it a breeze. First, patience is your best friend. Let each layer freeze solid enough to hold its shape before adding the next. I’ve found that about an hour per layer works well in a standard home freezer.
When blending fruit, don’t overdo the liquid—too thin a mix will lead to icy popsicles rather than creamy ones. For the white layer, using full-fat yogurt or adding sweetened condensed milk helps keep that rich, luscious texture.
Another trick: slightly warm your popsicle molds before unmolding. Running warm water around the molds for just a few seconds loosens the popsicles without melting them. Trust me, I once pulled mine too early, and they cracked in half—lesson learned!
Alcohol affects freezing point, so keep the boozy parts light. Too strong and you’ll end up with a slushy mess. If you want to multitask, prepare all layers in advance, freeze separately in bowls, then assemble in molds quickly, freezing the whole batch together. This speeds up the process if you’re hosting a last-minute get-together.
Variations & Adaptations
This recipe is flexible and invites creativity. Here are some variations I’ve tried and loved:
- Non-Alcoholic Version: Replace spirits with sparkling water or lemon-lime soda to keep bubbles and flavor without alcohol.
- Different Spirits: Swap vodka for gin or tequila for a floral or citrus twist. I once used mezcal for a smoky surprise that was a hit.
- Fruit Swaps: Use raspberries or cherries for the red layer, and blackberries or acai for the blue layer. In fall, swap berries for pomegranate seeds or cranberry juice for a seasonal twist.
- Dairy-Free Option: Use coconut yogurt and a vegan condensed milk alternative in the white layer to keep it creamy without dairy.
One personal favorite twist was adding a pinch of fresh mint to the red layer, which gave a refreshing herbal note. Feel free to experiment with herbs, spices, or even a splash of citrus zest to make the recipe your own.
Serving & Storage Suggestions
Serve these boozy red white blue popsicles chilled and straight from the freezer for the best texture. They’re perfect as a festive treat on a hot day, ideally paired with light bites like grilled chicken skewers or a crisp summer salad. For drinks, a chilled rosé or a lemony sparkling water complements the popsicles nicely.
Store leftover popsicles in an airtight container or sealed plastic bag to prevent freezer burn. They keep well for up to two weeks, though honestly, they rarely last that long in my house! When reheating to soften slightly, avoid microwaving—just let them sit at room temperature for about five minutes before serving.
Over time, the flavors meld beautifully, making them even more delicious if you let them sit overnight. Just be sure to keep them well covered to maintain their vibrant colors and fresh taste.
Nutritional Information & Benefits
Each popsicle is roughly 120-150 calories depending on the alcohol and sweetener amounts. They provide a nice dose of antioxidants from the fresh berries, vitamin C from the lemon juice, and probiotics if you use live-culture yogurt.
This treat is gluten-free and can easily be made dairy-free by swapping yogurt and condensed milk for plant-based alternatives. Keep in mind the alcohol content, which is moderate but makes it an adult-only indulgence.
I appreciate how this recipe combines simple, whole ingredients with a touch of fun, making it a refreshing summer snack that feels indulgent but isn’t loaded with artificial stuff. It’s a little slice of summer in every bite.
Conclusion
These Perfect Boozy Red White Blue Layered Popsicles for Summer have become a go-to for me every warm season. They’re fun to make, visually striking, and deliver that perfect mix of fresh fruit flavor and gentle boozy kick. Whether you’re looking to impress guests or just treat yourself on a hot day, this recipe hits the spot without fuss.
Feel free to tweak the ingredients or spirits to suit your taste and dietary needs. Honestly, once you nail the layering technique, the rest is a breeze. I love how these popsicles bring a little celebration to everyday moments, making summer even sweeter.
If you give this recipe a try, I’d love to hear how you make it your own—drop a comment or share your favorite twist! Here’s to cool treats and even cooler memories.
FAQs About Perfect Boozy Red White Blue Layered Popsicles
Can I make these popsicles without alcohol?
Absolutely! Substitute the alcohol with sparkling water, fruit juice, or flavored soda to keep the layers tasty and refreshing without the boozy kick.
How long do these popsicles take to freeze?
Each layer needs about 45 to 60 minutes to firm up before adding the next. After assembling all layers, freeze the popsicles for at least 4 hours or overnight for best results.
What if my popsicles are too icy or don’t freeze well?
Too much alcohol or liquid can prevent proper freezing. Keep alcohol to about 2 tablespoons per cup of liquid and avoid thinning the fruit purees too much. Full-fat yogurt helps keep the middle layer creamy rather than icy.
Can I use other fruits besides berries?
Yes! Feel free to experiment with fruits like cherries, pomegranate, or even tropical fruits like mango for a different flavor profile and color scheme.
How do I remove popsicles from silicone molds easily?
Run warm water over the outside of the molds for 10-15 seconds to loosen the popsicles without melting them. Then gently pull the sticks to release the popsicles smoothly.
Pin This Recipe!
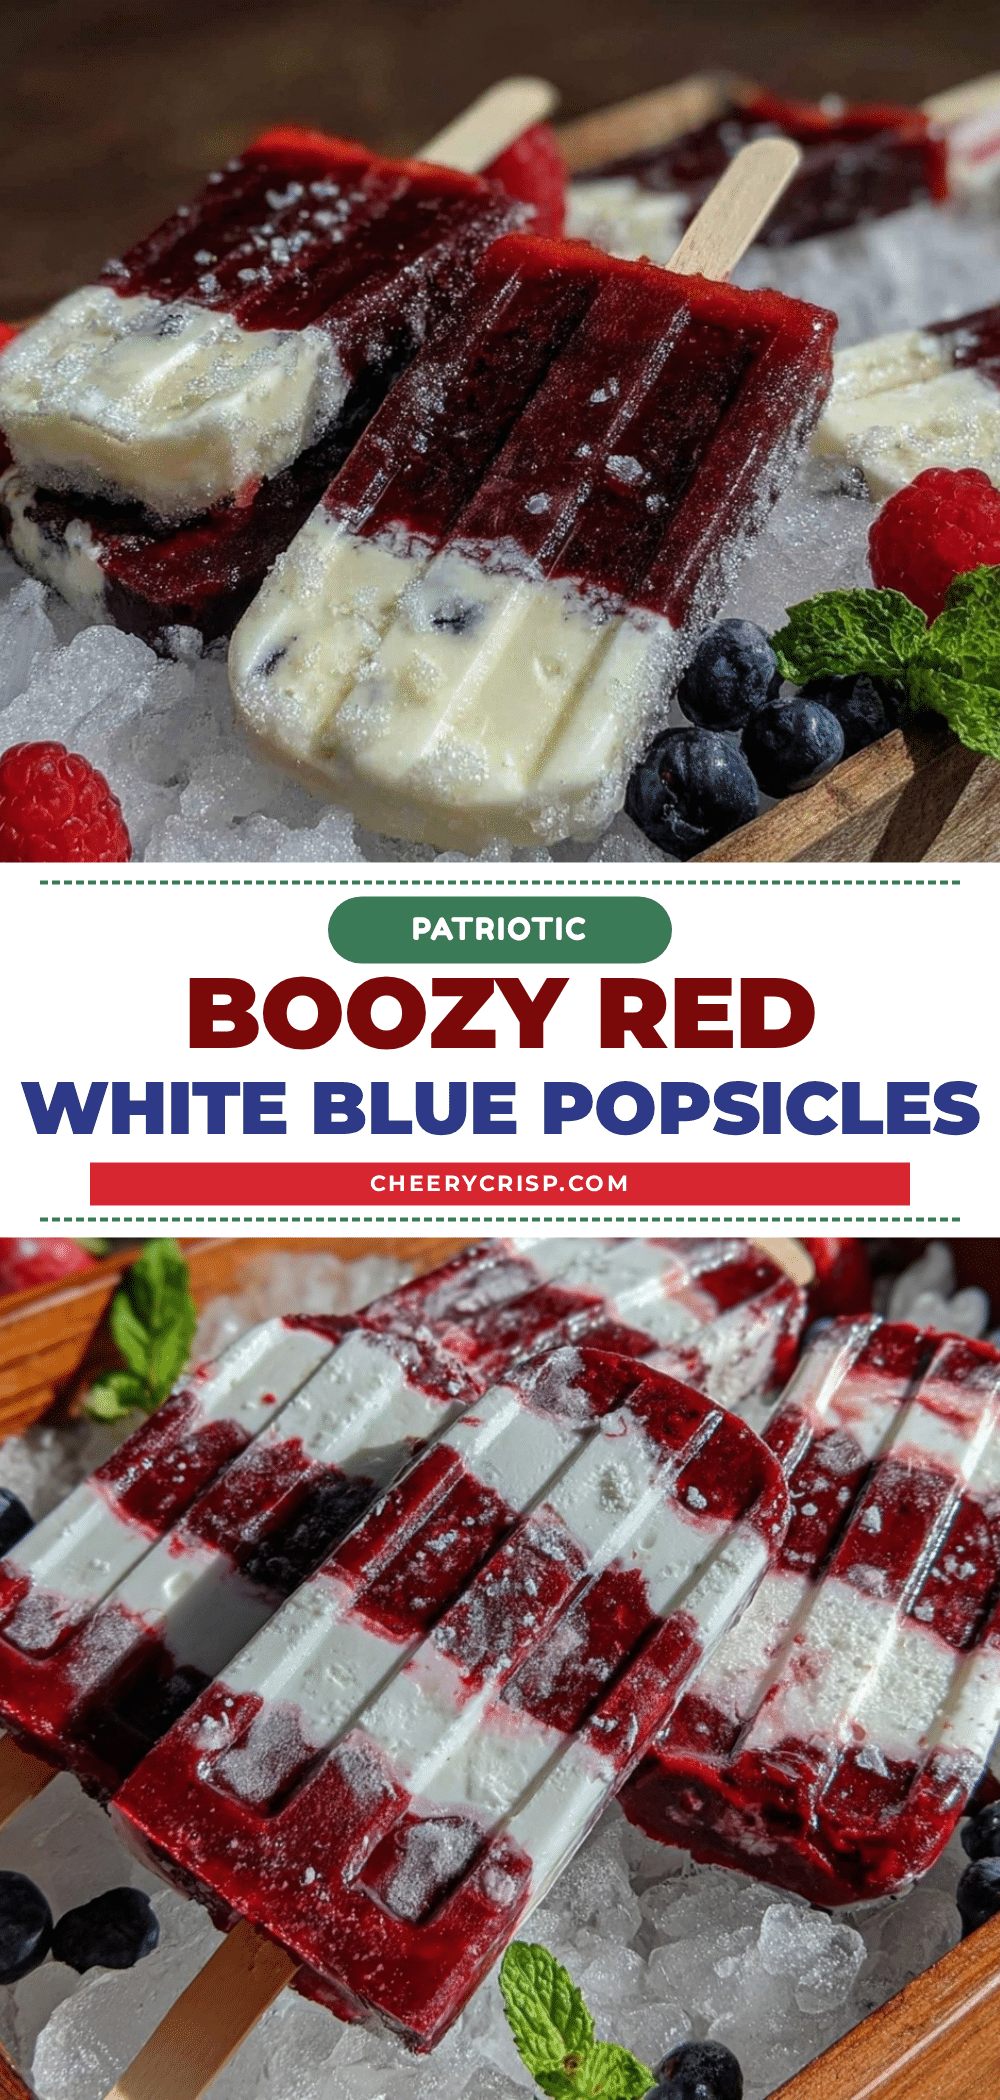
Perfect Boozy Red White Blue Layered Popsicles
A refreshing and visually striking summer treat featuring layered red, white, and blue popsicles with a subtle boozy kick, perfect for summer gatherings and easy to make.
- Prep Time: 15 minutes
- Cook Time: 6 hours
- Total Time: 6 hours 15 minutes
- Yield: 8 popsicles
- Category: Dessert
- Cuisine: American
Ingredients
- Red Layer: 1 cup fresh or frozen strawberries, hulled and chopped
- Red Layer: 2 tablespoons granulated sugar or honey (adjust to taste)
- Red Layer: 2 tablespoons vodka or light rum
- Red Layer: 1 tablespoon fresh lemon juice
- White Layer: 1 cup plain Greek yogurt (full-fat or dairy-free coconut yogurt)
- White Layer: 2 tablespoons sweetened condensed milk (optional)
- White Layer: 1 tablespoon vanilla extract
- White Layer: 2 tablespoons coconut rum or white tequila (optional)
- Blue Layer: 1 cup fresh or frozen blueberries
- Blue Layer: 2 tablespoons sugar or maple syrup
- Blue Layer: 2 tablespoons vodka or blue curaçao
- Blue Layer: 1 tablespoon water (to adjust consistency)
Instructions
- Prepare the Red Layer: In a blender, combine strawberries, sugar, vodka, and lemon juice. Blend until smooth, about 30 seconds. Taste and adjust sweetness if needed. Pour evenly into popsicle molds, filling about one-third full. Freeze for 45–60 minutes until firm.
- Make the White Layer: Stir together Greek yogurt, sweetened condensed milk, vanilla extract, and coconut rum in a bowl until well combined. Remove red layer from freezer and gently spoon or pour white layer on top, filling another third of the molds. Freeze for 45–60 minutes until set.
- Prepare the Blue Layer: Rinse blender, then blend blueberries, sugar, vodka, and water until smooth. Add more water if needed to loosen. Once white layer is firm, add blue mixture on top, filling the rest of the molds. Insert popsicle sticks upright. Freeze for at least 4 hours or overnight.
- Unmold and Serve: Run warm water over the outside of molds for 10-15 seconds to loosen. Gently pull popsicles free and serve immediately.
Notes
Allow each layer to freeze solid before adding the next to prevent colors from bleeding. Keep alcohol amounts modest to ensure proper freezing. Use full-fat yogurt or add sweetened condensed milk for a creamy white layer. Run warm water around molds briefly to ease unmolding. Non-alcoholic versions can substitute spirits with sparkling water or juice.
Nutrition
- Serving Size: 1 popsicle
- Calories: 120150
- Sugar: 15
- Sodium: 40
- Fat: 3
- Saturated Fat: 1.5
- Carbohydrates: 20
- Fiber: 2
- Protein: 3
Keywords: boozy popsicles, layered popsicles, summer treats, red white blue, patriotic dessert, easy popsicles, adult popsicles, frozen treats



