Love this? Save it for later!
Share the inspiration with your friends
Introduction
Last Friday evening, I found myself staring at an empty countertop and a kitchen clock that was definitely mocking me. The plan was to whip up a quick dessert for a last-minute gathering with friends—nothing fancy, just something sweet and impressive. I wasn’t exactly prepared, and honestly, I was about to give up when I glanced at a half-open pack of Oreos sitting neglected on the shelf. That’s when the idea hit me: creamy no-bake Oreo cheesecake cups. I mean, who wouldn’t love a dessert that feels indulgent but takes almost no effort?
What makes this recipe stick with me is how it turned a rushed, slightly chaotic evening into a moment of pure delight. I remember accidentally knocking over the cream cheese but laughing it off because sometimes, the best kitchen stories come with a little mess. Maybe you’ve been there—scrambling to create something tasty with whatever you have on hand. These cheesecake cups were my lifesaver, combining crunchy Oreos with smooth, dreamy cheesecake filling layered in cute little cups. The best part? No oven required, so it’s perfect for those who want dessert without the fuss.
Since that night, I’ve made these creamy no-bake Oreo cheesecake cups a go-to for potlucks, last-minute celebrations, or whenever I just want a quick, satisfying treat. Let me tell you, the texture is just spot on—the perfect balance of creamy and crunchy that keeps you coming back for more. If you want a dessert that’s as fun to make as it is to eat, this one’s for you.
Why You’ll Love This Recipe
As someone who’s tested dozens of no-bake desserts, I can confidently say these creamy no-bake Oreo cheesecake cups are a winner for so many reasons. Here’s why they might just become your new favorite too:
- Quick & Easy: Ready in under 10 minutes (plus chilling time), this dessert is a lifesaver on busy days or unexpected guests.
- Simple Ingredients: No need to hunt down fancy items. Oreos, cream cheese, whipped cream—pretty much staples you already have.
- Perfect for Any Occasion: Whether it’s a casual weeknight treat, a potluck, or a special celebration, these cups fit right in.
- Crowd-Pleaser: Kids, adults, and picky eaters alike rave about these. They’re creamy, sweet, and just the right amount of crunchy.
- Unbelievably Delicious: The creamy filling with crushed Oreos mixed in creates a texture and flavor combo that’s pure comfort food magic.
What sets this recipe apart is the ultra-smooth texture of the cheesecake layer, thanks to beating the cream cheese just right and folding in whipped cream gently. Plus, layering in Oreo crumbs instead of just crushing them on top gives every bite a delightful surprise. Honestly, it’s not just another Oreo cheesecake—it’s the kind you close your eyes for after the first bite.
What Ingredients You Will Need
This recipe uses simple, wholesome ingredients to create a rich, creamy texture with a satisfying crunch. The best part? Most are pantry staples, and substitutions are easy if needed.
- Oreo Cookies: About 20 whole Oreos, divided (16 crushed for crust and 4 roughly chopped for layering; I prefer Nabisco original Oreos for the classic flavor)
- Cream Cheese: 8 ounces (225 grams), softened to room temperature (this ensures a smooth, lump-free filling)
- Powdered Sugar: 1 cup (120 grams), sifted for a silky finish and to avoid lumps
- Heavy Whipping Cream: 1 cup (240 ml), cold, whipped to soft peaks (can swap with coconut cream for dairy-free option)
- Vanilla Extract: 1 teaspoon, pure (adds depth and warmth to the filling)
- Optional: A pinch of salt to balance sweetness
If you want to make it gluten-free, look for gluten-free sandwich cookies. For a lighter version, you can try substituting half the cream cheese with Greek yogurt, but keep in mind the texture will be less creamy. In summer, fresh berries on top can add a fresh burst of flavor that pairs wonderfully with the rich cheesecake.
Equipment Needed
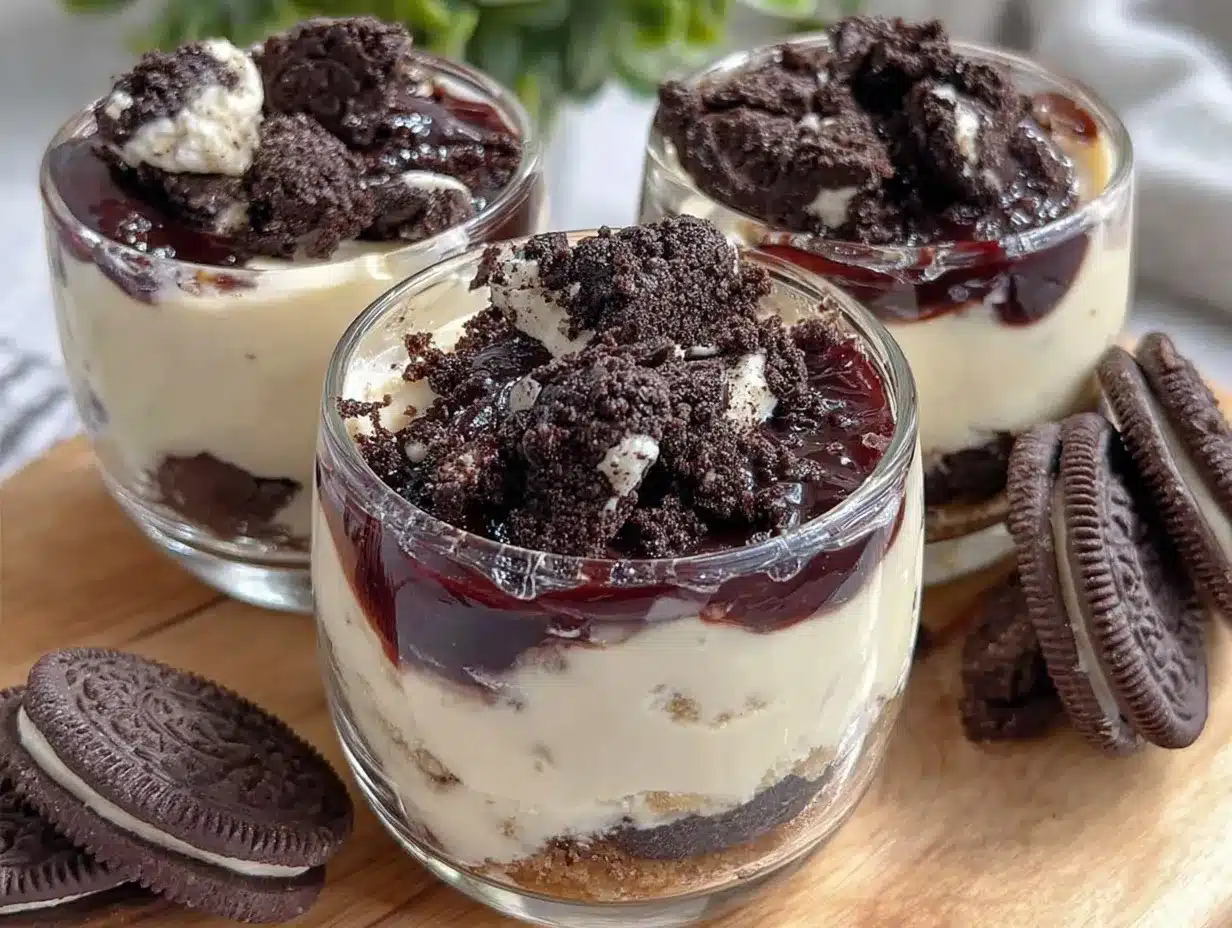
Luckily, this dessert doesn’t call for anything fancy—just some basic kitchen tools you probably already own.
- Mixing bowls (one large for the cream cheese mix, one medium for whipping cream)
- Electric hand mixer or stand mixer (makes whipping cream and beating cream cheese much easier)
- Spatula for folding ingredients gently
- Measuring cups and spoons
- Food processor or ziplock bag and rolling pin (for crushing Oreos)
- Serving cups or small jars (I like using clear glass cups so you can see the pretty layers)
Don’t have a food processor? No worries—a ziplock bag and a rolling pin or even the bottom of a heavy pan works great for crushing cookies. If you use a stand mixer, be careful not to overmix the whipped cream; you want soft peaks, not butter. I once whipped it too long and had to start over—lesson learned!
Preparation Method
- Crush the Oreos: Place 16 Oreo cookies in a food processor and pulse until fine crumbs form (about 1 cup or 100 grams). If using a bag and rolling pin, crush until mostly fine with a few larger pieces. Set aside.
- Prepare the cream cheese filling: In a large bowl, beat the softened cream cheese with an electric mixer on medium speed until smooth and creamy (about 2 minutes). This step is key to avoid lumps.
- Add powdered sugar and vanilla: Gradually add 1 cup (120 grams) of sifted powdered sugar and 1 teaspoon vanilla extract to the cream cheese, beating until fully incorporated and silky smooth (another 2 minutes). If you notice any lumps, keep mixing; patience pays off here.
- Whip the cream: In a separate chilled bowl, whip 1 cup (240 ml) of cold heavy cream until soft peaks form. This usually takes about 3-4 minutes on medium-high speed. Be careful not to overwhip or you’ll end up with butter!
- Fold whipped cream into cream cheese mixture: Gently fold the whipped cream into the cream cheese mixture using a spatula. Use slow, deliberate strokes to keep the mixture light and airy. This creates the signature creamy texture.
- Assemble the cups: Start by spooning a layer of Oreo crumbs (about 1 tablespoon) into the bottom of each serving cup. Follow with a layer of creamy filling (about 3 tablespoons), then sprinkle some of the roughly chopped Oreos. Repeat layers until the cups are filled, finishing with some cookie pieces on top for extra crunch.
- Chill: Refrigerate the assembled cups for at least 2 hours, or overnight if possible. Chilling allows the flavors to meld and the filling to set perfectly.
- Serve: Just before serving, add a final sprinkle of crushed Oreos or a dollop of whipped cream if desired.
Quick tip: If you’re short on time, even 1 hour of chilling helps, but the texture improves the longer you wait. Also, be patient when folding the whipped cream—you want to keep as much air in the mixture as possible for that fluffy mouthfeel.
Cooking Tips & Techniques
Making creamy no-bake Oreo cheesecake cups might sound simple, but a few tricks make all the difference between good and unforgettable.
- Softening cream cheese: Don’t rush this by microwaving—it can get lumpy. Leave it out for about 30 minutes at room temperature before mixing.
- Whipping cream: Chill your bowl and beaters in the fridge for 10-15 minutes before whipping. Cold equipment helps cream whip faster and fluffier.
- Folding technique: Use a spatula to fold whipped cream into the cream cheese mixture gently. Overmixing can deflate your batter, resulting in a denser dessert.
- Crushing Oreos: Leaving a few larger chunks in the crushed crumbs adds a fun texture contrast. I always save some bigger pieces for topping.
- Layering: Layer your crumbs and filling evenly to balance crunchy and creamy in every spoonful.
- Chill time: The cheesecake cups set better with time. Overnight chilling is best if you can plan ahead.
From personal experience, I once skipped sifting the powdered sugar, and I ended up with a gritty texture—not fun. Also, if your cream cheese is too cold, you’ll fight lumps forever, so patience here is golden. Finally, don’t be afraid to experiment with mix-ins like mini chocolate chips or a swirl of caramel for a fun twist!
Variations & Adaptations
One of the best things about this creamy no-bake Oreo cheesecake cups recipe is how adaptable it is. Here are some ways to switch it up:
- Berry Bliss: Fold in fresh raspberries or strawberries into the filling, or layer them between Oreo crumbs for a fruity surprise.
- Peanut Butter Twist: Add ¼ cup of creamy peanut butter to the cream cheese mixture before folding in whipped cream. It creates a rich, nutty flavor that pairs amazingly with Oreos.
- Chocolate Lover’s: Mix 2 tablespoons of cocoa powder into the cream cheese mixture for a double chocolate treat. You can also sprinkle mini chocolate chips between layers.
- Dairy-Free Option: Use coconut-based cream cheese and whip canned coconut cream instead of heavy cream. The texture is slightly different but still delicious.
- Gluten-Free: Swap Oreos for gluten-free sandwich cookies or make a crust with crushed gluten-free graham crackers.
Personally, I once tried adding a layer of salted caramel sauce between layers—it was a game-changer for a holiday party! Feel free to tailor the sweetness and texture to your liking.
Serving & Storage Suggestions
These creamy no-bake Oreo cheesecake cups are best served chilled straight from the fridge. The cool, silky texture is part of their charm. Present them in clear glass cups or mason jars for a pretty, inviting look that shows off the layers beautifully.
Pair them with a hot cup of coffee or a cold glass of milk for a classic combo. They also work well alongside a fresh fruit salad to balance richness.
Store any leftovers covered tightly in the refrigerator for up to 3 days. They don’t freeze well because the texture can get grainy when thawed, so it’s best to enjoy fresh.
When reheating is necessary (maybe you prefer them at room temperature), take them out of the fridge 15 minutes before serving. This softens the filling and enhances the flavors.
Over time, the Oreo crumbs soften slightly, which some people love for a more unified texture. If you want crispier crumbs, add a fresh sprinkle just before serving.
Nutritional Information & Benefits
Each creamy no-bake Oreo cheesecake cup contains roughly 300 calories, depending on portion size and ingredient brands. They provide a good balance of fat and carbs, primarily from cream cheese and Oreos.
While this dessert is an indulgence, cream cheese offers calcium and protein, and whipping your own cream means fewer preservatives than store-bought desserts. Using real vanilla extract adds flavor without added sugars.
For those watching gluten intake, swapping for gluten-free cookies makes this treat accessible. The recipe is naturally vegetarian but not vegan unless you make dairy substitutions.
From a wellness angle, I appreciate that this dessert feels like a treat, not a whole meal, so it’s perfect for mindful indulgence. You get the joy of dessert without hours in the kitchen or complicated ingredients.
Conclusion
Creamy no-bake Oreo cheesecake cups are proof that sometimes the simplest desserts are the most memorable. They come together quickly, require minimal ingredients, and deliver big on flavor and texture. Whether you’re new to cheesecake or a seasoned pro, this recipe offers a fun, fuss-free way to enjoy that classic Oreo-cream cheese combo.
Honestly, I keep coming back to these cups because they remind me of that frantic Friday night when a little creativity (and a lot of Oreos) saved the day. I hope you’ll experiment with the layers and flavors to make this dessert your own—it’s forgiving and flexible, perfect for your kitchen adventures.
If you try these creamy no-bake Oreo cheesecake cups, please share your tweaks or stories in the comments. I’d love to hear how you made them yours!
Now, grab some Oreos and get ready for a sweet, creamy treat that’s as fun to make as it is to eat.
FAQs About Creamy No-Bake Oreo Cheesecake Cups
Can I make these cheesecake cups ahead of time?
Yes! They taste best after chilling at least 2 hours and can be prepared the day before your event. Just keep them covered in the fridge.
What can I use if I don’t have heavy cream?
You can use canned coconut cream for a dairy-free version or try whipping chilled evaporated milk, though the texture won’t be as rich.
How do I soften cream cheese quickly?
Leave it at room temperature for about 30 minutes before mixing. If you’re in a hurry, cut it into smaller pieces to soften faster, but avoid microwaving as it can get lumpy.
Can I use different cookies instead of Oreos?
Absolutely! Chocolate sandwich cookies work well, or try graham crackers for a different flavor and texture.
Is this recipe suitable for kids?
Definitely! It’s a kid-friendly dessert with familiar flavors and is fun to assemble together as a family activity.
Pin This Recipe!
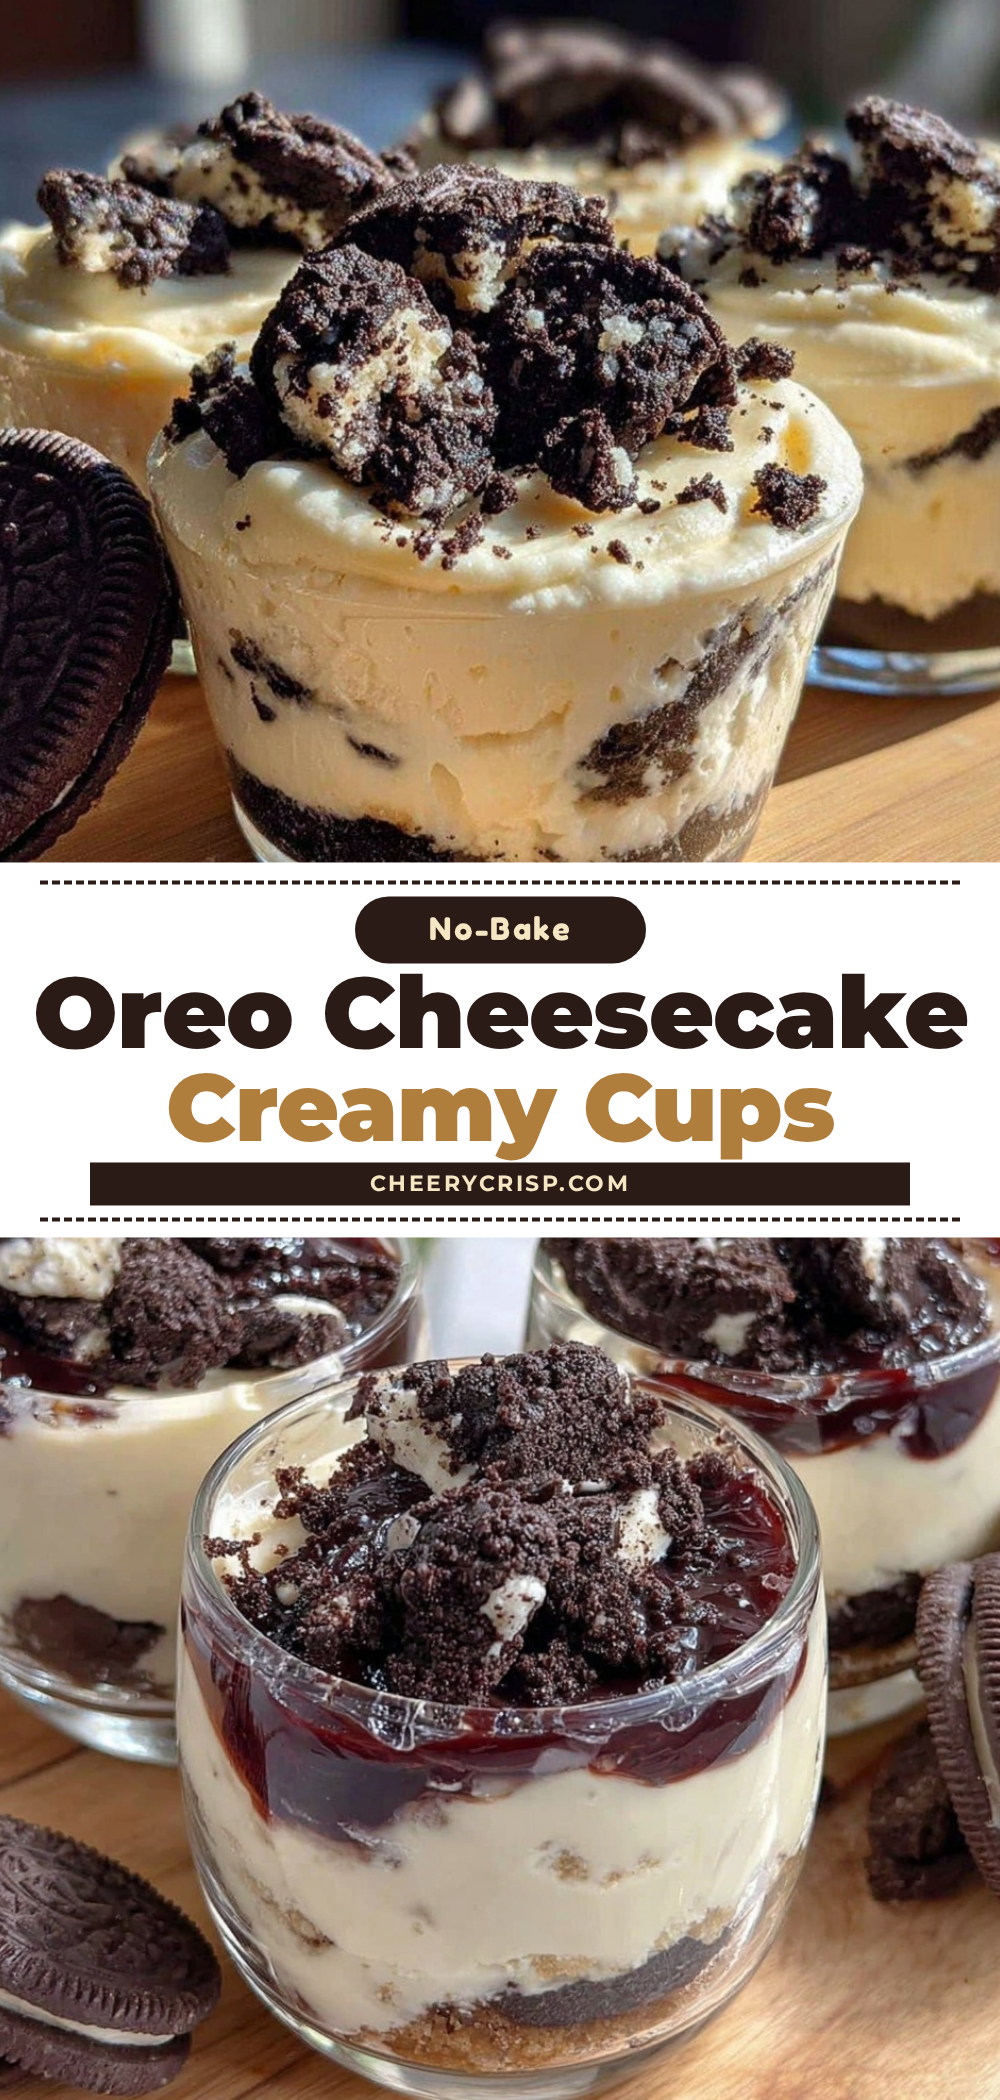
Creamy No-Bake Oreo Cheesecake Cups

A quick and easy no-bake dessert featuring creamy cheesecake filling layered with crunchy Oreo cookies, perfect for last-minute gatherings and potlucks.
- Prep Time: 10 minutes
- Cook Time: 0 minutes
- Total Time: 2 hours 10 minutes
- Yield: 6 servings 1x
- Category: Dessert
- Cuisine: American
Ingredients
- 20 whole Oreo cookies, divided (16 crushed for crust and 4 roughly chopped for layering)
- 8 ounces (225 grams) cream cheese, softened to room temperature
- 1 cup (120 grams) powdered sugar, sifted
- 1 cup (240 ml) heavy whipping cream, cold, whipped to soft peaks
- 1 teaspoon pure vanilla extract
- Optional: pinch of salt to balance sweetness
Instructions
- Crush 16 Oreo cookies in a food processor until fine crumbs form (about 1 cup or 100 grams). Alternatively, crush in a ziplock bag with a rolling pin until mostly fine with some larger pieces. Set aside.
- In a large bowl, beat the softened cream cheese with an electric mixer on medium speed until smooth and creamy, about 2 minutes.
- Gradually add sifted powdered sugar and vanilla extract to the cream cheese, beating until fully incorporated and silky smooth, about 2 minutes.
- In a separate chilled bowl, whip the cold heavy cream until soft peaks form, about 3-4 minutes on medium-high speed. Be careful not to overwhip.
- Gently fold the whipped cream into the cream cheese mixture using a spatula with slow, deliberate strokes to keep the mixture light and airy.
- Assemble the cups by spooning about 1 tablespoon of Oreo crumbs into the bottom of each serving cup, followed by about 3 tablespoons of creamy filling, then sprinkle some roughly chopped Oreos. Repeat layers until cups are filled, finishing with cookie pieces on top.
- Refrigerate the assembled cups for at least 2 hours or overnight to allow flavors to meld and filling to set.
- Just before serving, optionally add a final sprinkle of crushed Oreos or a dollop of whipped cream.
Notes
Do not microwave cream cheese to soften; leave at room temperature for 30 minutes. Chill bowl and beaters before whipping cream for better results. Fold whipped cream gently to keep air in mixture. Overnight chilling improves texture. Use gluten-free cookies for gluten-free version. Coconut cream can substitute heavy cream for dairy-free option.
Nutrition
- Serving Size: 1 cheesecake cup
- Calories: 300
- Sugar: 22
- Sodium: 210
- Fat: 20
- Saturated Fat: 12
- Carbohydrates: 28
- Fiber: 1
- Protein: 4
Keywords: no-bake, Oreo, cheesecake, dessert, easy, quick, creamy, Oreo cheesecake cups



