Love this? Save it for later!
Share the inspiration with your friends
“I wasn’t expecting my midnight kitchen experiment to turn into my go-to bread recipe,” I admit. It all started one restless night when I realized I was out of my usual gluten-free bread. The craving hit hard, but honestly, the store-bought options always seemed dense and disappointing. So there I was, rummaging through the pantry at 1 AM, half-dreaming of a fluffy, dairy-free loaf that didn’t crumble the moment I touched it.
The only problem? I had no fancy ingredients or time for multiple rises. Just a handful of gluten-free flours, some baking essentials, and a stubborn urge to bake something soft and satisfying. The kitchen got messy (as it always does when I’m winging it), and I may have forgotten to preheat the oven at first—classic me—but the result was surprisingly wonderful.
This easy fluffy gluten-free dairy-free bread recipe quickly became the answer to many rushed mornings and unplanned sandwiches. Maybe you’ve been there too—needing a reliable bread that’s free from gluten and dairy but still light and tender. Let me tell you, this recipe stays with you because it’s simple, forgiving, and honestly, better than most store options.
So if you’ve ever felt stuck in a bread rut or just wanted a loaf that feels like a warm hug without the gluten or dairy, you’re in the right place. Let’s get baking!
Why You’ll Love This Recipe
After testing dozens of gluten-free and dairy-free breads, this recipe stands out for good reasons. Here’s why it’s a keeper in my kitchen:
- Quick & Easy: Comes together in under 45 minutes, perfect for busy days or last-minute cravings.
- Simple Ingredients: Uses pantry staples you probably already have—no need for specialty stores or hard-to-find flours.
- Perfect for Any Occasion: Great for sandwiches, toast, or even a cozy weekend brunch.
- Crowd-Pleaser: My family (including the picky eaters) always asks for seconds.
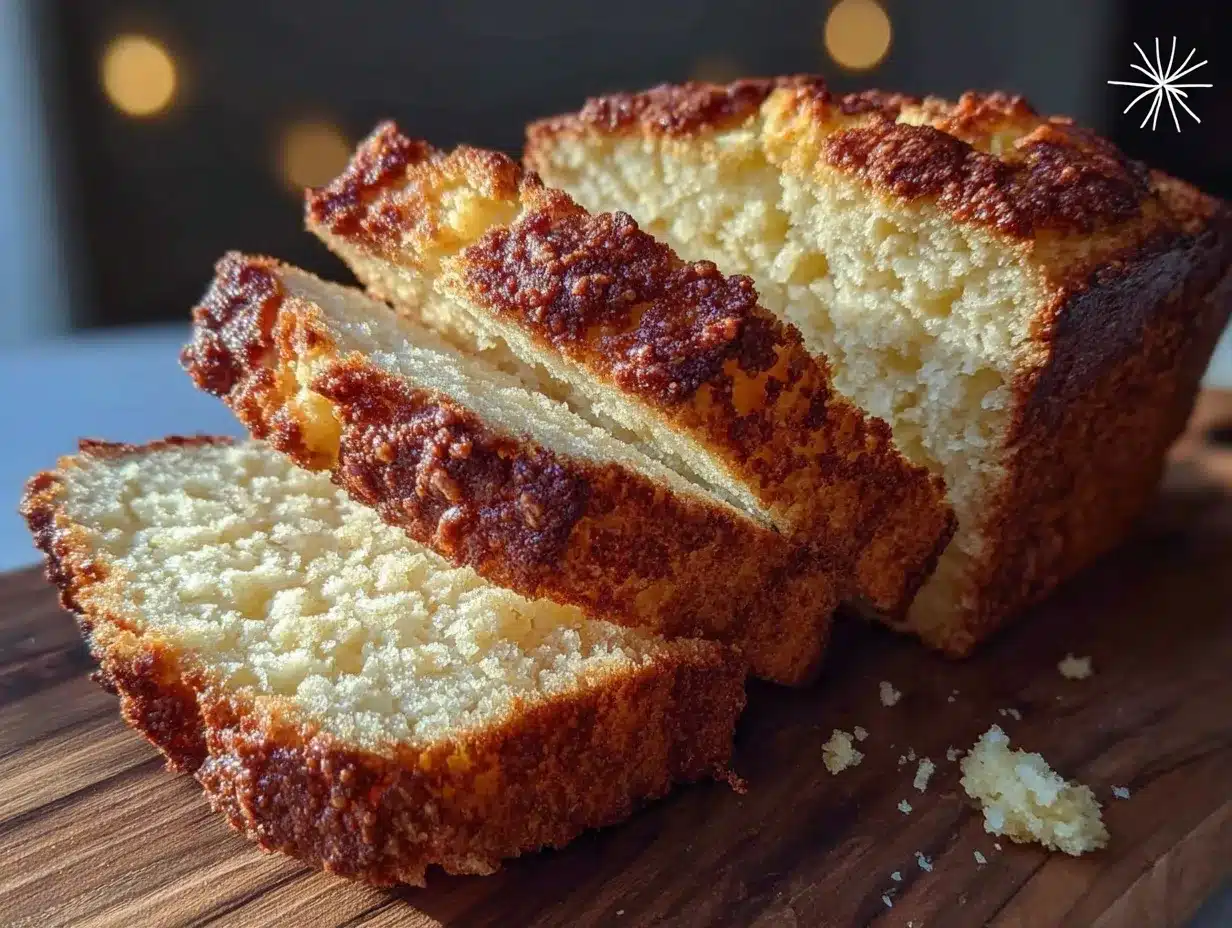
- Unbelievably Delicious: The crumb is soft with a slight chew, and the crust has just enough crunch without being tough.
What really makes this recipe different? It’s the use of a blend of gluten-free flours combined with a touch of xanthan gum and baking soda for that perfect rise and texture. Plus, swapping in coconut oil instead of butter keeps it dairy-free but adds a subtle richness.
This isn’t just another gluten-free loaf—it’s the one that makes you close your eyes after the first bite because it just feels like bread should. Whether you’re new to gluten-free baking or a seasoned pro, this recipe is your secret weapon for consistently fluffy loaves that don’t disappoint.
What Ingredients You Will Need
This recipe uses simple, wholesome ingredients to deliver a fluffy, soft loaf without any gluten or dairy. Most of these are pantry staples, and substitutions are easy if needed.
- Gluten-Free Flour Blend (2 ½ cups / 300 g) – I recommend brands like Bob’s Red Mill or King Arthur for best texture.
- Almond Flour (½ cup / 50 g) – adds moisture and a tender crumb.
- Baking Powder (1 tbsp) – helps the bread rise.
- Baking Soda (1 tsp) – works with the acid to lift the dough.
- Xanthan Gum (1 tsp) – acts as a binder since there’s no gluten.
- Sea Salt (1 tsp) – balances the flavors.
- Coconut Oil (¼ cup / 60 ml, melted) – keeps it dairy-free and adds richness.
- Maple Syrup (2 tbsp) – natural sweetness to enhance flavor.
- Apple Cider Vinegar (1 tbsp) – reacts with baking soda to help the rise.
- Unsweetened Almond Milk (1 ¼ cups / 300 ml) – or any dairy-free milk alternative.
- Large Eggs (3, room temperature) – provide structure and moisture.
Feel free to swap almond flour with oat flour for a slightly different texture or use avocado oil instead of coconut oil if you prefer a neutral flavor. Just avoid anything too watery as it can affect the loaf’s rise. In summer, I sometimes add fresh herbs like rosemary for a savory twist—delicious with avocado toast!
Equipment Needed
- Mixing Bowls: One large bowl for wet ingredients and one for dry. I like glass or stainless steel for easy cleaning.
- Whisk and Spatula: For combining ingredients smoothly—don’t skip the spatula for folding.
- Measuring Cups and Spoons: Accurate measurements are key, especially with gluten-free baking.
- Loaf Pan: A standard 9×5 inch (23×13 cm) pan works best. If you don’t have one, a silicone loaf mold can be a budget-friendly alternative and easy to clean.
- Oven: Reliable temperature is essential. I use an oven thermometer to double-check mine, since even small temp differences can change the outcome.
- Cooling Rack: Helps the bread cool evenly and prevents sogginess on the bottom.
I once tried baking this in a cast-iron skillet—it worked surprisingly well, but the crust got extra crunchy (which isn’t bad if you like that!). If you don’t have xanthan gum, some have used psyllium husk powder as a binder, but I haven’t tested that swap myself.
Preparation Method
- Preheat your oven to 350°F (175°C). Grease your loaf pan lightly with coconut oil or line it with parchment paper for easy removal. This step takes about 10 minutes.
- Mix the dry ingredients: In a large bowl, whisk together 2 ½ cups gluten-free flour blend, ½ cup almond flour, 1 tbsp baking powder, 1 tsp baking soda, 1 tsp xanthan gum, and 1 tsp sea salt. Make sure everything is evenly combined—this usually takes 2-3 minutes.
- Combine wet ingredients: In another bowl, beat 3 large eggs with ¼ cup melted coconut oil, 2 tbsp maple syrup, 1 tbsp apple cider vinegar, and 1 ¼ cups almond milk. The mixture should look smooth and slightly frothy after about 2 minutes of whisking.
- Bring it all together: Pour the wet ingredients into the dry mix. Use a spatula to fold gently until just combined. The batter will be thicker than typical bread dough but softer than a cake batter. Don’t overmix or the bread can turn dense.
- Transfer to the loaf pan: Scrape the batter into your prepared pan, smoothing the top with the spatula. Give the pan a gentle tap on the counter to release any air bubbles. This takes about 1 minute.
- Bake for 45-50 minutes. Check doneness by inserting a toothpick in the center; it should come out clean or with just a few crumbs. If it browns too quickly, tent with foil after 30 minutes.
- Cool completely: Let the bread rest in the pan for 10 minutes, then transfer to a cooling rack. This prevents sogginess and helps the loaf firm up. Cooling takes about 30 minutes but it’s worth the wait.
If you notice the bread is a bit crumbly after baking, don’t worry—that’s normal with gluten-free bread. Slicing with a serrated knife and storing it properly helps keep slices intact. Honestly, I’ve learned patience is key here; rushing to slice warm bread usually ends in a mess.
Cooking Tips & Techniques
Gluten-free baking can be tricky, but with a few tricks up your sleeve, this bread will come out fluffy every time.
- Measure flours carefully: Spoon and level your flours instead of scooping directly from the bag to avoid packing too much, which leads to dense bread.
- Room temperature eggs and liquids: This helps the ingredients combine better and traps air for a lighter texture.
- Don’t skip the vinegar: It reacts with baking soda to give the bread that nice rise and subtle tang.
- Mix gently: Overmixing develops too much structure in gluten-free flours, causing a tougher loaf.
- Check oven temperature: I once had a batch turn out flat because my oven ran hot. An oven thermometer is a small investment that pays off big.
- Let the bread cool completely: I know it’s tempting to slice right away, but cooling prevents a gummy texture.
One time, I forgot to add the xanthan gum (facepalm moment), and the loaf crumbled all over my counter. Lesson learned: don’t skip binders! Also, multitasking helps—while the bread bakes, I prep toppings or wash up to save time.
Variations & Adaptations
You can easily tweak this recipe to suit your preferences or dietary needs:
- Seeded Bread: Add 2 tbsp each of chia, flax, or sunflower seeds on top before baking for a crunchy crust and extra nutrition.
- Herb-Infused Loaf: Mix in 1 tbsp fresh chopped rosemary, thyme, or basil to the dry ingredients for savory notes—especially nice with avocado toast.
- Grain-Free Option: Replace gluten-free flour blend with all almond flour (3 cups), but add an extra egg for structure.
- Dairy-Free Variations: Use oat milk or rice milk instead of almond milk if you have nut allergies.
- Sweet Bread: Stir in ½ cup raisins and 1 tsp cinnamon for a breakfast twist.
Personally, I sometimes swap maple syrup for honey when I want a richer flavor. Just remember to adjust sweetness depending on your preference. For a quicker bake, try making mini loaves or muffins with this batter—baking time drops to 25-30 minutes.
Serving & Storage Suggestions
This bread is best served at room temperature or lightly toasted to bring out its flavor and texture. Try it with your favorite dairy-free butter or natural nut butters for breakfast or snacks.
For a hearty sandwich, pair it with fresh veggies and proteins. I often enjoy mine alongside a bowl of comforting tomato soup on chilly days—pure bliss!
Store leftover bread wrapped tightly in plastic wrap or a reusable bag at room temperature for up to 3 days. For longer storage, freeze slices in a sealed bag, then toast directly from frozen when needed.
Reheating in a toaster or oven restores that fresh-baked crispness. I find the flavors mellow and deepen after a day, making the bread even tastier the next morning.
Nutritional Information & Benefits
Each slice of this easy fluffy gluten-free dairy-free bread contains approximately:
| Calories | 120 |
|---|---|
| Protein | 4 g |
| Fat | 7 g |
| Carbohydrates | 12 g |
| Fiber | 2 g |
The use of almond flour adds healthy fats and protein, while coconut oil provides medium-chain triglycerides, which are easier to digest. This bread is gluten-free, dairy-free, and suitable for many with common food sensitivities.
Keep in mind it contains eggs and nuts, so it’s not suitable for those with those allergies. But for those seeking a wholesome, allergen-friendly bread, this recipe fits the bill and supports a balanced diet without compromising taste.
Conclusion
This easy fluffy gluten-free dairy-free bread recipe isn’t just a loaf—it’s a little kitchen victory that makes daily eating more joyful and less stressful. Whether you’re new to gluten-free baking or looking for a dependable bread that doesn’t crumble under pressure, this recipe delivers every time.
Feel free to customize it with herbs, seeds, or sweet additions to make it truly your own. I love how forgiving it is and how it brings comfort to my table without fuss.
If you give this recipe a try, I’d love to hear about your experience or any tweaks you make. Leave a comment or share your photos—I’m always excited to see your kitchen creations!
Happy baking, and here’s to many soft, fluffy slices ahead.
FAQs
Can I make this bread vegan?
This recipe relies on eggs for structure, so making it fully vegan would require egg substitutes like flax eggs, but I haven’t tested those versions myself.
What’s the best way to slice gluten-free bread without it crumbling?
Use a serrated bread knife and slice when the bread is completely cooled. Chilling the loaf for 30 minutes before slicing can also help.
Can I freeze the bread?
Yes! Freeze slices in a sealed bag and toast or warm them straight from frozen for best results.
Is xanthan gum necessary?
It’s important for binding and texture in gluten-free bread. If you don’t have it, you can try psyllium husk powder, but results may vary.
Can I substitute almond milk with other dairy-free milks?
Absolutely. Oat, rice, or soy milk work well. Just avoid watery options that might make the batter too loose.
Pin This Recipe!
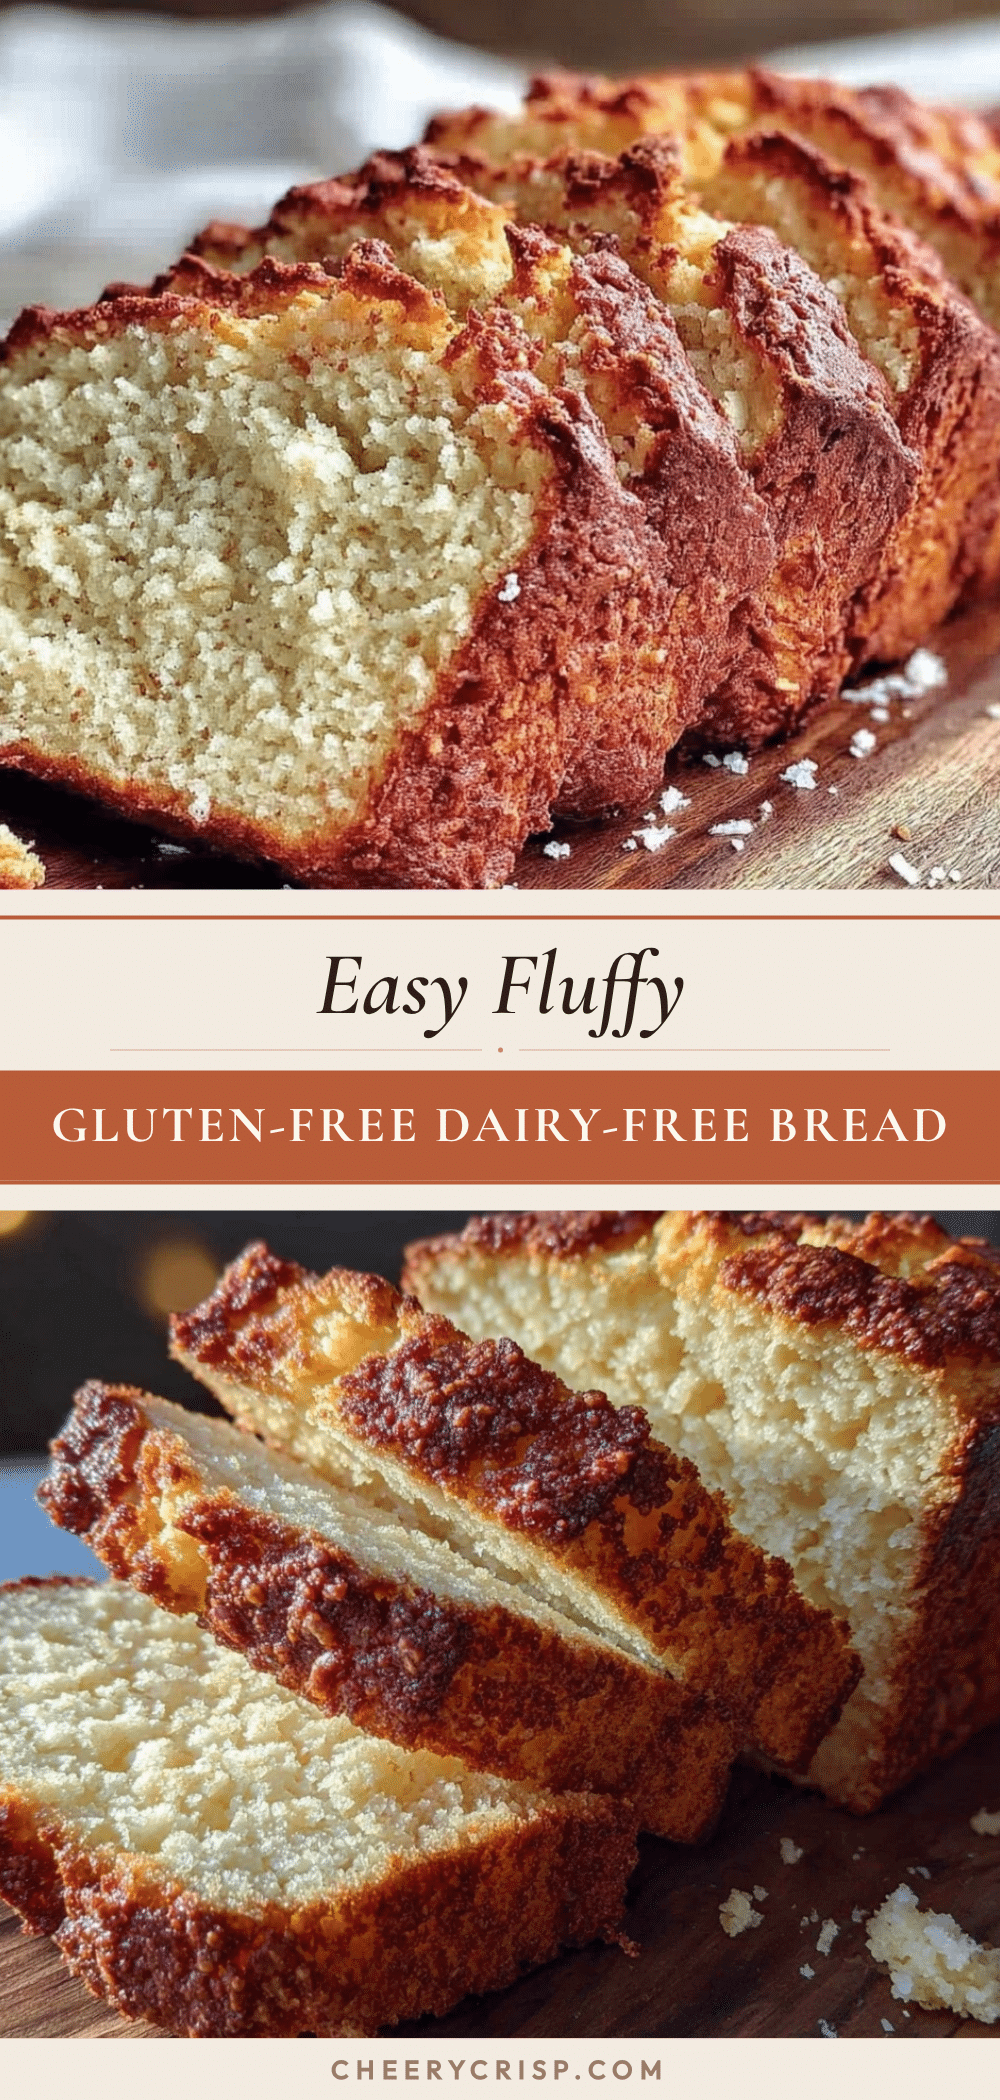
Easy Fluffy Gluten-Free Dairy-Free Bread Recipe to Make Perfect Homemade Loaves
A quick and easy gluten-free, dairy-free bread recipe that yields a soft, fluffy loaf perfect for sandwiches, toast, or brunch. Uses simple pantry staples and requires no multiple rises.
- Prep Time: 15 minutes
- Cook Time: 45-50 minutes
- Total Time: 60-65 minutes
- Yield: 1 loaf (about 10-12 slices) 1x
- Category: Bread
- Cuisine: American
Ingredients
- 2 ½ cups gluten-free flour blend (about 300 g)
- ½ cup almond flour (about 50 g)
- 1 tbsp baking powder
- 1 tsp baking soda
- 1 tsp xanthan gum
- 1 tsp sea salt
- ¼ cup coconut oil, melted (60 ml)
- 2 tbsp maple syrup
- 1 tbsp apple cider vinegar
- 1 ¼ cups unsweetened almond milk (300 ml)
- 3 large eggs, room temperature
Instructions
- Preheat your oven to 350°F (175°C). Grease your loaf pan lightly with coconut oil or line it with parchment paper for easy removal. This step takes about 10 minutes.
- In a large bowl, whisk together gluten-free flour blend, almond flour, baking powder, baking soda, xanthan gum, and sea salt until evenly combined (2-3 minutes).
- In another bowl, beat the eggs with melted coconut oil, maple syrup, apple cider vinegar, and almond milk until smooth and slightly frothy (about 2 minutes).
- Pour the wet ingredients into the dry mix. Fold gently with a spatula until just combined. The batter will be thicker than typical bread dough but softer than cake batter. Avoid overmixing.
- Scrape the batter into the prepared loaf pan, smoothing the top with a spatula. Tap the pan gently on the counter to release air bubbles (about 1 minute).
- Bake for 45-50 minutes. Check doneness by inserting a toothpick in the center; it should come out clean or with a few crumbs. Tent with foil after 30 minutes if browning too quickly.
- Let the bread rest in the pan for 10 minutes, then transfer to a cooling rack to cool completely (about 30 minutes) to prevent sogginess.
Notes
Measure flours carefully by spooning and leveling to avoid dense bread. Use room temperature eggs and liquids for better texture. Do not skip apple cider vinegar or xanthan gum for proper rise and binding. Let bread cool completely before slicing to prevent crumbling. Use a serrated knife for slicing. Store wrapped at room temperature up to 3 days or freeze slices for longer storage.
Nutrition
- Serving Size: 1 slice
- Calories: 120
- Fat: 7
- Carbohydrates: 12
- Fiber: 2
- Protein: 4
Keywords: gluten-free bread, dairy-free bread, easy bread recipe, fluffy bread, homemade bread, gluten-free baking, dairy-free baking



