Love this? Save it for later!
Share the inspiration with your friends
“I never thought I’d be the type to make yogurt at home,” I confessed to my friend Mia one lazy Sunday afternoon. She laughed, stirring her chai latte, and said, “Wait until you try this creamy coconut milk yogurt with probiotics—it’s a game-changer.” Honestly, I was skeptical. Dairy-free yogurts always seemed complicated or disappointing, you know? But that day, tucked into a sunlit corner of my cluttered kitchen, I gave it a shot.
The recipe came from a tiny notebook I found tucked behind a stack of old cookbooks at a local thrift shop. The pages were stained and the handwriting a little shaky, but the ingredients list was simple: coconut milk, probiotics, a bit of sweetener, and a pinch of patience. I was intrigued, especially since I’d recently been curious about incorporating more gut-healthy foods into my diet.
What happened next was unexpected. The yogurt turned out to be luxuriously creamy, with just the right tang and a gentle coconut aroma that reminded me of beach vacations I haven’t had in years. I forgot to set a timer and almost over-fermented it, but that little mishap taught me that the timing is flexible, and the flavors only deepen with a bit of extra culture time. Maybe you’ve been there—trying recipes that promise the world but end up in the compost bin.
This creamy coconut milk yogurt with probiotics quickly became my go-to snack, breakfast topper, and even a base for smoothies. The best part? It’s completely plant-based, easy to make, and packed with good bacteria that your tummy will thank you for. Let me tell you, once you make your own, store-bought yogurt just won’t cut it anymore.
Why You’ll Love This Recipe
Having tested this creamy coconut milk yogurt recipe multiple times (some successful, some not-so-much), I can say this is the one that truly stands out. Whether you’re a seasoned fermenter or just starting, it’s approachable and rewarding.
- Quick & Easy: Comes together in under 12 hours with minimal hands-on time—perfect for busy mornings or relaxed weekends.
- Simple Ingredients: No obscure items needed; just good-quality coconut milk, probiotic capsules, and a touch of natural sweetener.
- Perfect for Dairy-Free Diets: Ideal for vegans, lactose-intolerant folks, or anyone wanting to cut back on dairy without sacrificing creaminess.
- Crowd-Pleaser: I’ve brought it to potlucks and brunches, and everyone asks for the recipe—even my skeptical cousin.
- Unbelievably Delicious: The silky texture combined with the subtle tang is like a little tropical vacation for your taste buds.
This isn’t just any coconut yogurt recipe. The secret lies in the probiotic strain selection and the gentle fermentation process that delivers a smooth, thick result without the additives you often see in store-bought versions. Plus, it’s versatile enough to customize with your favorite toppings or mix-ins.
If you’re looking for a creamy, gut-friendly treat that feels both indulgent and nourishing, this recipe checks all the boxes.
What Ingredients You Will Need
This recipe uses simple, wholesome ingredients to deliver bold flavor and satisfying texture without the fuss. Most are pantry staples or easily found at health food stores.
- Full-fat canned coconut milk (about 13.5 oz / 400 ml) – I recommend brands like Native Forest or Thai Kitchen for the best creaminess.
- Probiotic capsules (2 capsules) – Look for a high-quality, dairy-free probiotic blend with live active cultures such as Lactobacillus acidophilus and Bifidobacterium.
- Maple syrup or agave nectar (1 tablespoon) – Optional, for a touch of sweetness that feeds the probiotics.
- Pure vanilla extract (1 teaspoon) – Adds a warm, fragrant note but can be skipped if you want plain yogurt.
- Optional thickener: 1 teaspoon agar powder or tapioca starch – helps achieve a thicker texture if desired.
For substitutions, you can use almond or cashew milk, but the texture won’t be quite as rich. If you want to keep it entirely sugar-free, you can omit the sweetener, but the probiotics might ferment slower.
Equipment Needed
- Glass jar or ceramic container with a lid – Glass is best to avoid any off-flavors and to withstand the warm fermenting environment.
- Whisk or small spoon – For mixing ingredients smoothly.
- Thermometer (optional) – Handy to check the milk temperature before adding probiotics (ideal: 100–110°F / 38–43°C).
- Warm place or yogurt maker – I usually use my oven light or a warm corner in the kitchen. A yogurt maker or Instant Pot with a yogurt function works well too.
- Fine mesh strainer or cheesecloth (optional) – For draining whey to get a thicker yogurt consistency if preferred.
If you don’t have a thermometer, just test the temperature by touch—it should feel warm but not hot, like a baby’s bath. For a budget-friendly option, a simple kitchen thermometer from any grocery store does the trick.
Preparation Method
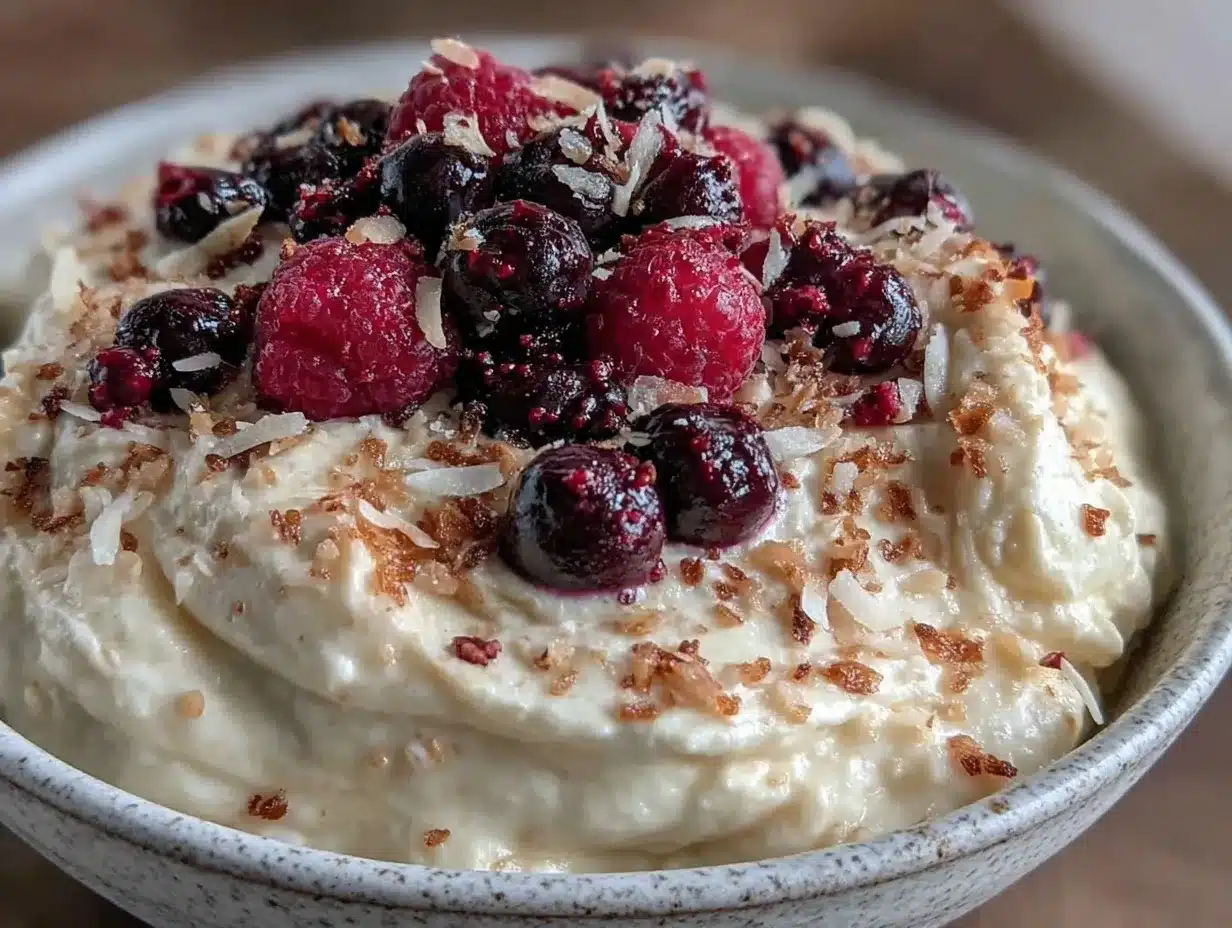
- Shake and heat the coconut milk: Give your coconut milk can a good shake, then pour it into a saucepan. Warm gently over low heat until it reaches about 105°F (40°C). This should take around 5 minutes. Don’t rush this step—too hot and you’ll kill the probiotics; too cold and they won’t activate properly.
- Add sweetener and vanilla: Stir in the maple syrup and vanilla extract if using. These little extras feed the probiotics and add flavor. Mix well.
- Open probiotic capsules: Carefully pierce and empty the contents of 2 probiotic capsules into the warm coconut milk. Whisk gently but thoroughly to combine. Avoid using metal utensils if possible; a silicone spatula or wooden spoon works great.
- Pour into your fermentation vessel: Transfer the mixture into your glass jar or ceramic container. Cover loosely with a clean towel or a breathable cloth to allow airflow and prevent contamination.
- Ferment: Place the jar in a warm, draft-free spot, maintaining a temperature around 100°F (38°C). This could be your oven with the light on or a yogurt maker. Let it sit undisturbed for 8–12 hours, depending on your preferred tanginess. I usually check at 8 hours for a mild flavor and 12 hours for a stronger tang.
- Check and refrigerate: After fermentation, stir gently. The yogurt should have thickened and smell pleasantly tangy. If it’s not quite thick enough, you can strain it through cheesecloth for 1–2 hours. Otherwise, seal the jar with a lid and refrigerate for at least 4 hours before serving.
- Enjoy: Scoop into bowls, add fresh fruit, granola, or a drizzle of honey if you want. Store leftovers in the fridge for up to 7 days.
Pro tip: If you notice watery liquid (whey) on the surface, just stir it back in or drain it off for thicker yogurt. I once forgot my batch in the warm oven overnight (oops!), and the flavor became extra tangy but still delicious, so don’t be afraid to experiment with timing.
Cooking Tips & Techniques
Making creamy coconut milk yogurt with probiotics at home is much simpler than it sounds, but a few tips can make a big difference:
- Temperature control is king: Remember, probiotics are living bacteria—they’re sensitive to heat. Always aim for a warm environment, not hot. I’ve burnt a batch by overheating the milk before, and the culture didn’t activate.
- Choose quality probiotics: Not all probiotics work well for yogurt fermentation. I recommend looking for strains specifically labeled for gut health and live cultures.
- Patience pays off: The longer you ferment (up to 24 hours), the tangier and thicker the yogurt gets. Taste as you go to find your sweet spot.
- Consistency tips: Adding a natural thickener like agar powder can help if your yogurt turns out too runny. I usually skip this, but it’s handy when using lighter coconut milk brands.
- Sanitize everything: Clean jars and utensils prevent unwanted bacteria. A quick rinse with boiling water does wonders.
Honestly, every batch is a little different, and that’s part of the charm. I’ve found that keeping a small notebook with notes on timing, temperature, and brands used helps me perfect the process.
Variations & Adaptations
This creamy coconut milk yogurt recipe is a fantastic base that you can tweak to suit your tastes or dietary needs.
- Flavor twists: Stir in fresh berries, cinnamon, or a spoonful of fruit preserves after fermentation for a naturally sweet touch.
- Thicker texture: Use full-fat coconut cream instead of milk or add 1 teaspoon of tapioca starch before heating.
- Dairy-free alternatives: Substitute coconut milk with cashew milk—though expect a thinner yogurt with a milder flavor.
- Probiotic starters: Instead of capsules, you can use a few tablespoons of store-bought plain coconut milk yogurt as a starter culture.
- Low-sugar version: Skip the sweetener entirely if you prefer a tart yogurt, but fermentation may take longer.
One time, I added a splash of homemade kefir to the mixture instead of probiotics, and it created a wonderfully tangy yogurt that I still make when I want something a little different.
Serving & Storage Suggestions
The best part about this creamy coconut milk yogurt is how versatile it is to serve. You can enjoy it chilled straight from the fridge or let it come to room temperature for a softer mouthfeel.
- Top with fresh fruit, toasted nuts, or a sprinkle of chia seeds for breakfast or a light dessert.
- Use as a base for smoothie bowls or mix with your morning granola.
- Serve alongside tropical dishes like mango sticky rice or spicy curries to cool the palate.
Store your homemade yogurt in an airtight container in the refrigerator for up to 7 days. If you want it thicker, strain some liquid off before storing. Reheat gently if using in warm dishes, but don’t boil or the probiotics will die.
Flavors develop over time, so it’s actually fun to taste a fresh batch and then compare it after a couple of days in the fridge.
Nutritional Information & Benefits
This creamy coconut milk yogurt is naturally rich in healthy fats from coconut, which support brain and heart health. Thanks to the probiotics, it promotes good digestion and gut balance. It’s also naturally dairy-free and gluten-free, making it suitable for many dietary needs.
Per serving (about ½ cup / 120 ml):
| Nutrient | Amount |
|---|---|
| Calories | 150 |
| Fat | 14g (mostly saturated fat from coconut) |
| Carbohydrates | 5g (from coconut milk and sweetener) |
| Protein | 1g |
| Probiotics | Varies by strain (supports gut health) |
While coconut milk yogurt isn’t a significant protein source compared to dairy, it’s a wonderful option for those avoiding animal products or lactose. The live cultures help digestion and may boost immunity over time.
Conclusion
If you’re looking for an easy homemade yogurt that hits all the right notes—creamy texture, gentle tang, probiotic benefits, and totally dairy-free—this creamy coconut milk yogurt with probiotics recipe is a keeper. It’s simple enough for beginners but flexible enough for anyone who likes to experiment in the kitchen.
Honestly, I love how it feels like a little accomplishment every time I scoop some into my bowl, knowing I made it from scratch. And the fact that it’s good for my gut? That’s just icing on the cake.
Give it a try, play with flavors, and don’t be afraid to make it your own. If you do, I’d love to hear how your batch turns out or what twists you add—drop a comment below or share your photos! Happy fermenting.
FAQs
Can I use fresh coconut milk instead of canned?
Fresh coconut milk can be used, but it’s less consistent in fat content and may result in thinner yogurt. Canned full-fat coconut milk provides the best creamy texture.
What probiotic strains work best for coconut yogurt?
Look for probiotics containing Lactobacillus acidophilus, Bifidobacterium, or other dairy-free labeled strains. Avoid blends with prebiotics that may ferment too aggressively.
How long does homemade coconut yogurt last in the fridge?
Stored in an airtight container, it usually lasts 5–7 days. The flavor may become more tangy over time.
Can I skip the sweetener in this recipe?
Yes, you can omit sweetener, but the probiotics may ferment slower and the flavor will be more tart.
Is it possible to make this yogurt thicker?
Absolutely! Use coconut cream instead of milk, add a natural thickener like agar powder, or strain the yogurt through cheesecloth to remove excess whey.
Pin This Recipe!
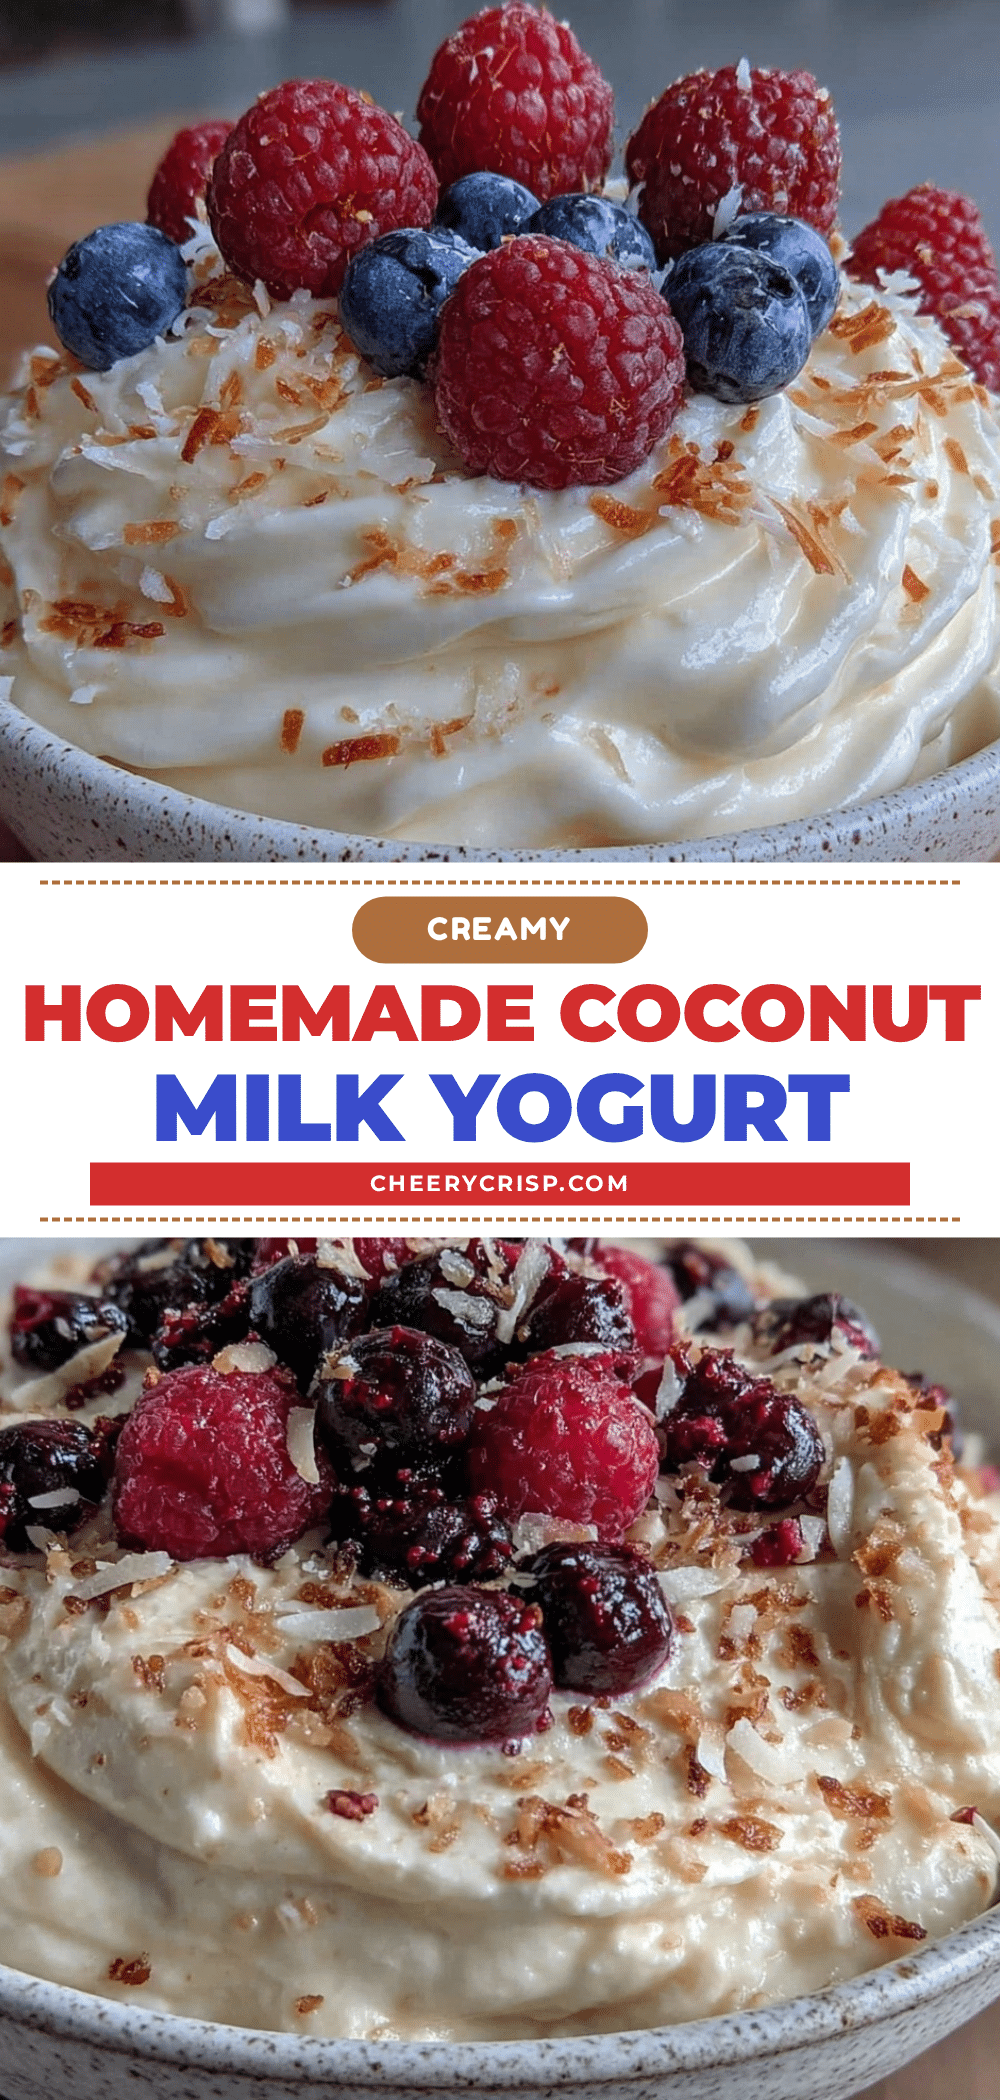
Creamy Coconut Milk Yogurt Recipe with Probiotics Easy Homemade Guide

A simple, dairy-free homemade yogurt made with full-fat coconut milk and probiotics, delivering a creamy texture and gut-friendly benefits.
- Prep Time: 10 minutes
- Cook Time: 5 minutes (warming milk) plus 8-12 hours fermentation
- Total Time: 8 hours 15 minutes to 12 hours 15 minutes
- Yield: About 2 cups (4 servings) 1x
- Category: Breakfast, Snack
- Cuisine: Vegan, Dairy-Free
Ingredients
- 13.5 oz (400 ml) full-fat canned coconut milk
- 2 probiotic capsules (dairy-free, live active cultures such as Lactobacillus acidophilus and Bifidobacterium)
- 1 tablespoon maple syrup or agave nectar (optional)
- 1 teaspoon pure vanilla extract (optional)
- 1 teaspoon agar powder or tapioca starch (optional thickener)
Instructions
- Shake the coconut milk can well, then pour into a saucepan and warm gently over low heat until about 105°F (40°C), about 5 minutes.
- Stir in maple syrup and vanilla extract if using, mixing well.
- Open probiotic capsules and empty contents into the warm coconut milk. Whisk gently but thoroughly to combine.
- Transfer the mixture into a glass jar or ceramic container. Cover loosely with a clean towel or breathable cloth.
- Place the jar in a warm, draft-free spot at around 100°F (38°C) for 8–12 hours to ferment, depending on desired tanginess.
- After fermentation, stir gently. If thicker yogurt is desired, strain through cheesecloth for 1–2 hours.
- Seal the jar with a lid and refrigerate for at least 4 hours before serving.
- Enjoy chilled or at room temperature, topped with fresh fruit, granola, or honey if desired. Store leftovers in the fridge up to 7 days.
Notes
Maintain temperature between 100-110°F to protect probiotics. Use quality probiotic strains labeled for gut health. Fermentation time can be adjusted for tanginess. Adding agar powder or tapioca starch helps thicken yogurt. Sanitize all equipment to avoid contamination. Stir or drain whey for thicker consistency.
Nutrition
- Serving Size: ½ cup (120 ml)
- Calories: 150
- Fat: 14
- Carbohydrates: 5
- Protein: 1
Keywords: coconut milk yogurt, dairy-free yogurt, homemade yogurt, probiotic yogurt, vegan yogurt, gut health, fermented yogurt



