Love this? Save it for later!
Share the inspiration with your friends
“I wasn’t expecting my Saturday morning grocery run to turn into a mini kitchen experiment, but there I was, standing in the nut aisle debating between raw cashews and roasted ones,” I recall with a chuckle. It was one of those mornings when I didn’t have a clue what to make for a snack, and honestly, the usual cheese stash was already gone. A quick chat with the cashier—who just happened to mention her love for vegan cheeses—led me down the rabbit hole of making my own creamy dairy-free cashew cheese at home.
The sizzle of my blender, the smooth pour of cashew cream, and that first tangy, rich bite reminded me why I keep coming back to this recipe. Maybe you’ve been there too—craving that luscious, cheesy texture but wanting to skip the dairy or just try something new. Let me tell you, this recipe has quietly become a staple in my kitchen. It’s simple, forgiving, and honestly, it’s saved me from more than a few snack-time disasters.
Between juggling a cracked bowl mishap and a phone call in the middle of blending, this creamy dairy-free cashew cheese recipe stuck with me because it’s approachable and delicious. Whether you’re dairy-free, vegan, or just curious, this tutorial makes it easy to whip up something comforting and versatile. Plus, it’s a great way to impress guests who think vegan cheese can’t be truly tasty. So, stick around—I want to show you how to make this gem your new go-to cheese!
Why You’ll Love This Recipe
Honestly, I’ve tried quite a few dairy-free cheese recipes, but this creamy cashew cheese stands out for so many reasons. I’ve tested it over and over, tweaking the texture and flavor until it hits just right. It’s not just good—it’s one of those recipes that makes you close your eyes after the first bite and smile.
- Quick & Easy: Ready in under 30 minutes, perfect when you want something homemade without fuss.
- Simple Ingredients: Uses pantry staples like raw cashews and a few seasonings—you probably have everything already.
- Perfect for Entertaining: Great for spreads, sandwiches, or as a dip to wow guests without stress.
- Crowd-Pleaser: Even my meat-eating friends can’t get enough of this creamy delight.
- Unbelievably Delicious: The silky texture and tangy flavor hit all the right notes—comfort food at its best.
This recipe is different because it balances creaminess with a subtle tang thanks to a touch of lemon juice and nutritional yeast. I personally love using a high-speed blender to get that ultra-smooth texture, but I’ll share alternatives if you don’t have one. You know, it’s that kind of recipe you keep tweaking—sometimes adding fresh herbs or a pinch of smoked paprika—making it uniquely yours. It’s not just vegan cheese; it’s a flavor-packed, satisfying experience that feels like a treat every time.
What Ingredients You Will Need
This creamy dairy-free cashew cheese recipe uses simple, wholesome ingredients to create a rich, smooth texture with bold flavor. Most are pantry staples, and substitutions are easy if you need them.
- Raw cashews (1 ½ cups, soaked for at least 4 hours or overnight) – these are the base, giving the cheese its creamy texture. I prefer Now Foods raw cashews for consistency.
- Fresh lemon juice (2 tablespoons) – adds a bright tang that mimics traditional cheese acidity.
- Nutritional yeast (3 tablespoons) – gives that cheesy, umami flavor. I recommend Bragg brand for its nutty taste.
- Garlic powder (1 teaspoon) – subtle depth without overpowering.
- Onion powder (1 teaspoon) – complements the garlic and enhances savoriness.
- Apple cider vinegar (1 teaspoon) – a little zing to round out flavors.
- Salt (½ teaspoon or to taste) – balances the flavors.
- Water (¼ to ½ cup) – to blend everything smoothly; adjust for desired thickness.
- Optional: Smoked paprika or herbs like chives or dill for flavor twists.
If you’re looking for a nut-free option, macadamia nuts can work, but they’re pricier. For a gluten-free diet, all ingredients here are naturally gluten-free. If you want a creamier version, a splash of coconut milk (full fat) can be added, but I like to keep it simple and clean. This recipe is very forgiving—you can tweak the garlic or nutritional yeast levels to suit your taste buds.
Equipment Needed
- High-speed blender or food processor: Essential for achieving that smooth, creamy texture. I use a Vitamix, but a strong food processor works too—just expect a slightly chunkier result.
- Bowl: For soaking the cashews. Glass or ceramic works best to avoid any off-flavors from plastic.
- Measuring cups and spoons: For precise ingredient amounts and easy adjustments.
- Spatula: To scrape down the sides of your blender or processor.
- Storage container: An airtight glass jar or container for refrigerating leftovers.
If you don’t have a high-speed blender, soaking cashews a bit longer (up to 12 hours) can help soften them for easier blending. Also, keep your blades sharp by occasionally running a cleaning cycle with lemon and baking soda—it helps maintain performance. On a budget? Food processors from reputable brands like Cuisinart can deliver great results without breaking the bank.
Preparation Method
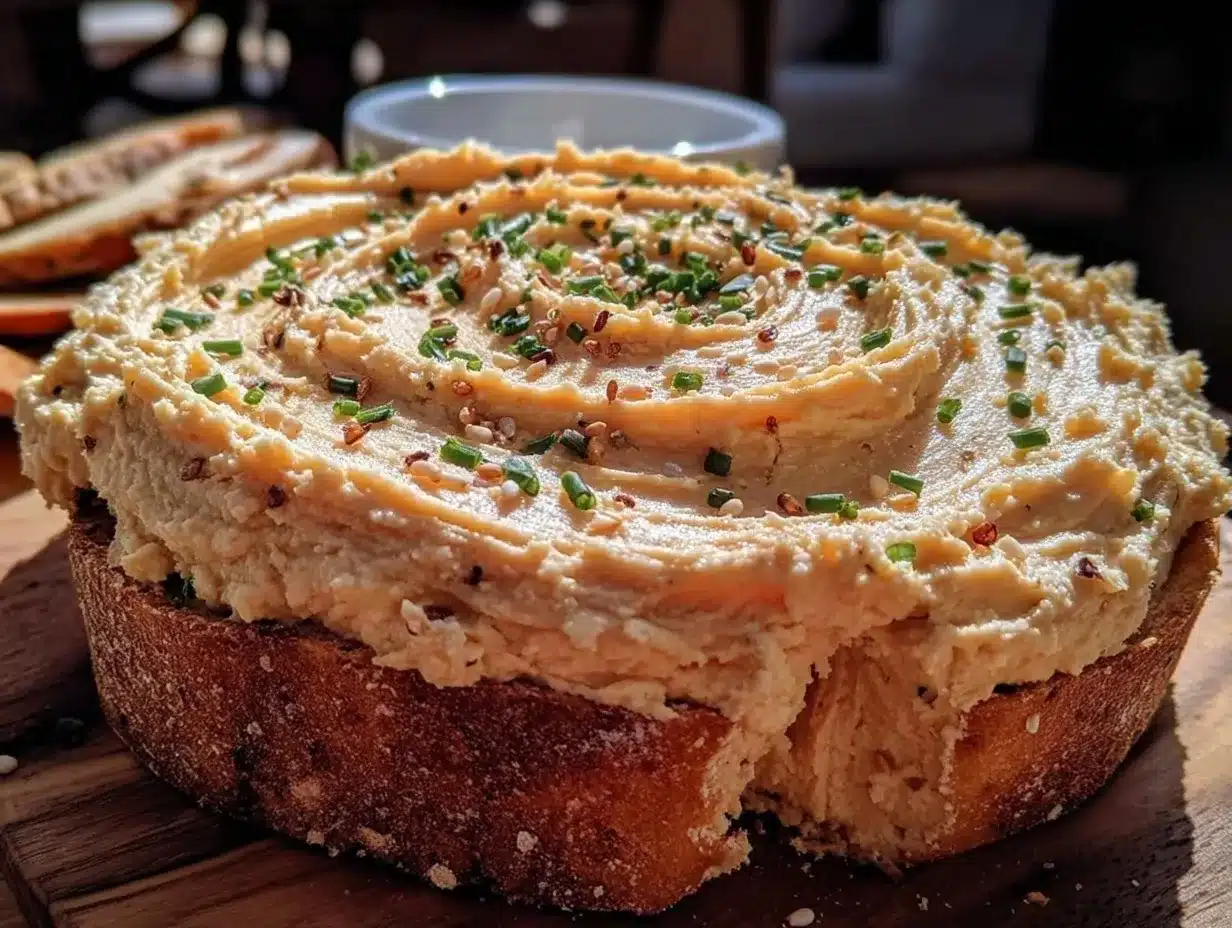
- Soak the cashews: Place 1 ½ cups of raw cashews into a bowl and cover with filtered water. Let them soak for at least 4 hours or overnight to soften. This step is crucial for that creamy texture. (If you’re short on time, pour boiling water over cashews and soak for 1 hour.)
- Drain and rinse: After soaking, drain the cashews and rinse them under cool water. This removes any residue and helps avoid bitterness.
- Blend the base: Add the soaked cashews to your blender or food processor along with ¼ cup of fresh water, 2 tablespoons lemon juice, 3 tablespoons nutritional yeast, 1 teaspoon garlic powder, 1 teaspoon onion powder, 1 teaspoon apple cider vinegar, and ½ teaspoon salt.
- Process until smooth: Blend on high for 2-3 minutes, pausing occasionally to scrape down the sides with a spatula. The mixture should be silky, thick but spreadable. If it’s too thick, add water a tablespoon at a time until you reach your desired consistency.
- Taste and adjust: Take a spoonful and taste. Add more salt, lemon juice, or nutritional yeast if needed. This step is where you make it your own!
- Optional flavoring: For a smoky twist, blend in ½ teaspoon smoked paprika or a handful of fresh herbs like chives or dill for a fresh note.
- Chill before serving: Transfer the cashew cheese to a container, cover, and refrigerate for at least 1 hour. This helps flavors meld and firm up slightly.
- Serve and enjoy: Spread on crackers, use in sandwiches, or dollop on your favorite dishes.
Pro tip: If your blender struggles, pulse in short bursts and don’t overload. Sometimes I accidentally forget to soak cashews overnight—using hot water soak can save the day, but nothing beats the creamy smoothness of a full soak. Also, don’t rush chilling; the flavors develop beautifully after a bit of rest.
Cooking Tips & Techniques
Making creamy dairy-free cashew cheese is straightforward, but a few tricks can help you get it just right every time. First, soaking time matters—if your cashews aren’t soft enough, your cheese will be grainy. I’ve learned the hard way by skipping soaking once, and the texture was all wrong.
Using a high-speed blender speeds up the process and gives a velvety finish. If using a food processor, expect a coarser texture but still tasty. When blending, add water gradually; too much water will make it runny, too little and it’s tough to blend. You want a spreadable consistency, like thick cream cheese.
Seasoning is key—nutritional yeast is your best friend here. Don’t skimp on it, or the cheese will lack that signature savory depth. Taste as you go. Sometimes I accidentally add too much lemon juice, which makes it overly tangy, so balance is everything.
When chilling, cover the container tightly to prevent drying or absorbing fridge odors. I recommend making this cashew cheese at least a few hours ahead of serving to let flavors meld. It also firms up nicely, making spreading easier.
Lastly, experiment! Adding roasted red peppers, sun-dried tomatoes, or even jalapeños can create unique flavor profiles. I’ve found that a pinch of smoked paprika gives a lovely subtle warmth. Just remember, start small—you can always add more.
Variations & Adaptations
This creamy dairy-free cashew cheese recipe is wonderfully adaptable, so feel free to customize based on your taste, dietary needs, or what’s in your pantry.
- Herbed Cashew Cheese: Add fresh herbs like basil, parsley, or dill during blending for a vibrant, fresh flavor perfect for spreading on bagels or crackers.
- Spicy Version: Blend in a small jalapeño or a pinch of cayenne pepper for a little kick. Great for adding a twist to sandwiches or veggie trays.
- Nut-Free Alternative: Use cooked white beans or sunflower seeds as a base instead of cashews. The texture will differ, but the flavor can still be creamy and satisfying.
- Smoked Cashew Cheese: Add smoked paprika or liquid smoke for a BBQ-inspired flavor that pairs well with grilled veggies or vegan burgers.
- Seasonal Twist: Mix in roasted red peppers or caramelized onions for a richer, sweeter note that’s perfect for fall and winter entertaining.
One of my favorite personal twists is adding a teaspoon of miso paste for an umami boost—just be mindful of salt levels when you do this. For a firmer cheese, try pouring the blended mixture into a cheesecloth-lined mold and refrigerate overnight to set, which works great for slicing.
Serving & Storage Suggestions
This creamy dairy-free cashew cheese shines best when served chilled or at room temperature. Spread it on your favorite crackers, toast, or fresh veggie sticks for an easy appetizer. It also makes a fantastic addition to sandwiches or wraps, adding creaminess and flavor without dairy.
Pair it with crisp white wines, light herbal teas, or a sparkling citrus beverage for a refreshing contrast. For a cozy dinner, dollop it on roasted potatoes or steamed greens—it melts slightly and adds a luscious finish.
Store leftovers in an airtight container in the refrigerator for up to 5 days. The cheese will thicken and flavors will intensify over time, so give it a good stir before serving again. If you want to freeze it, do so in small portions—thaw overnight in the fridge and stir well before use, though the texture may be a bit less creamy.
Remember, flavors develop beautifully with a little time, so making this cashew cheese a day ahead can really pay off. And if you want to freshen it up after storage, a little extra lemon juice or a splash of water can revive the texture and brightness.
Nutritional Information & Benefits
This creamy dairy-free cashew cheese is a nourishing alternative to traditional cheese, offering healthy fats, plant-based protein, and important vitamins. Cashews are rich in heart-healthy monounsaturated fats and provide magnesium, copper, and iron. Nutritional yeast adds B vitamins, including B12 when fortified, making this recipe especially beneficial for vegans.
Per serving (about 2 tablespoons), expect approximately 70 calories, 6 grams of fat, 3 grams of protein, and minimal carbohydrates. It’s naturally gluten-free, soy-free, and free from common allergens like dairy. The recipe avoids processed ingredients and preservatives, making it a wholesome choice.
From a wellness perspective, this cashew cheese can be part of a balanced diet, contributing to satiety and flavor without the inflammation sometimes linked to dairy. I often recommend it to friends looking for a tasty, plant-based cheese that feels indulgent but still nourishing.
Conclusion
If you’ve been searching for a creamy, flavorful, dairy-free cheese that’s easy to make and totally satisfying, this cashew cheese recipe is a must-try. It’s simple enough to whip up on a whim but versatile enough to become a kitchen staple. I love that it’s customizable and forgiving, so you can tailor it exactly to your taste.
Honestly, I keep coming back to this recipe because it strikes that perfect balance of tangy, creamy, and cheesy without any dairy drama. Whether you’re vegan, lactose-intolerant, or just curious about plant-based cheeses, give it a shot—you might find it becoming your new favorite.
Feel free to experiment and share your own twists in the comments below—I’d love to hear how you make it your own. Now, go ahead and treat yourself to some homemade creamy dairy-free cashew cheese. You deserve it!
FAQs
Can I use roasted cashews instead of raw cashews?
Roasted cashews can change the flavor and texture, often making the cheese less creamy and slightly bitter. For the best results, stick with raw cashews.
How long does this cashew cheese last in the fridge?
Stored in an airtight container, it will stay fresh for up to 5 days. Flavors deepen over time, so it may taste even better the next day.
Is it possible to make this recipe nut-free?
Yes, you can substitute cashews with cooked white beans or sunflower seeds, though the texture and taste will be different but still enjoyable.
Can I use this cheese for cooking or baking?
This cashew cheese works well as a spread or dip but isn’t ideal for baking as it doesn’t melt like dairy cheese. It’s best used fresh or chilled.
Do I need a high-speed blender to make this cheese?
While a high-speed blender makes the process quicker and smoother, a food processor can work too—just expect a chunkier texture and blend longer.
Pin This Recipe!
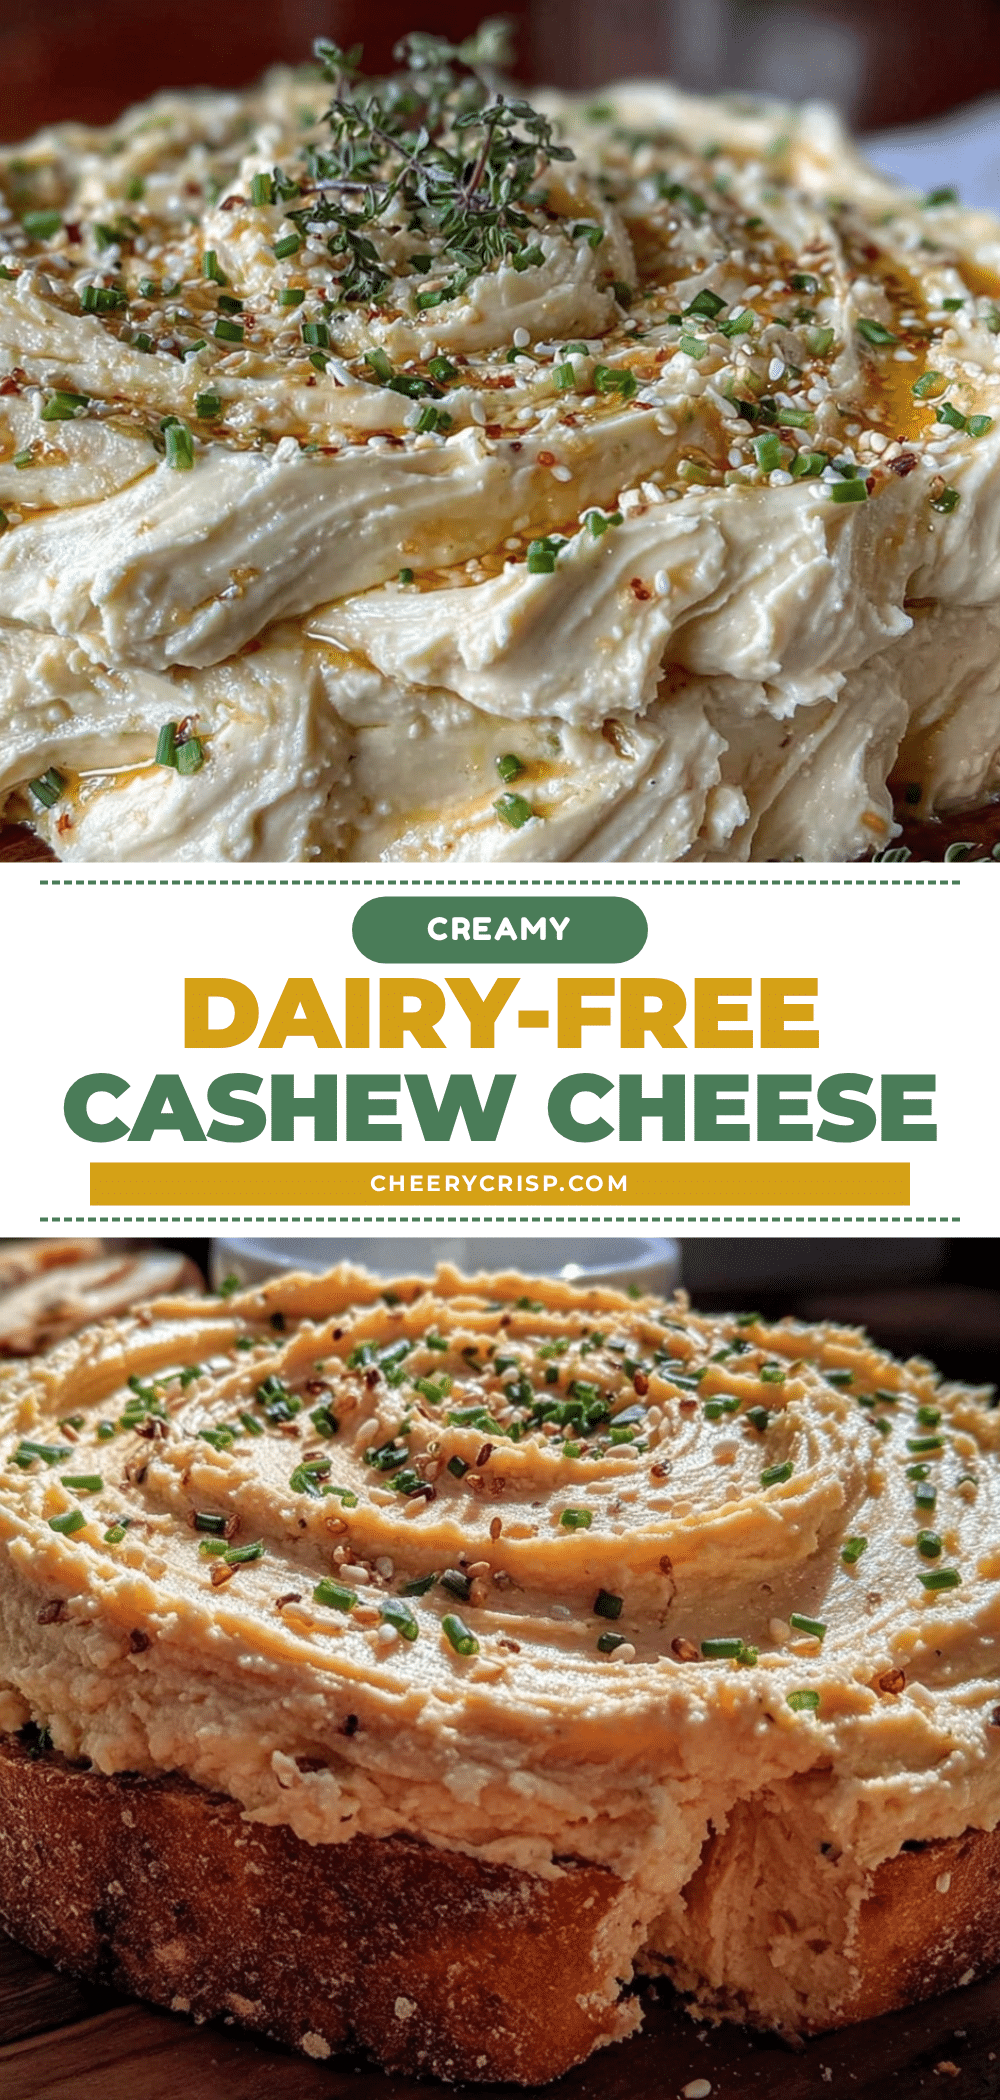
Creamy Dairy-Free Cashew Cheese
A simple, creamy, and tangy dairy-free cashew cheese recipe that’s easy to make at home, perfect for vegans and those avoiding dairy. This versatile cheese spread is smooth, flavorful, and great for snacks or entertaining.
- Prep Time: 10 minutes
- Cook Time: 0 minutes
- Total Time: 1 hour 10 minutes
- Yield: About 1 ½ cups (approximately 8 servings of 2 tablespoons each) 1x
- Category: Appetizer
- Cuisine: Vegan
Ingredients
- 1 ½ cups raw cashews, soaked for at least 4 hours or overnight
- 2 tablespoons fresh lemon juice
- 3 tablespoons nutritional yeast
- 1 teaspoon garlic powder
- 1 teaspoon onion powder
- 1 teaspoon apple cider vinegar
- ½ teaspoon salt, or to taste
- ¼ to ½ cup water, to blend
- Optional: ½ teaspoon smoked paprika or fresh herbs like chives or dill
Instructions
- Soak the cashews in filtered water for at least 4 hours or overnight to soften. For a quicker soak, pour boiling water over cashews and soak for 1 hour.
- Drain and rinse the soaked cashews under cool water.
- Add the soaked cashews, ¼ cup water, lemon juice, nutritional yeast, garlic powder, onion powder, apple cider vinegar, and salt to a high-speed blender or food processor.
- Blend on high for 2-3 minutes, pausing occasionally to scrape down the sides with a spatula, until the mixture is silky, thick, and spreadable. Add water a tablespoon at a time if needed to reach desired consistency.
- Taste and adjust seasoning with more salt, lemon juice, or nutritional yeast as desired.
- Optionally, blend in smoked paprika or fresh herbs for added flavor.
- Transfer the cashew cheese to a container, cover, and refrigerate for at least 1 hour to let flavors meld and firm up slightly.
- Serve chilled or at room temperature as a spread, dip, or addition to sandwiches.
Notes
Soaking cashews overnight yields the creamiest texture; if short on time, soak in boiling water for 1 hour. Use a high-speed blender for smoothest results, or a food processor for a chunkier texture. Adjust water gradually to achieve desired consistency. Chill for at least 1 hour before serving to enhance flavor and texture. Store in an airtight container in the fridge for up to 5 days. Optional flavor variations include adding herbs, smoked paprika, jalapeño, or miso paste.
Nutrition
- Serving Size: 2 tablespoons
- Calories: 70
- Sugar: 1
- Sodium: 150
- Fat: 6
- Saturated Fat: 1
- Carbohydrates: 3
- Fiber: 1
- Protein: 3
Keywords: dairy-free cheese, cashew cheese, vegan cheese, homemade cheese, dairy-free, vegan snack, creamy cheese, plant-based cheese



